PostgreSQL is one of the world’s most advanced open-source relational database systems. Since its first release, it has continued to evolve and each and every time, it becomes better in almost every aspect. The latest version as of today, is PostgreSQL 16 and with it’s release, database administrators and developers have every right to look forward to a bunch of new features and improvements.
The new PostgreSQL 16 has introduced additional options for users and administrators to expand the capacity and distribution of their workloads. Also, database admins and users can come up with new approaches to extract valuable insights and improve their data management strategies.
In this guide, I will show you how to install PostgreSQL 16 on CentOS 9 / RHEL 9 so that you can continue to get the best out of the latest software as a database user. Before we can do that, let’s take a look at the exciting new features that PostgreSQL 16 has to offer today.
New Features
- Enhanced Logical Replication: In PostgreSQL 16, users can perform logical replication directly from a standby instance. What this means is that a server has the ability to share logical changes with other servers. This improvement is of great advantage when it comes to workload distribution since users can opt to employ standby servers for logical replication instead of more active primary ones.
- Monitoring Features: The crucial element in the performance optimization of database workloads is understanding how your I/O operations affect your system. Well, PostgreSQL 16 comes with
pg_stat_io, a fresh source of essential I/O metrics which facilitates thorough examination of I/O access patterns. - Security and Access Control: PostgreSQL 16 introduces more secure access control methods and a better approach to other security features. This new release comes with better management of
pg_hba.confandpg_ident.conffiles which control client identification and authentication. - Performance Improvements: PostgreSQL 16 introduces upgraded and improved query execution capabilities through increased query parallelism. This in turn enables the parallel execution of
FULLand internalRIGHTouter joins which generate better optimized plans for queries. - Developer Experience: PostgreSQL 16 comes with expanded support for SQL/JSON standard syntax, which entails constructors and conditions from the
JSONlibrary. This new release also covers a new approach of using underscores to separate thousands and also introduces non-decimal integer literals.
Without any further delay, let’s jump into PostgreSQL 16 installation steps.
Step 1: Add The PostgreSQL Repository
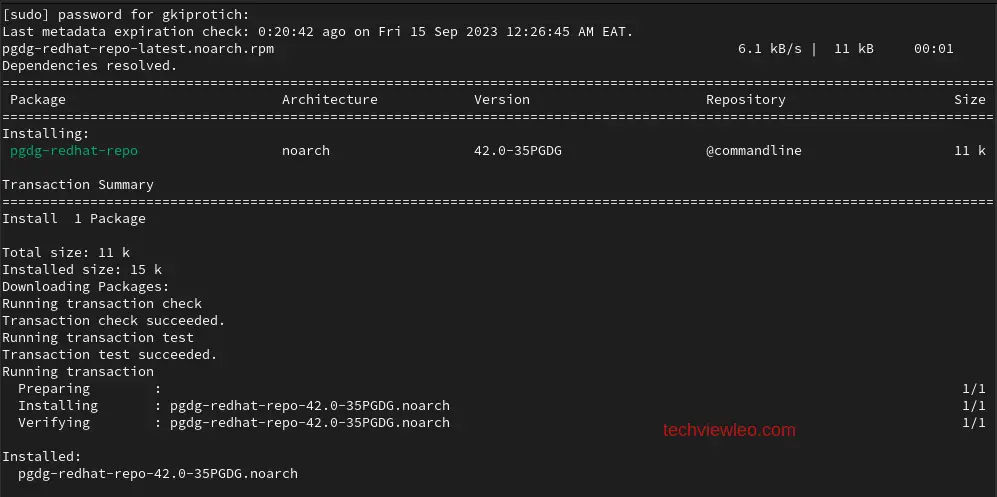
PostgreSQL 16 is not available in the default package repositories of RHEL 9. So, first, we need to add its dnf/yum package repository using the following command.
sudo dnf install -y https://download.postgresql.org/pub/repos/yum/reporpms/EL-9-x86_64/pgdg-redhat-repo-latest.noarch.rpm Sample Output:
Step 2: Install PostgreSQL 16 on CentOS 9 / RHEL 9
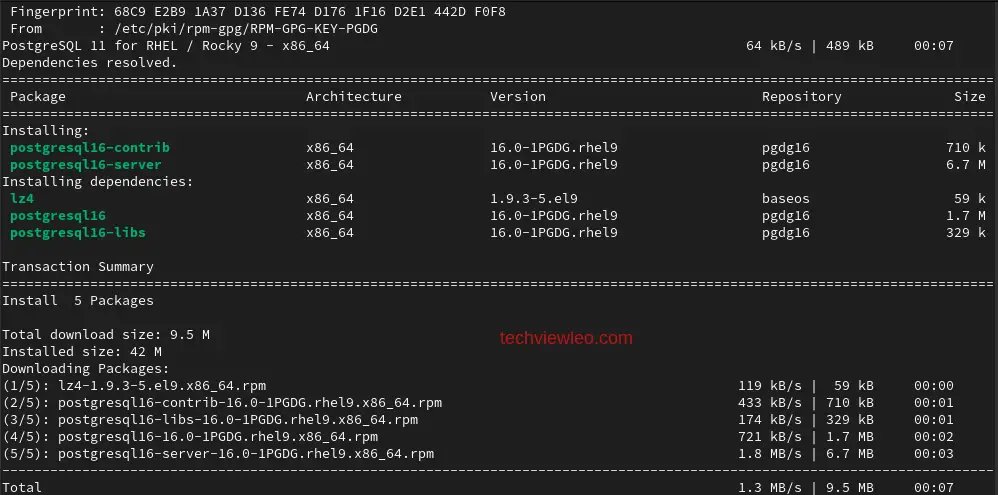
After configuring the PostgreSQL 16 package repository, we can now install it using the command below:
sudo dnf install -y postgresql16-server postgresql16-contribSample Output:
After the installation is done, you can verify if it was successful using the following command:
psql -VSample execution.

Step 3: Initialize PostgreSQL 16 Database
Now we need to initialize PostgreSQL 16, what I mean by initializing is to prepare the database for use by creating a data structure. Use the following command to initialize PostgreSQL 16:
sudo /usr/pgsql-16/bin/postgresql-16-setup initdbSample output:

Step 4: Start PostgreSQL 16 Service
To start using PostgreSQL 16, you have to start and enable it on your system. Run the following commands to start and enable PostgreSQL 16:
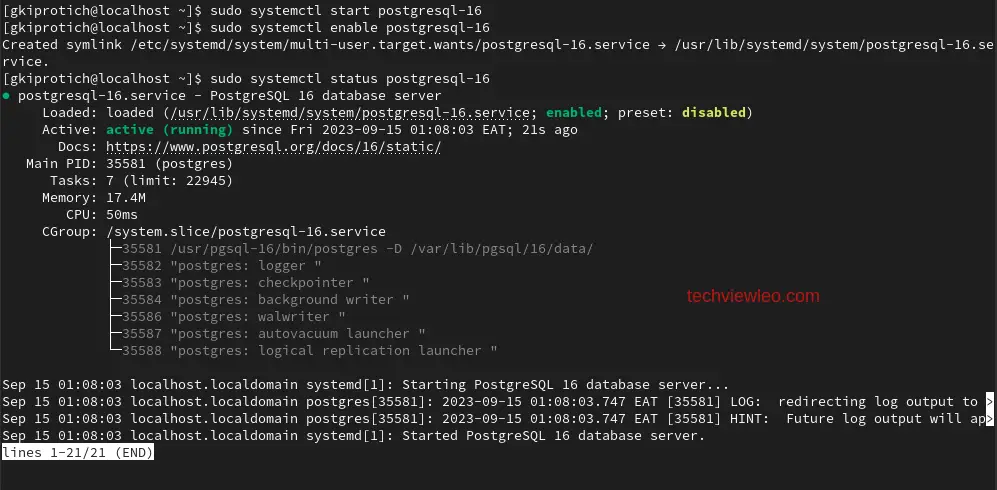
 sudo systemctl start postgresql-16
 sudo systemctl enable postgresql-16
After starting PostgreSQL 16, verify that the service is up and running using the following command:
systemctl status postgresql-16Sample Output:
Step 5: Securing PostgreSQL 16 Database
PostgreSQL database does not have any authentication and one can easily switch to a database user. To prevent this and have a secure database, set a Postgres user password using the commands below:
sudo passwd postgres
su – postgres
psql -c "ALTER USER postgres WITH PASSWORD ‘your-Passw0rd';"
In the above command, replace your password appropriately as shown:

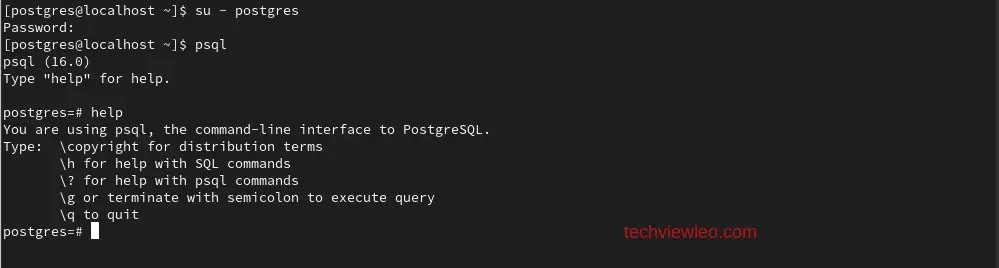
Now, if you try to switch to a Postgres user, you will be prompted to enter the user password:
su - postgres
psql
Sample:
That is all for this particular guide, enjoy using PostgreSQL 16.
Conclusion
PostgreSQL is the most advanced open-source database with thousands of users and contributors from all over the world. Its new release, PostgreSQL 16, is a major release for its community as it introduces major upgrades and new features. These new features and improvements make PostgreSQL 16 ideal for a wide range of applications.
See more: