
Oracle Solaris is a Unix operating system that is privately owned and is recognized for its capacity to handle large amounts of data, its creative characteristics, and its strong security measures. The software was first created by Sun Microsystems and then purchased by Oracle. Solaris is compatible with SPARC and x86-64 workstations and servers manufactured by Oracle and other manufacturers. The operating system is specifically designed to provide high-quality performance, reliability, and protection, and is compatible with over 1,000 SPARC and x86 systems.
Renowned for its prospective self-repairing capabilities, this operating system is often regarded as one of the most impregnable in the world. The Oracle Solaris operating system is specifically designed to accommodate both general-purpose computing and highly demanding technical compute workloads. This software is designed to efficiently adapt to the increasing capabilities of multicore processors and offers compatibility with the most recent hardware technologies.
Oracle Solaris is specifically engineered to provide exceptional performance, robust security, and unwavering dependability for business applications. This makes it well-suited for a diverse array of computing requirements, spanning from the web tier to the data warehouse and even the most resource-intensive technical compute workloads.
Oracle Solaris 11.4 Key Features
Let’s have a look at some key highlights for the Solaris 11.4 release;
- Enhanced Security and Compliance Features: Oracle Solaris 11.4 offers reliable and automated security and compliance features, such as Key Management Interoperability Protocol (KMIP), Secure Sandboxes, Security Compliance Assessment, Oracle Solaris Cluster Compliance Checks, Per File Auditing, Verified Boot Auditing, and Privileged Command Execution History Reporting.
- Enhanced Performance Monitoring: Oracle Solaris 11.4 offers streamlined updating, compliance monitoring, performance monitoring, and virtualization with no additional resource consumption to isolate mission-critical workloads.
- Bundled Software Updates: Oracle Solaris 11.4 has updated versions of many packaged software packages, such as ISC BIND 9.10, MySQL 5.7, Open Fabric Enterprise Distribution 3.18, Oracle Instant Client 12.2, Perl 5.26, Puppet 5.5, Python 3.5, and Xorg 1.19. The updated software package now contains Augeas, Cython, the cx_Oracle Python module, the Google Go compiler, LLVM/Clang, MCollective, Oracle Database Programming Interface-C (ODPI-C), and the paps print filter.
- System Management features: Oracle Solaris 11.4 introduces enhanced system management capabilities, including System Data Visualization and Performance Analysis through the Oracle Solaris System Web Interface. It also offers improved DAX Utilization and Performance display, SMF Nested Property Groups, and new SMF Live Zone Reconfiguration for Datasets on Oracle Solaris Native Zones. Additionally, it enables the movement of Oracle Solaris Zones, Zone Cold Migration, Multipathing for Oracle VM Server for SPARC Virtual SCSI HBAs, and Device Masking for Oracle VM Server for SPARC Virtual SCSI HBAs.
The above features are just a peak, there is much more to learn in depth. For much more detail, please refer to Oracle’s official documentation or release notes. Having mentioned that, let’s get down to business and install Oracle Solaris 11.4:
Installation of Oracle Solaris 11.4 – Step by Step With Screenshots
Follow the steps in the following sections to install, configure and operate Oracle Solaris 11.4.
Download Oracle Solaris 11.4 Image
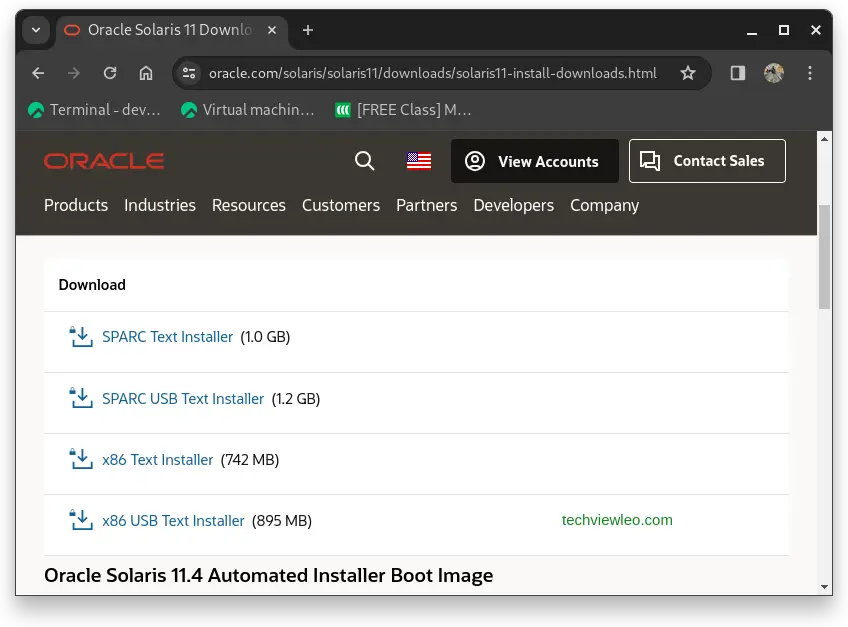
To install Kali Purple, you have to download the ISO image from Oracle’s official website. Make sure to save it to a memorable location on your PC!. Visit the website navigate to the downloads page and download the x86 Text Installer. Keep in mind that to download the file from Oracle, you have to be logged in to your account.
Create Bootable Media
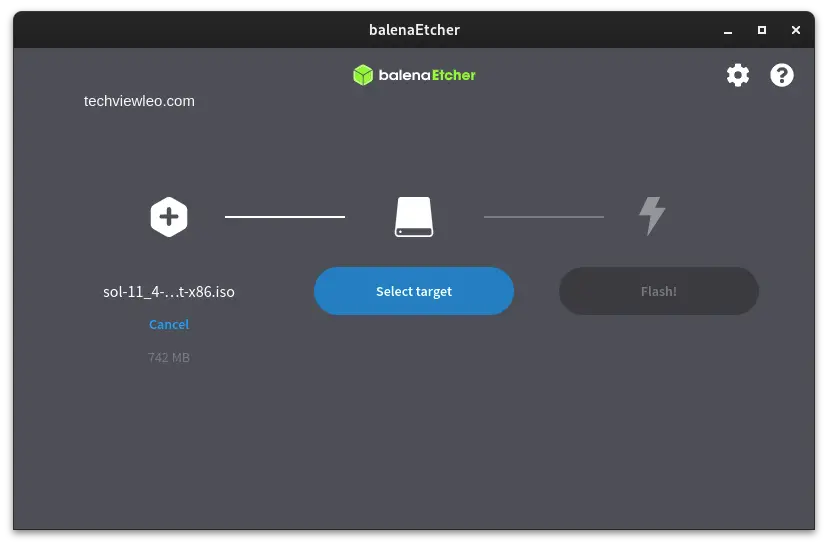
To install Oracle Solaris 11.4, you need to write your downloaded ISO to a USB stick to create the installation media. For this tutorial, we’ll use balenaEtcher, as it runs on Linux, Windows and Mac OS. Choose the version that corresponds to your current operating system, download and install the tool. After successful installing the tool, select you ISO image and click the flash button to flash the image.
Boot from a USB flash drive
Insert the USB flash drive into the laptop or PC you want to use to install Oracle Solaris and boot or restart the device. It should recognize the installation media automatically. If not, try holding F2 or F10 during startup and selecting the USB device from the system-specific boot menu.
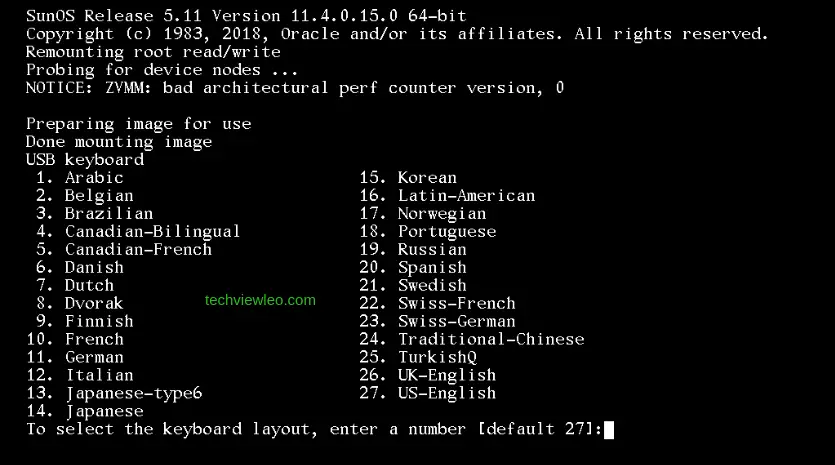
Once the installer has initialized, you’re prompted to choose the keyboard layout you’d prefer to use during the installation and then your language.
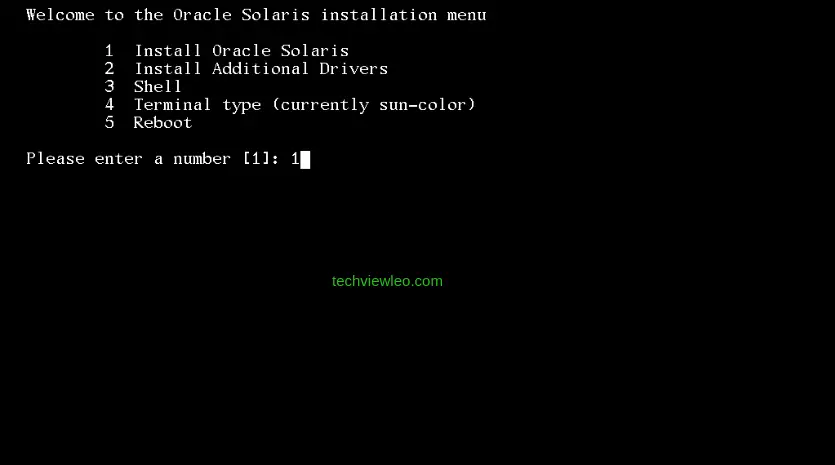
Now, Select option 1 to install Solaris 11.4 on your device.
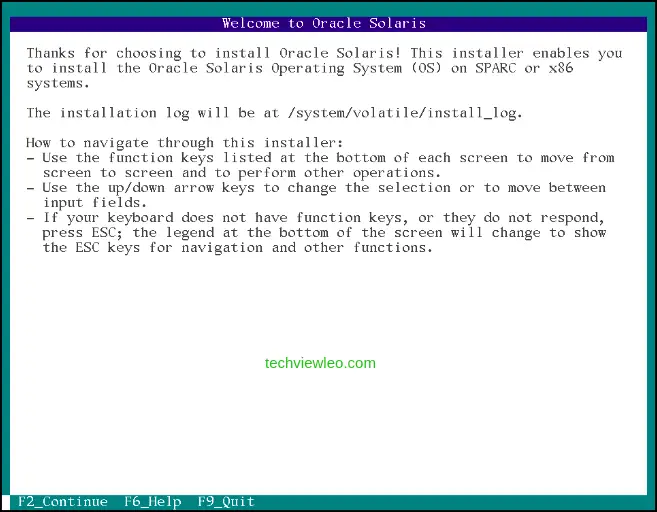
The next window will be a welcome message that provides you with hints on how to navigate the installer. Press the F2 key to continue.
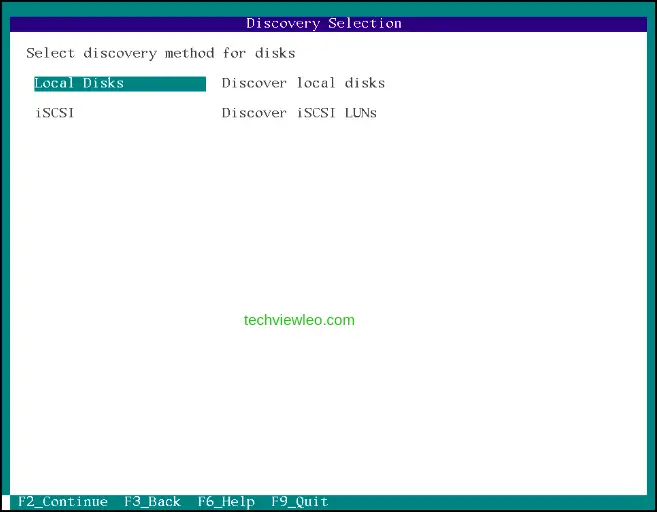
Now, select the disk discovery method you want to use. Choose the Local Disks and hit the F2 key to proceed.
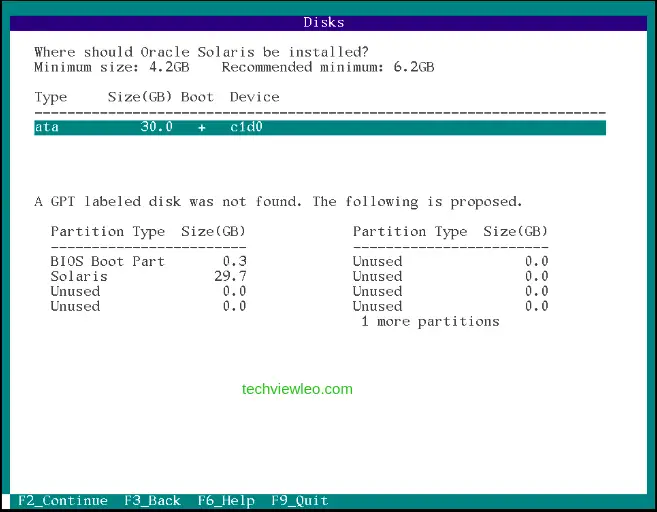
Then choose your installation disk and select how you want to use the partition.
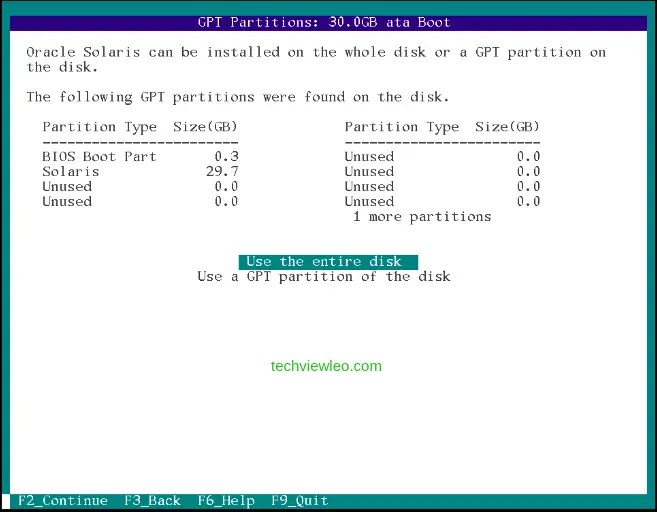
Oracle Solaris can be installed on the entire disk or GPT partition on the disk, if any. For this demonstration, we’ll use the entire disk.
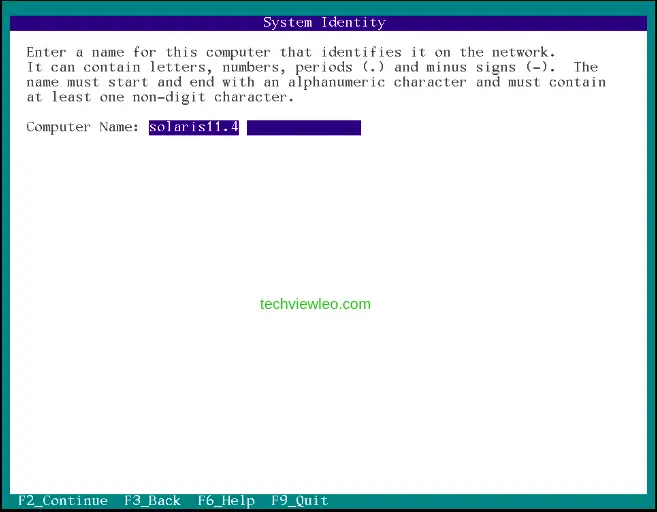
Now enter a name for the computer system to identify it on the network. Hit the F2 key to proceed.
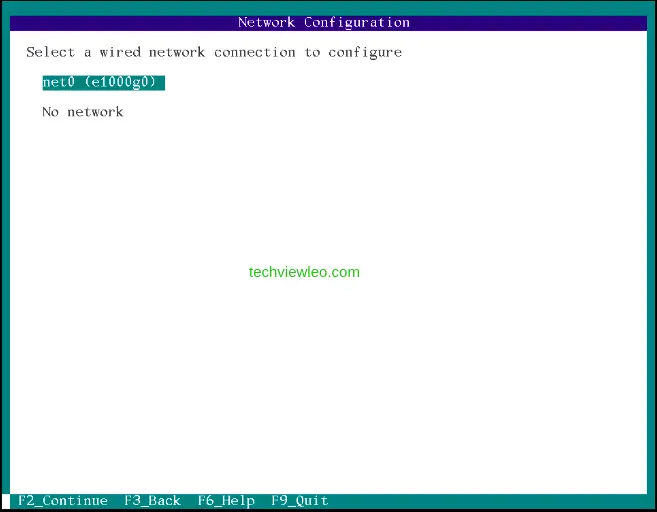
Now, from the choices provided, we need to select a wired network connection to configure.
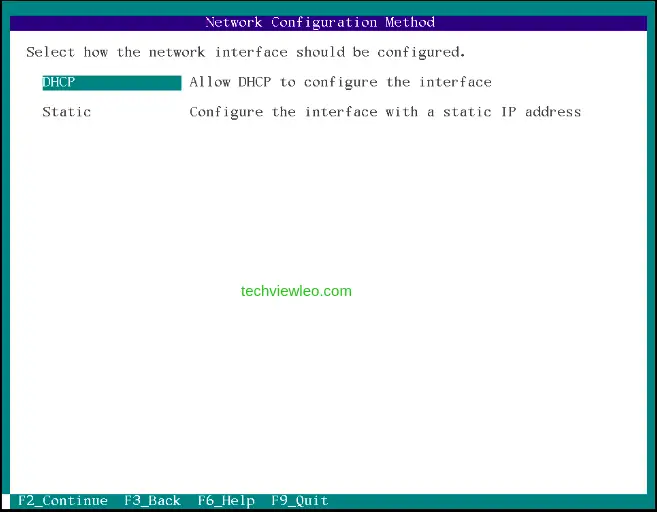
Select DHCP and allow it to configure the interface for automatic IP assignment . Otherwise, select static to configure the interface using a static IP address.
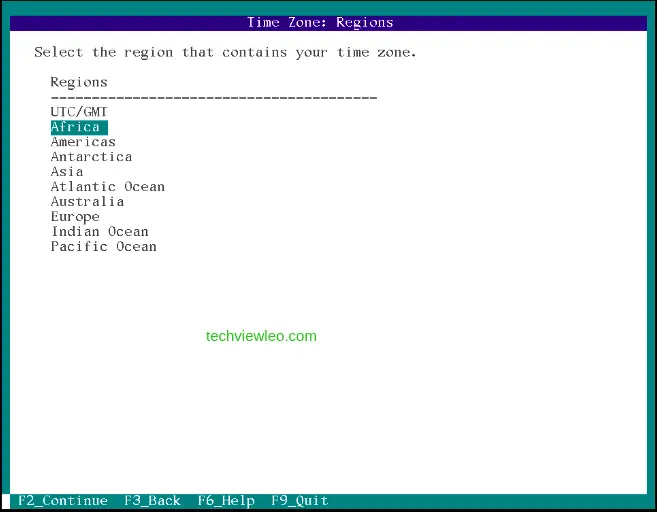
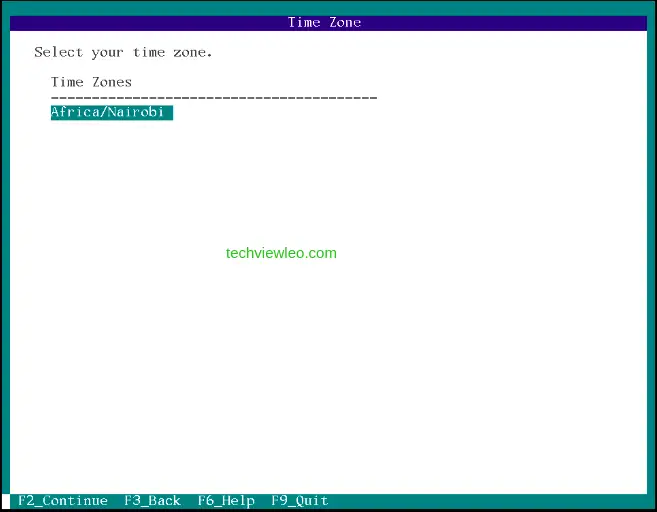
Select the region that contains your time zone then select the location that contains your time zone.
The choose your time zone combination.
Select the default language support and locale specific format which determines the language support, the default date and time, and other data formats.
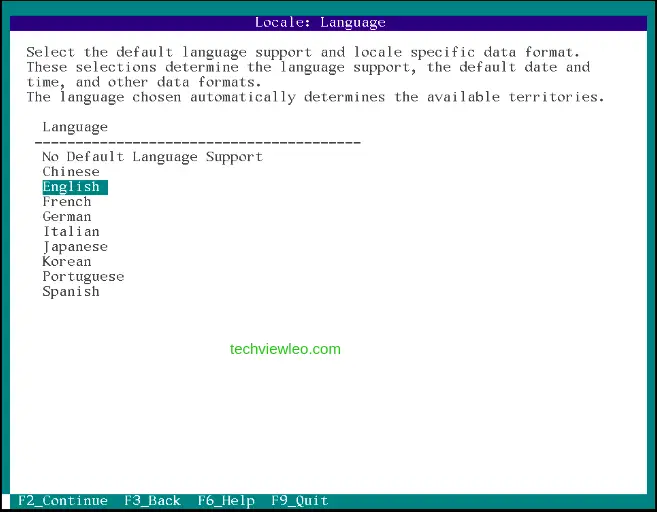
Select the locale territory.

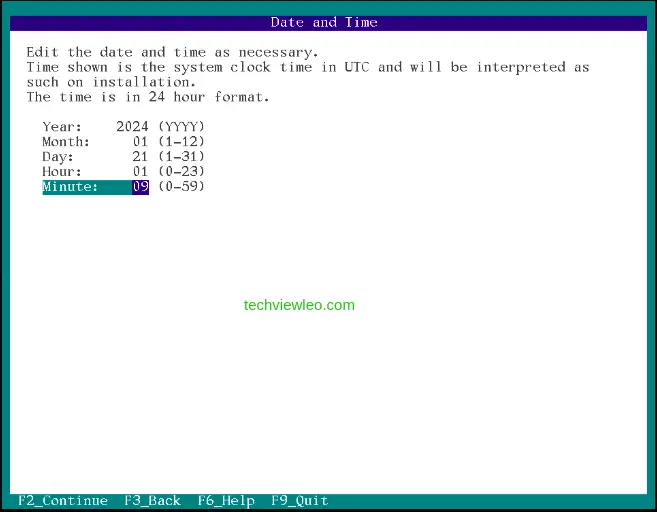
Edit the date and time as necessary to match your current location time.
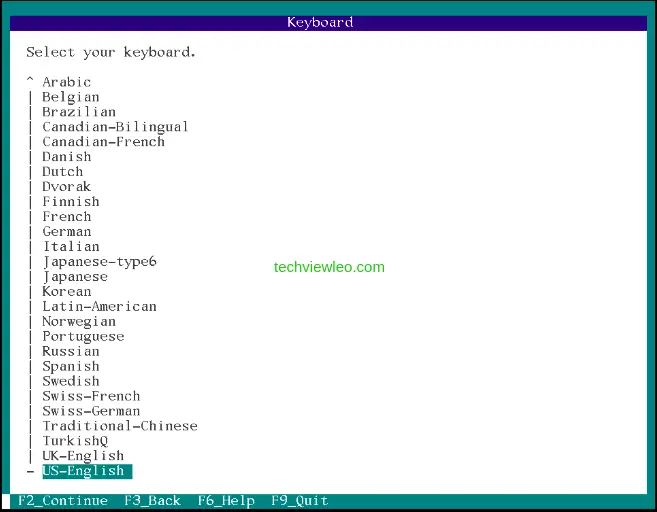
Now, select your keyboard and proceed.
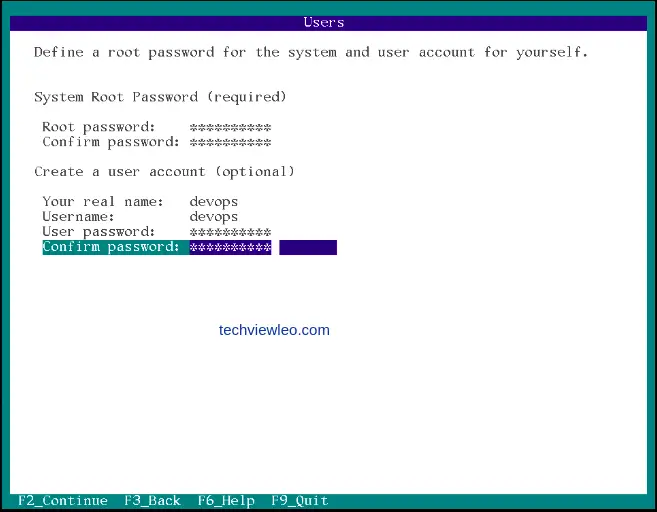
Define a root password for the system and a user account for yourself.
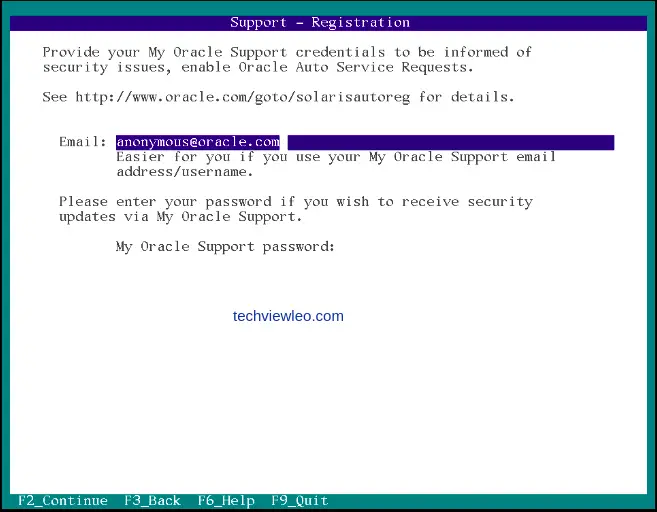
Provide your My Oracle Support credentials to be informed of security issues and enable Oracle Auto Service requests.
Now, review the settings chosen before beginning the installation. Us the F3 key to go back if you want to make any changes.
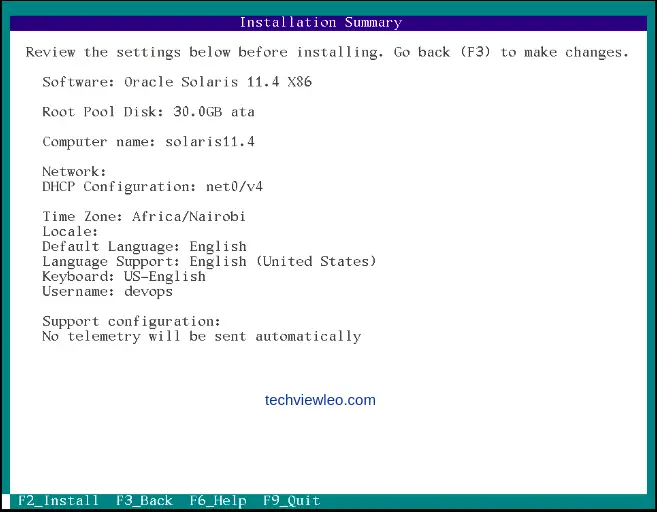
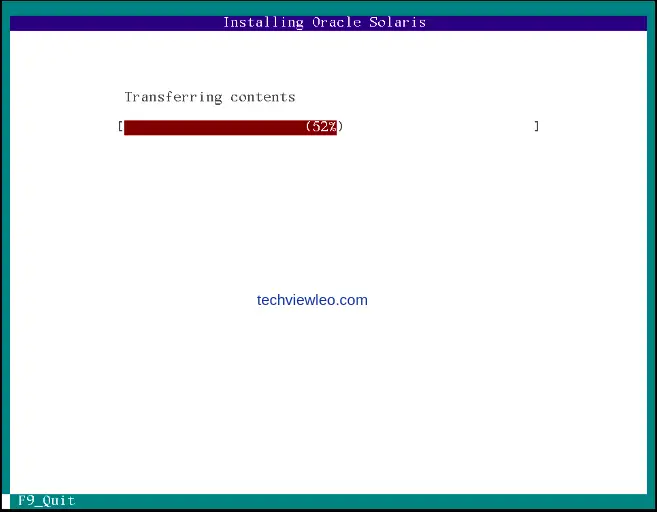
If everything is in order, press the F2 key to begin the installation process and wait for it to finish.
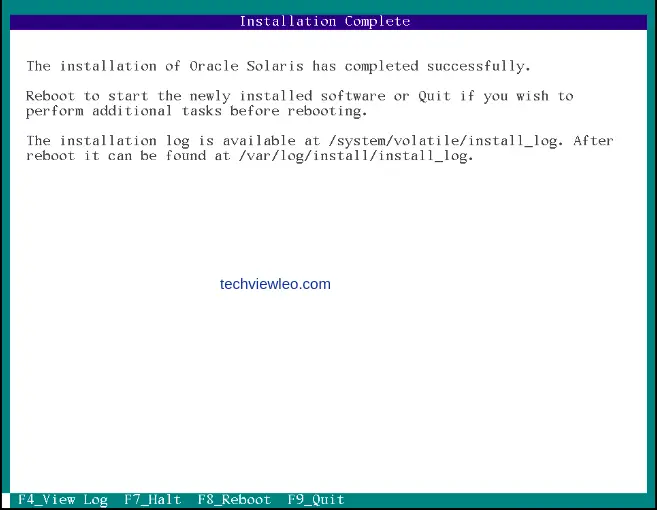
The installation of Oracle Solaris 11.4 has completed successfully. Reboot to start your newly installed software by pressing the F8 key. Be sure to dettach the installation media.
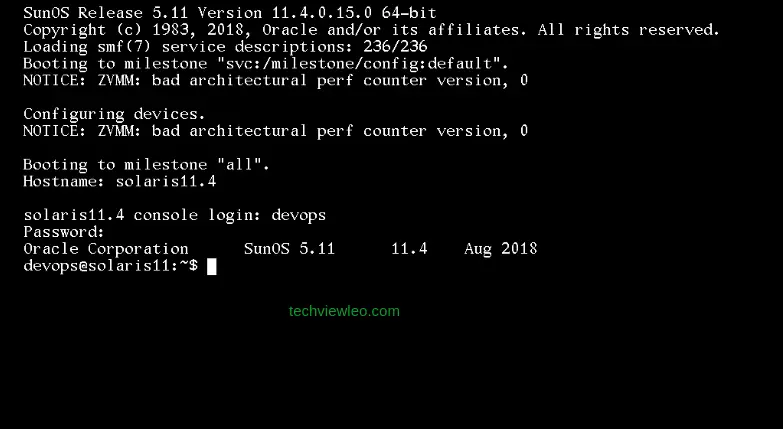
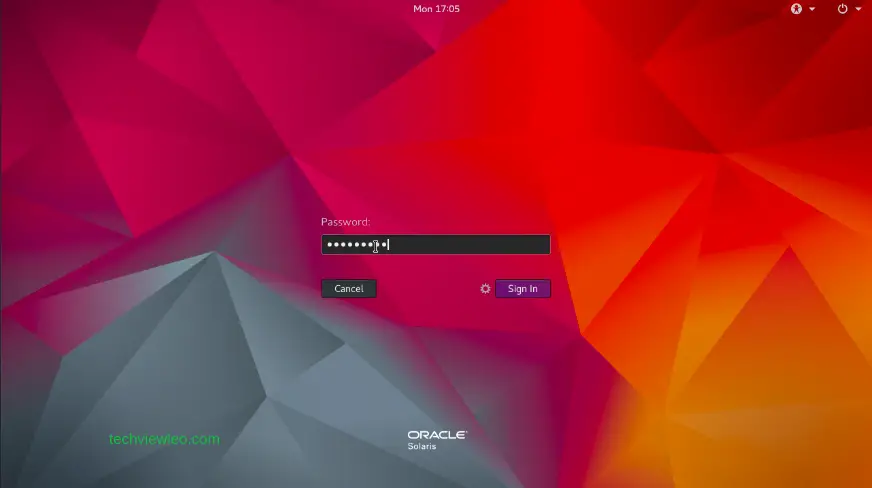
Login to Solaris system
You can now login to your Solaris 11.4:
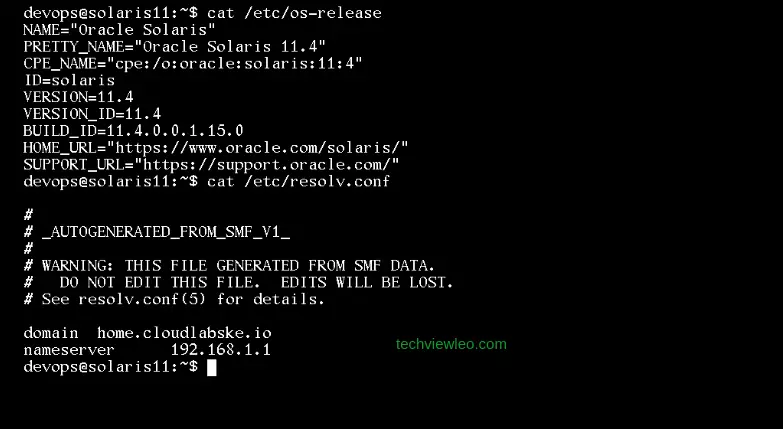
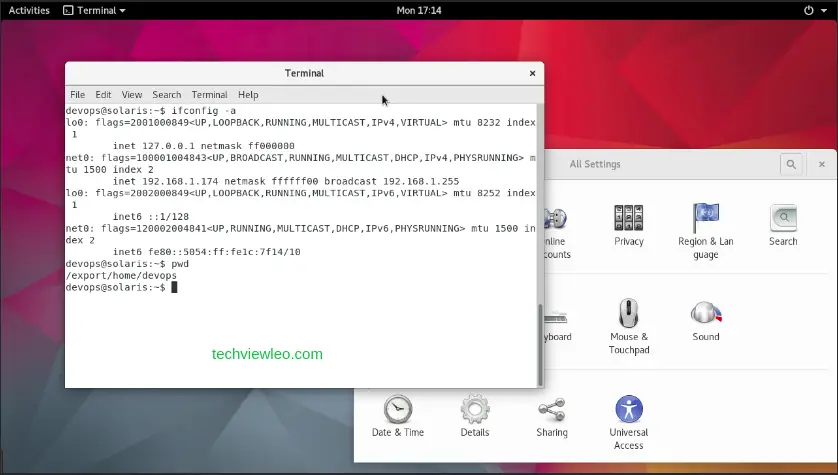
Take a look at your OS details.
That is all concerning the installation of Oracle Solaris 11.4. Enjoy the amazing Oracle Solaris you just installed and hope you have a good experience. Oracle Solaris uses the pkg Command Line package manager.
pkg install package_name
pkg uninstall package_name
Use the svcs command to view information about system services and svcadm to manage the services.
svcs -a
svcadm disable service_name
svcadm enable service_name
To configure network interfaces, use the ifconfig command. The netstat command displays network status and statistics.
ifconfig -aYou can initialize system shutdown and reboot using the init command.
init 0 #Shutdown
init 6 #Reboot
Desktop Environment
You might want to install a graphical desktop environment on your Oracle Solaris, you can use the pkg package manager. Solaris typically uses the GNOME desktop environment and might include additional packages. Here’s what you do:
Before installing any new packages in your system, it’s a good habit to update the package repositories:
sudo pkg updateUse the pkg install command to install the GNOME desktop environment. This command install the basic GNOME desktop packages:
sudo pkg install solaris-desktop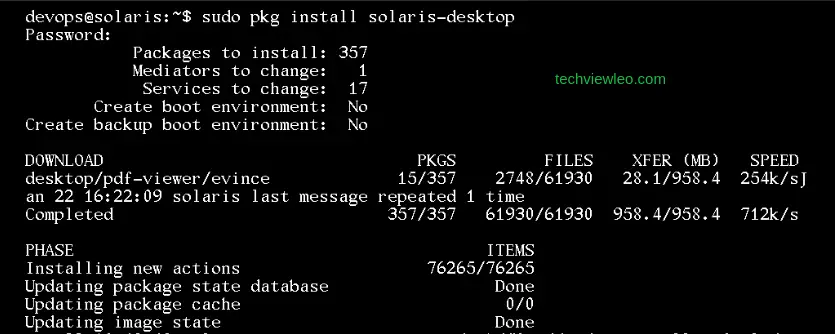
After the installation is complete, enable the desktop services using the command below. This command enables the GNOME Display Manager (gdm), which is responsible for starting the graphical login screen.
sudo svcadm enable gdmFor the changes to take effect, reboot your system. Following the reboot, a graphical login screen should appear.
Log in, and you should be greeted with the GNOME desktop environment.
Conclusion
Oracle Solaris 11.4 is a user-friendly operating system that offers several installation options, including both automated and manual installation methods. The abundance of available resources and documentation makes it simple for users to get started and learn how to use Oracle Solaris 11.4.


