How can one install Zabbix Server 7.2 on Rocky Linux 9 / AlmaLinux 9?. Zabbix is an open source monitoring tool used to monitor server systems/applications, network devices, IoT devices, hardware appliances etc. The tool’s backend is written in C and Java while the front end is written in PHP. This guide will discuss how to install Zabbix 7 LTS on Rocky Linux 9.
Zabbix tool works in a server/client model where the server communicates with the native agents installed on the client device. For systems without native agents SNMP or IPMI can be used.
Step 1: Configure Zabbix Repository
Import GPG keys for RPM packages:
sudo rpm --import https://repo.zabbix.com/RPM-GPG-KEY-ZABBIXConfigure the repository for the latest Zabbix 7 LTS:
[root@rocky9 ~]# rpm -Uvh https://repo.zabbix.com/zabbix/7.2/release/alma/9/noarch/zabbix-release-latest-7.2.el9.noarch.rpm
Retrieving https://repo.zabbix.com/zabbix/7.2/release/alma/9/noarch/zabbix-release-latest-7.2.el9.noarch.rpm
warning: /var/tmp/rpm-tmp.DcQI65: Header V4 RSA/SHA512 Signature, key ID b5333005: NOKEY
Verifying...                          ################################# [100%]
Preparing...                          ################################# [100%]
Updating / installing...
   1:zabbix-release-7.2-1.el9         ################################# [100%]
Clean DNF cache after adding the repository:
sudo dnf clean allStep 2: Switch to PHP 8.0
Switch DNF module version for PHP to 8.0:
sudo dnf module switch-to php:8.0 -yStep 3: Install Zabbix 7.0 on Rocky 9 /Alma 9
Install Zabbix packages by running the following commands:
sudo dnf install vim nano zabbix-server-mysql zabbix-web-mysql \
  zabbix-apache-conf zabbix-sql-scripts \
  zabbix-selinux-policy zabbix-agent -y
Zabbix works with the following software dependencies which are installed automatically.
- Apache web server
- MySQL database server
- PHP and PHP extensions
Step 4: Configure PHP
Add timezone settings to /etc/php-fpm.d/zabbix.conf:
$ sudo vim /etc/php-fpm.d/zabbix.conf
php_value[date.timezone] = Africa/Nairobi
Step 5: Create Zabbix database and user
Install MariaDB server:
sudo dnf -y install mariadb-server
sudo systemctl enable --now mariadb
Open your database shell using the root credentials:
sudo mysql -u root -pCreate zabbix database and user credentials that will be used by the zabbix application.
Use the details below:
DBName: zabbix
DBUser: zabbix
DBPassword: StrongP@ssw0rd
Create database and user:
[root@rocky9 ~]# sudo mysql -u root -p
Enter password:
Welcome to the MariaDB monitor.  Commands end with ; or \g.
Your MariaDB connection id is 3
Server version: 10.5.22-MariaDB MariaDB Server

Copyright (c) 2000, 2018, Oracle, MariaDB Corporation Ab and others.

Type 'help;' or '\h' for help. Type '\c' to clear the current input statement.

MariaDB [(none)]> create database zabbix character set utf8 collate utf8_bin;
Query OK, 1 row affected (0.001 sec)

MariaDB [(none)]> create user 'zabbix'@'localhost' identified by 'StrongP@ssw0rd';
Query OK, 0 rows affected (0.006 sec)

MariaDB [(none)]> grant all privileges on zabbix.* to zabbix@localhost identified by 'StrongP@ssw0rd';
Query OK, 0 rows affected (0.005 sec)

MariaDB [(none)]> set global log_bin_trust_function_creators = 1;
Query OK, 0 rows affected (0.000 sec)

MariaDB [(none)]> quit;
Bye
Step 6: Configure Zabbix Server
We have installed Zabbix server and the required packages to run the Zabbix tool.
Import the database schema for zabbix:
zcat /usr/share/zabbix/sql-scripts/mysql/server.sql.gz | mysql --default-character-set=utf8mb4 -uzabbix -p zabbixDisable log_bin_trust_function_creators option after importing database schema.
# mysql -uroot -p
password
mysql> set global log_bin_trust_function_creators = 0;
mysql> quit;
Edit zabbix_server.conf file and add the database credentials we created in the previous steps:
$ sudo vim /etc/zabbix/zabbix_server.conf
DBHost=localhost
DBName=zabbix
DBUser=zabbix
DBPassword=StrongP@ssw0rd
Set SELinux to permissive or disable it to allow zabbix backend to connect to its front end:
sudo setenforce 0
sudo sed -i 's/SELINUX=enforcing/SELINUX=permissive/g' /etc/selinux/config
Allow zabbix ports through the firewall:
sudo firewall-cmd --add-service=http --permanent
sudo firewall-cmd --add-port={10051,10050}/tcp --permanent
sudo firewall-cmd --reload
Start Zabbix server and dependent applications:
sudo systemctl restart zabbix-server zabbix-agent httpd php-fpm
sudo systemctl enable zabbix-server zabbix-agent httpd php-fpm
You can now access your Zabbix web interface via http://your_server_ip/zabbix
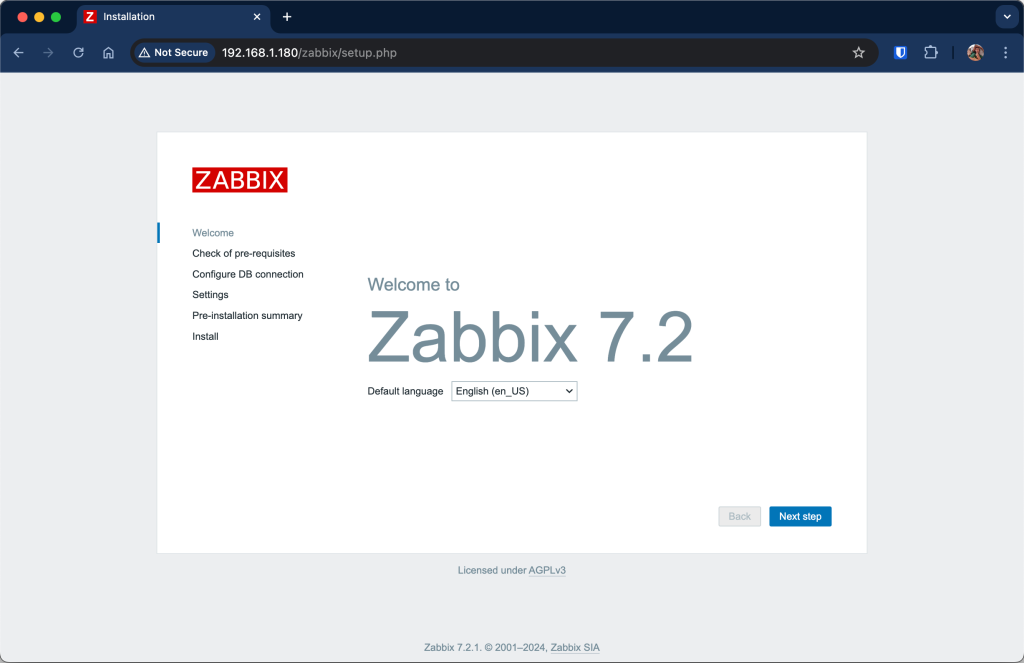
Check that all the prerequisites are met for the zabbix installation.
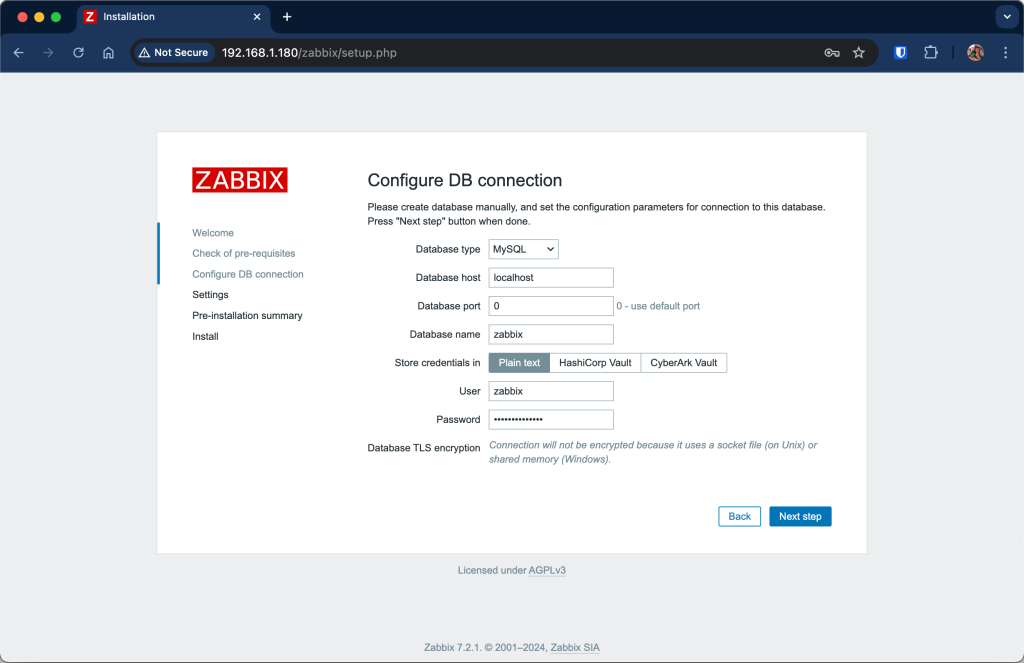
Input the database details we created in the steps above for the database connection:
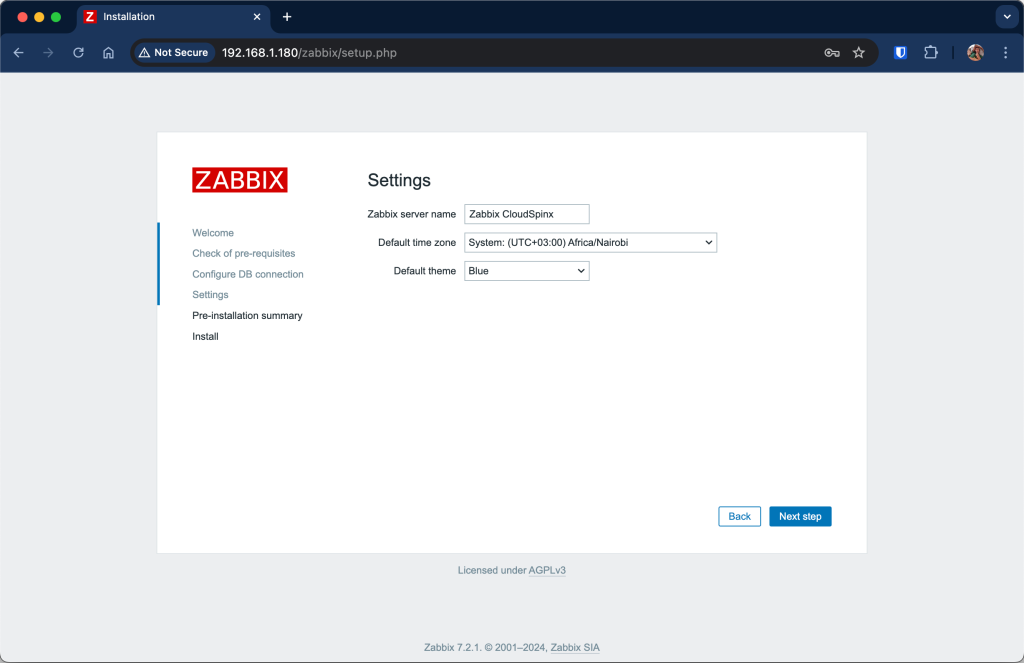
Choose the server name for your zabbix server:
Then validate configuration parameters.
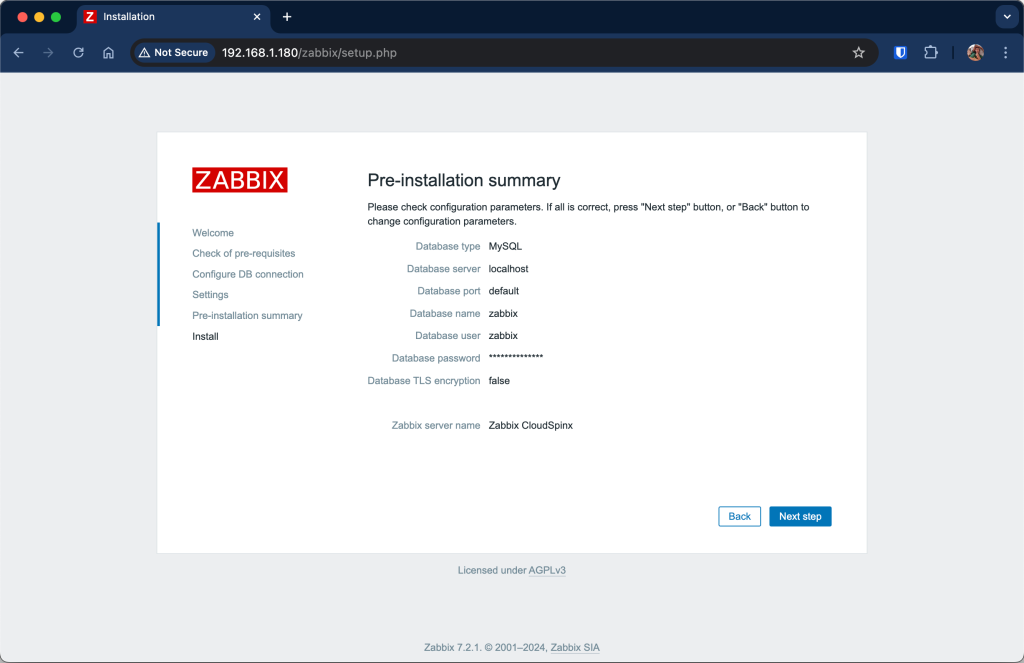
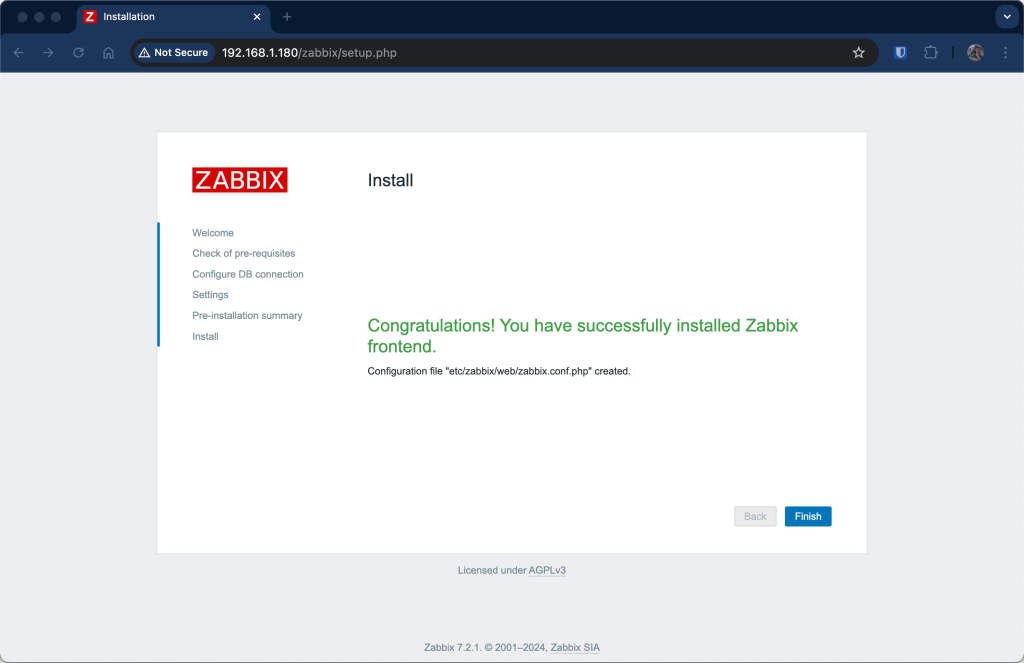
Proceed to the next step to complete the installation:
Login to the Zabbix using the credentials below:
Username: Admin
Password: zabbix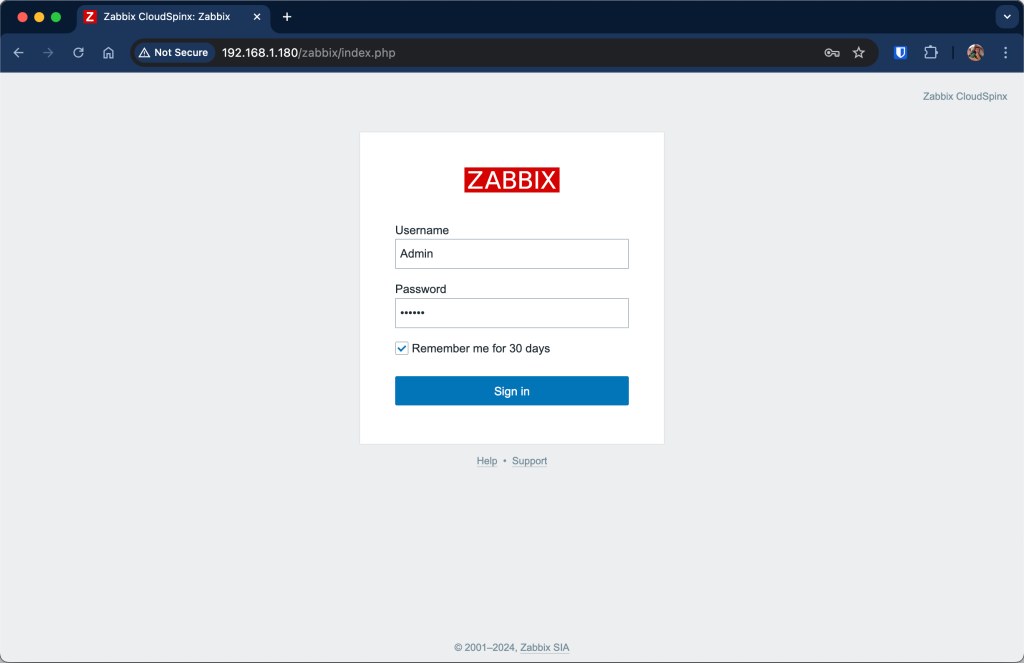
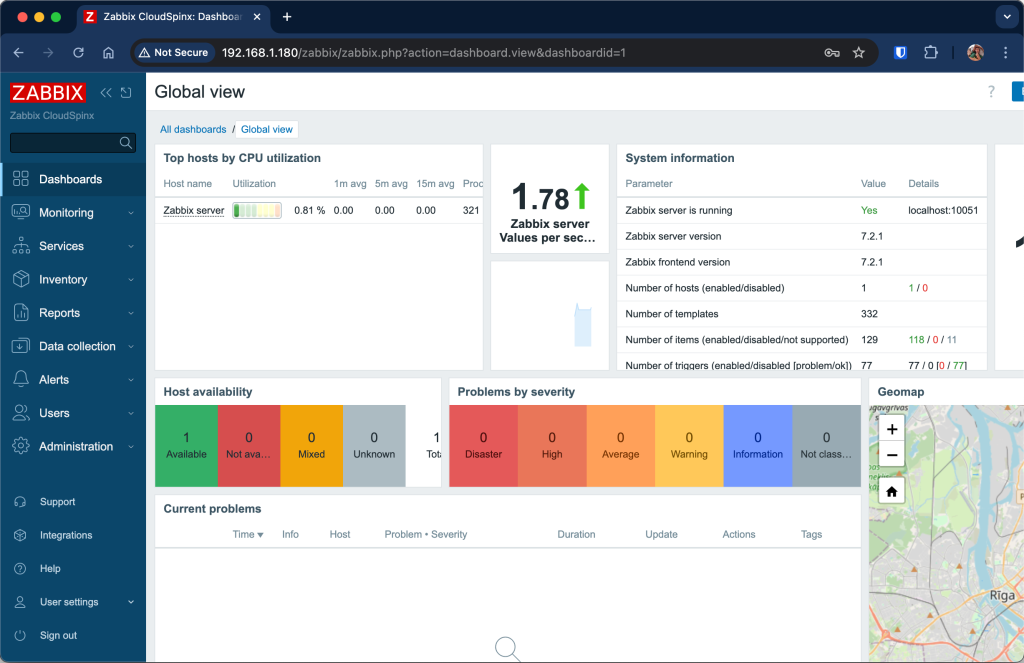
We now have access to Zabbix web interface where we can configure devices for monitoring.
Conclusion
In the above discussion we have been able to install Zabbix 7.2 LTS server on Rocky Linux / AlmaLinux successfully.
Explore More with CloudSpinx
Looking to streamline your tech stack? At CloudSpinx, we deliver robust solutions tailored to your needs.
Read more from us:


4 thoughts on “Install Zabbix Server 7.2 on Rocky /AlmaLinux 9”
I have chekd dozens of guides, documentation and forum posts. Everything about zabbix is so confusing.This is the only one that worked from the beginning to end without any flaw.Thank you for your great work and contribution.
Delighted to learn this worked for you!
worked out of the box on almalinux 9. asante
Awesome!