A bastion host also known as a ‘jump host or jump box‘ is a server placed outside the firewall or inside a demilitarized zone (DMZ) equipped with special network interfaces to withstand cyber attacks. If there are two firewalls, the bastion host is placed in between the two firewalls. Bastion hosts can be run as a proxy server, a load balancer, or a system that provides perimeter access control security like Mail servers, Web servers, FTP servers, VPN servers, and DNS servers. They have rule sets that allow users to access the protected systems placed in the internal network.
Bastion hosts typically reduce the attack surface of the systems from the internet. It can be one computer or more that is designated to be the only one that can be addressed directly from a public network by screening the computer network from being exposed to attacks or other security breaches from outside. It is specifically configured to have a level of access from the outside to minimize the ability of vulnerabilities by removing unnecessary accounts and applications that are not needed by the host. So for an outside user to have access to the protected system, they should have authentication details to connect via SSH with the bastion host’s direct IP address through which they can connect to the private system.
Warpgate is a SSH, HTTPS, and MySQL bastion host for Linux deployed on the DMZ. It is written in Rust Programming laHow To Install SUSE Linux Enterprise Server 15 (SLES 15)nguage with an inbuilt web UI. It does not function as a jump host but forwards your connections directly to the target instead. So once you set up the host in the DMZ, you then add user accounts and assign them to specific hosts and URLs within the network. It is a single binary package and does not need special client apps or dependencies. The built-in Web UI is used to easily view sessions that are recorded (optionally) by Warpgate which can be replayed later on. You can also use it to review the logs and list the live sessions.
Install Warpgate on Linux system
Download the binary installation for Linux from the releases page and save it as /usr/bin/warpgate. Alternatively, use the following wget utility to download the latest package.
wget https://github.com/warp-tech/warpgate/releases/download/v0.12.0/warpgate-v0.12.0-x86_64-linux -O warpgate
sudo mv warpgate  /usr/bin/warpgate
Make the file executable with the following command;
sudo chmod +x /usr/bin/warpgateConfirm it works.
$ warpgate --version
warpgate 0.12.0
Configure Warpgate Jump Server
Run the following command to set up Warpgate in an interactive mode. You will be required to choose the directory to store the app data, and select ports to listen for HTTP, SSH, and MySQL connections. You can see usage help.
$ warpgate --help
USAGE:
    warpgate [OPTIONS] <SUBCOMMAND>

OPTIONS:
    -c, --config <CONFIG>    [default: /etc/warpgate.yaml]
    -d, --debug
    -h, --help               Print help information
    -V, --version            Print version information

SUBCOMMANDS:
    check               Create a password hash for use in the config file
    client-keys         Show Warpgate's SSH client keys
    help                Print this message or the help of the given subcommand(s)
    recover-access      Reset password and auth policy for a user
    run                 Run Warpgate
    setup               Run first-time setup and generate a config file
    test-target         Test the connection to a target host
    unattended-setup    Run first-time setup non-interactively
From here you can also select whether to record sessions and set a password for the admin user.
warpgate setupThe output should look something similar to the one below.
cloudspinx@ubuntu-noble:~$ sudo warpgate setup
12:22:05  INFO Welcome to Warpgate 0.12.0
12:22:05  INFO Let's do some basic setup first.
12:22:05  INFO The new config will be written in /etc/warpgate.yaml.
12:22:05  INFO * Paths can be either absolute or relative to /etc.
✔ Directory to store app data (up to a few MB) in · /var/lib/warpgate
✔ Endpoint to listen for HTTP connections on · 0.0.0.0:8888
12:22:27  INFO You will now choose specific protocol listeners to be enabled.
12:22:27  INFO
12:22:27  INFO NB: Nothing will be exposed by default -
12:22:27  INFO     you'll set target hosts in the config file later.
✔ Accept SSH connections? · yes
✔ Endpoint to listen for SSH connections on · 0.0.0.0:2222
✔ Accept MySQL connections? · yes
✔ Endpoint to listen for MySQL connections on · 0.0.0.0:33306
✔ Accept PostgreSQL connections? · yes
✔ Endpoint to listen for PostgreSQL connections on · 0.0.0.0:55432
✔ Do you want to record user sessions? · yes
✔ Set a password for the Warpgate admin user · ********
12:23:14  INFO Generated configuration:
sso_providers: []
recordings:
  enable: true
  path: /var/lib/warpgate/recordings
external_host: null
database_url: sqlite:/var/lib/warpgate/db
ssh:
  enable: true
  listen: 0.0.0.0:2222
  external_port: null
  keys: /var/lib/warpgate/ssh-keys
  host_key_verification: prompt
  inactivity_timeout: 5m
  keepalive_interval: null
http:
  enable: true
  listen: 0.0.0.0:8888
  external_port: null
  certificate: /var/lib/warpgate/tls.certificate.pem
  key: /var/lib/warpgate/tls.key.pem
  trust_x_forwarded_headers: false
  session_max_age: 30m
  cookie_max_age: 1day
mysql:
  enable: true
  listen: 0.0.0.0:33306
  external_port: null
  certificate: /var/lib/warpgate/tls.certificate.pem
  key: /var/lib/warpgate/tls.key.pem
postgres:
  enable: true
  listen: 0.0.0.0:55432
  external_port: null
  certificate: /var/lib/warpgate/tls.certificate.pem
  key: /var/lib/warpgate/tls.key.pem
log:
  retention: 7days
  send_to: null
config_provider: database

12:23:14  INFO Saved into /etc/warpgate.yaml
12:23:14  INFO Using config: "/etc/warpgate.yaml"
12:23:15  INFO Generating Ed25519 host key
12:23:15  INFO Generating RSA host key
12:23:18  INFO Generating Ed25519 client key
12:23:18  INFO Generating RSA client key
12:23:20  INFO Generating a TLS certificate
12:23:20  INFO
12:23:20  INFO Admin user credentials:
12:23:20  INFO   * Username: admin
12:23:20  INFO   * Password: <your password>
12:23:20  INFO
12:23:20  INFO You can now start Warpgate with:
12:23:20  INFO   warpgate --config /etc/warpgate.yaml run
Installing as a systemd service
To add Warpgate to systemd and have it start automatically, run the following command:
sudo tee /etc/systemd/system/warpgate.service > /dev/null <<EOF
[Unit]
Description=Warpgate
After=network.target
StartLimitIntervalSec=0

[Service]
Type=notify
Restart=always
RestartSec=5
ExecStart=/usr/bin/warpgate --config /etc/warpgate.yaml run

[Install]
WantedBy=multi-user.target
EOF
Reload the system daemon to apply changes:
sudo systemctl daemon-reloadThen start and enable the service with the following command.
sudo systemctl enable --now warpgateYou can check the service status with the following command:

Access Warpgate Web Console
Go to your browser at https://<host>:8888/@warpgate/admin. The default username is admin and the password is the one you’ve set during the setup.
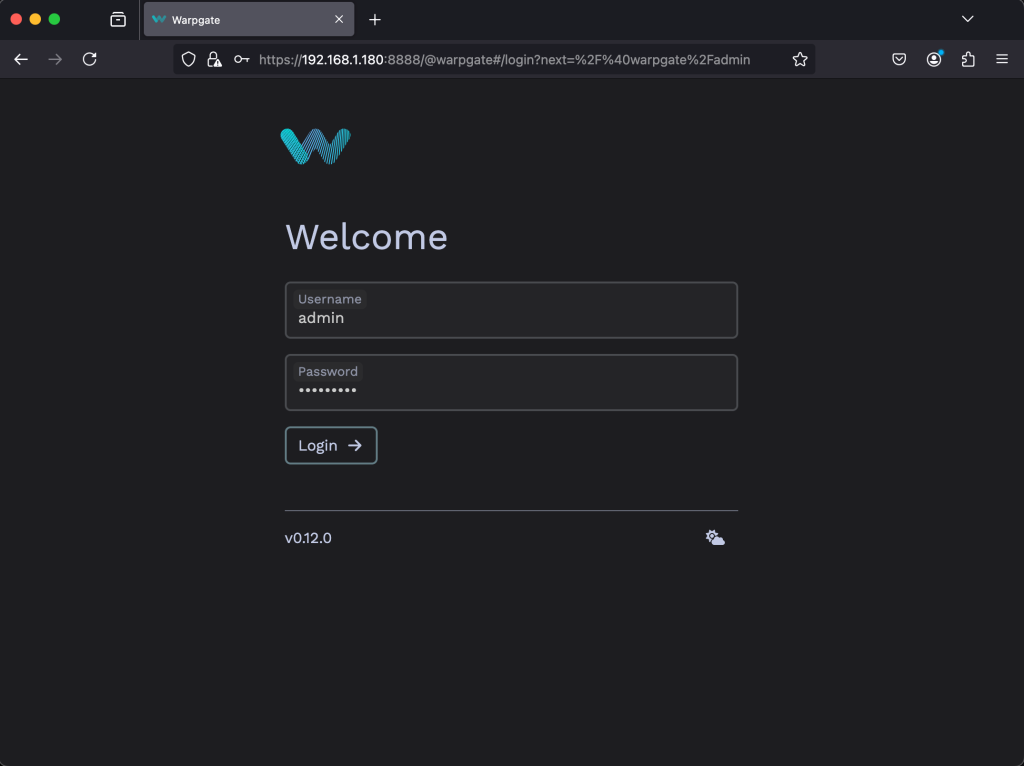
Click on Login and the session homepage is shown below.
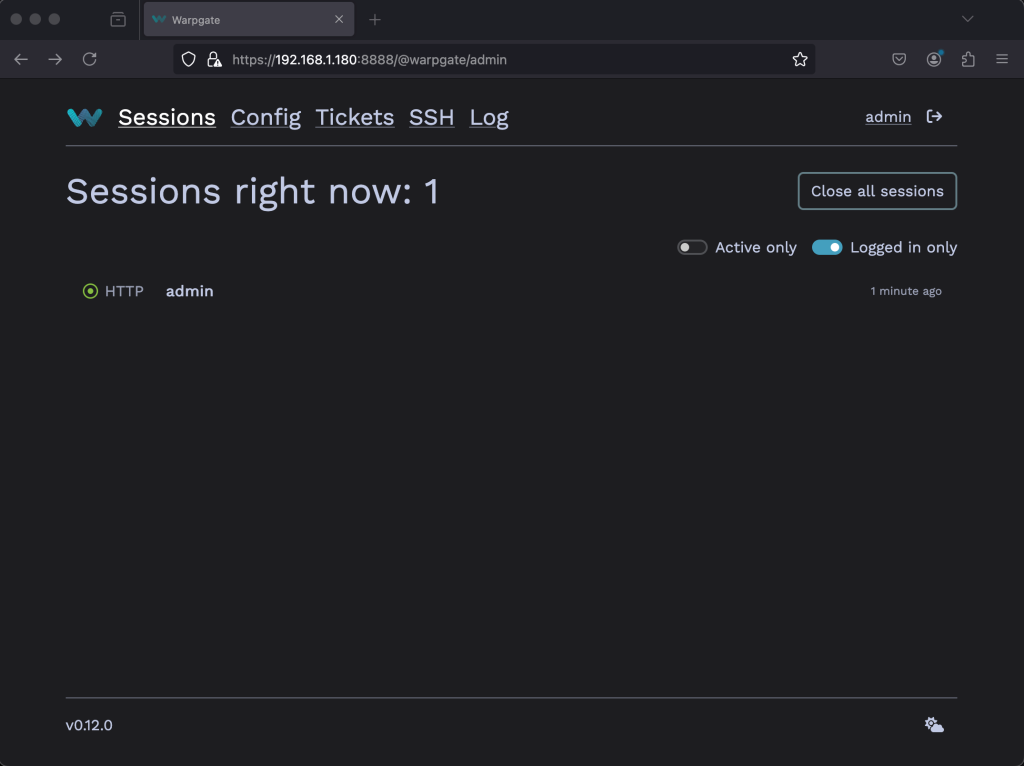
You can shift between dark and light themes with the button at the bottom right corner.
Add SSH Targets
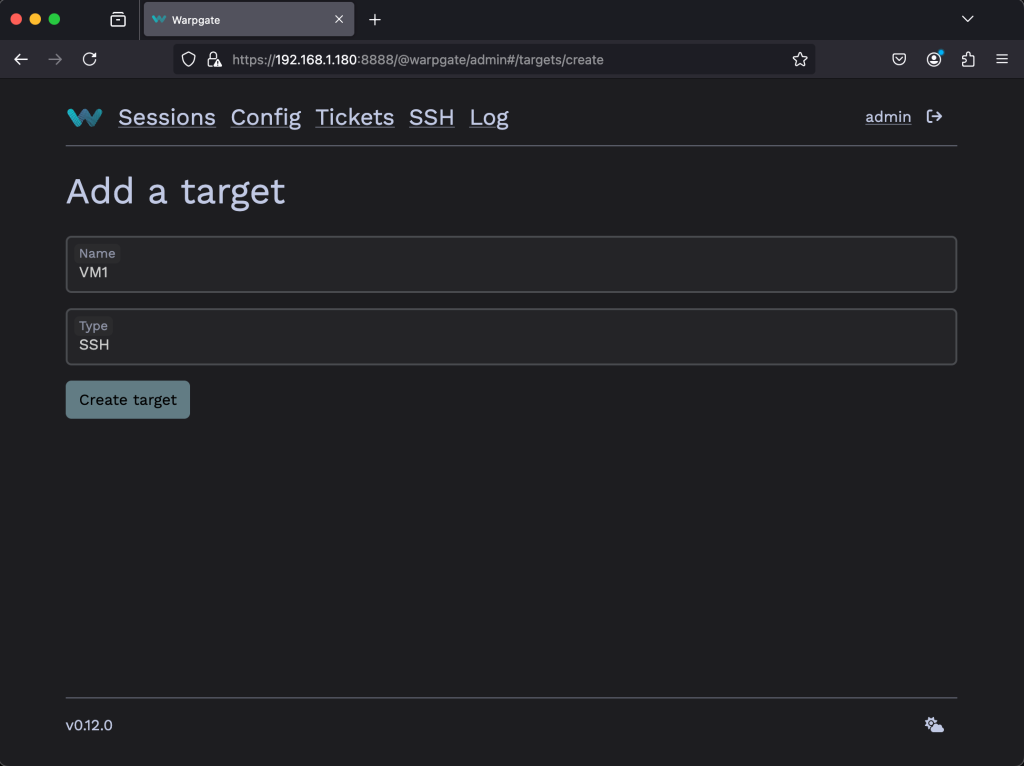
Go to Config > Targets then click on Add a target.
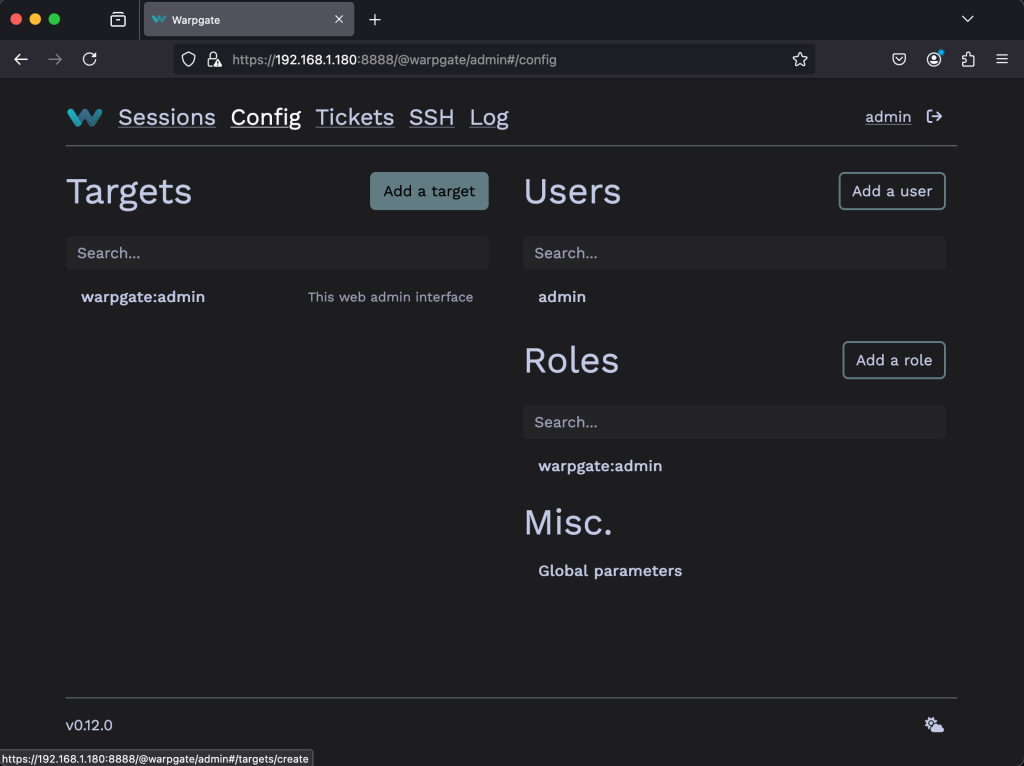
Give the new target a name. Then click on Create Target.
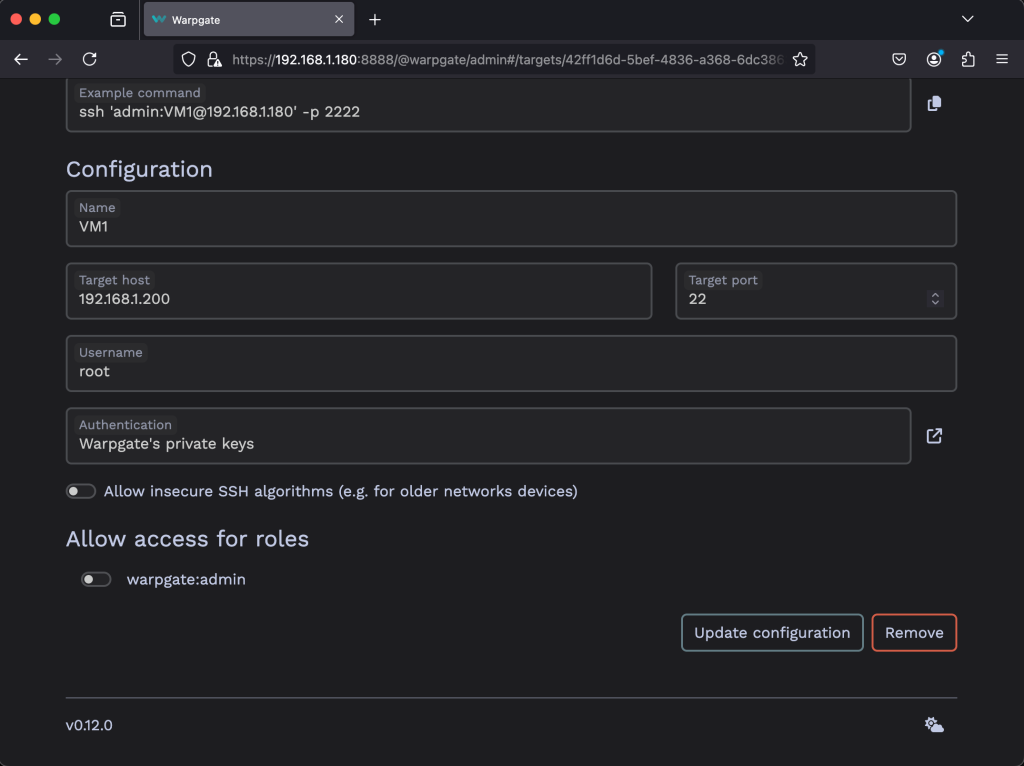
Add the connection details including the authentication information. Then click Update Configuration.
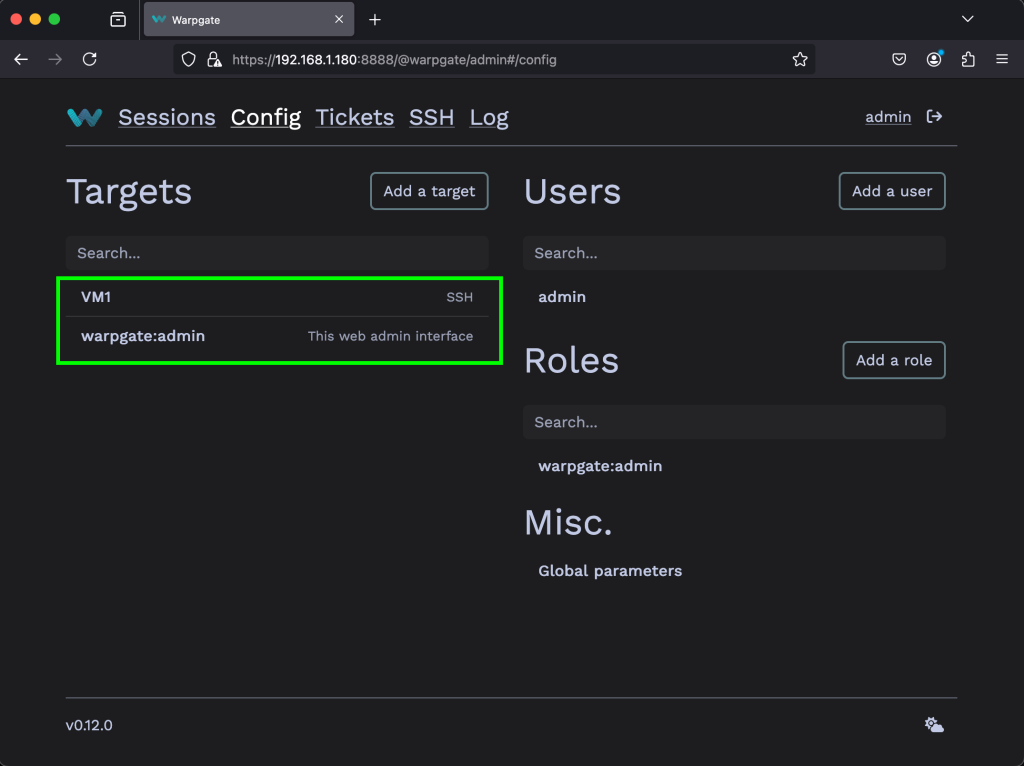
The target should show up on the Warpgate homepage for users that are allowed to access it:
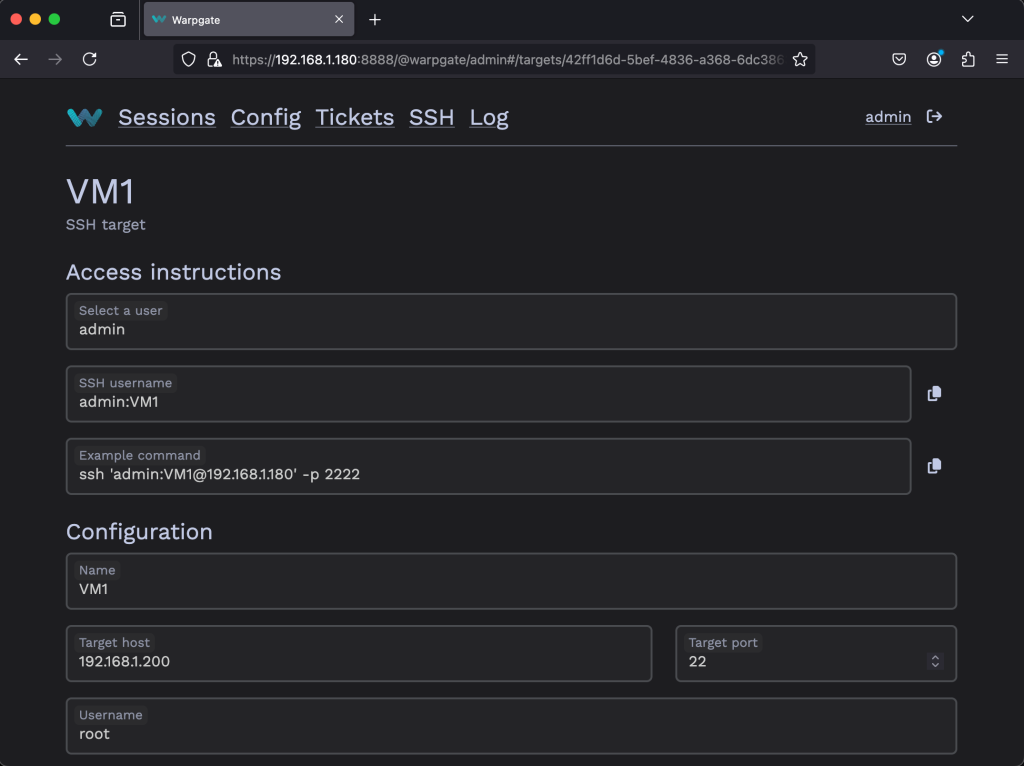
Click on the entry to obtain the details for the connection.
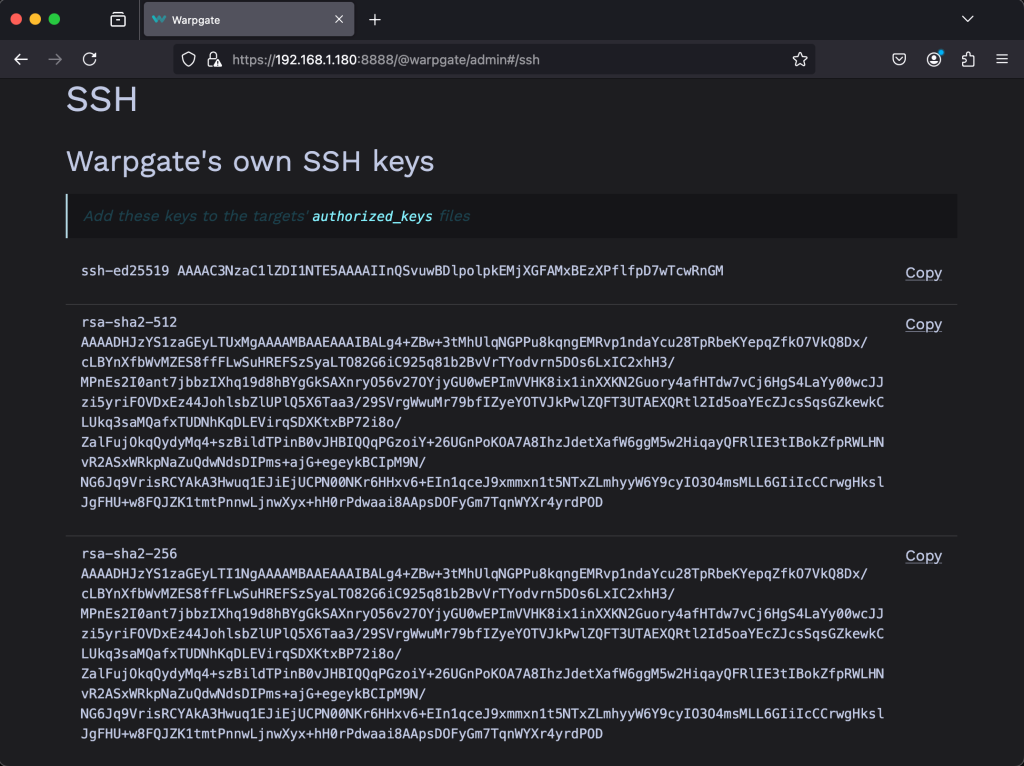
You can also access the SSH keys that Warpgate has which the target host must trust for connections to work.
Add HTTP Targets
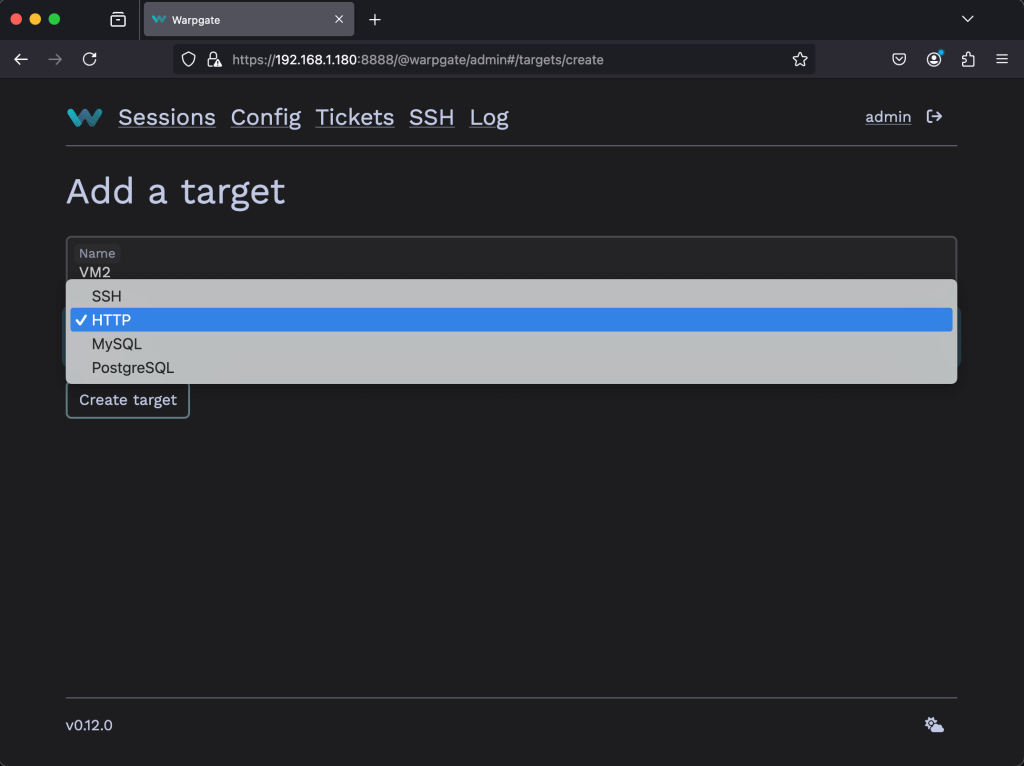
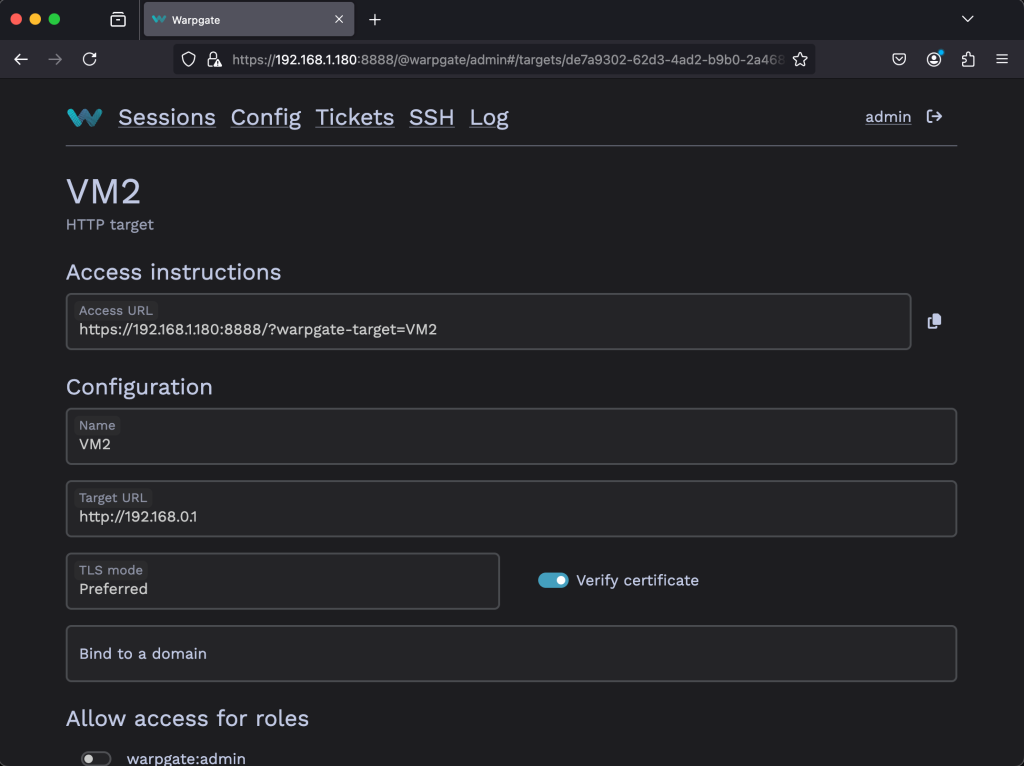
Go to Config > Targets > Add a target and give the new HTTP target a name.
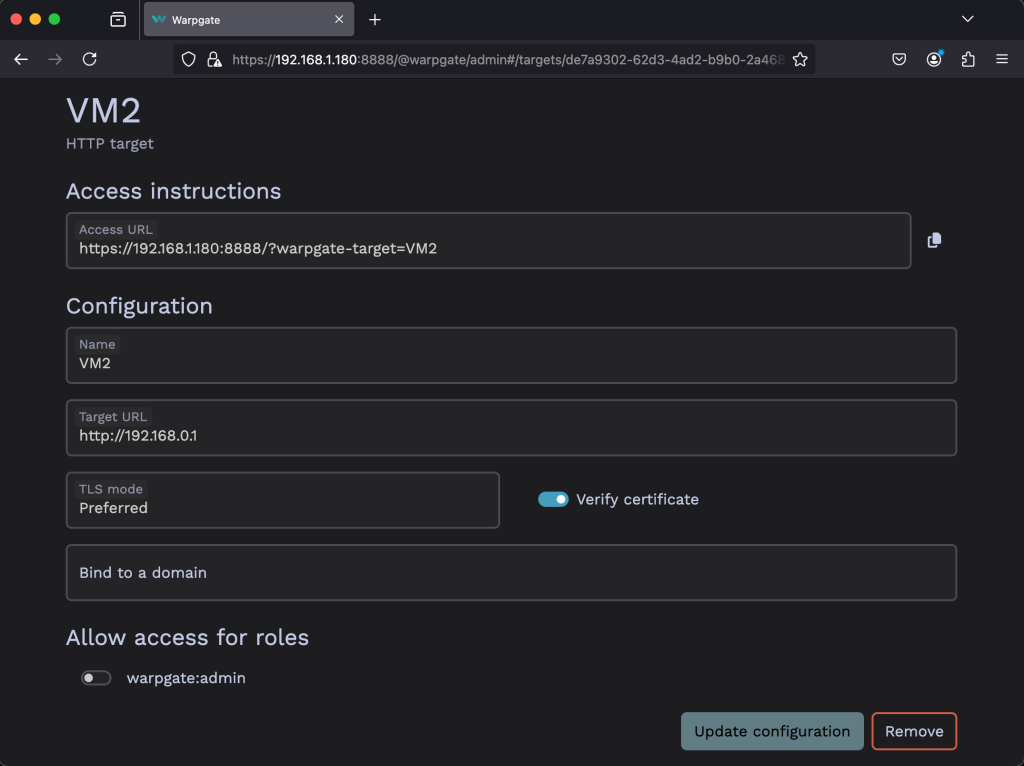
Fill out the configuration details including the URL, and whether to require or deny TLS. Then click on Update Configuration.
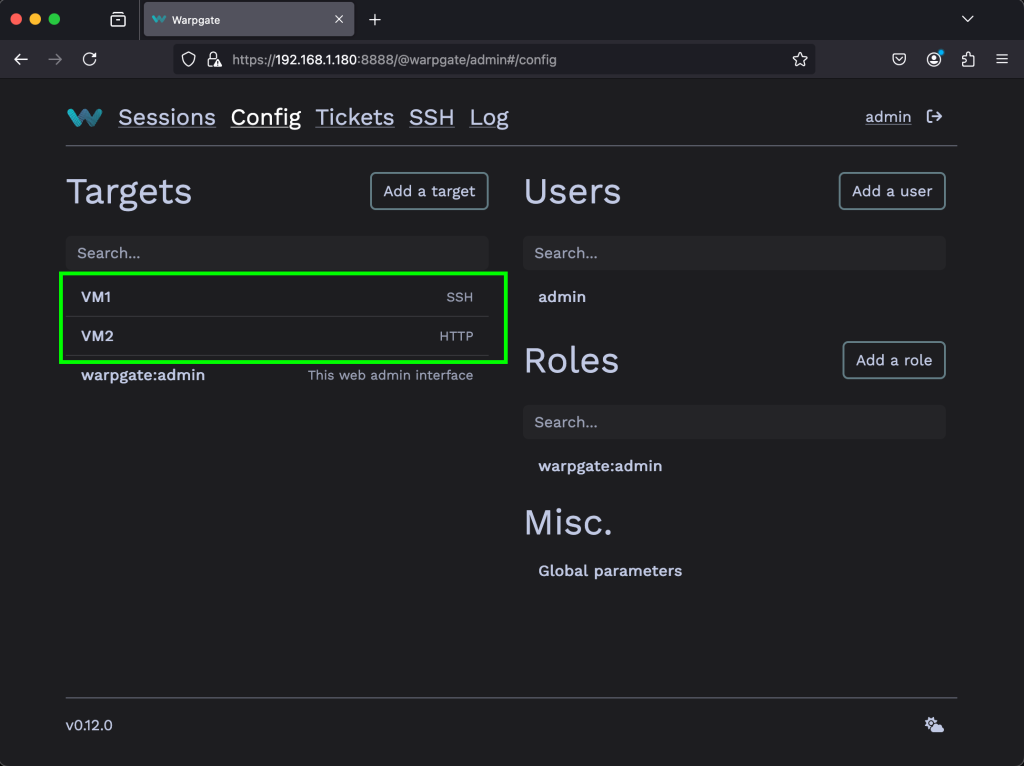
The target should show up on Warpgate’s homepage:
If you click on the Target name, you can view the connection details.
Add MySQL Targets
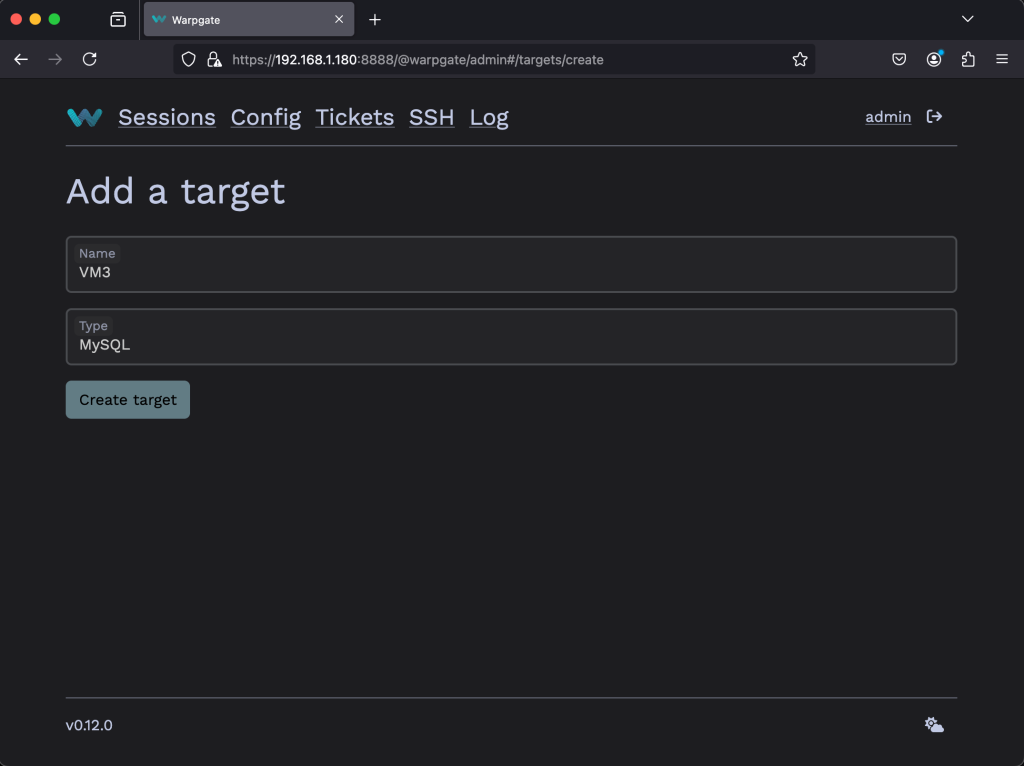
Go to config then click on Add a Target. Give the target a name and select MySQL under Type then click on Create target.
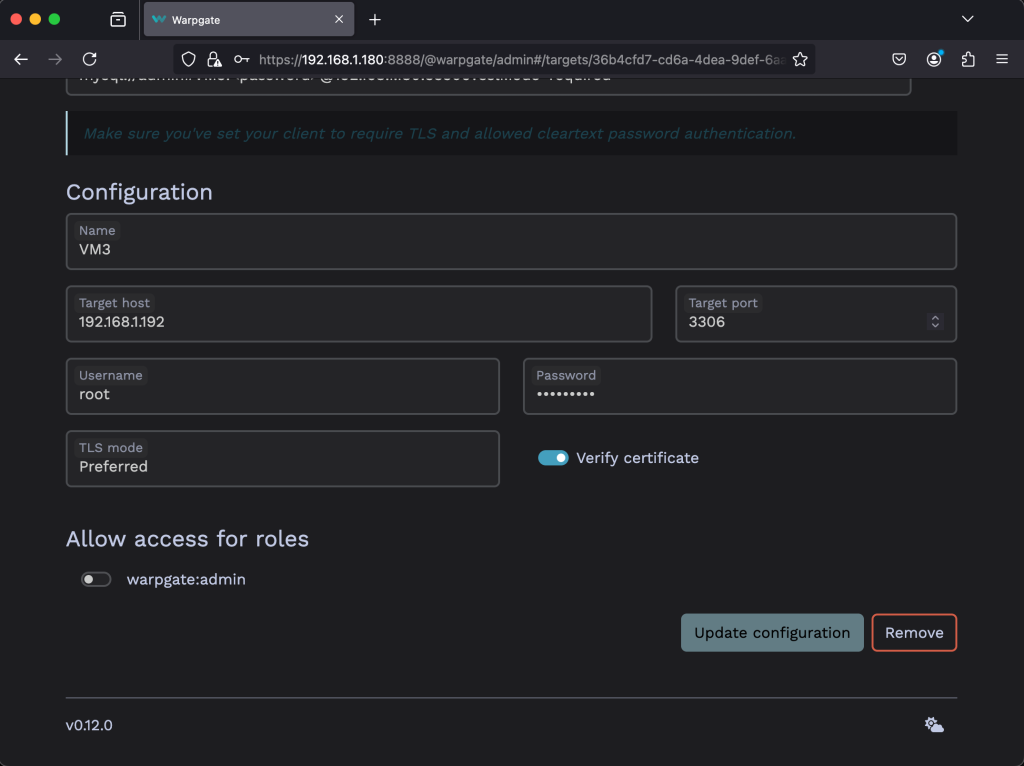
Edit the access details including the target host IP address with the authentication details. Once done click on Update configuration.
The new target will appear on the configs homepage as shown below.
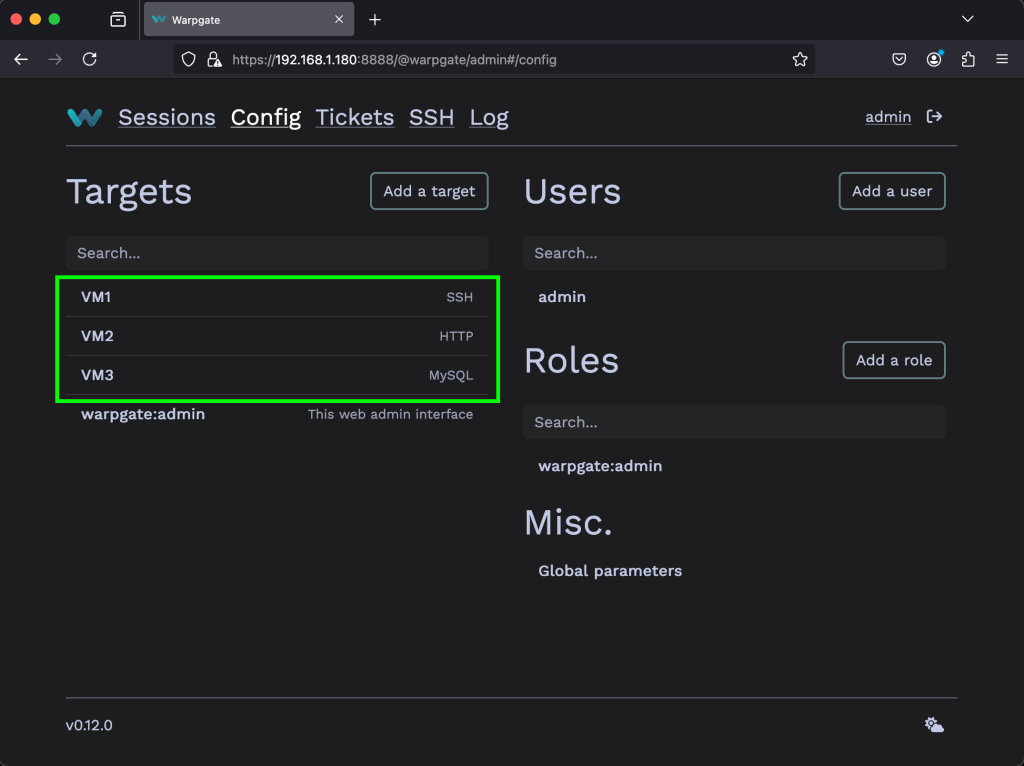
Once you click on the target, you can view the access instructions.
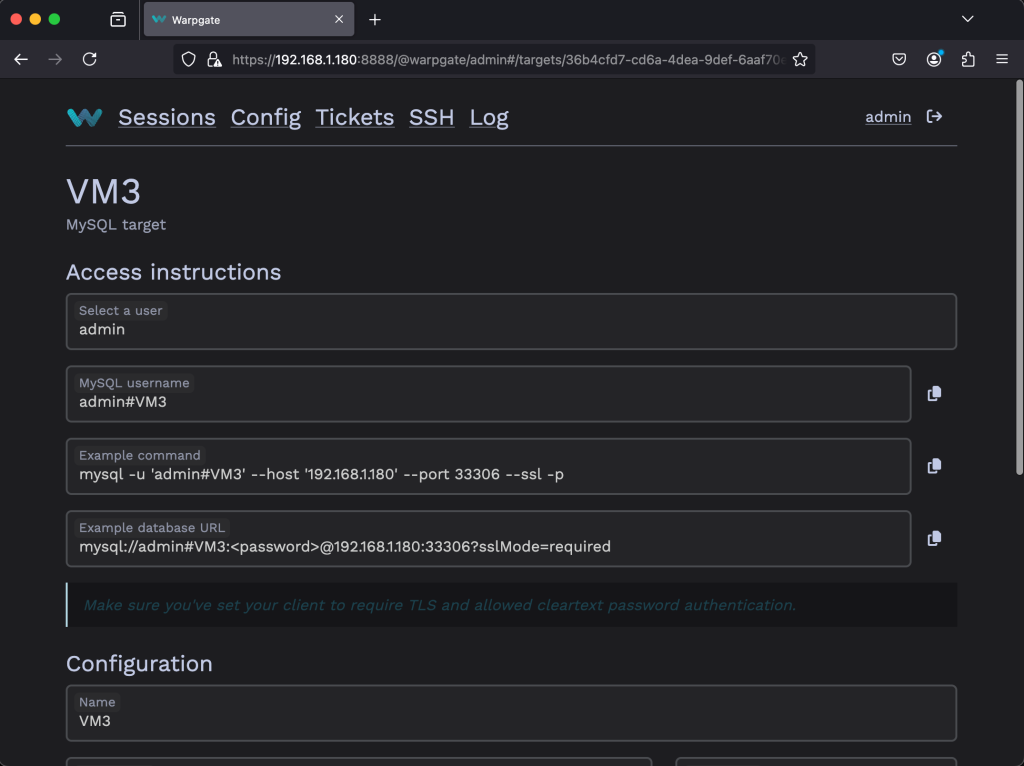
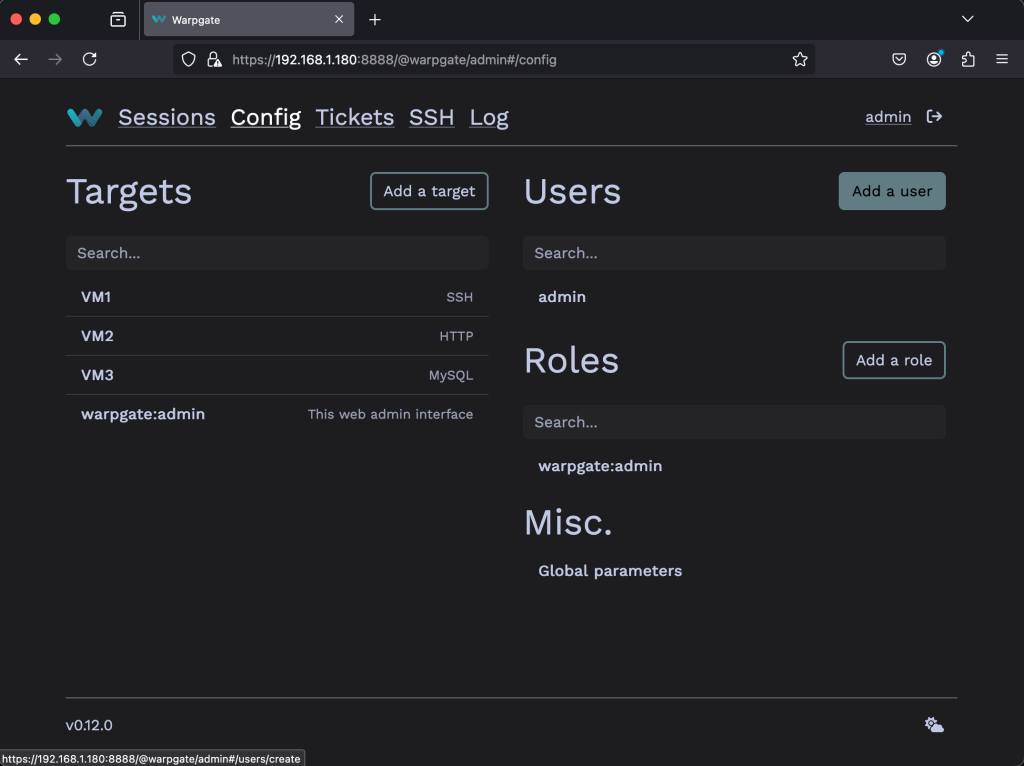
Add Users
Go to Config > Users then click on Add a User button.
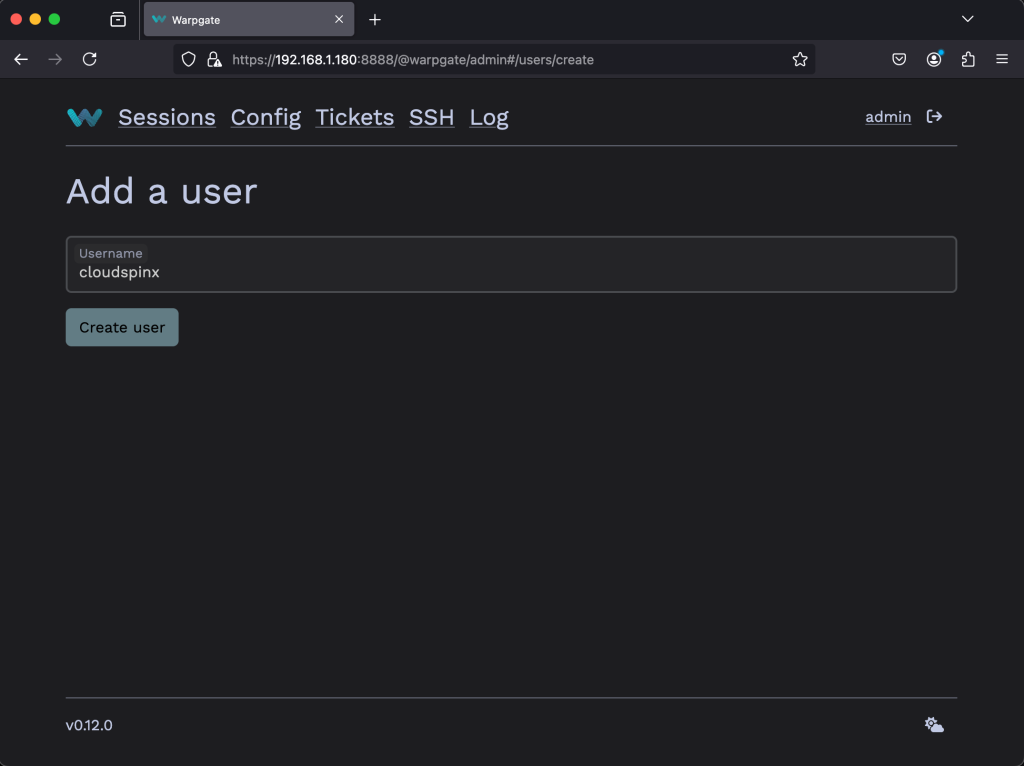
Enter the Username and click on Create User.
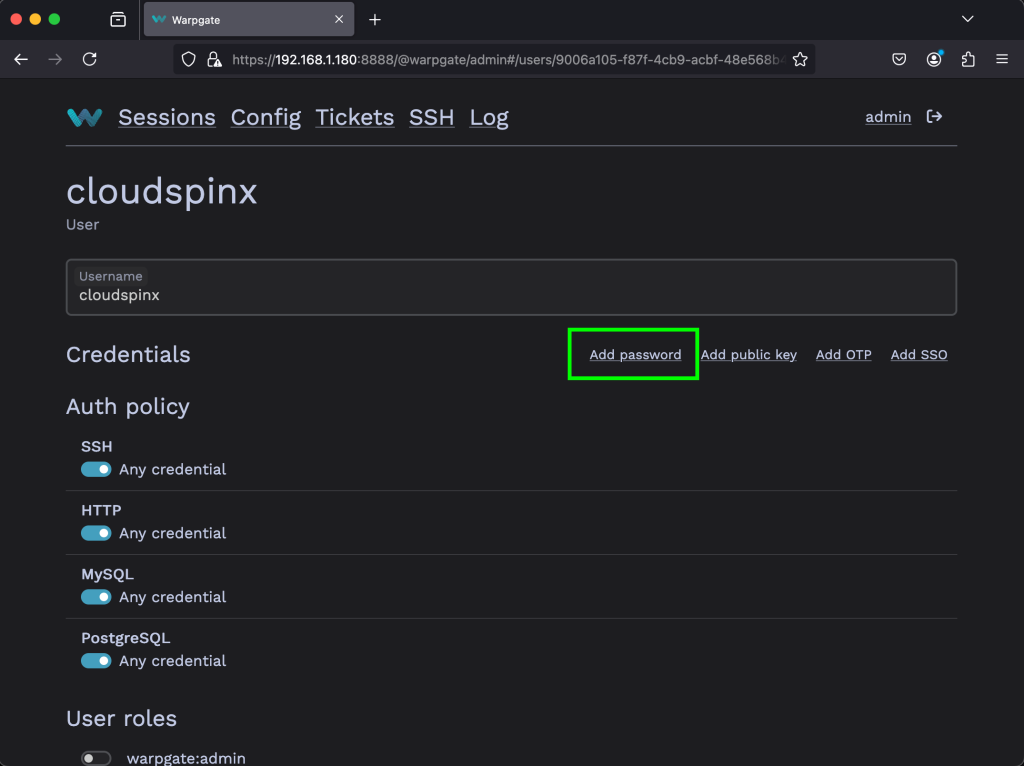
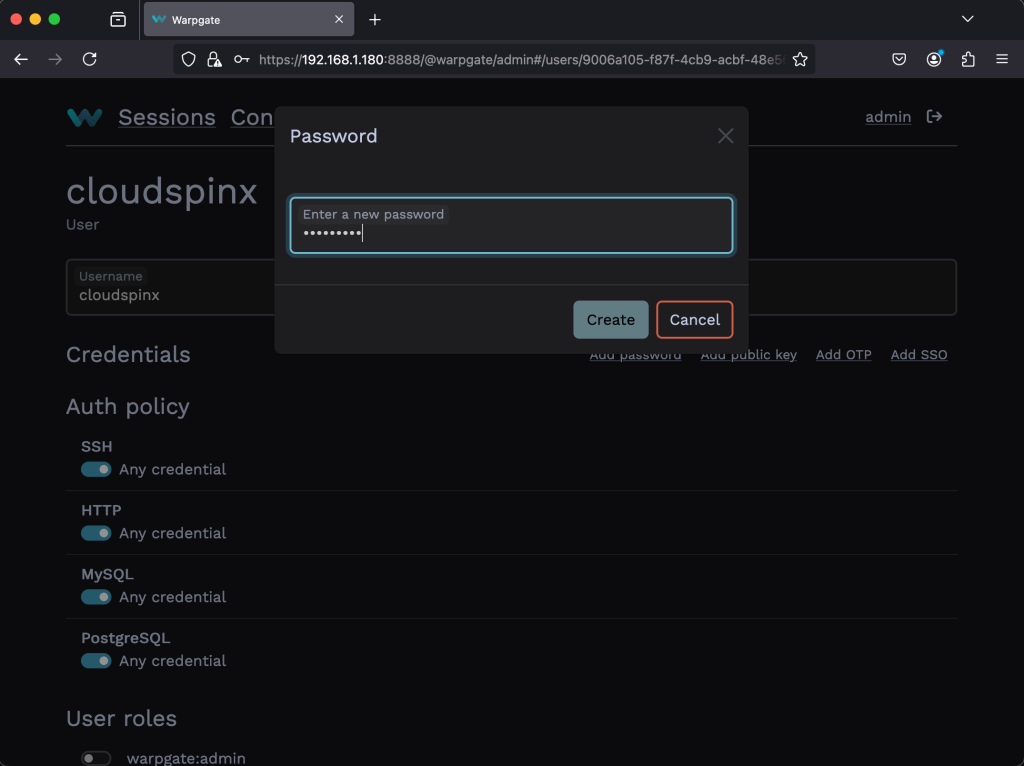
Then create a password for the user. Click on Add Password.
Input the password and then click on Save.
Add Roles
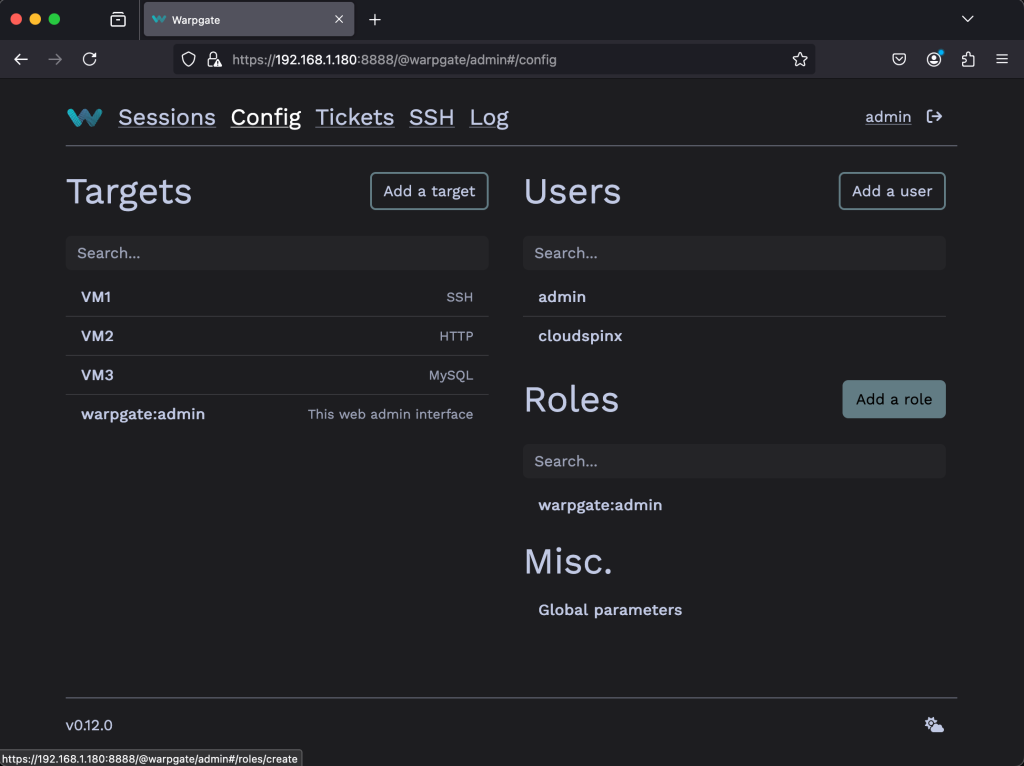
Go to Config > Roles then click on Add a role button.
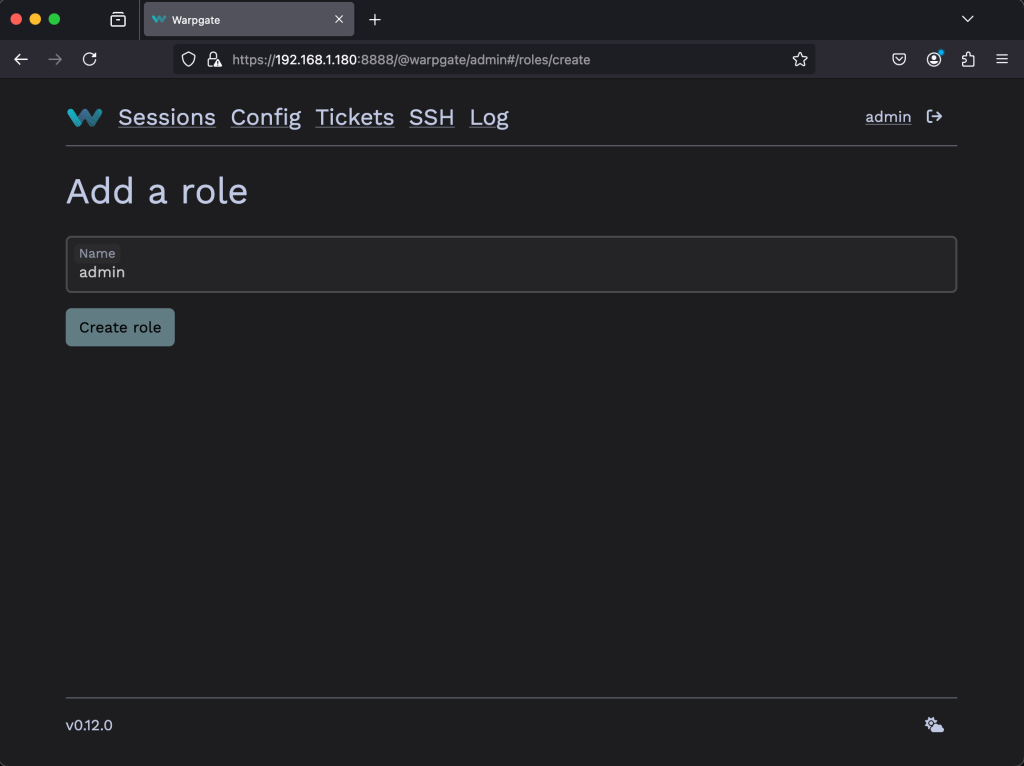
Enter the name of the Role then click on Create role.
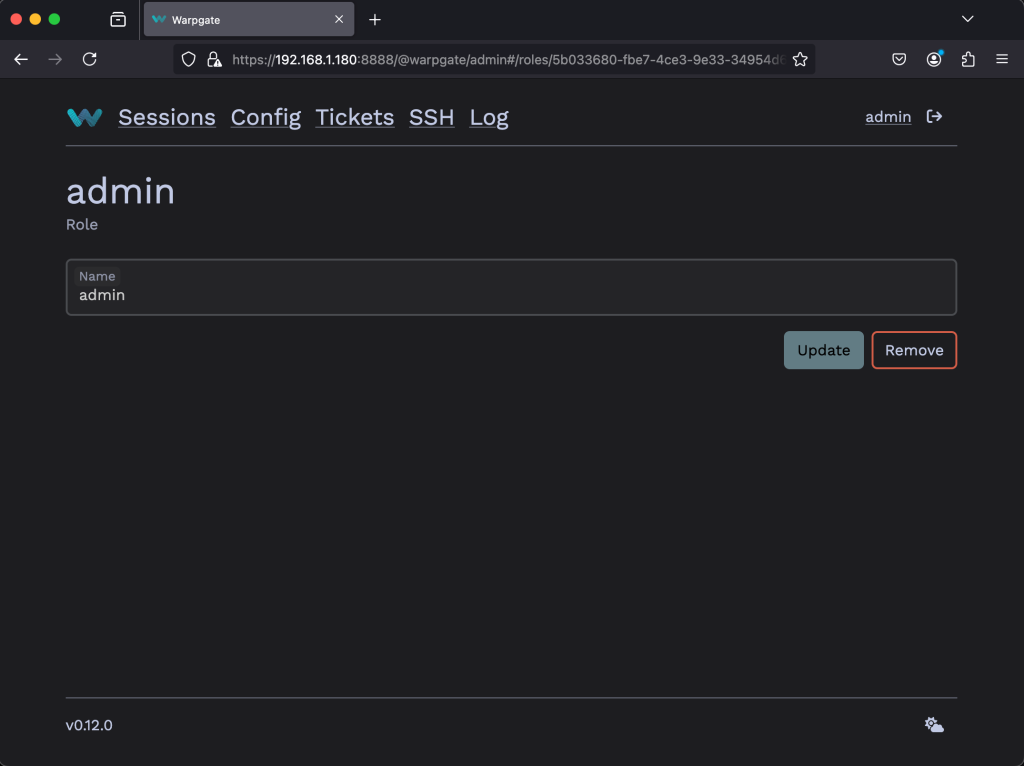
The role will then be created and shown below.
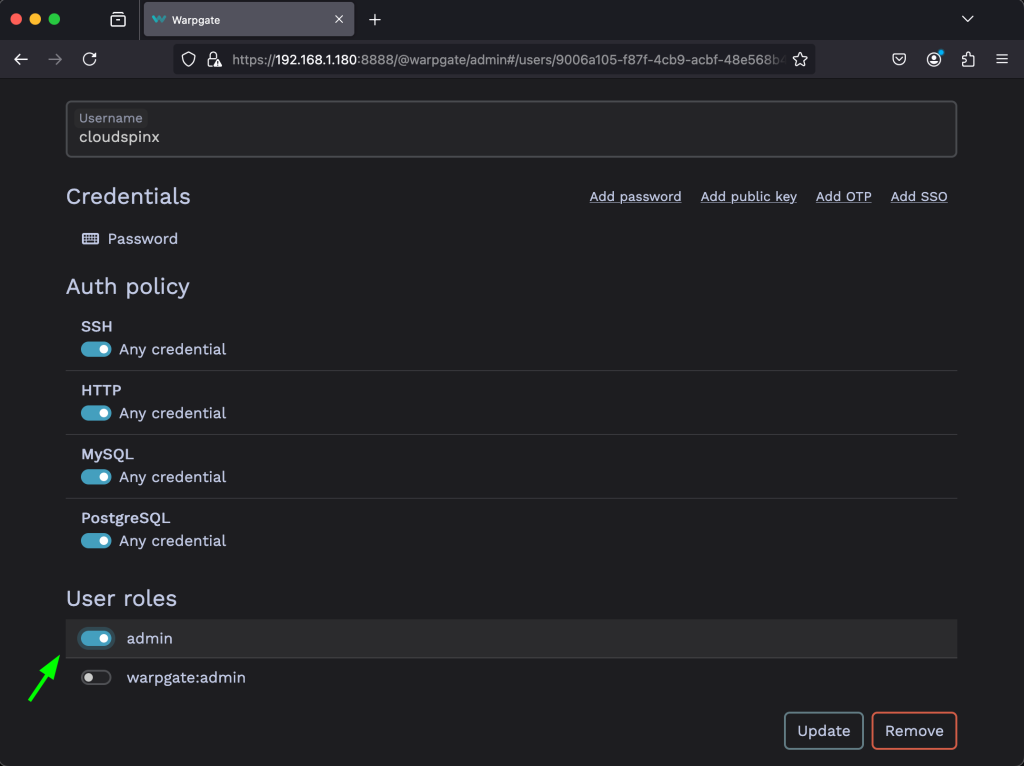
Then to add a user to the role, click on the user then scroll down on the roles and toggle the button for the role you want then click on Update.
Install Warpgate via Docker
Prerequisites:
- image name: ghcr.io/warp-tech/warpgate
- Volumes required: /data
- Ports: 2222, 8888
With Docker installed in your system, run the following command to set up Warpgate.
docker run --rm -it -v <data dir>:/data ghcr.io/warp-tech/warpgate setupRun Warpgate with the following command.
docker run --rm --name warpgate -p <host https port>:8888 -p <host ssh port>:2222 -it -v <data dir>:/data ghcr.io/warp-tech/warpgateVerdict
Bastion hosts add an extra layer of security to your private network on top of the firewall to prevent cyber attacks and malicious intrusions. Warpgate gives you an easy option to set up a bastion host as it does not require a lot of configurations and comes with an optional web admin UI that you can use to review sessions, logs, and more. Warpgate receives connections with specifically formatted credentials then authenticates the user locally and connects straight to the target. A successful connection ensures both parties are linked together while optionally recording the session.
More articles from our team:

