A memo is a written document that presents communication within a business or a personal circle, stating what is to be done or not. There are business memos that are communicated internally within a business and personal memos that are used to keep up with the daily activities of loved ones. Business memos represent teh companies image and serve different functions like giving instructions, making announcements, clarifying and changing policies, calling meetings and keeping records.
Back in the day, you would have to get see the memo through a notice board or get one through an email. If you would not pass by a notice board or get info by word of mouth from other people, there is a high chance you would miss important information communicated. If you also don’t check your email, you would also miss a memo emailed to you by a supervisor. But with the digital era, you do not have to worry about it as there are platforms developed for such instances.
Memos is a free and open-source, self-hosted memo hub for note-taking, knowledge management, and socialization. It is designed to keep you up-to-date with the day-to-day activity of your loved one. It has no external dependency and requires zero configurations to set it up. It is very easy to use in various scenarios and good for collaborations.
It also has a Memos Client called Moe Memos available on iPhone, iPad and Android to help you capture thoughts and ideas, and works with memos. It is also available as a Chrome extension known as Memos-bber.
Some of the features associated with Memos are;
- Open source and free forever no need for payments to use.
- Support for self-hosting with Docker in seconds.
- Plain text area first and support useful Markdown syntax.
- Set memo private or public to others.
- RESTful API for self-service.
In this guide, we are going to set up Personal Home Memo Application using Memos.
Option 1: Run Memos App Using Docker & Systemd
We can use docker to set up memos. With Docker running on your system, use the following command to download and run the latest Memos image.
docker run -d --name memos -p 5230:5230 -v ~/.memos/:/var/opt/memos neosmemo/memos:latestThe command defines the name and port number where the service runs. The sample Output is shown below.

Create a Systemd File for the Container
You can create a systemd file for the Memos container to make it easy to start and stop the service.
Create a systemd file at first.
sudo vim /etc/systemd/system/docker.memos.serviceThen append the following content to the file.
[Unit]
Description=Memos Container
After=docker.service
Requires=docker.service

[Service]
TimeoutStartSec=0
Restart=always
ExecStartPre=-/usr/bin/docker stop %n
ExecStartPre=-/usr/bin/docker rm %n
ExecStartPre=/usr/bin/docker pull neosmemo/memos:latest
ExecStart=/usr/bin/docker run --rm --name %n -p 5230:5230 neosmemo/memos

[Install]
WantedBy=multi-user.target
Save and exit the file then restart the system daemon.
sudo systemctl daemon-reloadStart the service with the following command. This will pull the memos image and start the Memos container
sudo systemctl enable docker.memos
sudo systemctl start docker.memos
Verify the service is running with the following command.
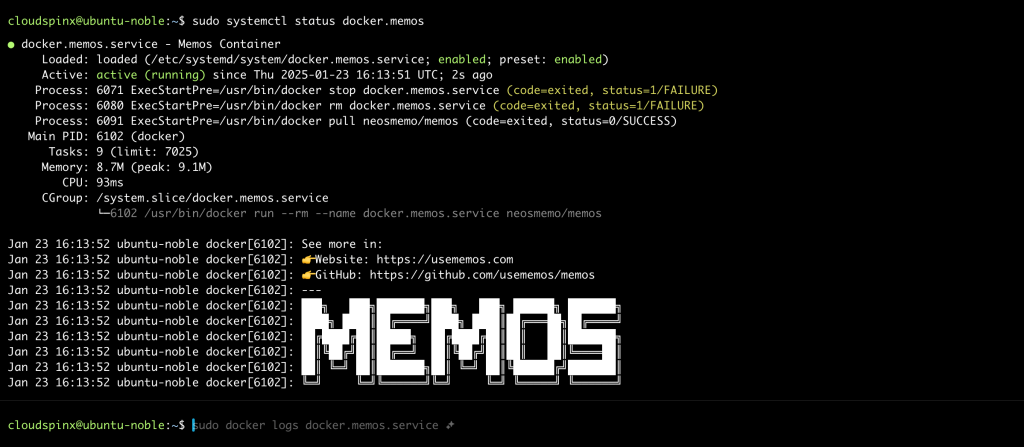
Once done, memos will be running at http://localhost:5230.
To stop the service, run the following command.
sudo systemctl stop docker.memosOption 2: Run Memos App using Docker Compose
With docker-compose installed on your system, Generate the following docker-compose.yaml file in your preferred directory.
vim docker-compose.yamlYou can edit the name of the container and the port number the service will run.
version: "3.0"
services:
  memos:
    image: neosmemo/memos:latest
    container_name: memos
    volumes:
      - ~/.memos/:/var/opt/memos
    ports:
      - 5230:5230
Save and exit the file.
Once done, still, in the same directory, run the following command to start the container.
docker compose up -d The sample Output is shown below.
[+] Running 5/5
 ⠿ memos Pulled                                                2.8s
   ⠿ ca7dd9ec2225 Pull complete                                0.7s
   ⠿ 57dc262fa99a Pull complete                                0.8s
   ⠿ d21cba593d78 Pull complete                                1.2s
   ⠿ 55a4cba7ef53 Pull complete                                1.2s
[+] Running 2/2
 ⠿ Network cloudspinx_default  Created                         0.1s
 ⠿ Container memos             Started                         0.6s
To upgrade the container, first, stop the service.
docker-compose downThen run the following command to update and start the container service.
docker image rm neosmemo/memos:latest && docker-compose up -dThe memos application will be running at http://localhost:5230.
Using Memos as a Personal Home Memo Application
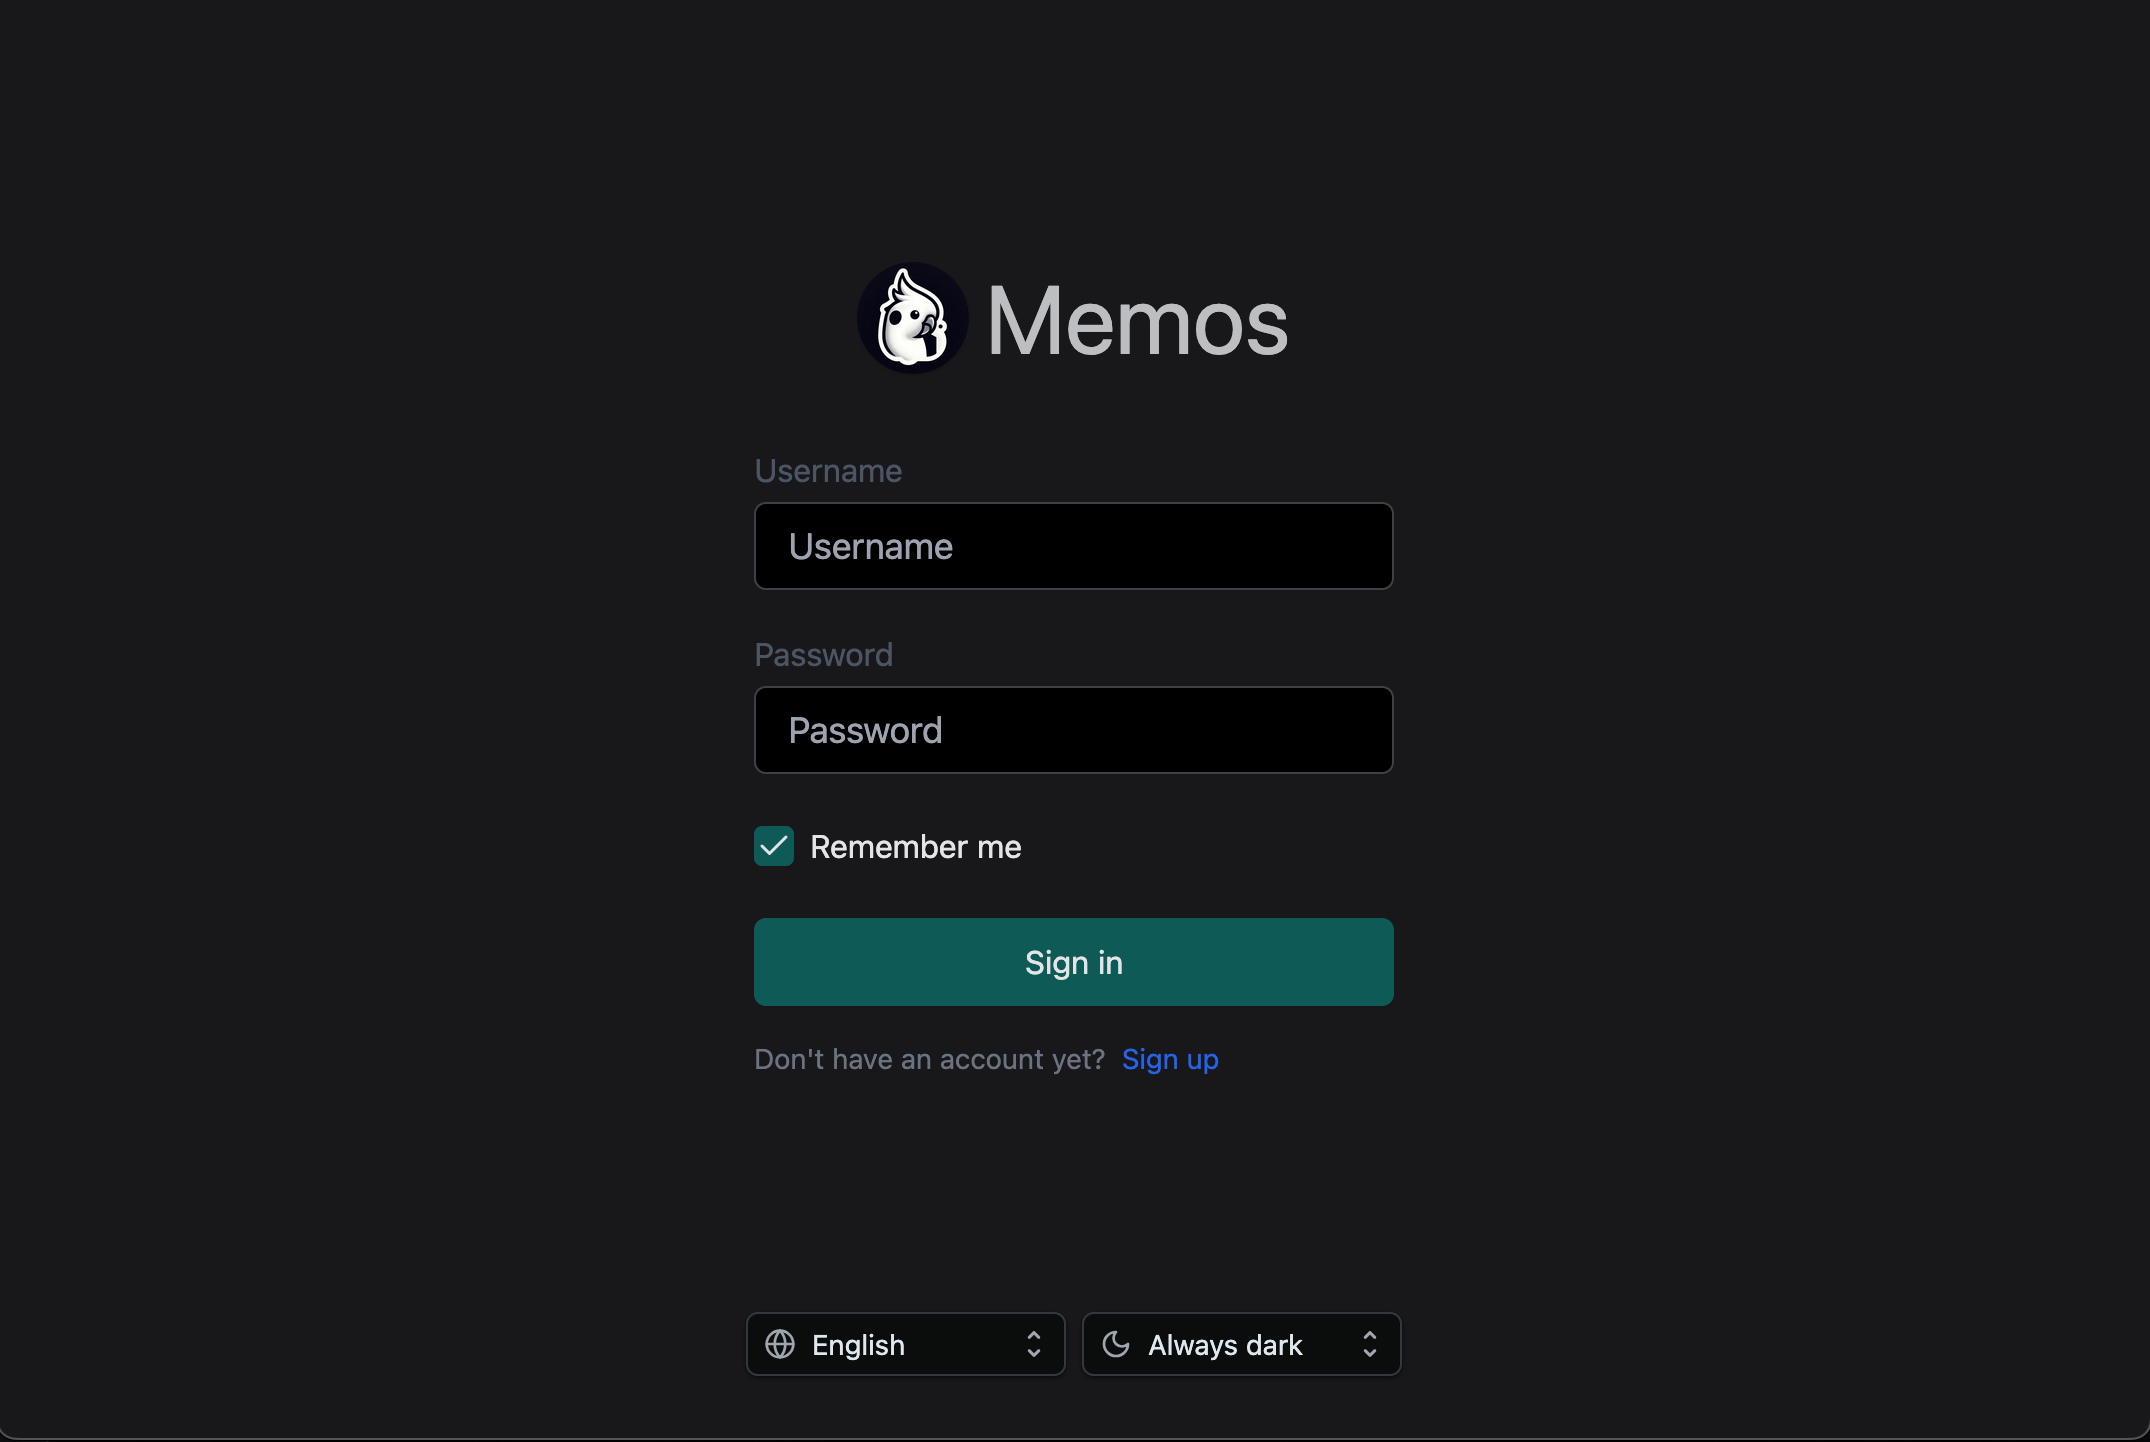
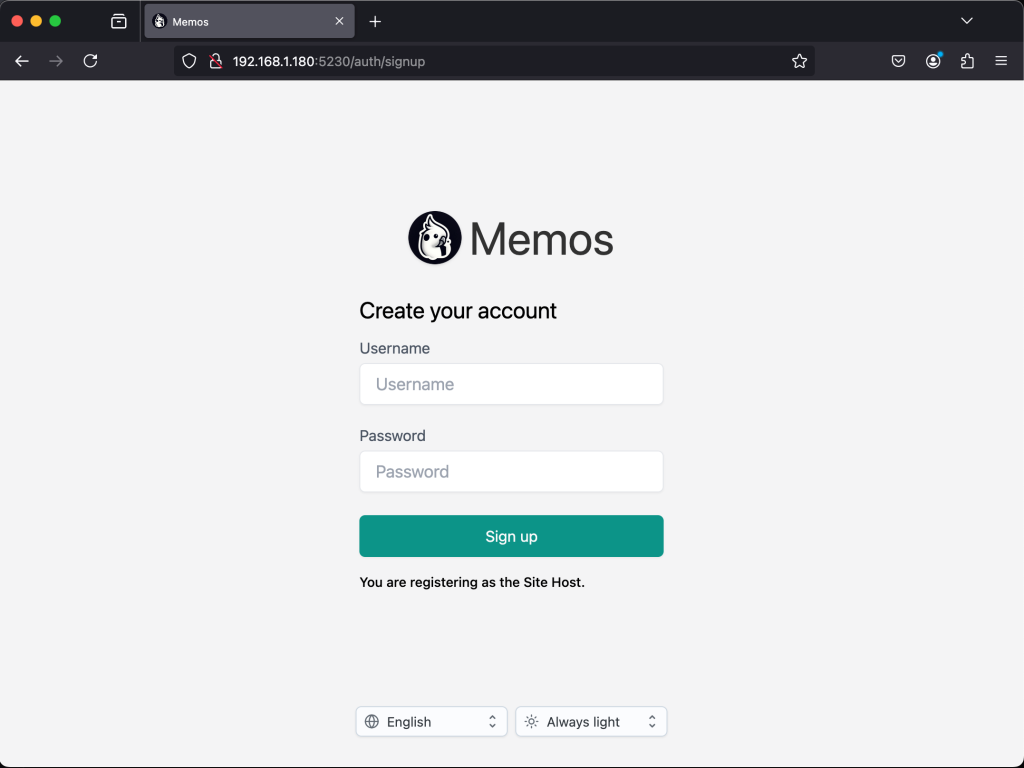
Go to your browser on http://localhost:5230 to access Memos. The following page opens to create a new host server. Enter the username and Password of the Host then click Sign up as Host.
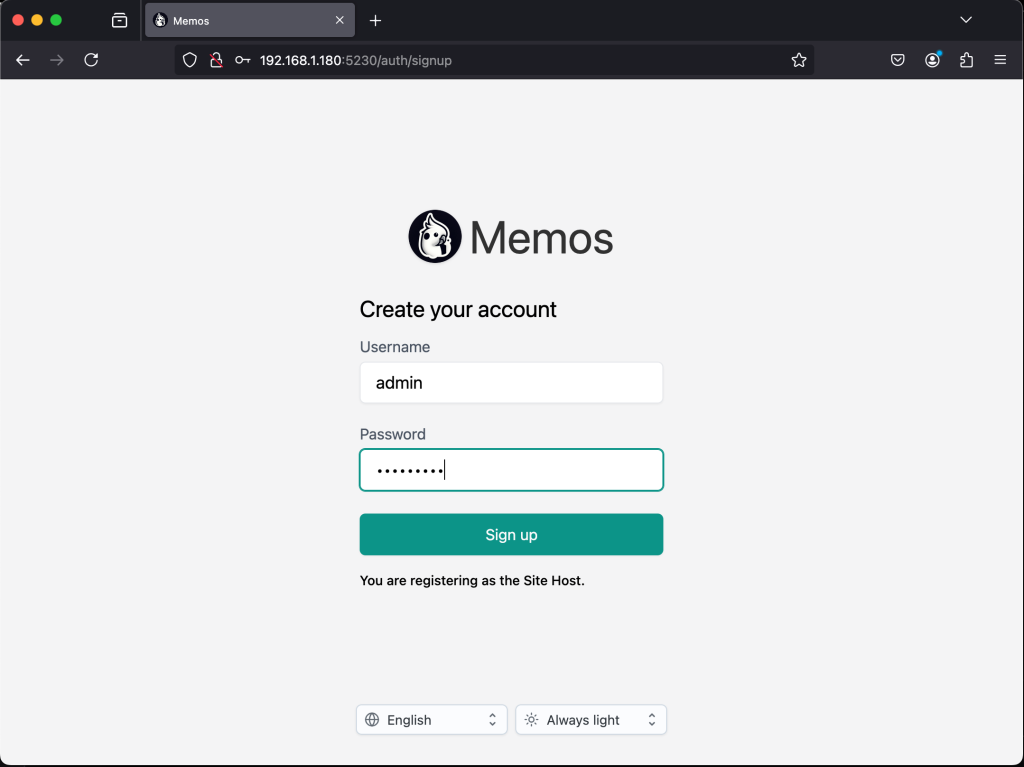
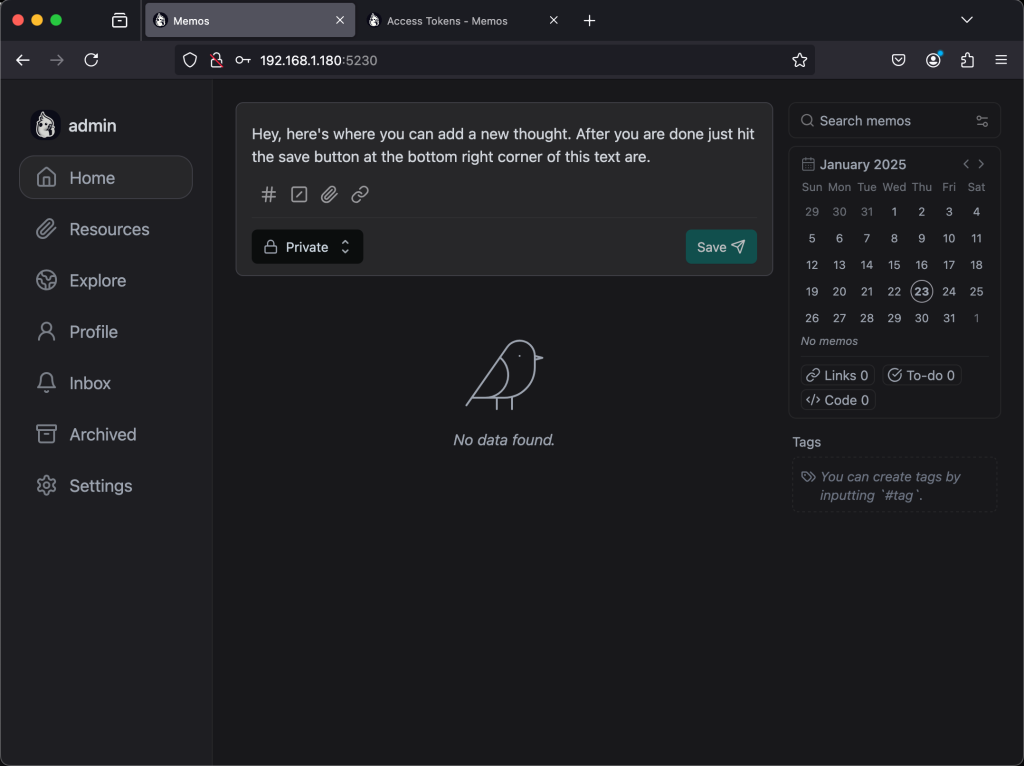
The dashboard opens as shown below. It is also where you can any new thoughts and save them.
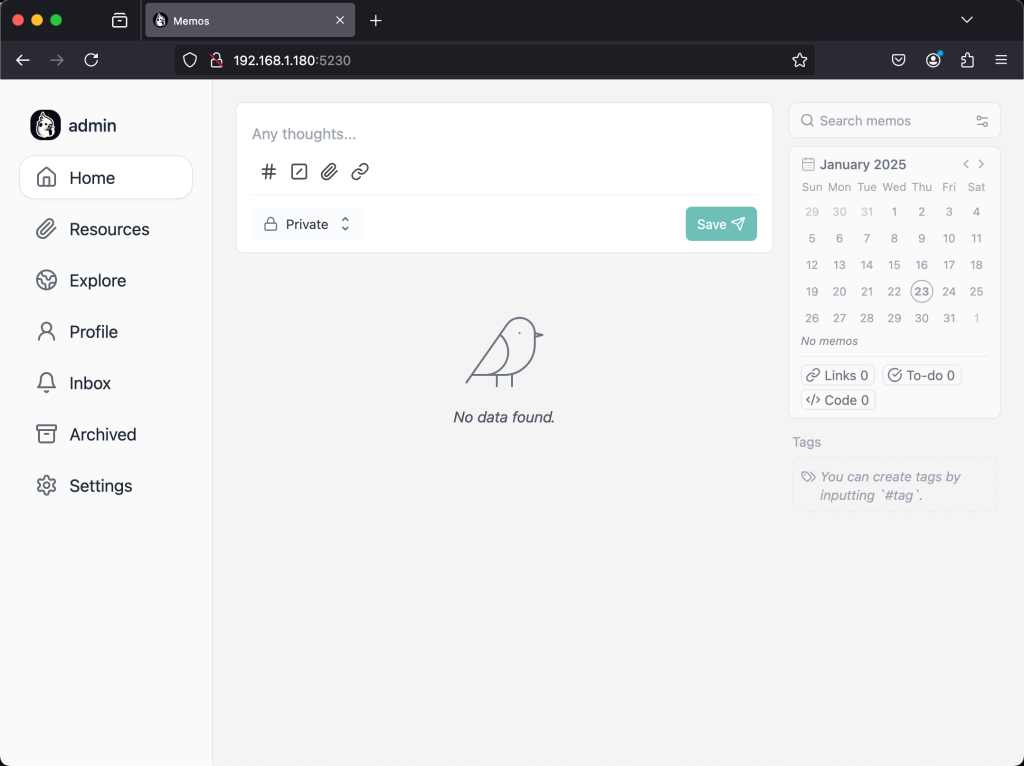
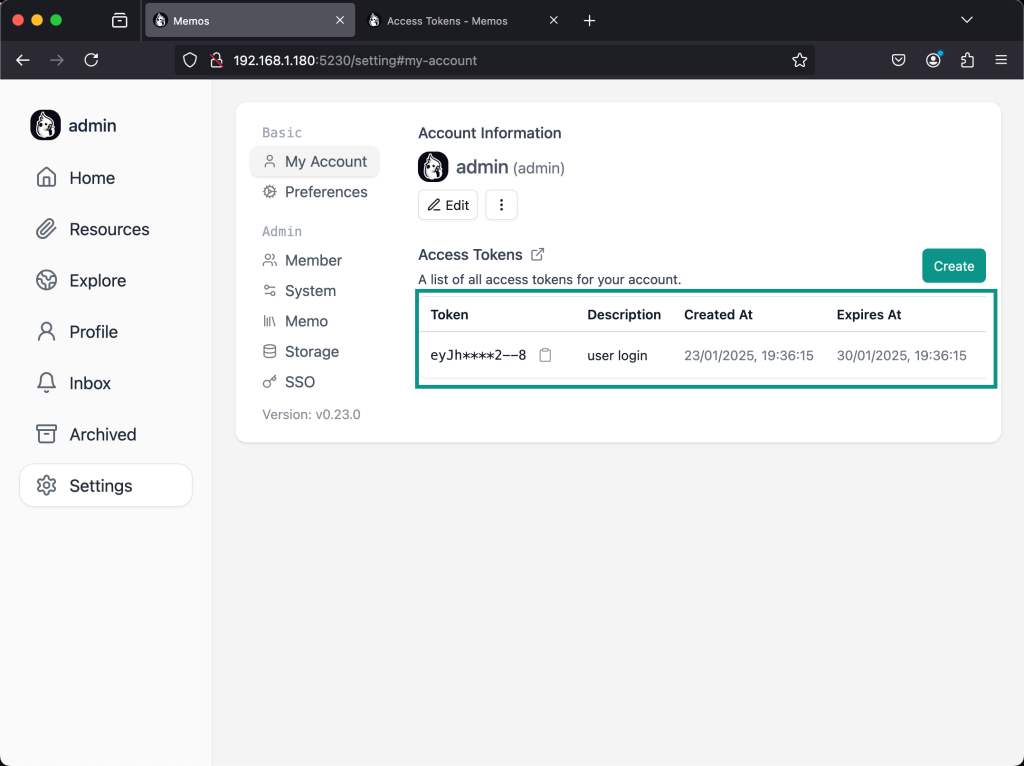
You can further customize your application from the settings page which allows you to edit your account. Under My Account is where you can access the Open API to connect from a mobile device or the chrome extension.
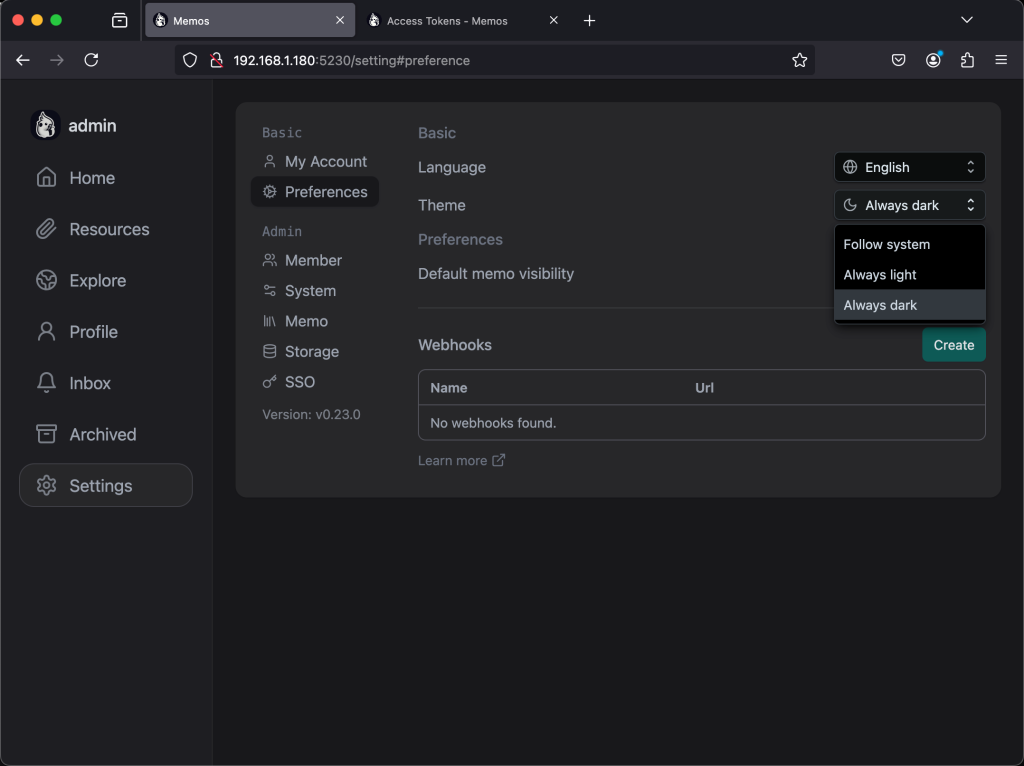
You can also change the theme of the application under Preferences.
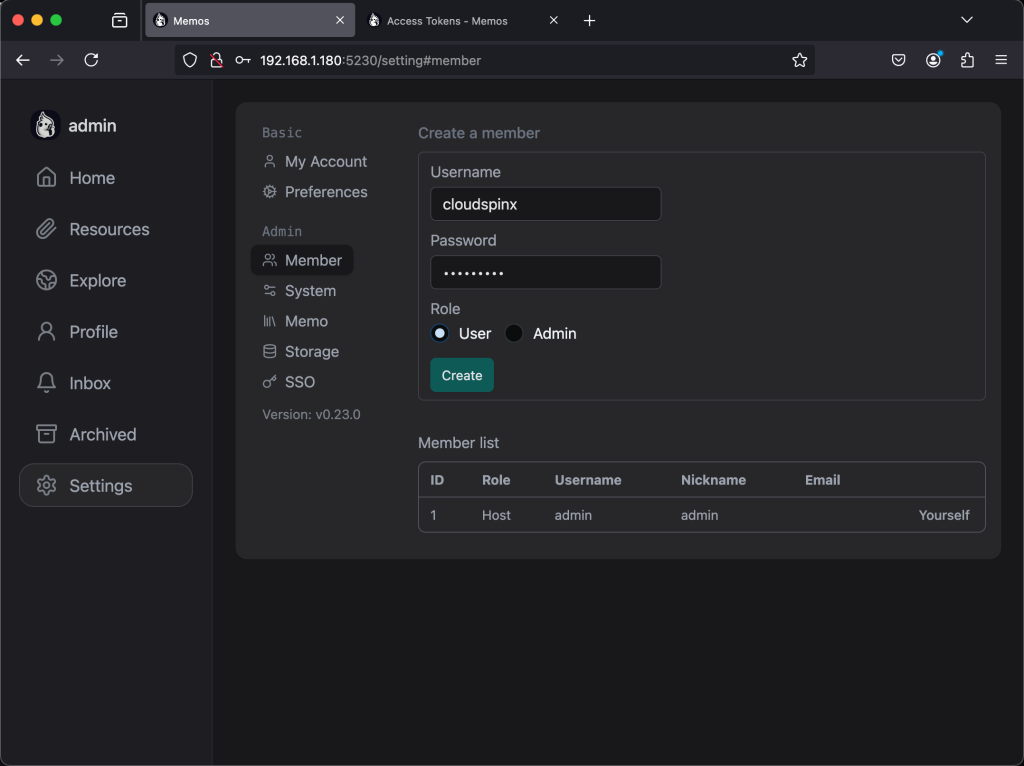
Under Member, you can add a new member to your server.
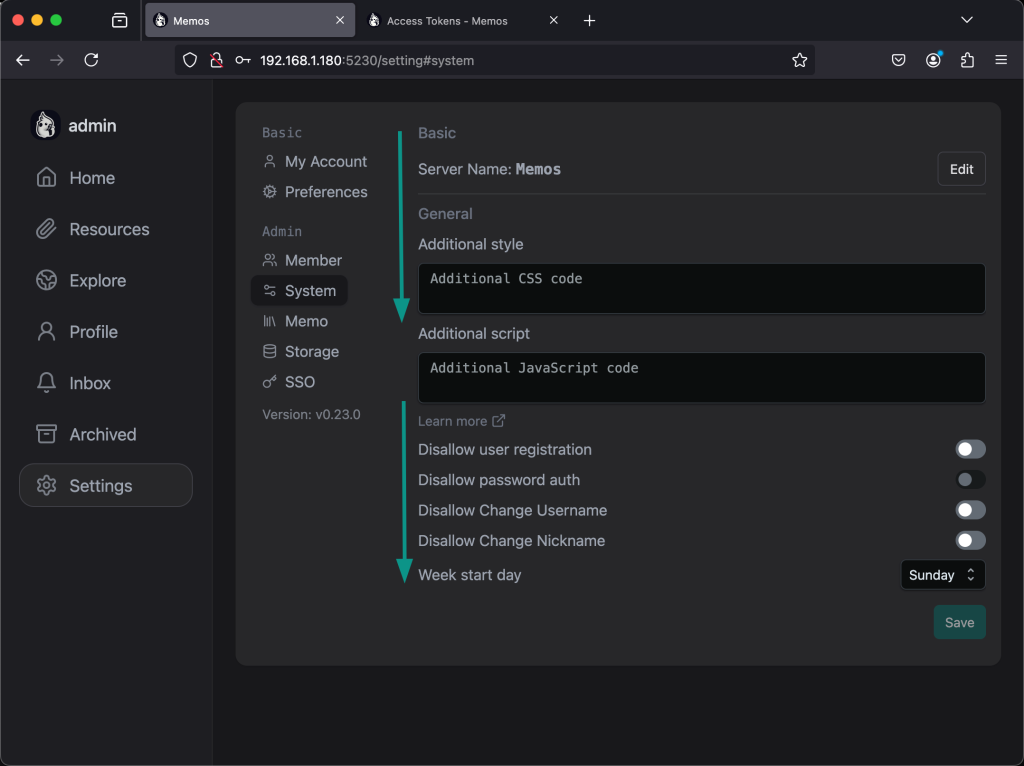
Then you can set basic system settings.
To add a new Thought, Just type on the text area and click on Save. You can also select if it is visible to you or another member also.
Test Memos Android application
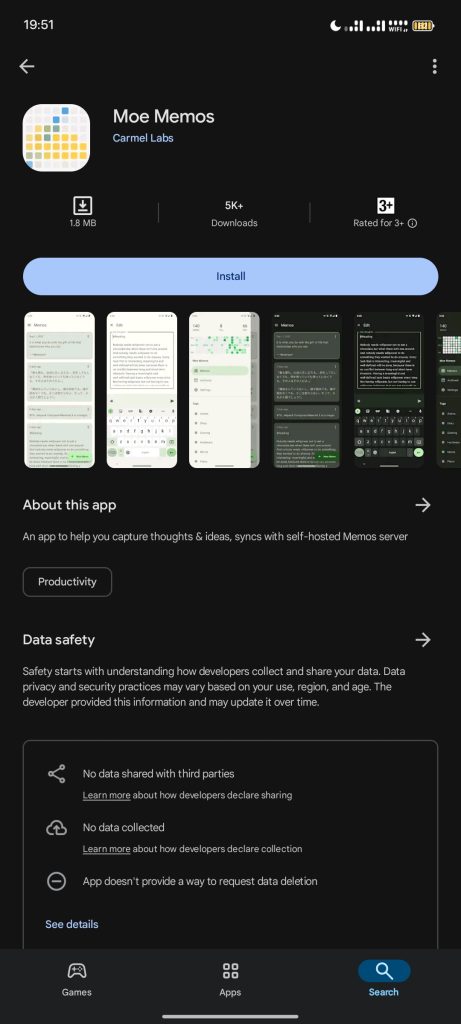
Memos has an android app available on Google Play called Moe Memos. You can download it from Google play for free.
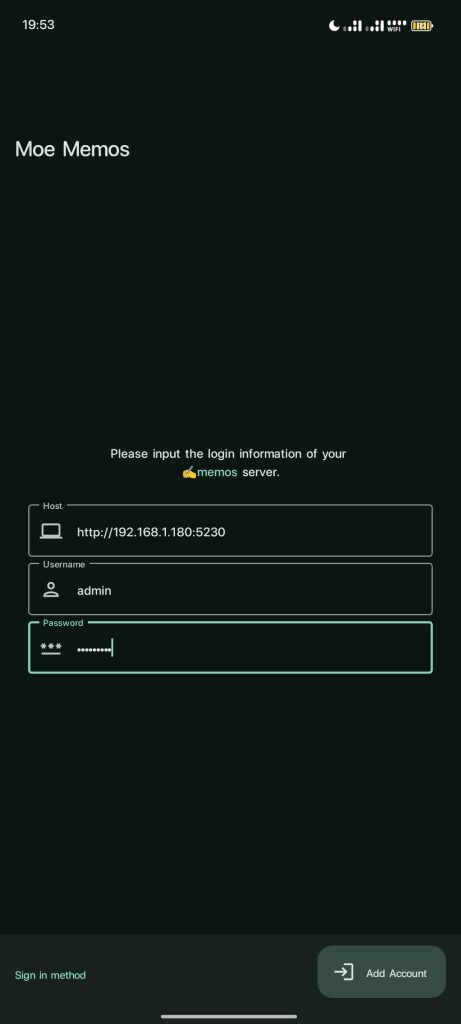
Once done, Click on Open. Enter the details of the Host to sign in to the Application.
You can also log in with the Open. API by selecting it from the Sign-in Method options.
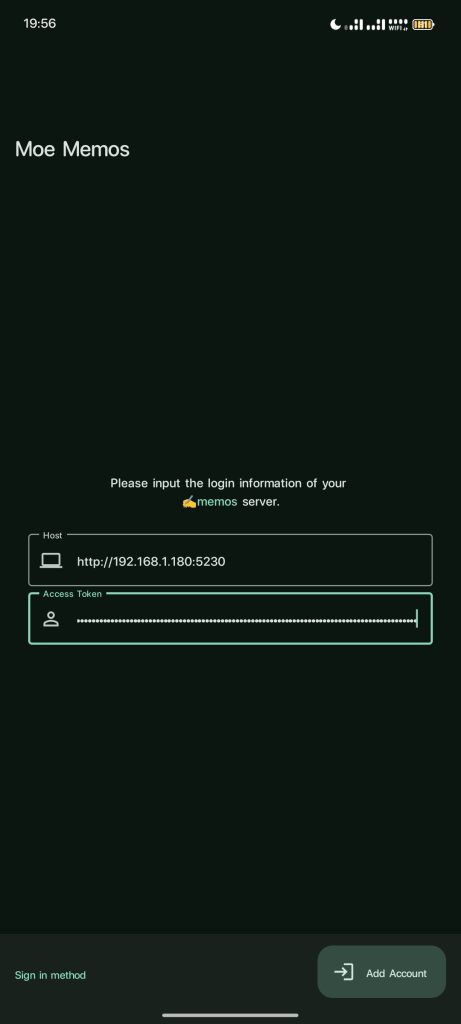
Then enter the API to connect automatically.
Using Memos Chrome Extension
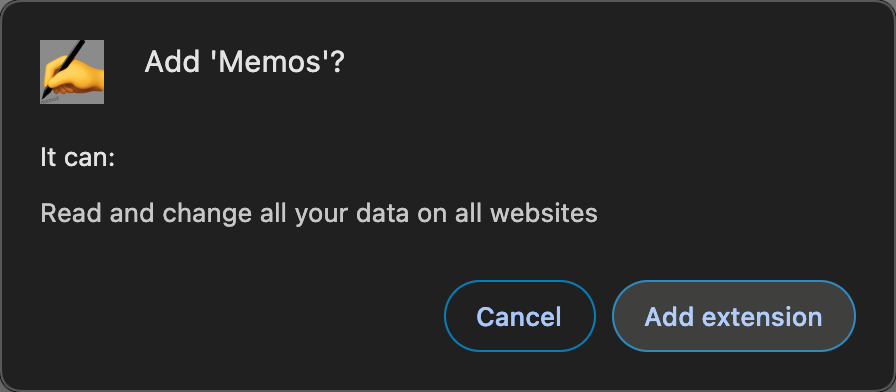
Memos also has a chrome extension called Memos available for Chrome Browser. Click on Add to Chrome.

Confirm that you want to add the extension.
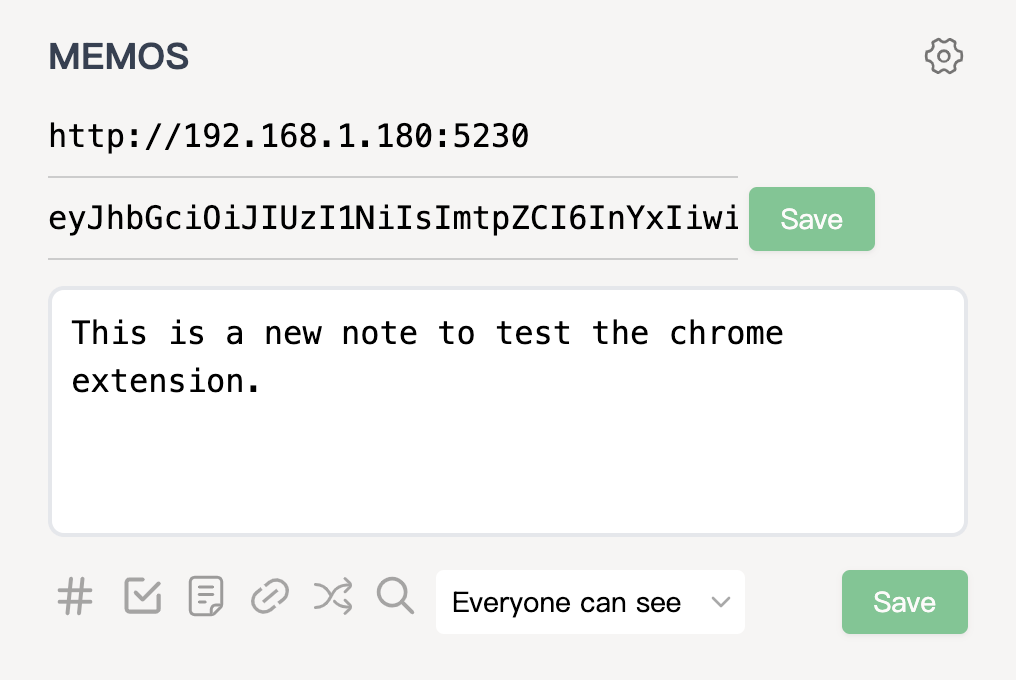
Access the extension then now Enter the API of your host and click on Save to connect automatically. Then add your thoughts and under the lock icon, select whether you want the note to be visible by only you, public, or protected. Then click on Save.
On your host, the note will appear as shown below.
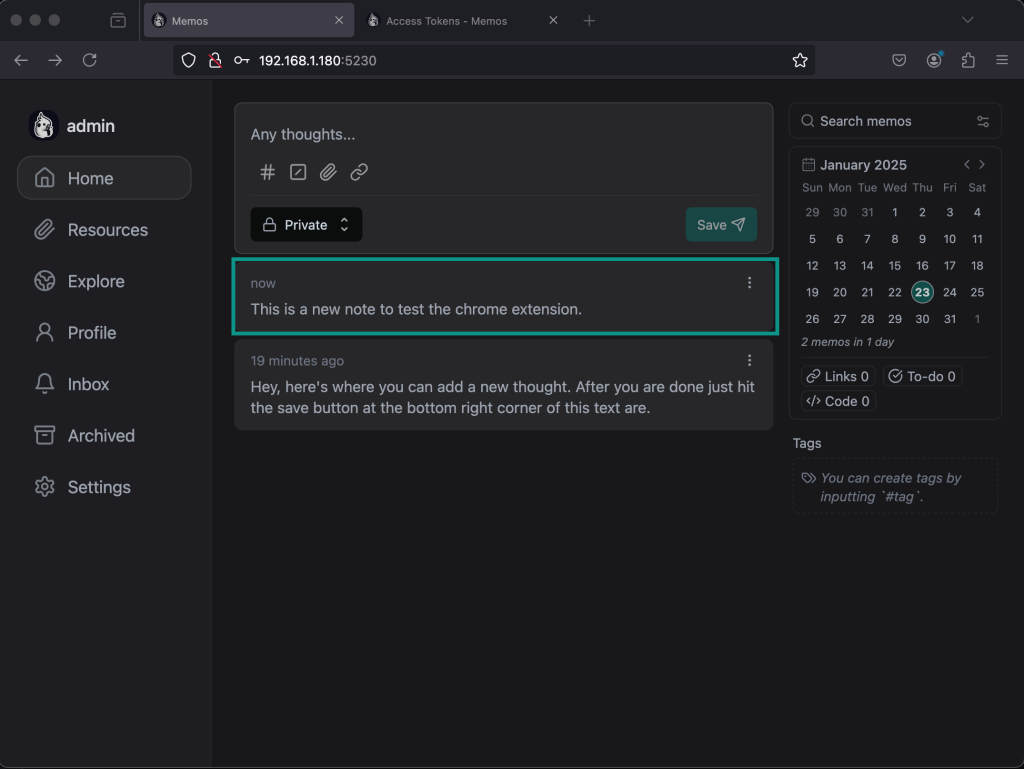
Therefore you can add as many thoughts as you wish from the extension without having to log in to the server.
Conclusion
Memos provides an easy way to note down your thought as fresh as they are and save them to view later. You can add many devices including those of your loved ones to allow them to share their thoughts which you can view later on. It is free, open-source and available under the MIT License. You can also choose to either keep the thoughts private, public to members only or visible to everyone.
More content:

