Windows Server 2025 is the very newest release of Microsoft’s flagship server operating system, developed for meeting new demands put on modern IT infrastructure. Equipped with advanced security out of the box, cloud integration capabilities, and much greater performance, it will be a must-have for any organization seeking to build an environment which will be reliable, scalable, and secure.
Knowing how installation works is key to smooth deployment, whether one is setting up a server for the first time or upgrading from a previous version. We are going to walk through the step-by-step installation process of Windows Server 2025 in this guide so that we may set your system right from the very beginning. You will have, at the end of this guide, a robust server environment ready to go for everything from file sharing and virtualization to advanced application hosting.
Setup Pre-requisites
So, before we can start the task at hand, we’ll need to be prepare everything in order such as downloading CD image. To download the ISO image, you can download it from Microsoft Evaluation Center or from third party hosts.
Step 1: Create VM or Bootable USB
For guide and for demonstration purposes, I’ll be creating a Windows Server VM a KVM server using cockpit. I have given my virtual machine 8GB of RAM, 3vCPUs, and 40GB of storage.
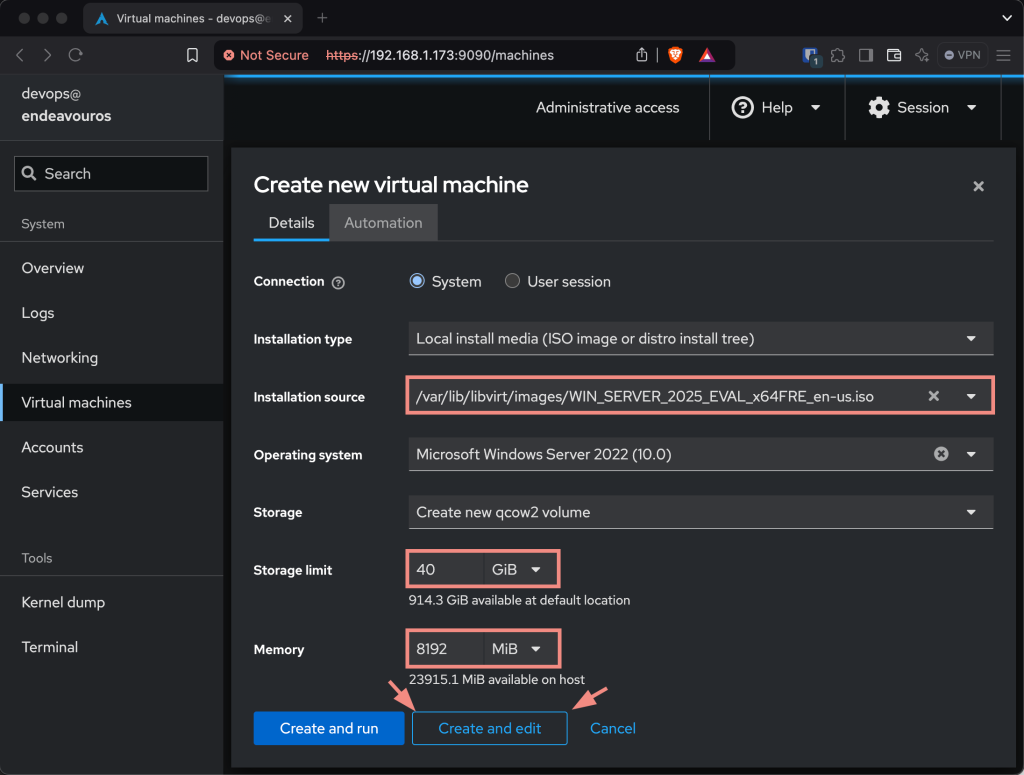
Start the Virtual Machine and wait for it to boot the Windows Server 2025 ISO image.
If you need to install Windows Server on a physical device, then you need to create a bootable USB drive. Windows user should use Rufus and Linux/macOS users should use Balena Etcher.
Step 2: Configure the Windows Server 2025 Installation
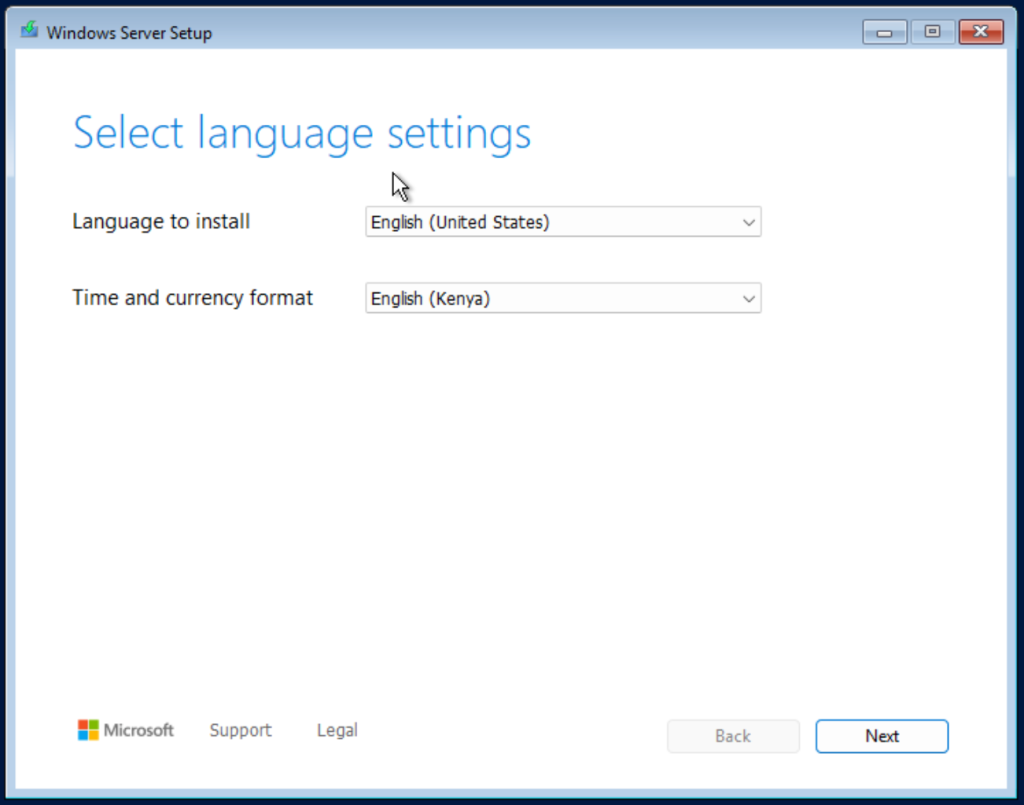
Configure the Language and Time settings:
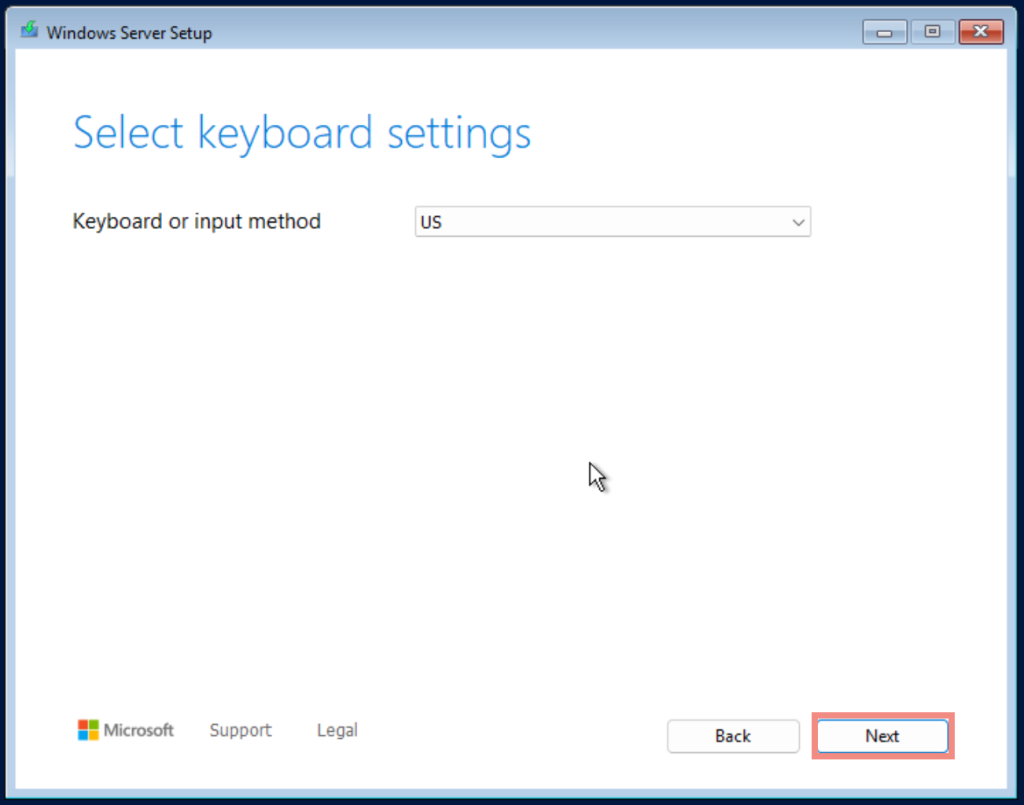
Set the Keyboard Layout:
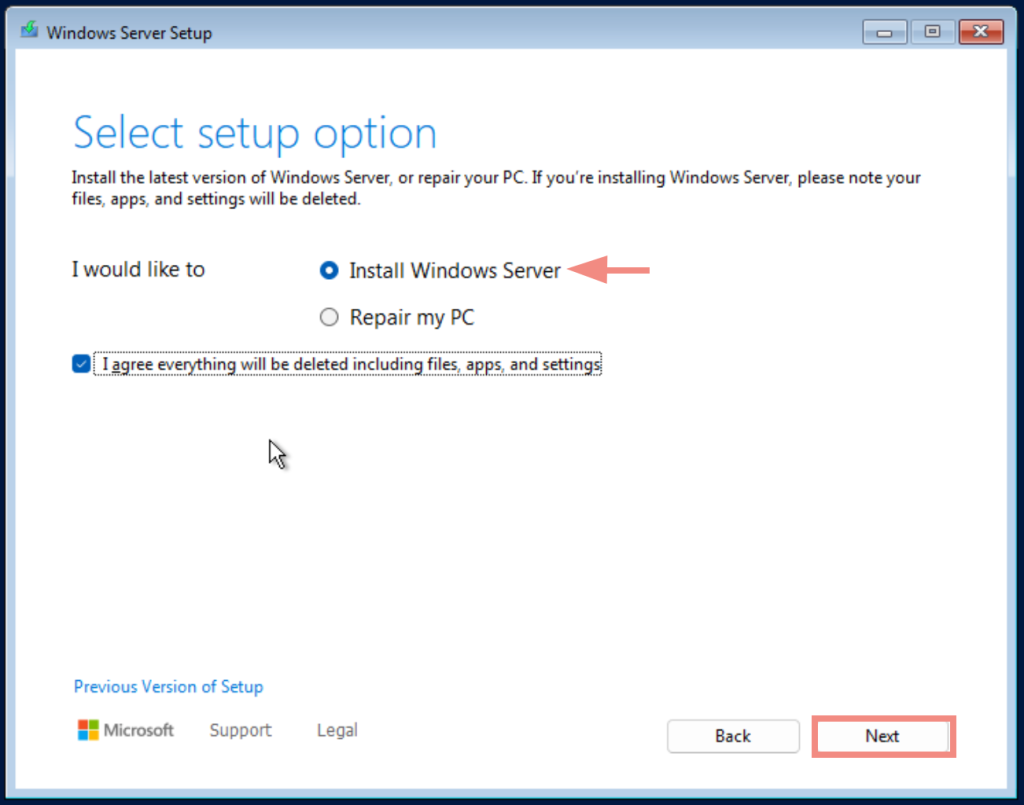
Select Install Windows Server:
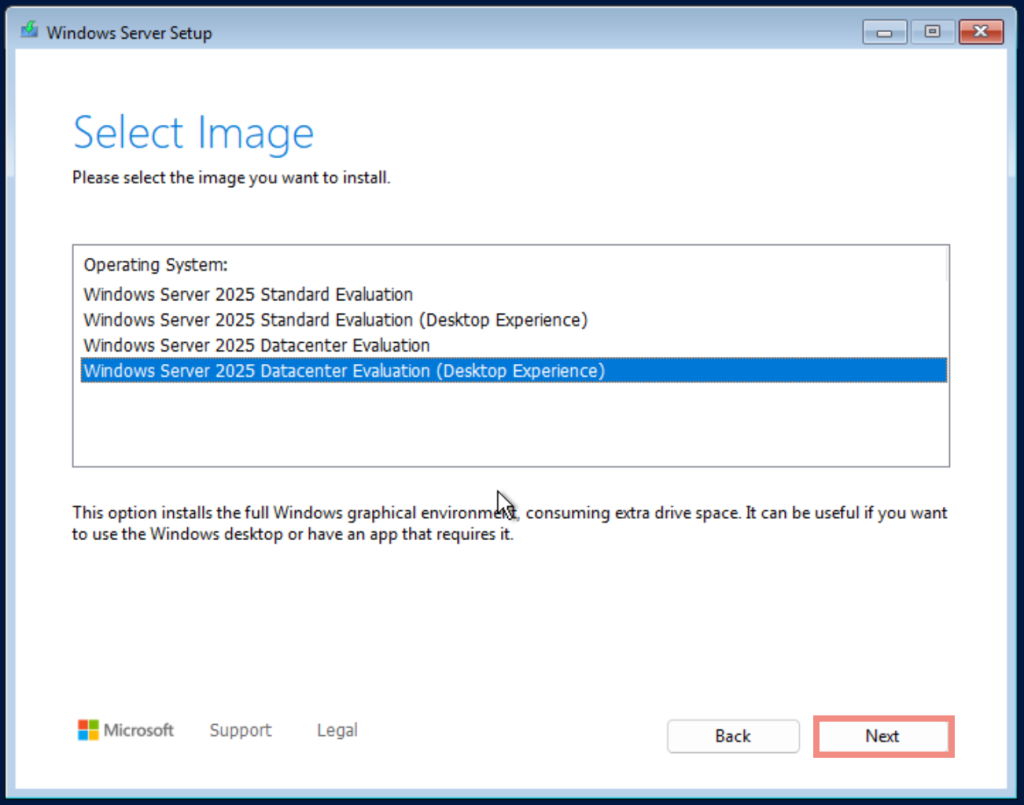
Next, choose the version you want to install. For this demo, I will install Windows Server 2025 Datacenter Desktop Experience:
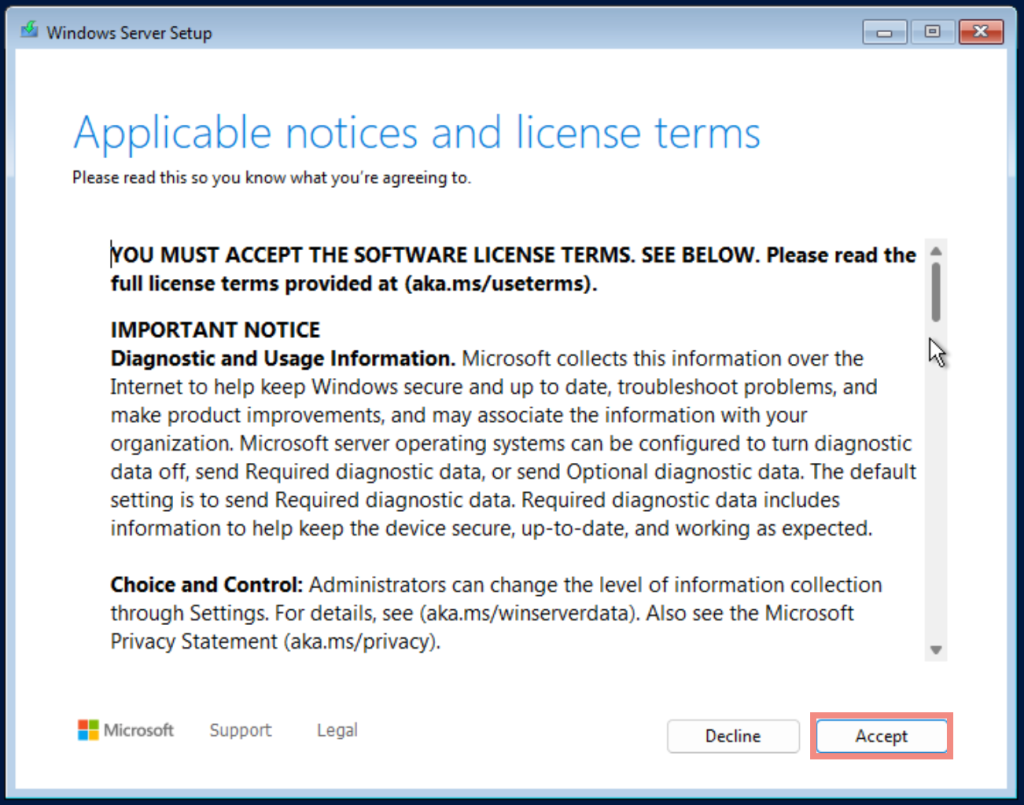
Accept the terms and conditions:
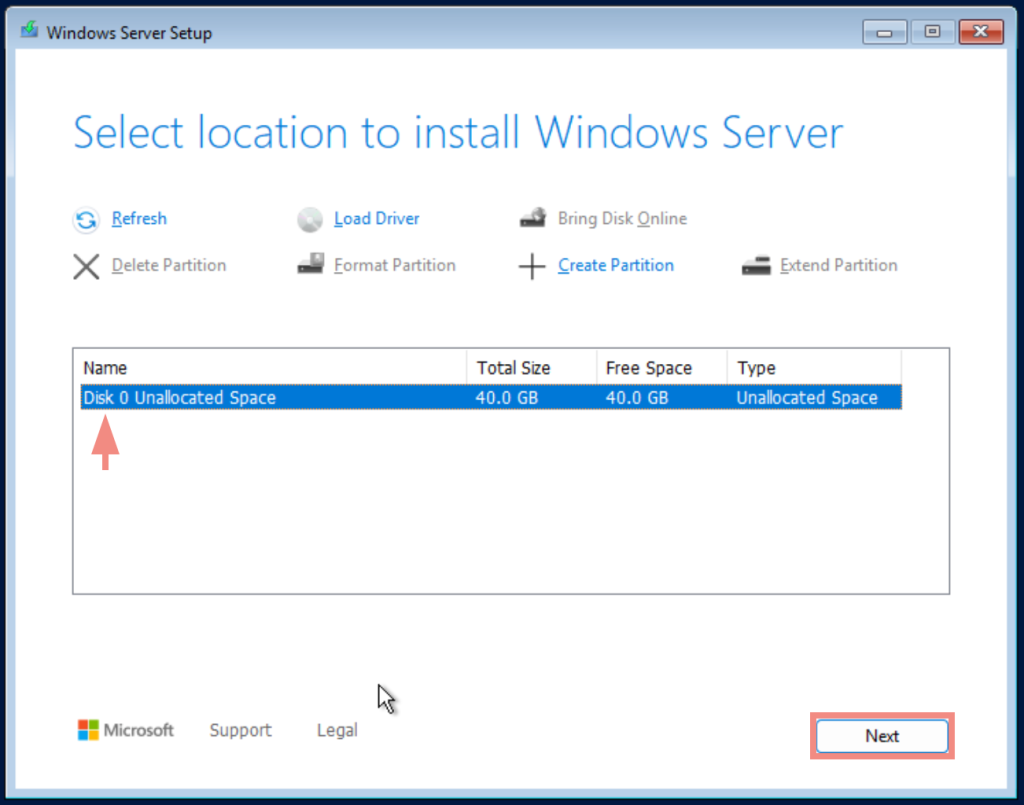
Select the virtual disk you created when first creating your virtual machine or if it’s a physical device, it will also appear here:
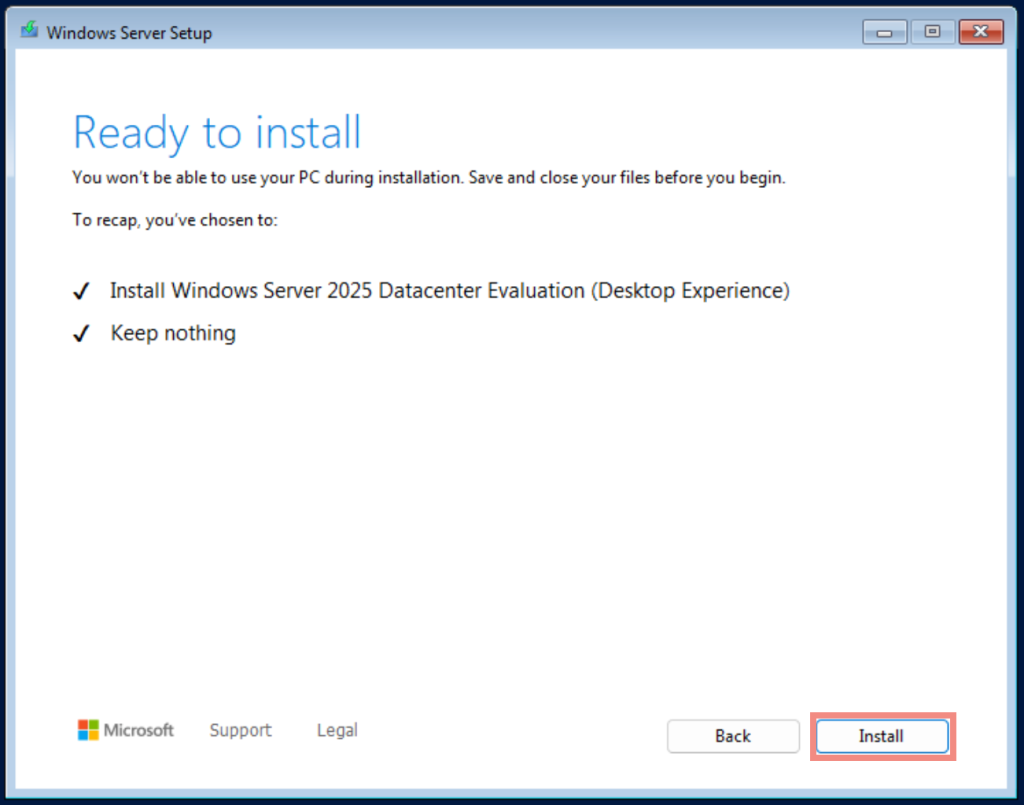
Now click Install:
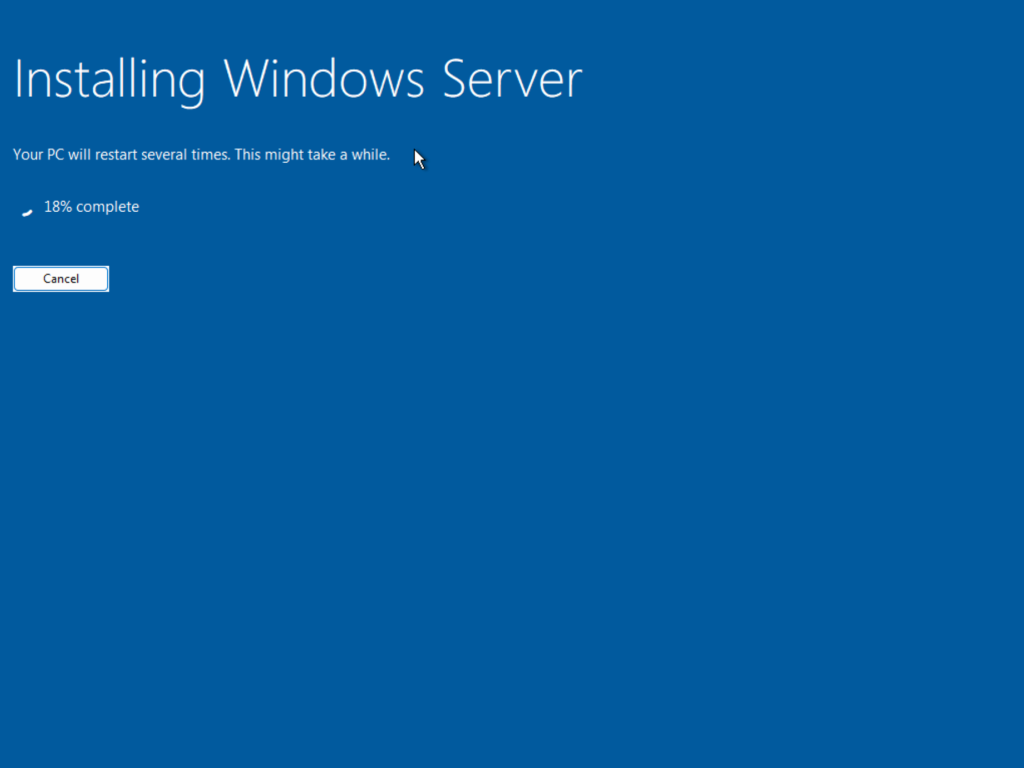
Wait for the installation process to complete:
Step 2: Post-Installation Configuration
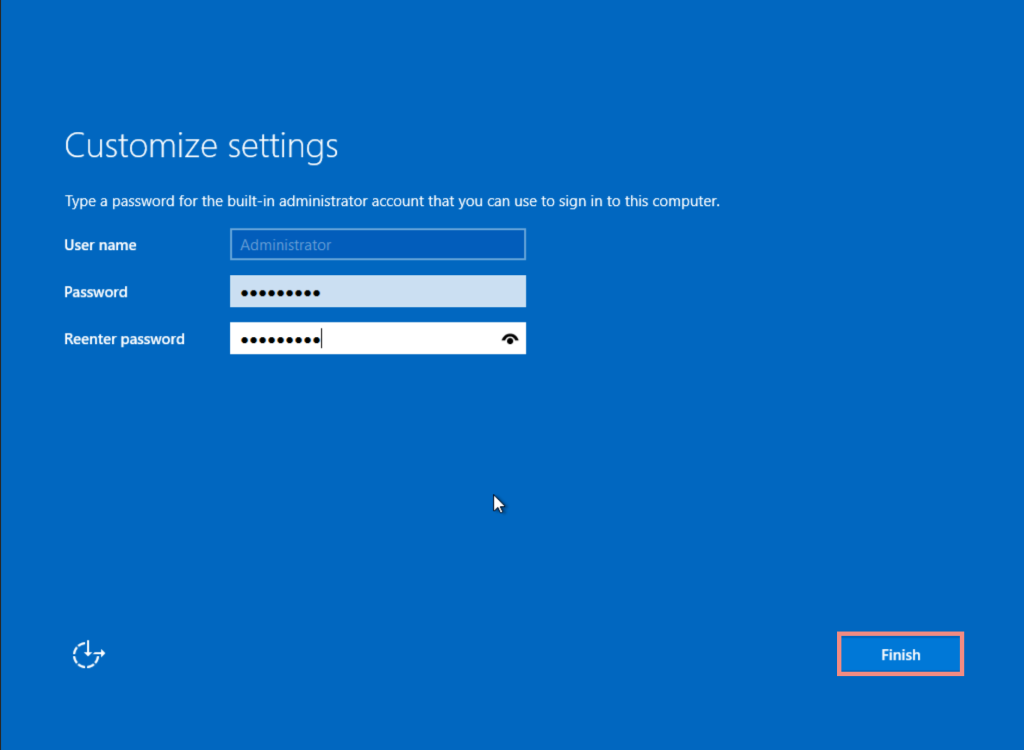
Upon completion, create your Administrator account, input a password, and click on Finish.
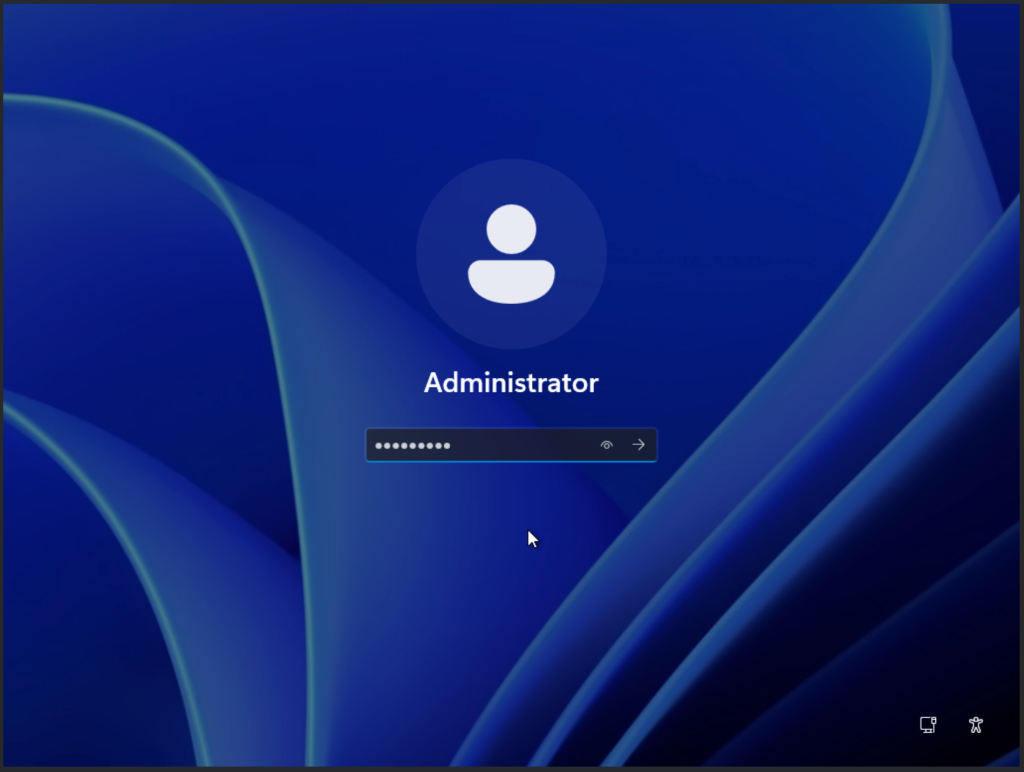
Now log into Windows Server 2025 using your Administrator Account:
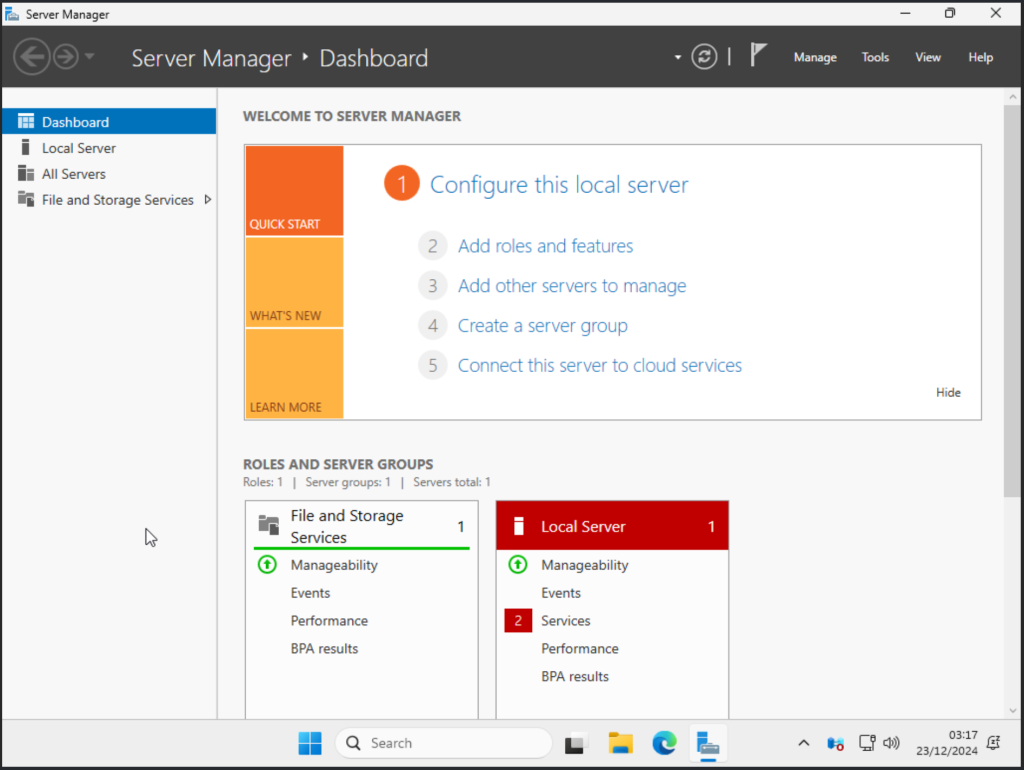
Welcome to Windows Server 2025.
Conclusion
Windows Server 2025 offers new dimensions of performance, security, and scalability to make this OS robust for modern data centers, enterprise environments, and cloud operations. From virtualization and the hosting of applications to more advanced networking, a well-installed and configured server is the bedrock on which whatever deployment scenario chosen shall rest for its reliability and efficiency.
With Windows Server 2025, you’ll have the right tools to build strong infrastructure and, more importantly, manage it to satisfy demanding needs for performance and security in your dynamic information technology environments.
Checkout more articles from our team:





2 thoughts on “Complete Step by Step Guide to Installing Windows Server 2025”
Very good
Thank you Bial, very much appreciated.