WordPress is a free and open-source content management system built on PHP that is extensively used to create free websites and personal blogs. WordPress enables you to develop a website that is personalized to your individual requirements. You may use WordPress to make a blog, a company website, a portfolio, an online store, or anything else. In this guide we’ll walk you through the process of installing WordPress with Nginx and Let’s Encrypt on Debian 12 (Bookworm).
WordPress have the following cool features:
- Pages, posts, products, and more are all unlimited.
- Manage your website’s content with ease.
- Links, movies, and other multimedia can be embedded.
- To create links, paste URLs into the Visual Editor.
- Posting of News and Blogs at One Place.
- Rollback Versioning and Restore Deleted Pages.
- Website security that is managed.
- Dashboard widgets can be added, moved, and deleted.
- Accessibility Mode for Widgets.
- Image retouching.
Install WordPress on Debian 12 (Bookworm) with Nginx and Let’s Encrypt
The following steps will take us through the installation of WordPress on Debian 12 (Bookworm) with Nginx and Let’s Encrypt.
Step 1: Perform System Updates
Run the following commands to update Debian 12 system:
sudo apt update && sudo apt -y full-upgrade
[ -f /var/run/reboot-required ] && echo "Reboot is required" || echo "No reboot is required"
Step 2: Install Nginx on Debian 12
The following command can be used to install the nginx web server:
sudo apt install nginx -yStart and enable nginx after successful installation:
sudo systemctl enable --now nginxStep 3: Install MariaDB Database server on Debian 12
We will install MariaDB database server as follows:
sudo apt install mariadb-server -ySecure your MariaDB:
sudo mysql_secure_installationAccess the root user shell after the database server has been installed:
sudo mysql -u rootNow, create a database and user for WordPress:
CREATE DATABASE WordPressDB;
CREATE USER 'cloudspinx'@'localhost' identified by 'StrongPassword';
GRANT ALL PRIVILEGES ON WordPressDB.* TO 'cloudspinx'@'localhost';
FLUSH PRIVILEGES;
QUIT;
Remember to replace StrongPassword with the password for your database user.
Verify that the user can login to the database using the password provided:
root@debian:~# mysql -u cloudspinx -p
Enter password:
Welcome to the MariaDB monitor.  Commands end with ; or \g.
Your MariaDB connection id is 41
Server version: 10.11.6-MariaDB-0+deb12u1 Debian 12

Copyright (c) 2000, 2018, Oracle, MariaDB Corporation Ab and others.

Type 'help;' or '\h' for help. Type '\c' to clear the current input statement.

MariaDB [(none)]> SHOW DATABASES;
+--------------------+
| Database           |
+--------------------+
| WordPressDB        |
| information_schema |
+--------------------+
2 rows in set (0.001 sec)

MariaDB [(none)]>
Step 4: Install PHP and required Extensions
WordPress is powered by PHP, which comes pre-installed on Debian 12. We’ll set up PHP and the necessary extensions.
sudo apt install php php-{fpm,pear,cgi,common,zip,mbstring,net-socket,gd,xml-util,mysql,bcmath}Step 5: Download and Install WordPress on Debian 12
Before we can proceed let’s install the following packages first:
sudo apt install wget vim -yDownload the latest WordPress as follows in it’s Download’s page:
wget https://wordpress.org/latest.tar.gzRun the following command to extract the archive when it has been downloaded successfully:
tar xvf latest.tar.gzMove the resulting directory to your Web Document Root:
sudo mv wordpress /var/www/html/wordpressConfigure WordPress Database connection:
cd /var/www/html/wordpress
sudo cp wp-config-sample.php wp-config.php
Edit wp-config.php and make the following changes:
$ sudo vim wp-config.php
define('DB_NAME', 'WordPressDB');
define('DB_USER', 'cloudspinx');
define('DB_PASSWORD', 'StrongPassword');
Remember to replace according to your WordPress database created above. Change the owner of /var/www/html/wordpress to a web user:
sudo chown -R www-data:www-data /var/www/html/wordpressStep 6: Configure Nginx Web Server and Finish WordPress installation
We’ll need to create a Virtual Host configuration file for our WordPress website.
sudo vim /etc/nginx/conf.d/wordpress.confAdd the following content:
server {
    listen 80;
    listen [::]:80;
    server_name  worpress.example.com www.worpress.example.com;
    root /var/www/html/wordpress;
    index  index.php index.html index.htm;
    access_log /var/log/nginx/wpress_access.log;
    error_log /var/log/nginx/wpress_error.log;

    client_max_body_size 100M;
    autoindex off;
    location / {
        try_files $uri $uri/ /index.php?$args;
    }

    location ~ \.php$ {
         include snippets/fastcgi-php.conf;
         fastcgi_pass unix:/var/run/php/php8.2-fpm.sock;
         fastcgi_param SCRIPT_FILENAME $document_root$fastcgi_script_name;
         include fastcgi_params;
    }
}
Remember to replace example.com with your own domain name and /var/run/php/php8.2-fpm.sock with the appropriate php version installed in your system. Save the file and exit.
Now verify the configuration syntax above:
$ sudo nginx -t
nginx: the configuration file /etc/nginx/nginx.conf syntax is ok
nginx: configuration file /etc/nginx/nginx.conf test is successful
Restart Nginx Web server:
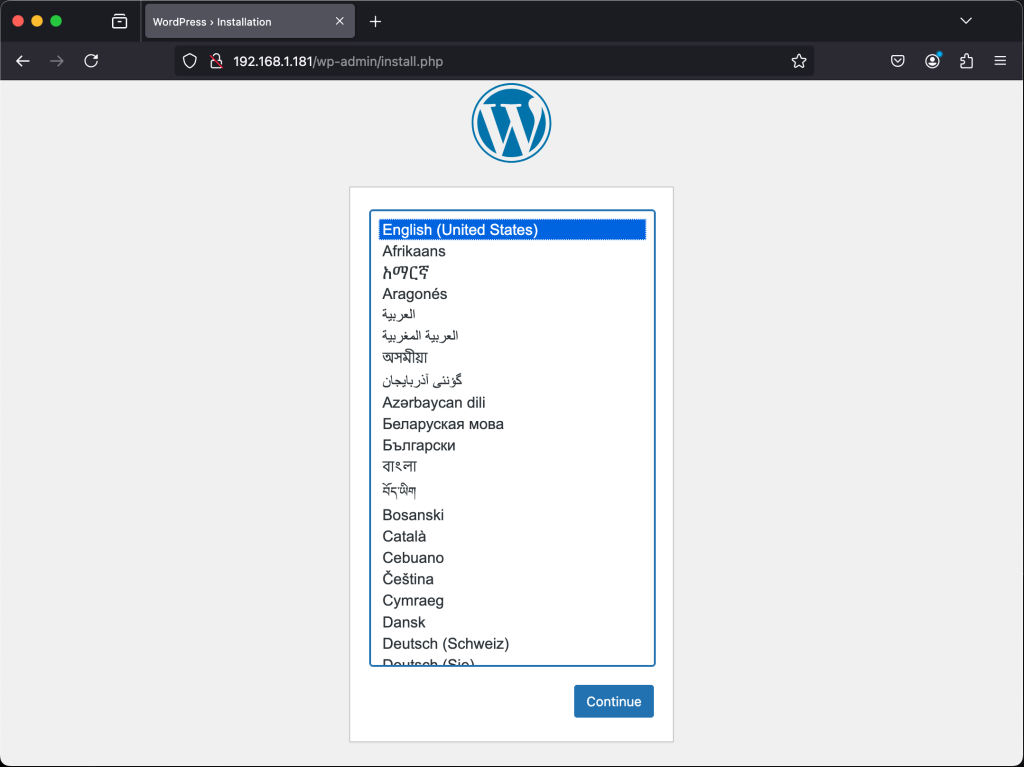
sudo systemctl restart nginxTo finish installing WordPress on Debian 12, open a browser and go to http://your-server-ip> to access your WordPress site.
Choose your preferred Language:
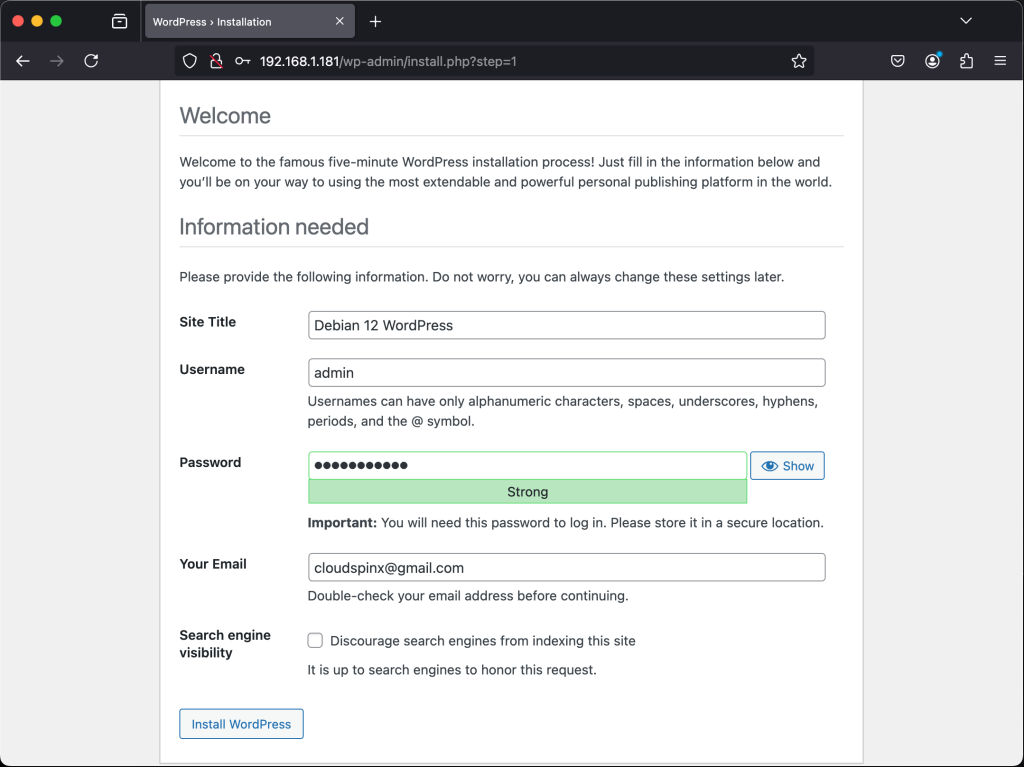
Provide Site Title, Admin username, Password and Email Address. To complete WordPress installation, click the Install WordPress button.
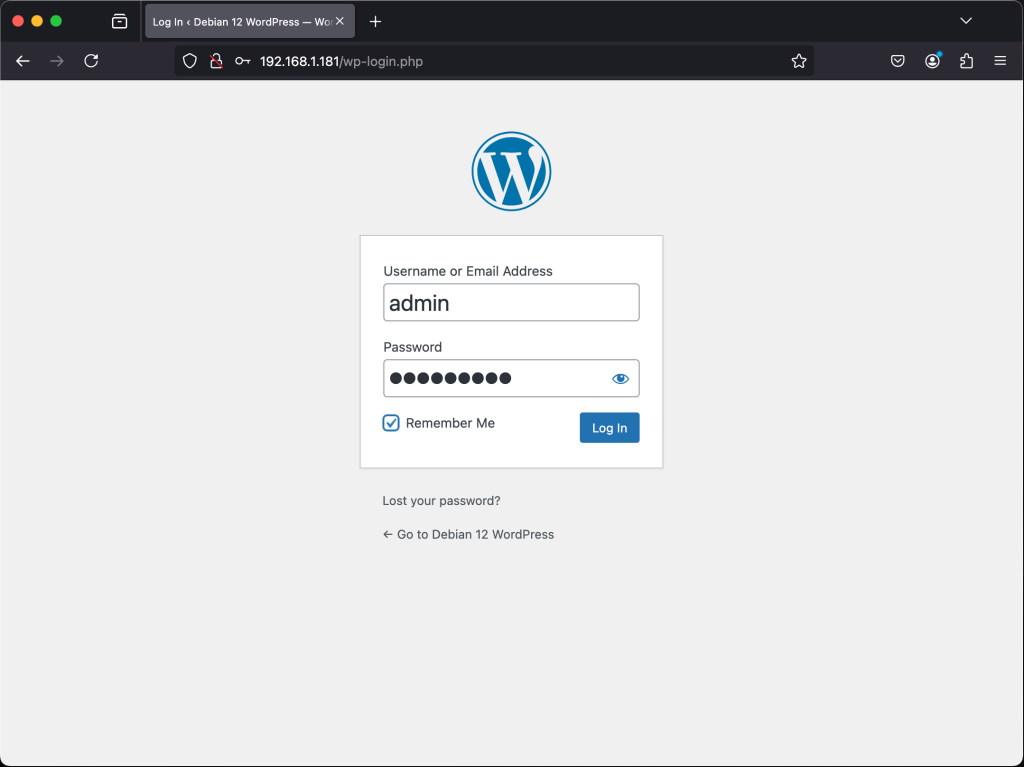
Use the username and password you created to access the WordPress Administration Dashboard.
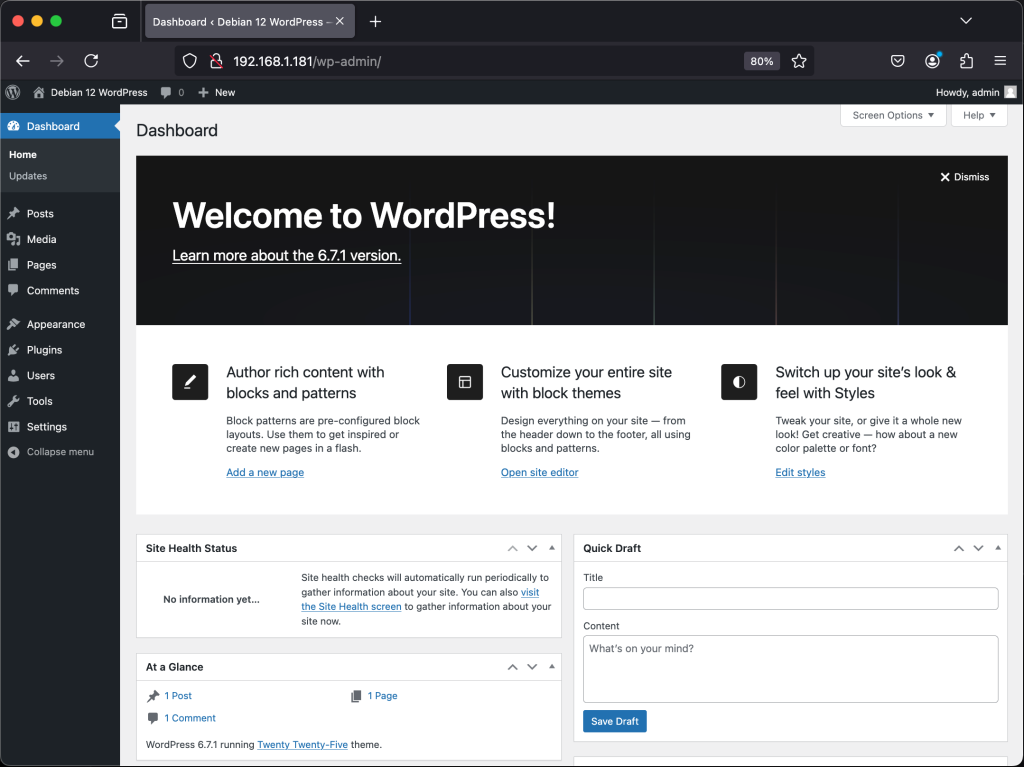
You should now be on the WordPress Dashboard, which is as seen below.
Changing WordPress Permalink
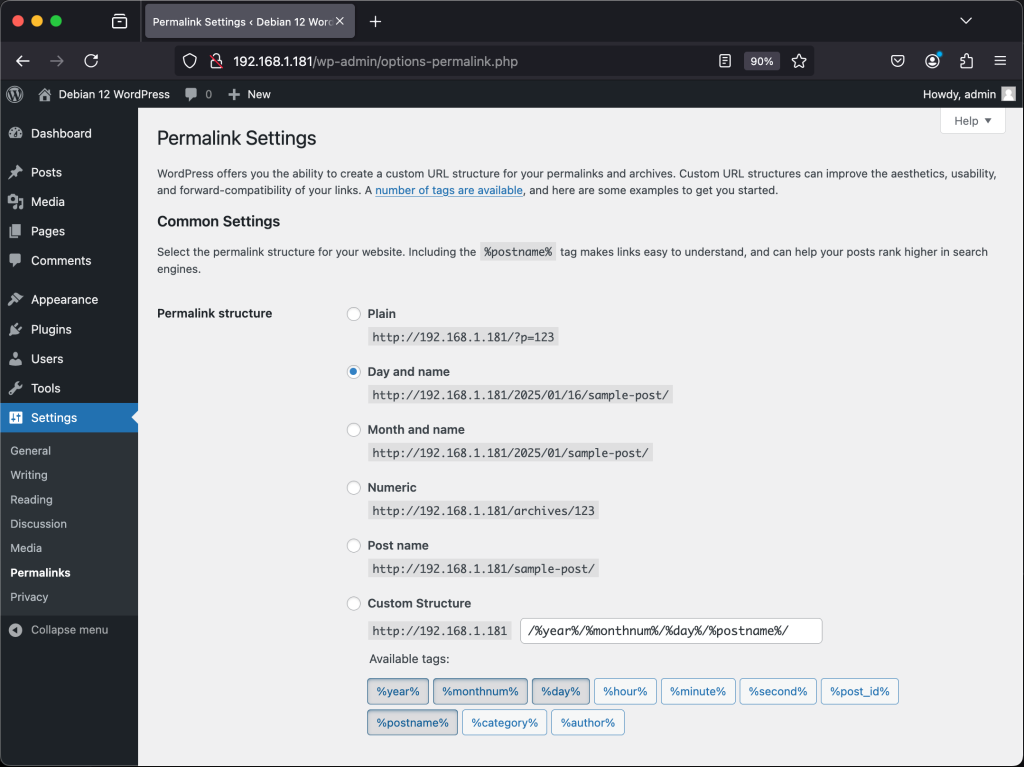
To set permalinks, click on Settings ->Permalinks and adjust accordingly.
Changing WordPress Password and Email
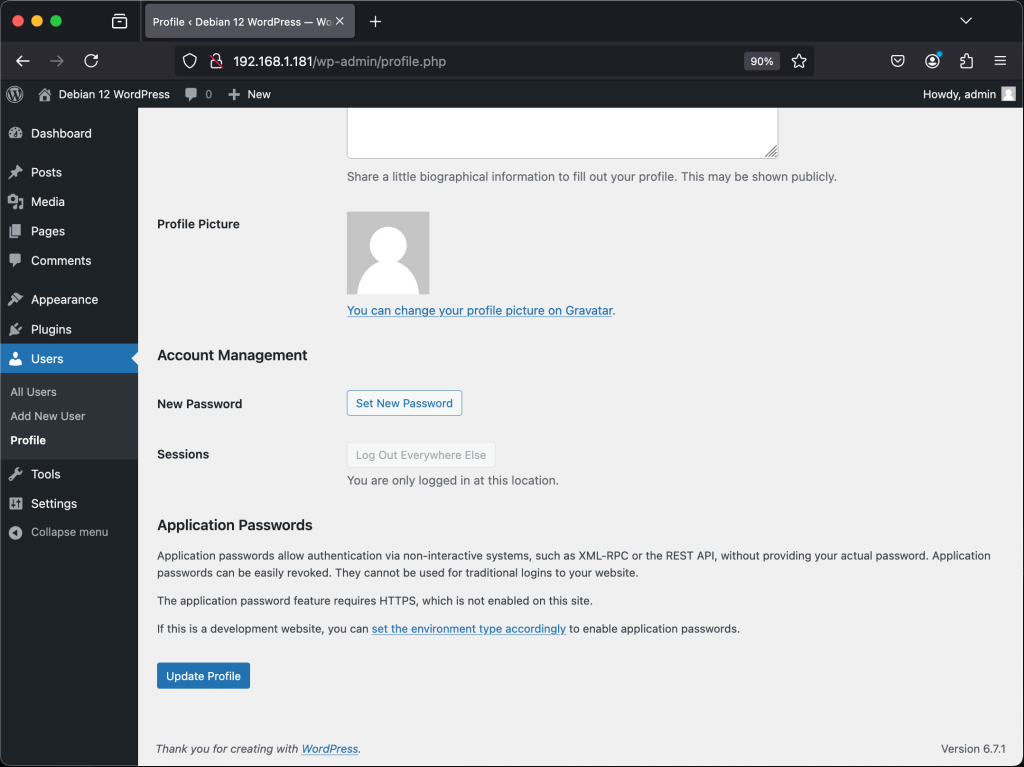
To change password and email, click on Users ->Profile.
Changing WordPress Themes
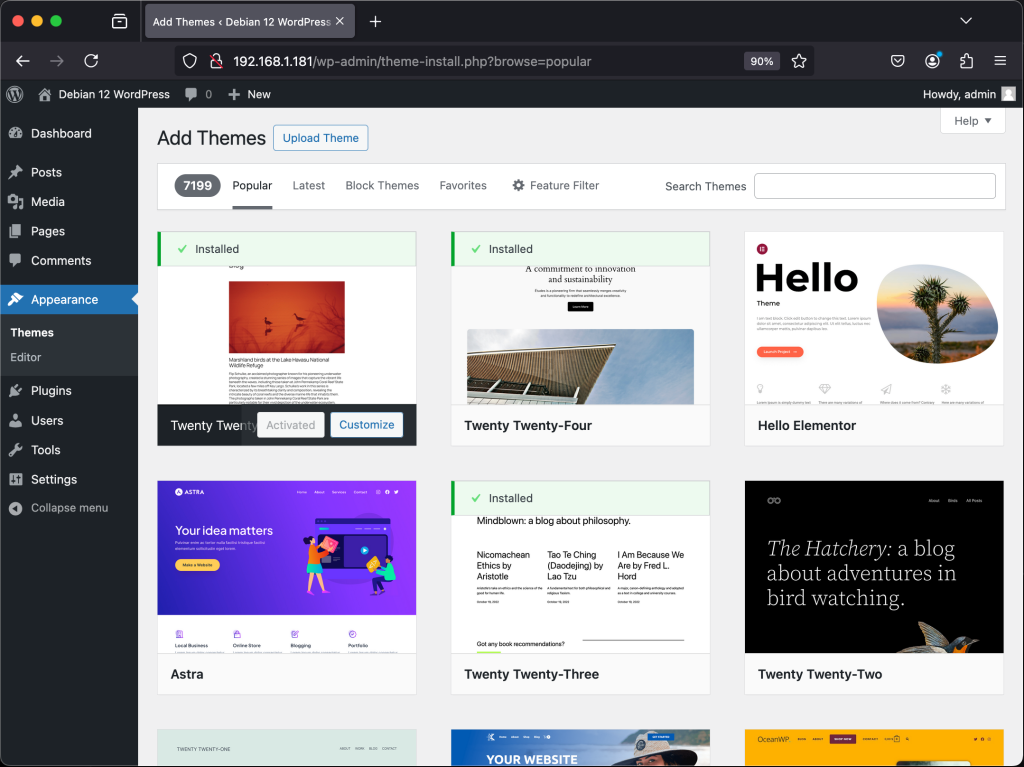
Click on Appearance ->Themes and install your favorite theme.
Installing WordPress Plugins
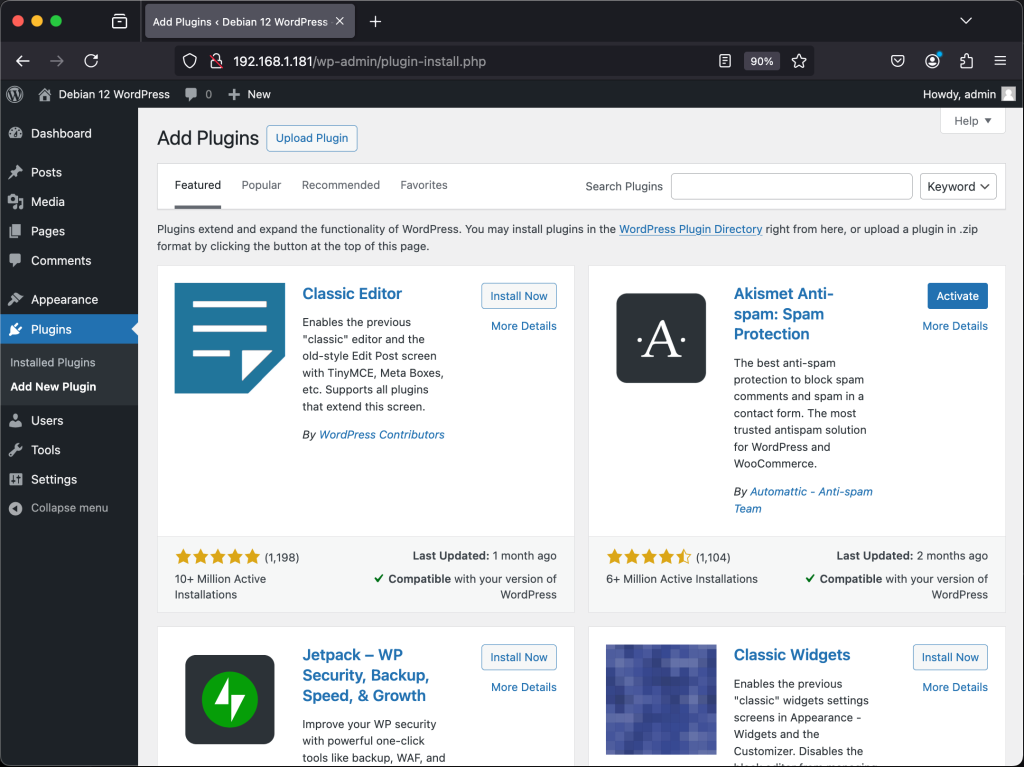
Click on Plugins -> Add New and select the plugin to install.
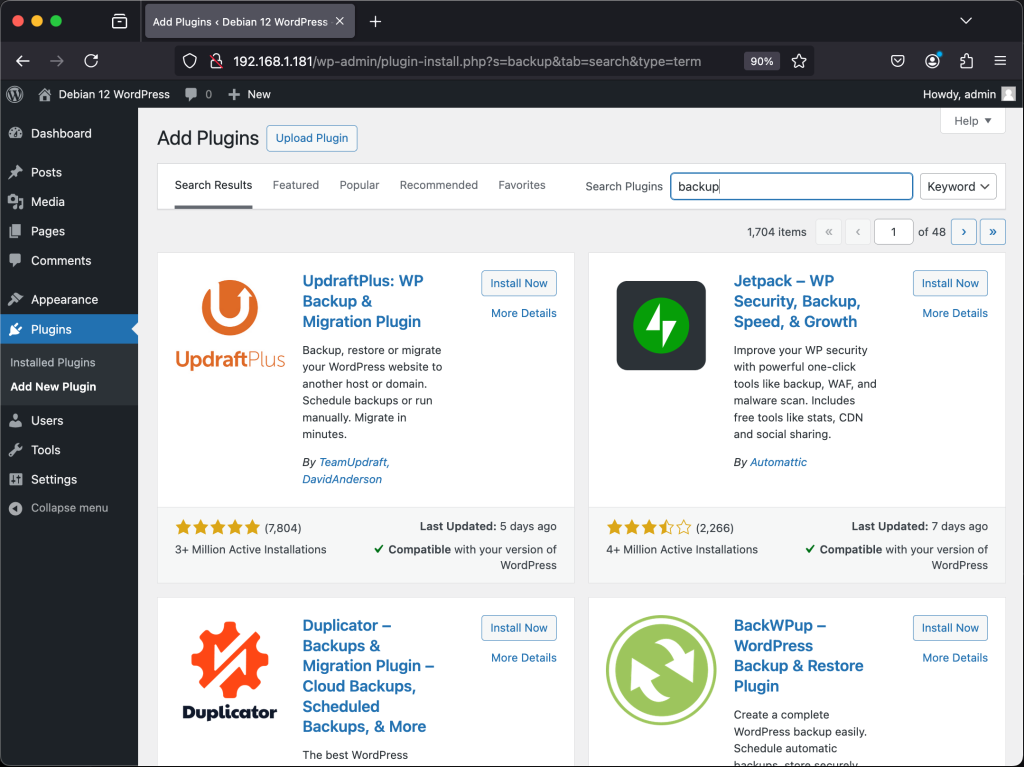
Configuring WordPress Backups
Backups can be done by installing backup plugin as shown below.
Secure WordPress Site with Let’s Encrypt SSL on Debian 12
To protect our WordPress site, we’ll utilize the Certbot tool to install Let’s Encrypt SSL and generate a free SSL certificate. Use the following command to install the Certbot tool:
sudo apt install certbot python3-certbot-nginxLet’s generate a free Let’s Encrypt SSL certificate for Nginx after installing Certbot.
sudo certbot --nginxYou will be asked to provide your email address, which you should do, as well as a series of questions.
Saving debug log to /var/log/letsencrypt/letsencrypt.log
Plugins selected: Authenticator nginx, Installer nginx
Enter email address (used for urgent renewal and security notices)
 (Enter 'c' to cancel): [email protected]

- - - - - - - - - - - - - - - - - - - - - - - - - - - - - - - - - - - - - - - -
Please read the Terms of Service at
https://letsencrypt.org/documents/LE-SA-v1.4-April-3-2024.pdf. You must
agree in order to register with the ACME server. Do you agree?
- - - - - - - - - - - - - - - - - - - - - - - - - - - - - - - - - - - - - - - -
(Y)es/(N)o: Y

- - - - - - - - - - - - - - - - - - - - - - - - - - - - - - - - - - - - - - - -
Would you be willing, once your first certificate is successfully issued, to
share your email address with the Electronic Frontier Foundation, a founding
partner of the Let's Encrypt project and the non-profit organization that
develops Certbot? We'd like to send you email about our work encrypting the web,
EFF news, campaigns, and ways to support digital freedom.
- - - - - - - - - - - - - - - - - - - - - - - - - - - - - - - - - - - - - - - -
(Y)es/(N)o: Y
Account registered.

Which names would you like to activate HTTPS for?
- - - - - - - - - - - - - - - - - - - - - - - - - - - - - - - - - - - - - - - -
1: wordpress.example.com
2: www.wordpress.example.com
- - - - - - - - - - - - - - - - - - - - - - - - - - - - - - - - - - - - - - - -
Select the appropriate numbers separated by commas and/or spaces, or leave input
blank to select all options shown (Enter 'c' to cancel): 1
Requesting a certificate for wordpress.example.com
Performing the following challenges:
http-01 challenge for wordpress.example.com
Waiting for verification...
Cleaning up challenges
Deploying Certificate to VirtualHost /etc/nginx/conf.d/wordpress.conf
Redirecting all traffic on port 80 to ssl in /etc/nginx/conf.d/wordpress.conf

- - - - - - - - - - - - - - - - - - - - - - - - - - - - - - - - - - - - - - - -
Congratulations! You have successfully enabled https://wordpress.example.com
- - - - - - - - - - - - - - - - - - - - - - - - - - - - - - - - - - - - - - - -
Subscribe to the EFF mailing list (email: [email protected]).

IMPORTANT NOTES:
 - Congratulations! Your certificate and chain have been saved at:
   /etc/letsencrypt/live/wordpress.example.com/fullchain.pem
   Your key file has been saved at:
   /etc/letsencrypt/live/wordpress.example.com/privkey.pem
   Your certificate will expire on 2028-07-28. To obtain a new or
   tweaked version of this certificate in the future, simply run
   certbot again with the "certonly" option. To non-interactively
   renew *all* of your certificates, run "certbot renew"
 - If you like Certbot, please consider supporting our work by:

   Donating to ISRG / Let's Encrypt:   https://letsencrypt.org/donate
   Donating to EFF:                    https://eff.org/donate-le
As previously mentioned, we used Let’s Encrypt SSL to secure our WordPress site. You can now access your WordPress site using https://your_server_FQDN/ link.
Conclusion
Fantastic! To this point, we’ve shown how to install WordPress on Debian 12 using Nginx and Let’s Encrypt SSL, as well as how to protect WordPress with Let’s Encrypt SSL. We hope you found the information in this guide to be helpful.
Amazing Guides:


