This guide aims to demonstrate how to install and configure the WordPress content management system (CMS) on Ubuntu 24.04|22.04 with Nginx as well as secure it with Let’s Encrypt SSL.
WordPress is one of the highly used free and open-source content management systems around the world. This toll powers about 33% of the top 10 million websites. WordPress is written in PHP and uses MySQL/MariaDB to store its data. Furthermore, it comes with a lot of features, innumerable plugins, and themes to help you create an online website/store in the simplest way possible.
The amazing features and benefits associated with WordPress CMS are:
- Easy to manage – using the intuitive WordPress CMS, you can log in from any modern browser and make changes to your website without programming knowledge.
- Integrated News & Blog Posting – use the built-in blogging and blog category management to easily add/edit/remove the content as you need to. Add news articles on an ongoing basis directly from your browser.
- Flexible Post Scheduling – Posts can be scheduled to display at later specific dates/times so that you can create content ahead of time and schedule.
- Restore Deleted Pages & Rollback Versioning – restore deleted page content before it is deleted permanently and even roll back page text to previous versions using built-in version control features.
- Easily Add Additional Website Editors – easily add/edit/remove additional editors to give others within your organization the ability to manage your website content.
- Unlimited Pages, Posts, Products – add images, text, files, links, and embed media right on the content areas without being restricted on the number of pages, posts, or products that you can add.
- Managed Website Security – as part of the WordPress managed web hosting services, WordPress’s CMS security, backups, core upgrades, and updates are taken care of for you.
- Stability & Reliability – The third-party plugins are reviewed and tested to help prevent security risks and minimize performance impacts on your website.
- Automatic Backups – to prevent data loss, automatic daily site-level backups, as well as bare-metal backups, are taken.
Use the below steps to install WordPress with Nginx and Let’s Encrypt on Ubuntu 24.04|22.04.
#1. Update your System
Before we dive into the crux of the matter, we need to ensure that the system packages are updated to the latest available versions.
sudo apt update && sudo apt upgrade -y
[ -f /var/run/reboot-required ] && echo "Reboot is required" || echo "No reboot is required"
#2. Install Nginx, PHP, and Extensions
PHP and its extensions are required to run WordPress.
Option 1: Install PHP from OS repos
You can install PHP available in the default Ubuntu repositories using the command;
sudo apt install -y nginx php-dom php-simplexml php-ssh2 php-xml php-xmlreader php-curl php-exif php-ftp php-gd php-iconv php-imagick php-json php-mbstring php-posix php-sockets php-tokenizer php-fpm php-mysql php-gmp php-intl php-cliConfirm installed PHP version:
$ php --version
PHP 8.3.6 (cli) (built: Dec  2 2024 12:36:18) (NTS)
Copyright (c) The PHP Group
Zend Engine v4.3.6, Copyright (c) Zend Technologies
    with Zend OPcache v8.3.6, Copyright (c), by Zend Technologies
Option 2: Install PHP from ondrej PPA repo
For those who want the latest version, PHP 8, add the third-party repository below:
sudo apt install software-properties-common
sudo add-apt-repository ppa:ondrej/php
From the repository, install PHP and the web server.
sudo apt install -y nginx php-{fpm,common,mysql,gmp,curl,intl,mbstring,xmlrpc,gd,xml,cli,zip}Configure PHP on your system
Once installed, make the below PHP configurations:
sudo vim /etc/php/*/fpm/php.iniMake the below adjustments:
file_uploads = On
upload_max_filesize = 100M
allow_url_fopen = On
short_open_tag = On
memory_limit = 256M
cgi.fix_pathinfo = 0
max_execution_time = 360
date.timezone = Africa/Nairobi
Save the file, start and enable PHP-FPM.
sudo systemctl restart php*-fpm.serviceVerify if the service is running:
$ systemctl status php*-fpm.service
● php8.3-fpm.service - The PHP 8.3 FastCGI Process Manager
     Loaded: loaded (/usr/lib/systemd/system/php8.3-fpm.service; enabled; preset: enabled)
     Active: active (running) since Thu 2025-01-16 11:28:51 UTC; 23s ago
       Docs: man:php-fpm8.3(8)
    Process: 31463 ExecStartPost=/usr/lib/php/php-fpm-socket-helper install /run/php/php-fpm.sock /etc/php/8.3/fpm/pool.d/www.conf 83 (code=exited, status=0/SUCCESS)
   Main PID: 31458 (php-fpm8.3)
     Status: "Processes active: 0, idle: 2, Requests: 0, slow: 0, Traffic: 0req/sec"
      Tasks: 3 (limit: 7026)
     Memory: 11.7M (peak: 12.6M)
        CPU: 73ms
     CGroup: /system.slice/php8.3-fpm.service
             ├─31458 "php-fpm: master process (/etc/php/8.3/fpm/php-fpm.conf)"
             ├─31461 "php-fpm: pool www"
             └─31462 "php-fpm: pool www"

Jan 16 11:28:51 ubuntu-noble systemd[1]: Starting php8.3-fpm.service - The PHP 8.3 FastCGI Process Manager...
Jan 16 11:28:51 ubuntu-noble systemd[1]: Started php8.3-fpm.service - The PHP 8.3 FastCGI Process Manager.
#3. Install and Configure MariaDB Database server
WordPress uses MySQL/MariaDB database to store ist data. In this guide, we will use the MariaDB database, which can be installed as below:
sudo apt install -y mariadb-server mariadb-clientOnce installed, start and enable MariaDB:
sudo systemctl start mariadb
sudo systemctl enable mariadb
Harden the instance.
$ sudo mysql_secure_installation
.....
Enter current password for root (enter for none): Just press Enter
Set root password? [Y/n] Y
New password: xxx << Enter Password
Re-enter new password: xxx << Re-Enter Password
.....
Remove anonymous users? [Y/n] Y
....
Disallow root login remotely? [Y/n] Y
.....
Remove test database and access to it? [Y/n] Y
.....
Reload privilege tables now? [Y/n] Y
....
Thanks for using MariaDB!
Now create the database for WordPress:
sudo mysql -u root -pOnce in the MariaDB shell, execute the below commands to create a database for WordPress CMS.
CREATE DATABASE WordPressDB;
CREATE USER 'Cloudspinx'@'localhost' IDENTIFIED BY '********';
GRANT ALL ON WordPressDB.* TO 'Cloudspinx'@'localhost' WITH GRANT OPTION;
FLUSH PRIVILEGES;
EXIT
Remember to replace WordPressDB with the appropriate database name, Cloudspinx with the database username, and ******** with the appropriate user password.
#4. Download WordPress on Ubuntu 24.04|22.04
We will then proceed and pull the latest archive file for WordPress on Ubuntu 24.04|22.04 using the command below:
cd /tmp
wget https://wordpress.org/latest.tar.gz
Once downloaded, extract the file and move it to the /var/www directory
tar -xvzf latest.tar.gz
sudo mv wordpress /var/www/wordpress
Set the correct permissions for the directory:
sudo chown -R www-data:www-data /var/www/wordpress/
sudo chmod -R 755 /var/www/wordpress/
#5. Configure Nginx Web server on Ubuntu 24.04|22.04
We need to configure the Nginx web server to serve WordPress. Create a Virtual Host file for WordPress as below:
sudo vim /etc/nginx/conf.d/wordpress.confAdd the following configurations to the file:
server {
    listen 80;
    listen [::]:80;
    server_name  example.com www.example.com;
    root /var/www/wordpress;
    index  index.php index.html index.htm;
    access_log /var/log/nginx/wpress_access.log;
    error_log /var/log/nginx/wpress_error.log;

    client_max_body_size 100M;
    autoindex off;
    location / {
        try_files $uri $uri/ /index.php?$args;
    }

    location ~ \.php$ {
         include snippets/fastcgi-php.conf;
         fastcgi_pass unix:/var/run/php/php8.3-fpm.sock;
         fastcgi_param SCRIPT_FILENAME $document_root$fastcgi_script_name;
         include fastcgi_params;
    }
}
Remember to replace example.com with your own domain name and /var/run/php/php8.3-fpm.sock with /var/run/php/php8.4-fpm.sock for PHP 8.4. Save the file and exit.
Check the syntax of the file:
$ sudo nginx -t
nginx: the configuration file /etc/nginx/nginx.conf syntax is ok
nginx: configuration file /etc/nginx/nginx.conf test is successful
Restart Nginx:
sudo systemctl restart nginx#6. Access the WordPress Web Installer
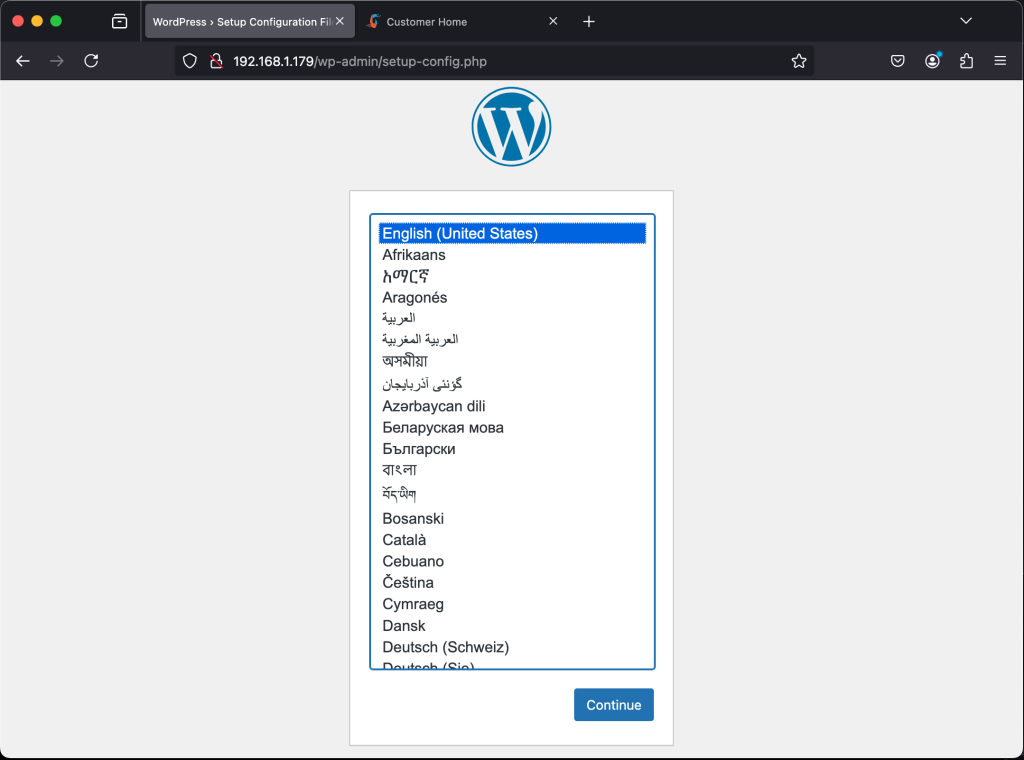
At this point, WordPress should be accessible using the URL http://domain_name. Select the preferred language.
Click Let’s Go and proceed.
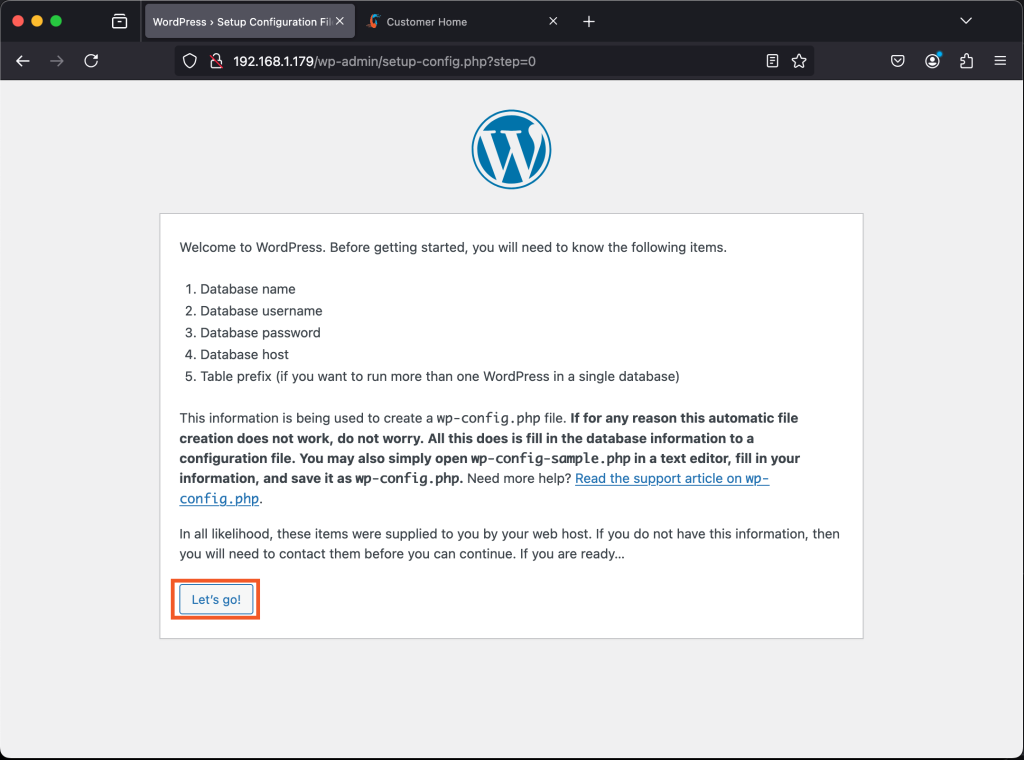
Provide the database details for WordPress.
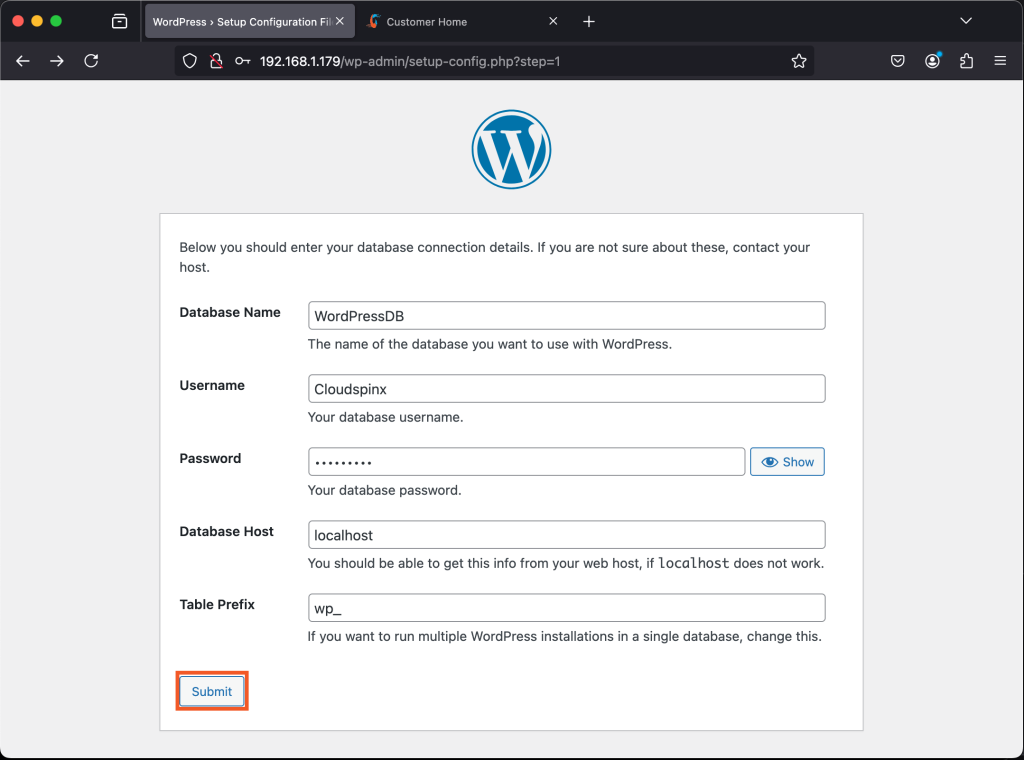
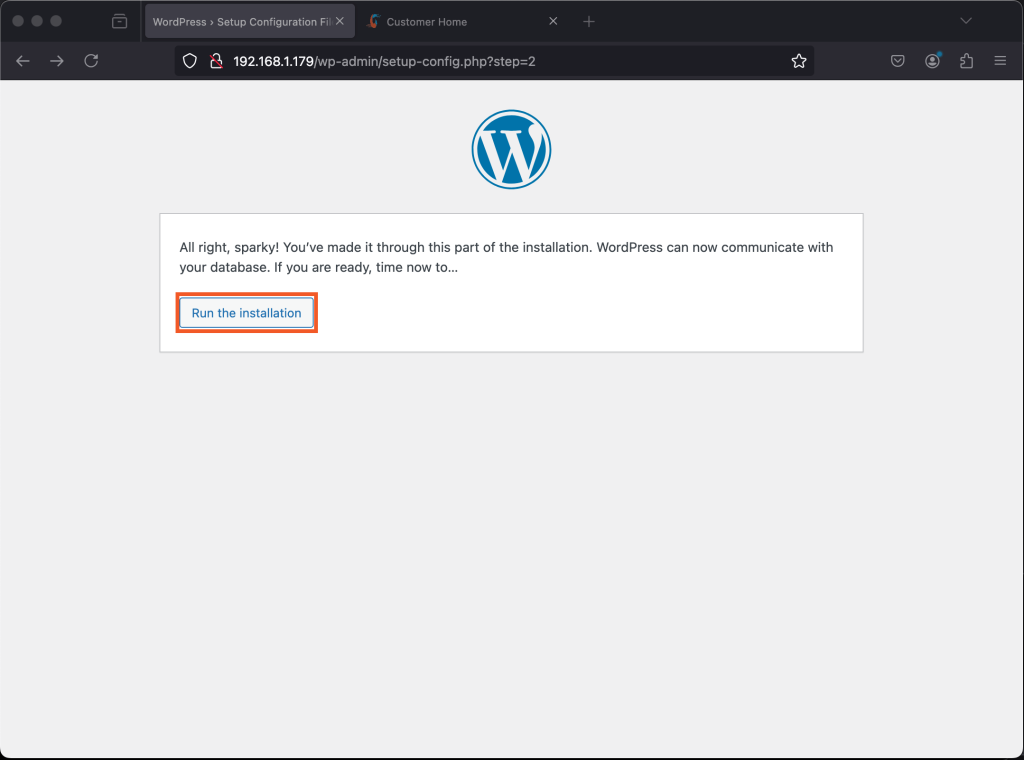
If the connection is successful, you will see this:
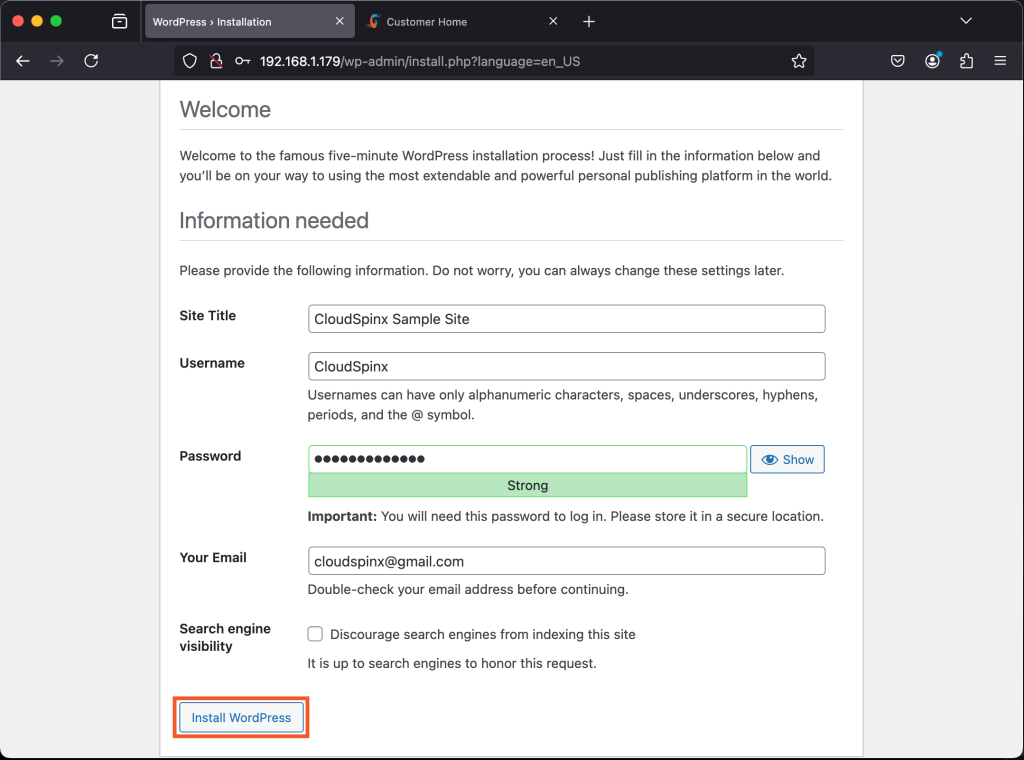
Now create your WordPress site and admin account and click install WordPress
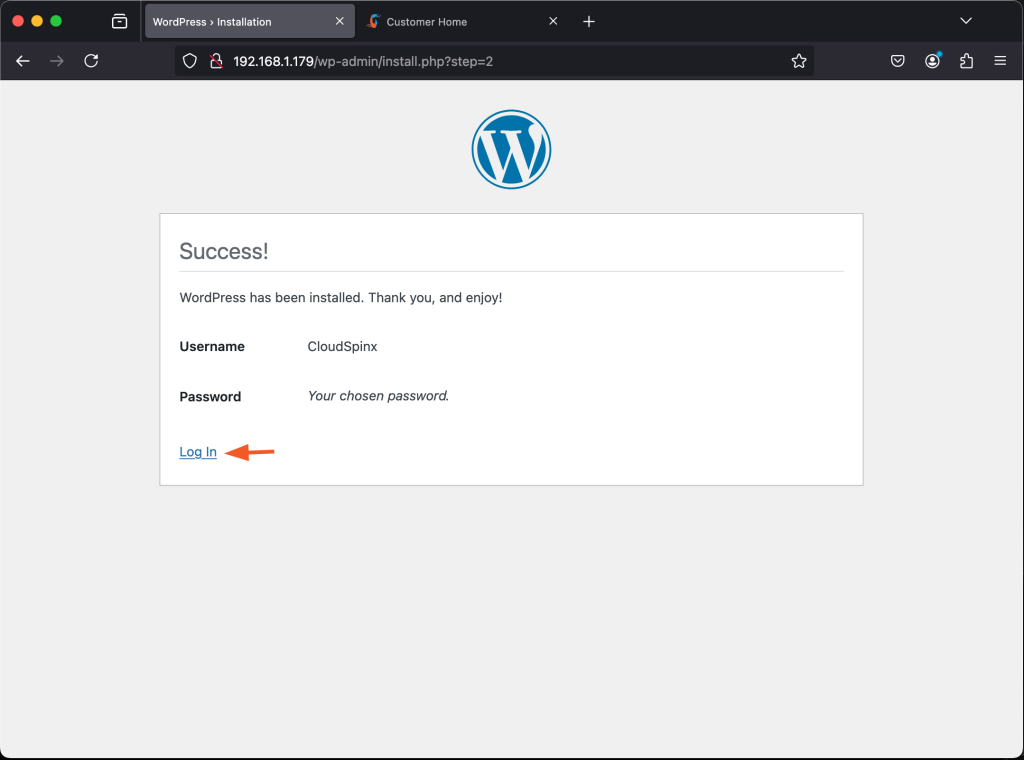
Once the installation is complete, you can log in to WordPress Admin.
#7. Access and Use WordPress on Ubuntu 24.04|22.04
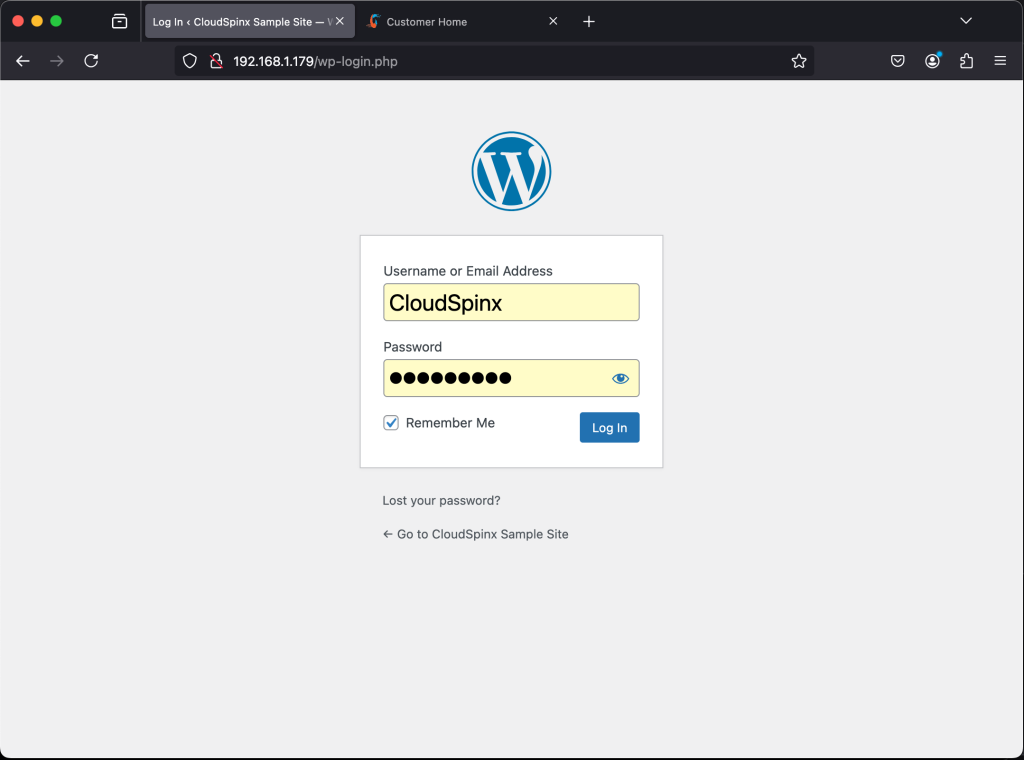
Log in by providing the created admin credentials.
The WordPress admin console will appear as below:
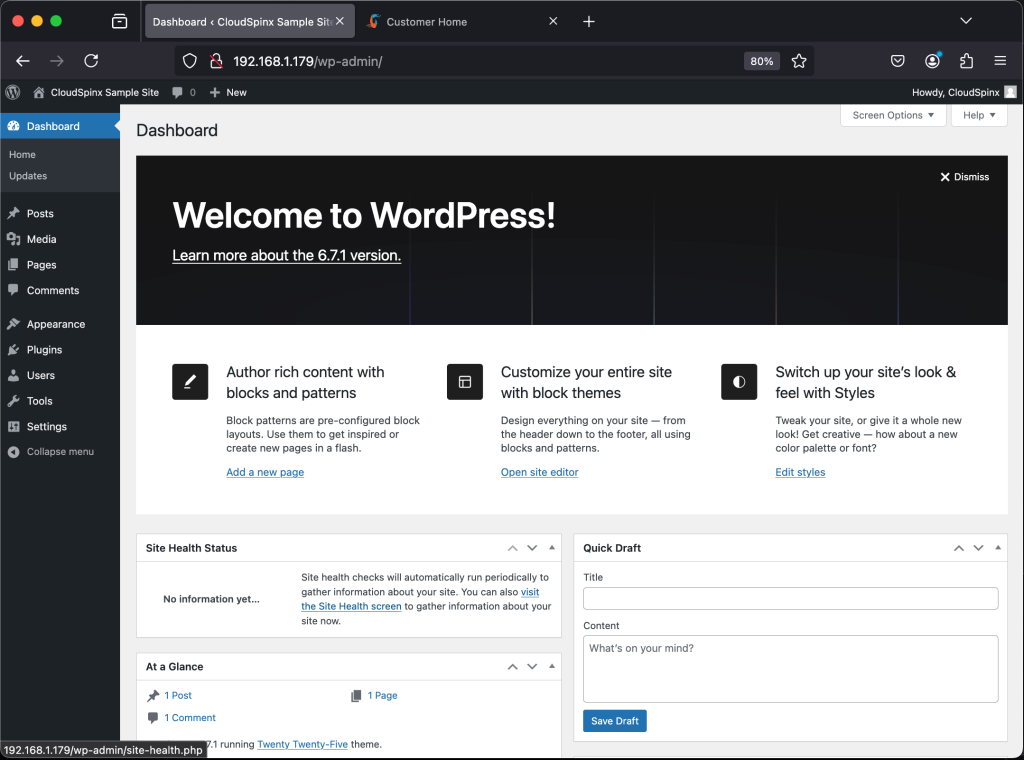
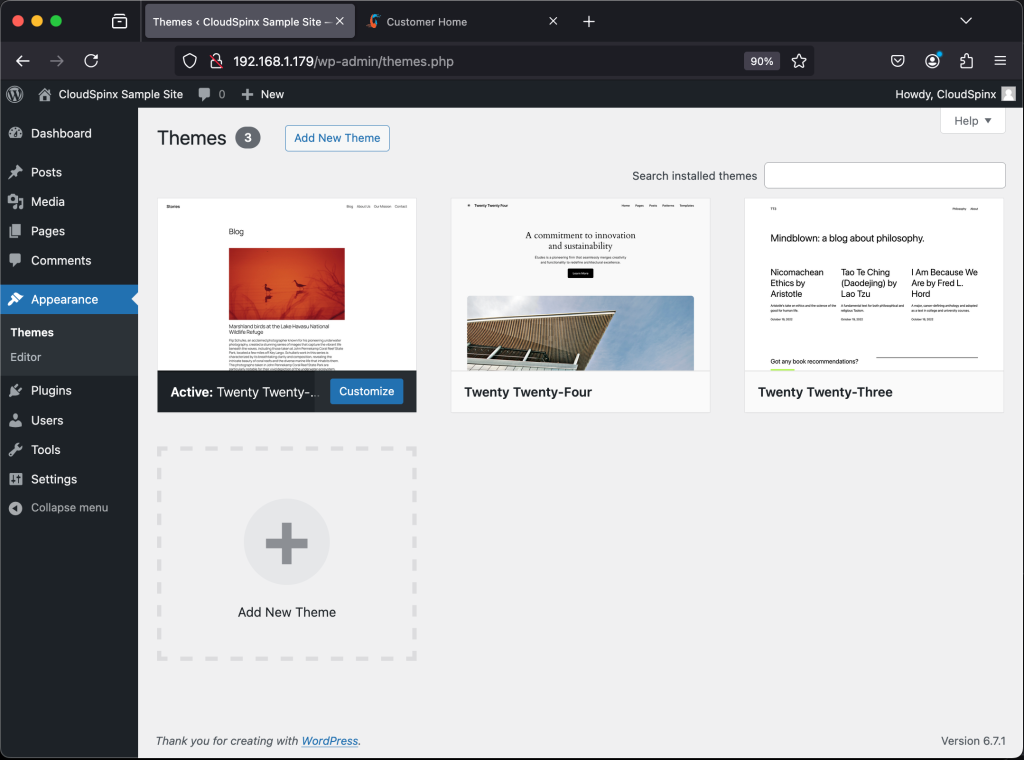
Now here, you can customize your site as preferred. Customize the website under the appearance tab. Here you can set the theme, background, widgets, and customize your page accordingly.
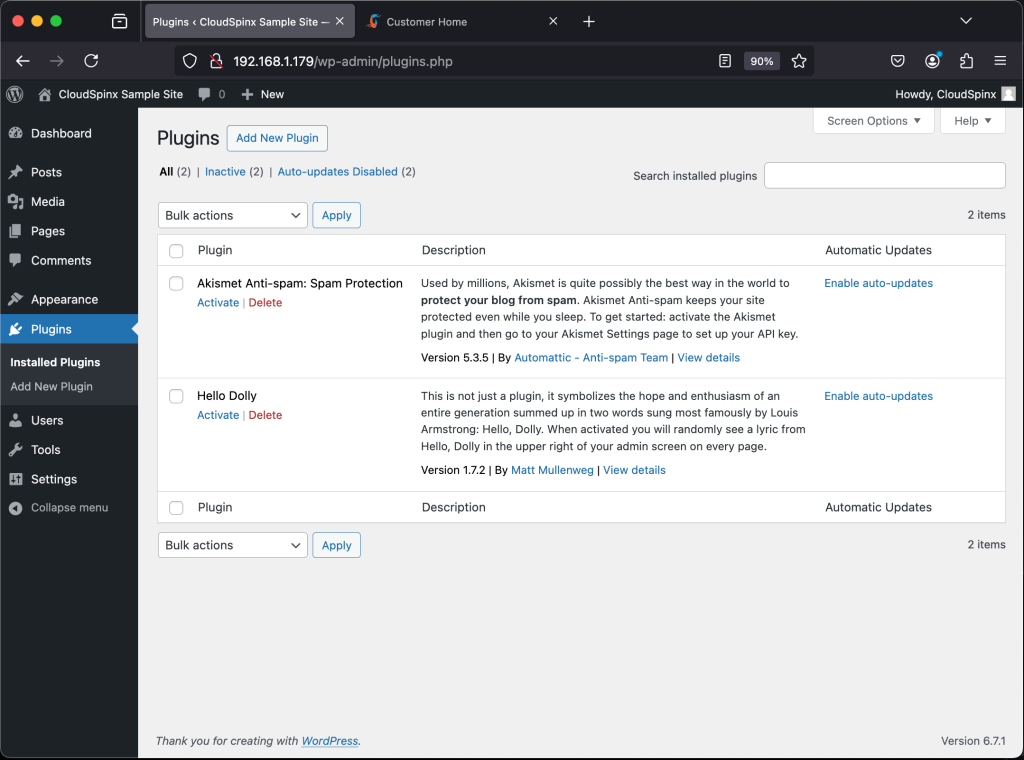
Add desired plugins in the Plugins tab
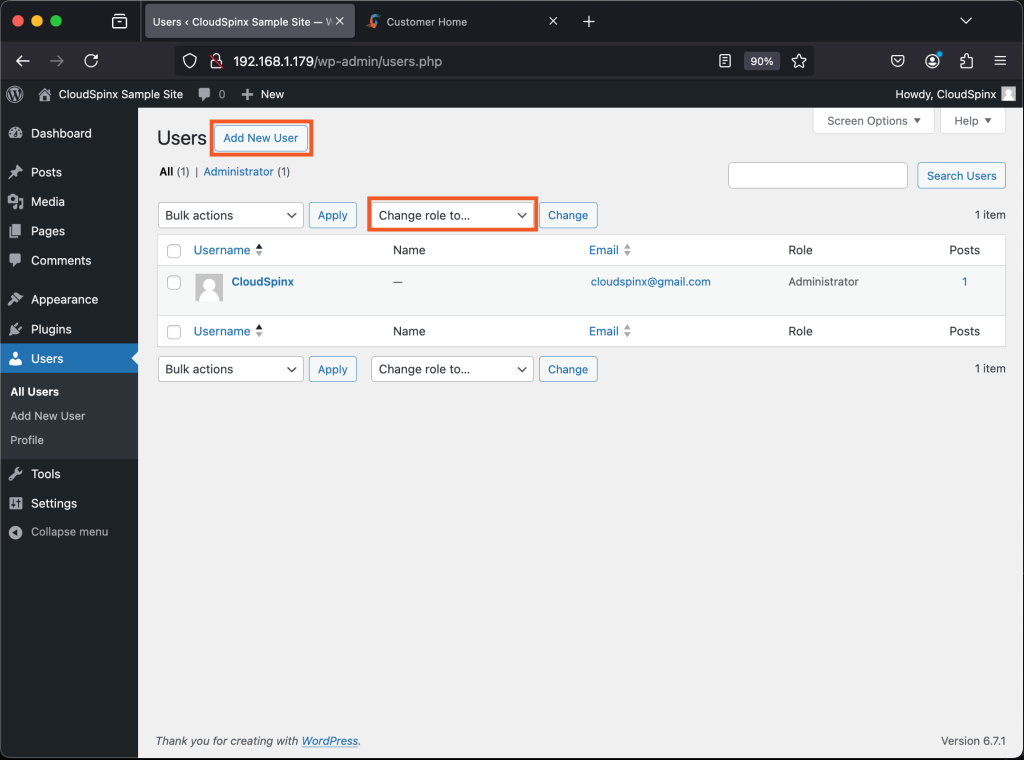
You can also add users and assign them a role as subscriber, contributor, author, editor, or administrator.
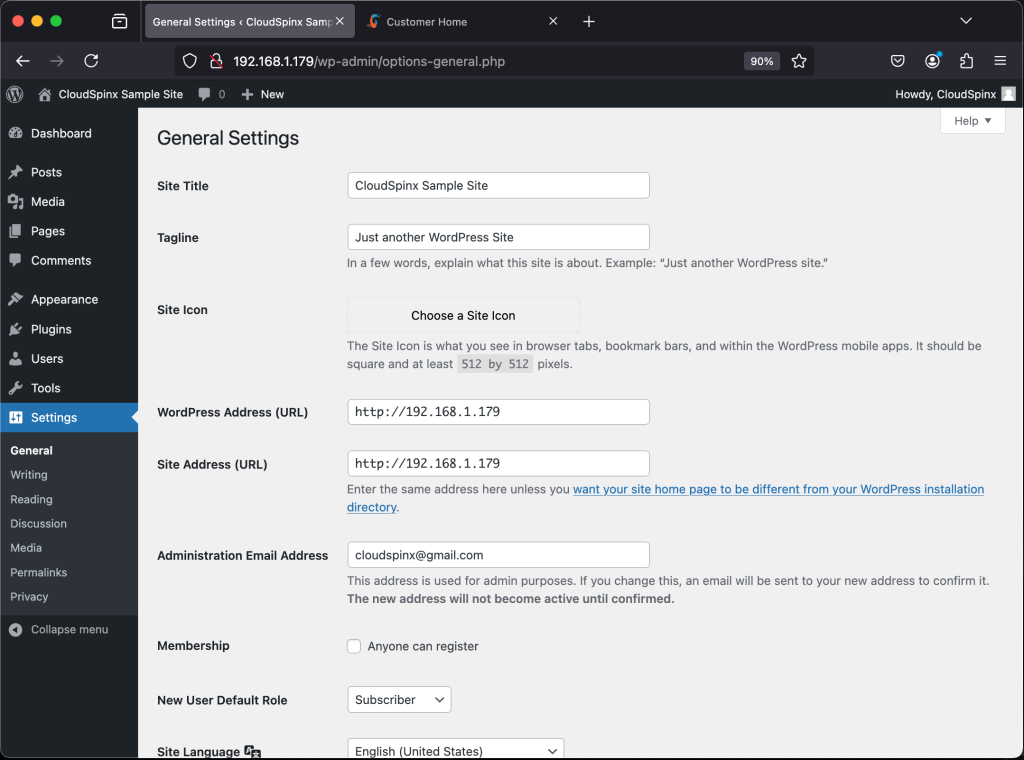
Make settings to your website in the settings tab. Here, you can make several settings. For example in the general settings tab, you can set the site title, site URL, site tagline e.t.c
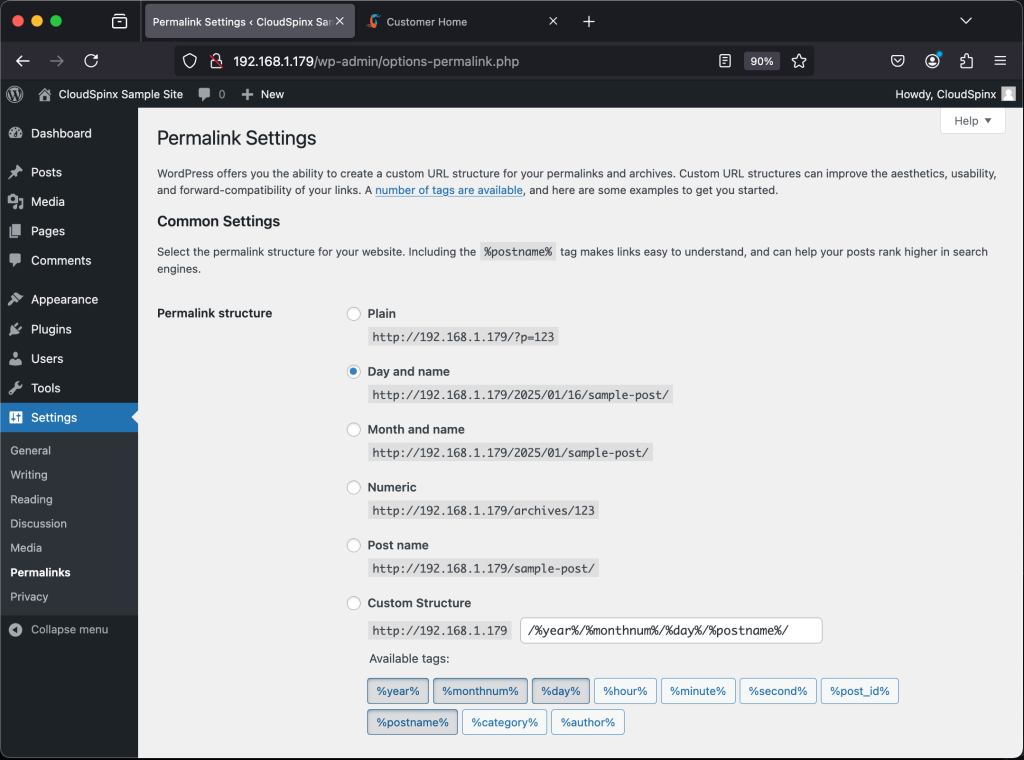
Under Settings, you can also set the Permalink(permanent link). Once this is set, the post will not expose the post ID which at times may change on a different system. The Permalink contains a user-friendly post name obtained from the post title.
Save the changes made and proceed to manage blogs/posts, by clicking on Posts.
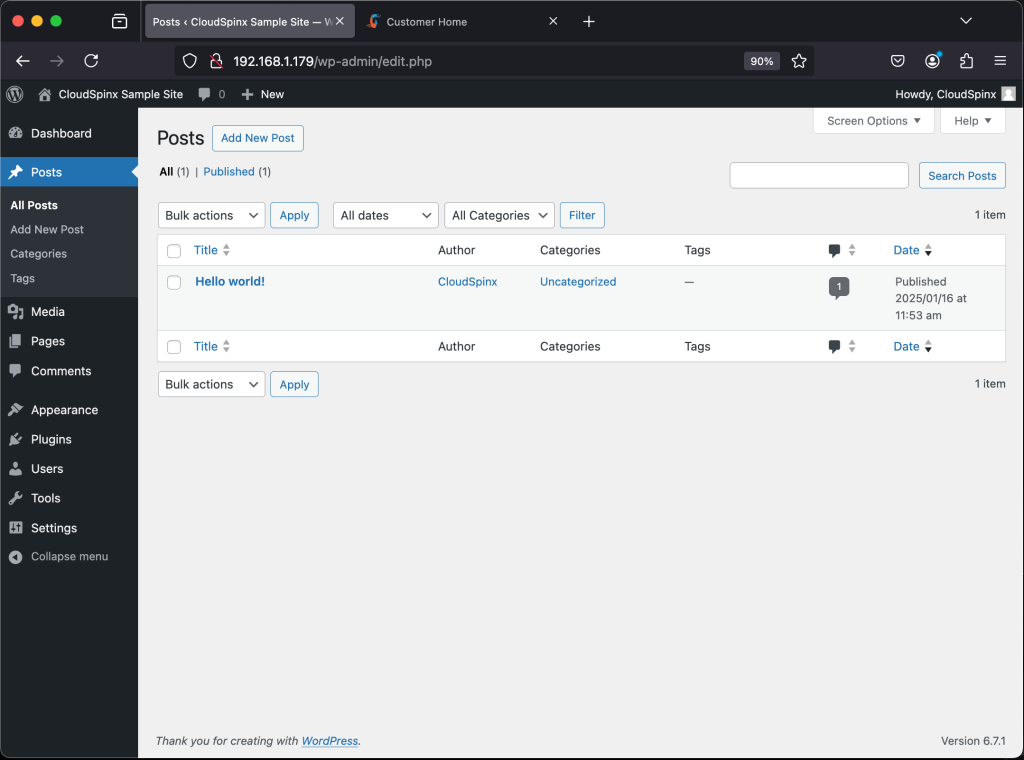
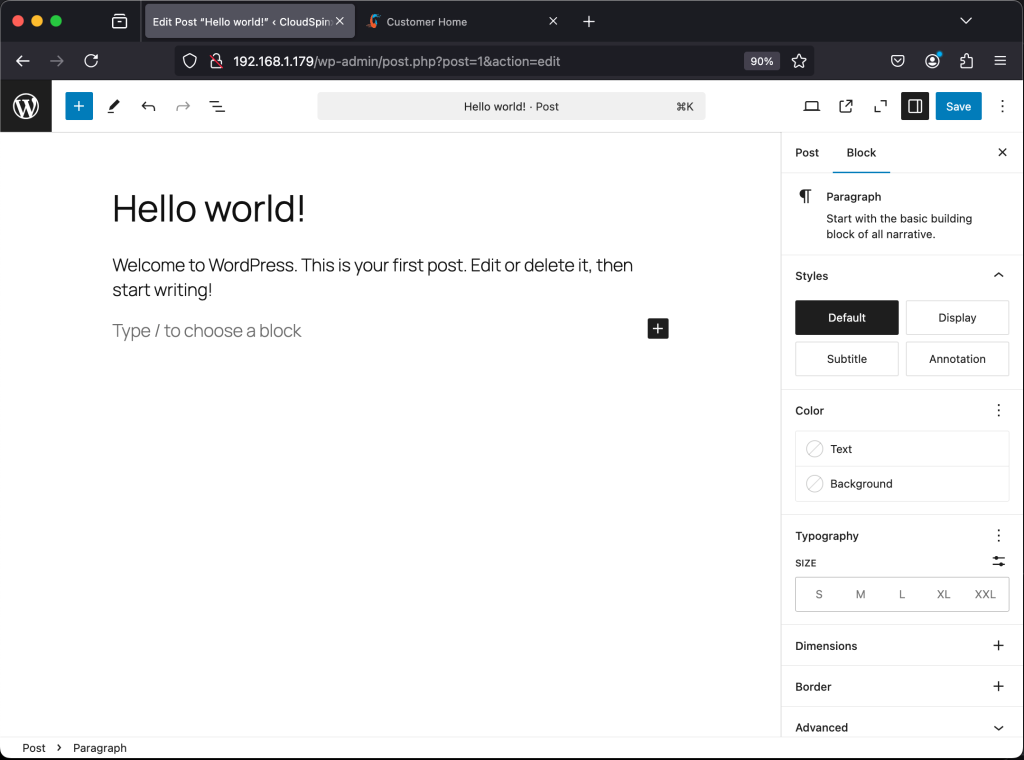
Create a new blog/post by clicking on Add New. Provide the content you need to post.
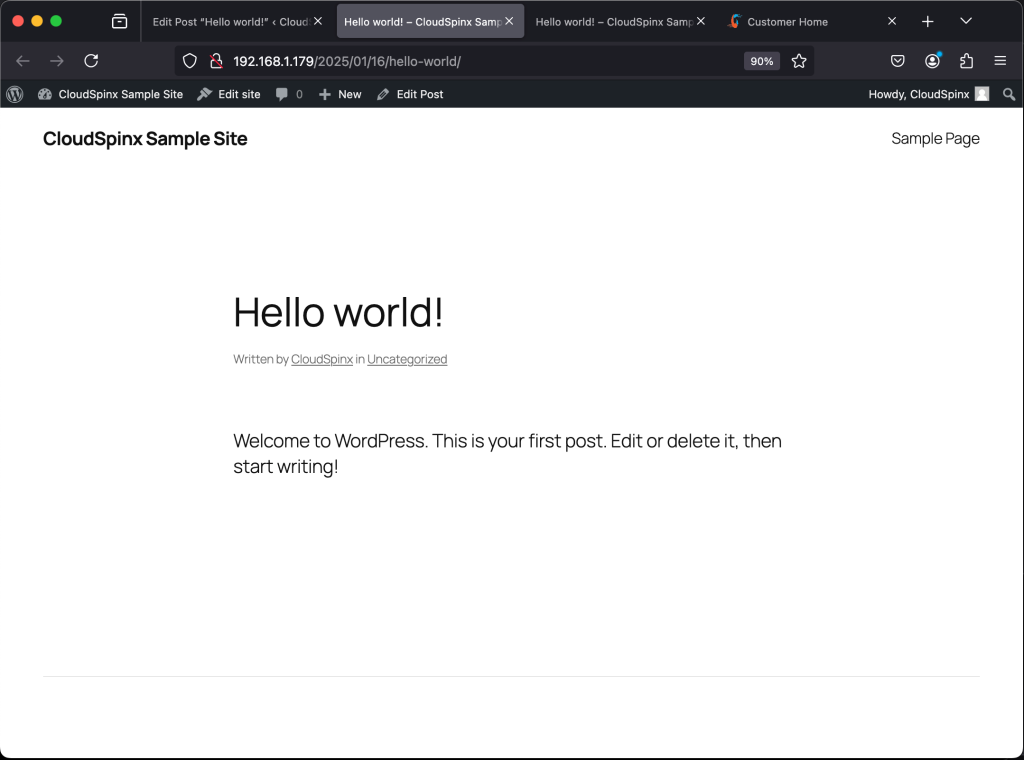
Once posted, the post can be viewed on the Permalink
#8. Secure WordPress with Let’s Encrypt on Ubuntu 24.04|22.04
WordPress can be used without SSL, but if you want to secure the traffic, you must issue SSL certificates for your domain name. Here, we will use Let’s Encrypt to issue free trusted SSL certificates for our domain name.
Install Certbot on Ubuntu 24.04|22.04 using the command:
sudo apt install certbot python3-certbot-nginxProceed and generate SSL certificates for your FQDN.
sudo certbot --nginxProceed as below:
Saving debug log to /var/log/letsencrypt/letsencrypt.log
Enter email address (used for urgent renewal and security notices)
 (Enter 'c' to cancel): Enter a valid Email address here

- - - - - - - - - - - - - - - - - - - - - - - - - - - - - - - - - - - - - - - -
Please read the Terms of Service at
https://letsencrypt.org/documents/LE-SA-v1.4-April-3-2024.pdf. You must
agree in order to register with the ACME server. Do you agree?
- - - - - - - - - - - - - - - - - - - - - - - - - - - - - - - - - - - - - - - -
(Y)es/(N)o: y

- - - - - - - - - - - - - - - - - - - - - - - - - - - - - - - - - - - - - - - -
Would you be willing, once your first certificate is successfully issued, to
share your email address with the Electronic Frontier Foundation, a founding
partner of the Let's Encrypt project and the non-profit organization that
develops Certbot? We'd like to send you email about our work encrypting the web,
EFF news, campaigns, and ways to support digital freedom.
- - - - - - - - - - - - - - - - - - - - - - - - - - - - - - - - - - - - - - - -
(Y)es/(N)o: y
Account registered.

Which names would you like to activate HTTPS for?
- - - - - - - - - - - - - - - - - - - - - - - - - - - - - - - - - - - - - - - -
1: wordpress.example.com
2: www.wordpress.example.com

- - - - - - - - - - - - - - - - - - - - - - - - - - - - - - - - - - - - - - - -
Select the appropriate numbers separated by commas and/or spaces, or leave input
blank to select all options shown (Enter 'c' to cancel): 1

Requesting a certificate for wordpress.example.com
Performing the following challenges:
http-01 challenge for wordpress.example.com
Waiting for verification...
Cleaning up challenges
Deploying Certificate to VirtualHost /etc/nginx/conf.d/wordpress.conf

Please choose whether or not to redirect HTTP traffic to HTTPS, removing HTTP access.
- - - - - - - - - - - - - - - - - - - - - - - - - - - - - - - - - - - - - - - -
1: No redirect - Make no further changes to the webserver configuration.
2: Redirect - Make all requests redirect to secure HTTPS access. Choose this for
new sites, or if you're confident your site works on HTTPS. You can undo this
change by editing your web server's configuration.
- - - - - - - - - - - - - - - - - - - - - - - - - - - - - - - - - - - - - - - -
Select the appropriate number [1-2] then [enter] (press 'c' to cancel): 2

Redirecting all traffic on port 80 to ssl in /etc/nginx/conf.d/wordpress.conf

Successfully received certificate.
Certificate is saved at: a2enmod ssl
/etc/letsencrypt/live/wordpress.example.com/fullchain.pem
Key is saved at:         /etc/letsencrypt/live/wordpress.example.com/privkey.pem
This certificate expires on 2028-01-16.
These files will be updated when the certificate renews.
Certbot has set up a scheduled task to automatically renew this certificate in the background.

- - - - - - - - - - - - - - - - - - - - - - - - - - - - - - - - - - - - - - - -
If you like Certbot, please consider supporting our work by:
 * Donating to ISRG / Let's Encrypt:   https://letsencrypt.org/donate
 * Donating to EFF:                    https://eff.org/donate-le
- - - - - - - - - - - - - - - - - - - - - - - - - - - - - - -
After this, you will have your WordPress Virtual Host file modified as below:
$ cat /etc/nginx/conf.d/wordpress.conf
server {
    server_name  wordpress.example.com www.wordpress.example.com;
    root /var/www/wordpress;
    index  index.php index.html index.htm;
    access_log /var/log/nginx/wpress_access.log;
    error_log /var/log/nginx/wpress_error.log;

    client_max_body_size 100M;
    autoindex off;
    location / {
        try_files $uri $uri/ /index.php?$args;
    }

    location ~ \.php$ {
         include snippets/fastcgi-php.conf;
         fastcgi_pass unix:/var/run/php/php8.3-fpm.sock;
         fastcgi_param SCRIPT_FILENAME $document_root$fastcgi_script_name;
         include fastcgi_params;
    }

    listen [::]:443 ssl ipv6only=on; # managed by Certbot
    listen 443 ssl; # managed by Certbot
    ssl_certificate /etc/letsencrypt/live/wordpress.example.com/fullchain.pem; # managed by Certbot
    ssl_certificate_key /etc/letsencrypt/live/wordpress.example.com/privkey.pem; # managed by Certbot
    include /etc/letsencrypt/options-ssl-nginx.conf; # managed by Certbot
    ssl_dhparam /etc/letsencrypt/ssl-dhparams.pem; # managed by Certbot

}
server {
    if ($host = wordpress.example.com) {
        return 301 https://$host$request_uri;
    } # managed by Certbot


    listen 80;
    listen [::]:80;
    server_name  wordpress.example.com www.wordpress.example.com;
    return 404; # managed by Certbot
Restart Nginx and PHP.
sudo systemctl reload nginx
sudo systemctl reload php*-fpm.service
Now proceed and access the WordPress site via HTTPS and you should be able to do that.
Closing Thought
That is it! You now have WordPress installed with Nginx and Let’s Encrypt on Ubuntu 24.04|22.04. Proceed and create online websites/blogs with WordPress CMS. I hope this was useful.
Related posts:

