For most system admins, their day-to-day life activities revolve around having access to remote systems.VNC an acronym for Virtual Network Computer is a technology that is used to gain remote access to another computer. This technology uses the Remote Frame Buffer protocol(RFB) when sharing the remote graphical desktop. Today there are several software programs that provide VNC, among them are TigerVNC, VNC4server, TightVNC, Vino e.t.c.
RealVNC is a VNC server that allows one to gain full remote access to graphical desktops. Using RealVNC, one can fully interact with remote graphical applications and systems. This also helps users who are not yet comfortable with the command line to execute tasks on remote servers.
RealVNC has several features and benefits, some of them include:
- It offers an intuitive remote control – It allows one use mouse and keyboard (or touchscreen) as though they belong to the remote server.
- Cross-platform support – it offers PC to PC and mobile to PC across Windows, Mac, Linux, Raspberry Pi, iOS and Android.
- Attended and unattended access – one can connect to the remote system when owners are present or not
- File transfer, printing and chat – During a session, you’re not restricted to just interacting with the remote screen.
- It is secure – It is built from the ground up with security in mind, to balance the control you need with the privacy that compliance requires.
- Multilingual support – RealVNC is available in French, German, Spanish and Brazilian Portuguese as well as English, with more translations on the way.
This guide offers a step-by-step demonstration of how to configure the RealVNC Server and Client on Debian 11 | Debian 10.
Setup Prerequisites.
For this guide to be a success, you need the following:
- Debian server
- A local machine for the RealVNC client
- sudo access to the system
Step 1 – Install Desktop Environment
For one to be able to control the remote Debian 12 | Debian 11 system, you need to have GUI installed. If you already have GUI, you may skip this step and proceed. Otherwise, install the desired desktop environment using tasksel
sudo apt update
sudo apt install tasksel -y
Select the desired desktop environment for your system.
sudo tasksel Install the desktop environment of choice. Once installed successfully, set the system to boot into the graphical target.
sudo systemctl set-default graphical.target Reboot the system for the changes to apply.
sudo systemctl rebootStep 2 – Install RealVNC server on Debian
We need to have the RealVNC server installed and configured on the Debian 12 | Debian 11 system so as to be able to control it from the client. Download the latest available version of the RealVNC server from the official RealVNC downloads page.
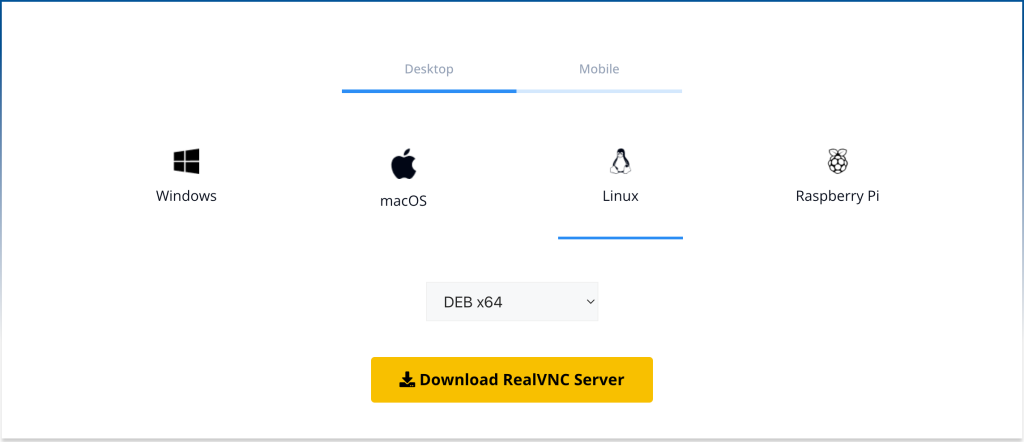
While on the page, you need to select the appropriate Debian package i.e X64 or X86. Alternatively, you can download the package using the command below
wget https://downloads.realvnc.com/download/file/vnc.files/VNC-Server-7.6.0-Linux-x64.debWith the package downloaded, install it using the command:
sudo apt install ./VNC-Server-*-Linux-x64.debStart and enable the RealVNC services.
sudo systemctl enable vncserver-virtuald.service
sudo systemctl start vncserver-virtuald.service
sudo systemctl enable vncserver-x11-serviced.service
sudo systemctl start vncserver-x11-serviced.service
Install the LightDM display manager.
sudo apt install lightdmProceed as below.

Set it as the default display manager then reboot your system.
sudo rebootStep 3 – Configure RealVNC server on Debian
Ensure that you are logged in as root.
When the system reboots, RealVNC will start automatically, if not launch it from the App Menu. RealVNC will start with the below window.
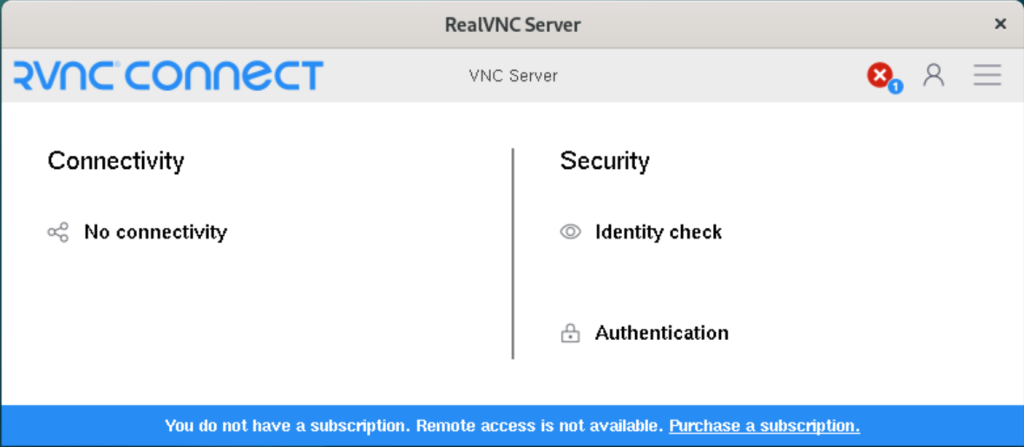
Click on resolve to license RealVNC and proceed to click on Don’t have an account? to create your RealVNC account, make sure to provide a real email address as you will need to verify your account before you can access it. The email will also be used to authenticate new devices.
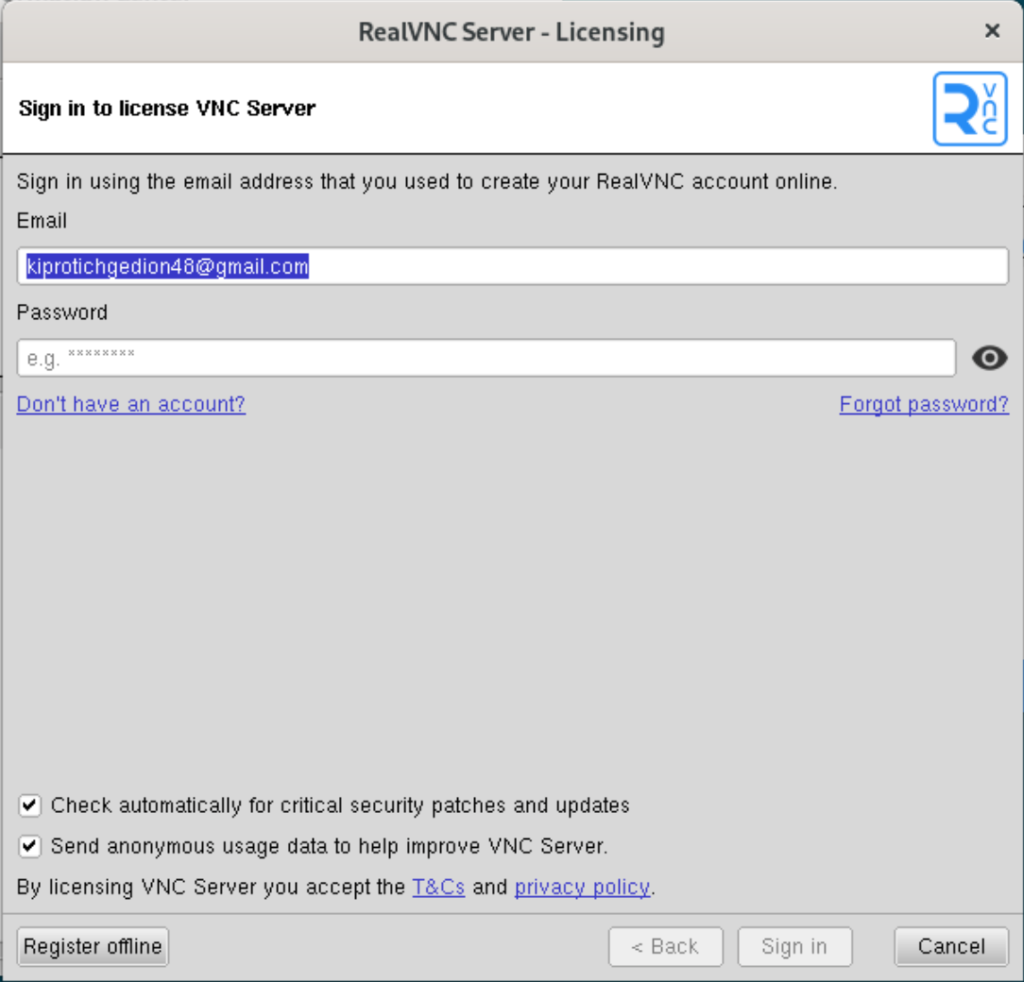
After creating your account and verify your email, you’ll be granted a 14 day free trial. Now go back and sign in to your account. Next, set a VNC password.
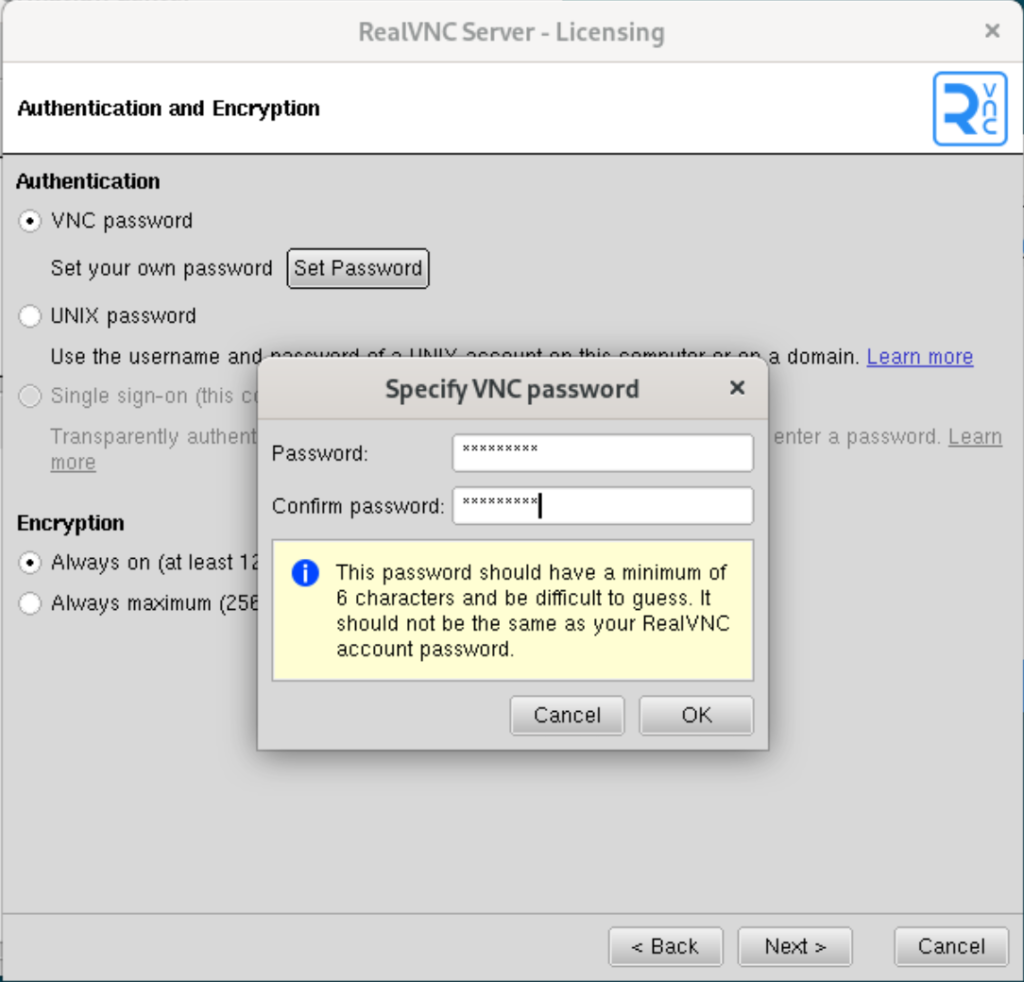
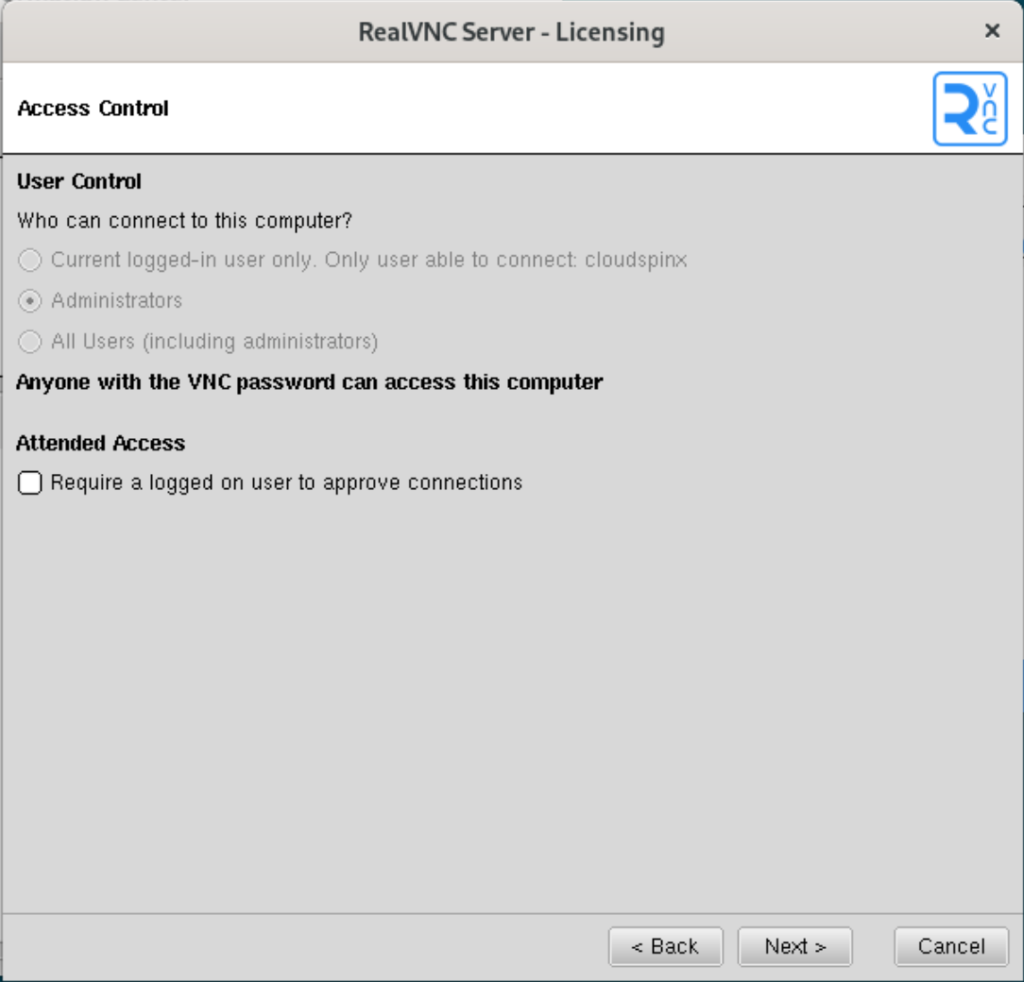
Click OK and the Next. Now set the access control. Here you can configure the attended/unattended access.
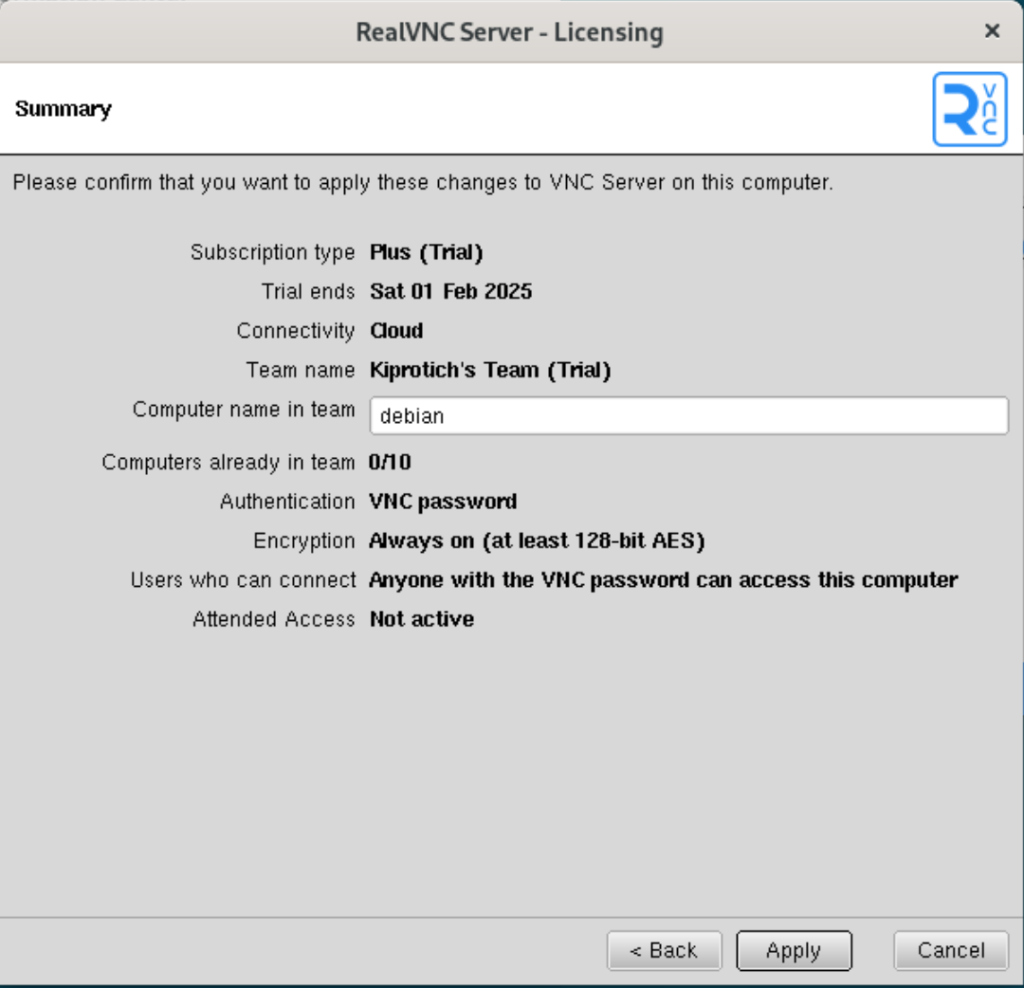
A preview of the settings made will be provided. Apply the made configurations.
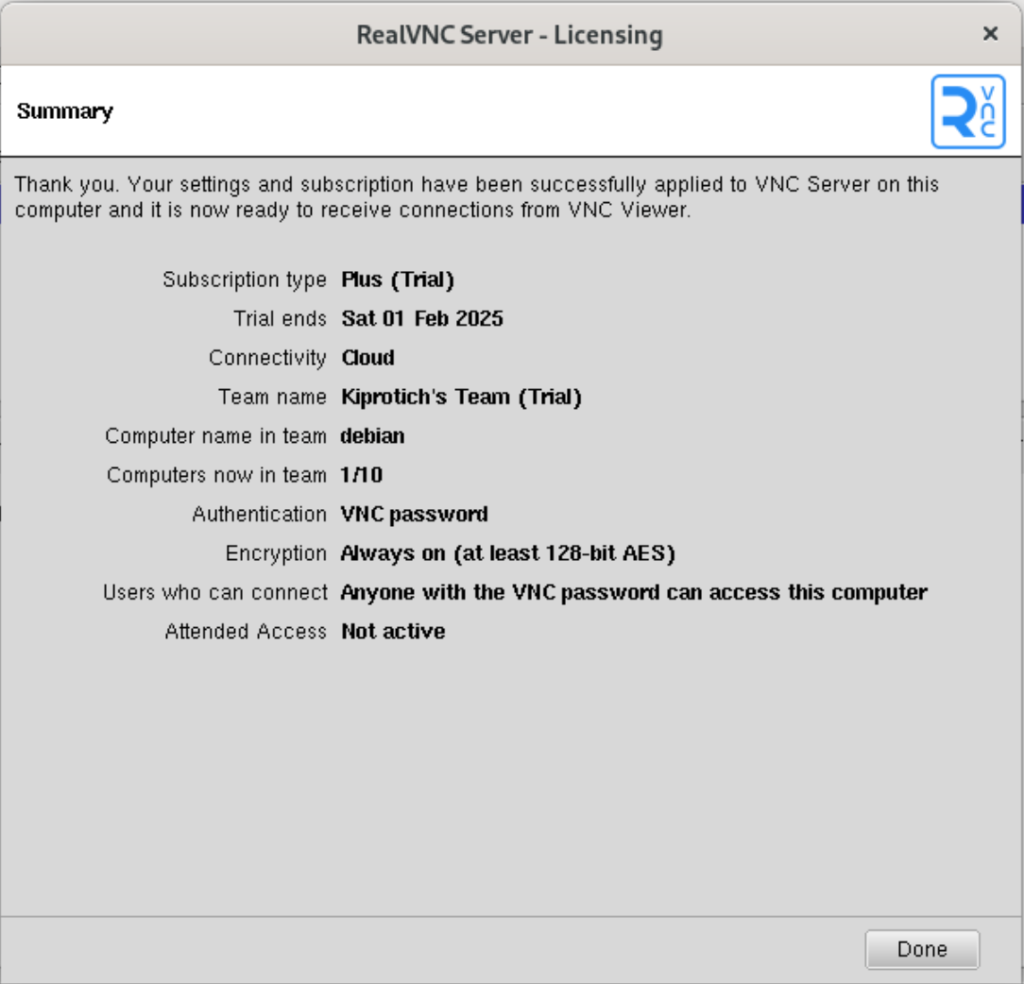
Now with the settings made, click done.
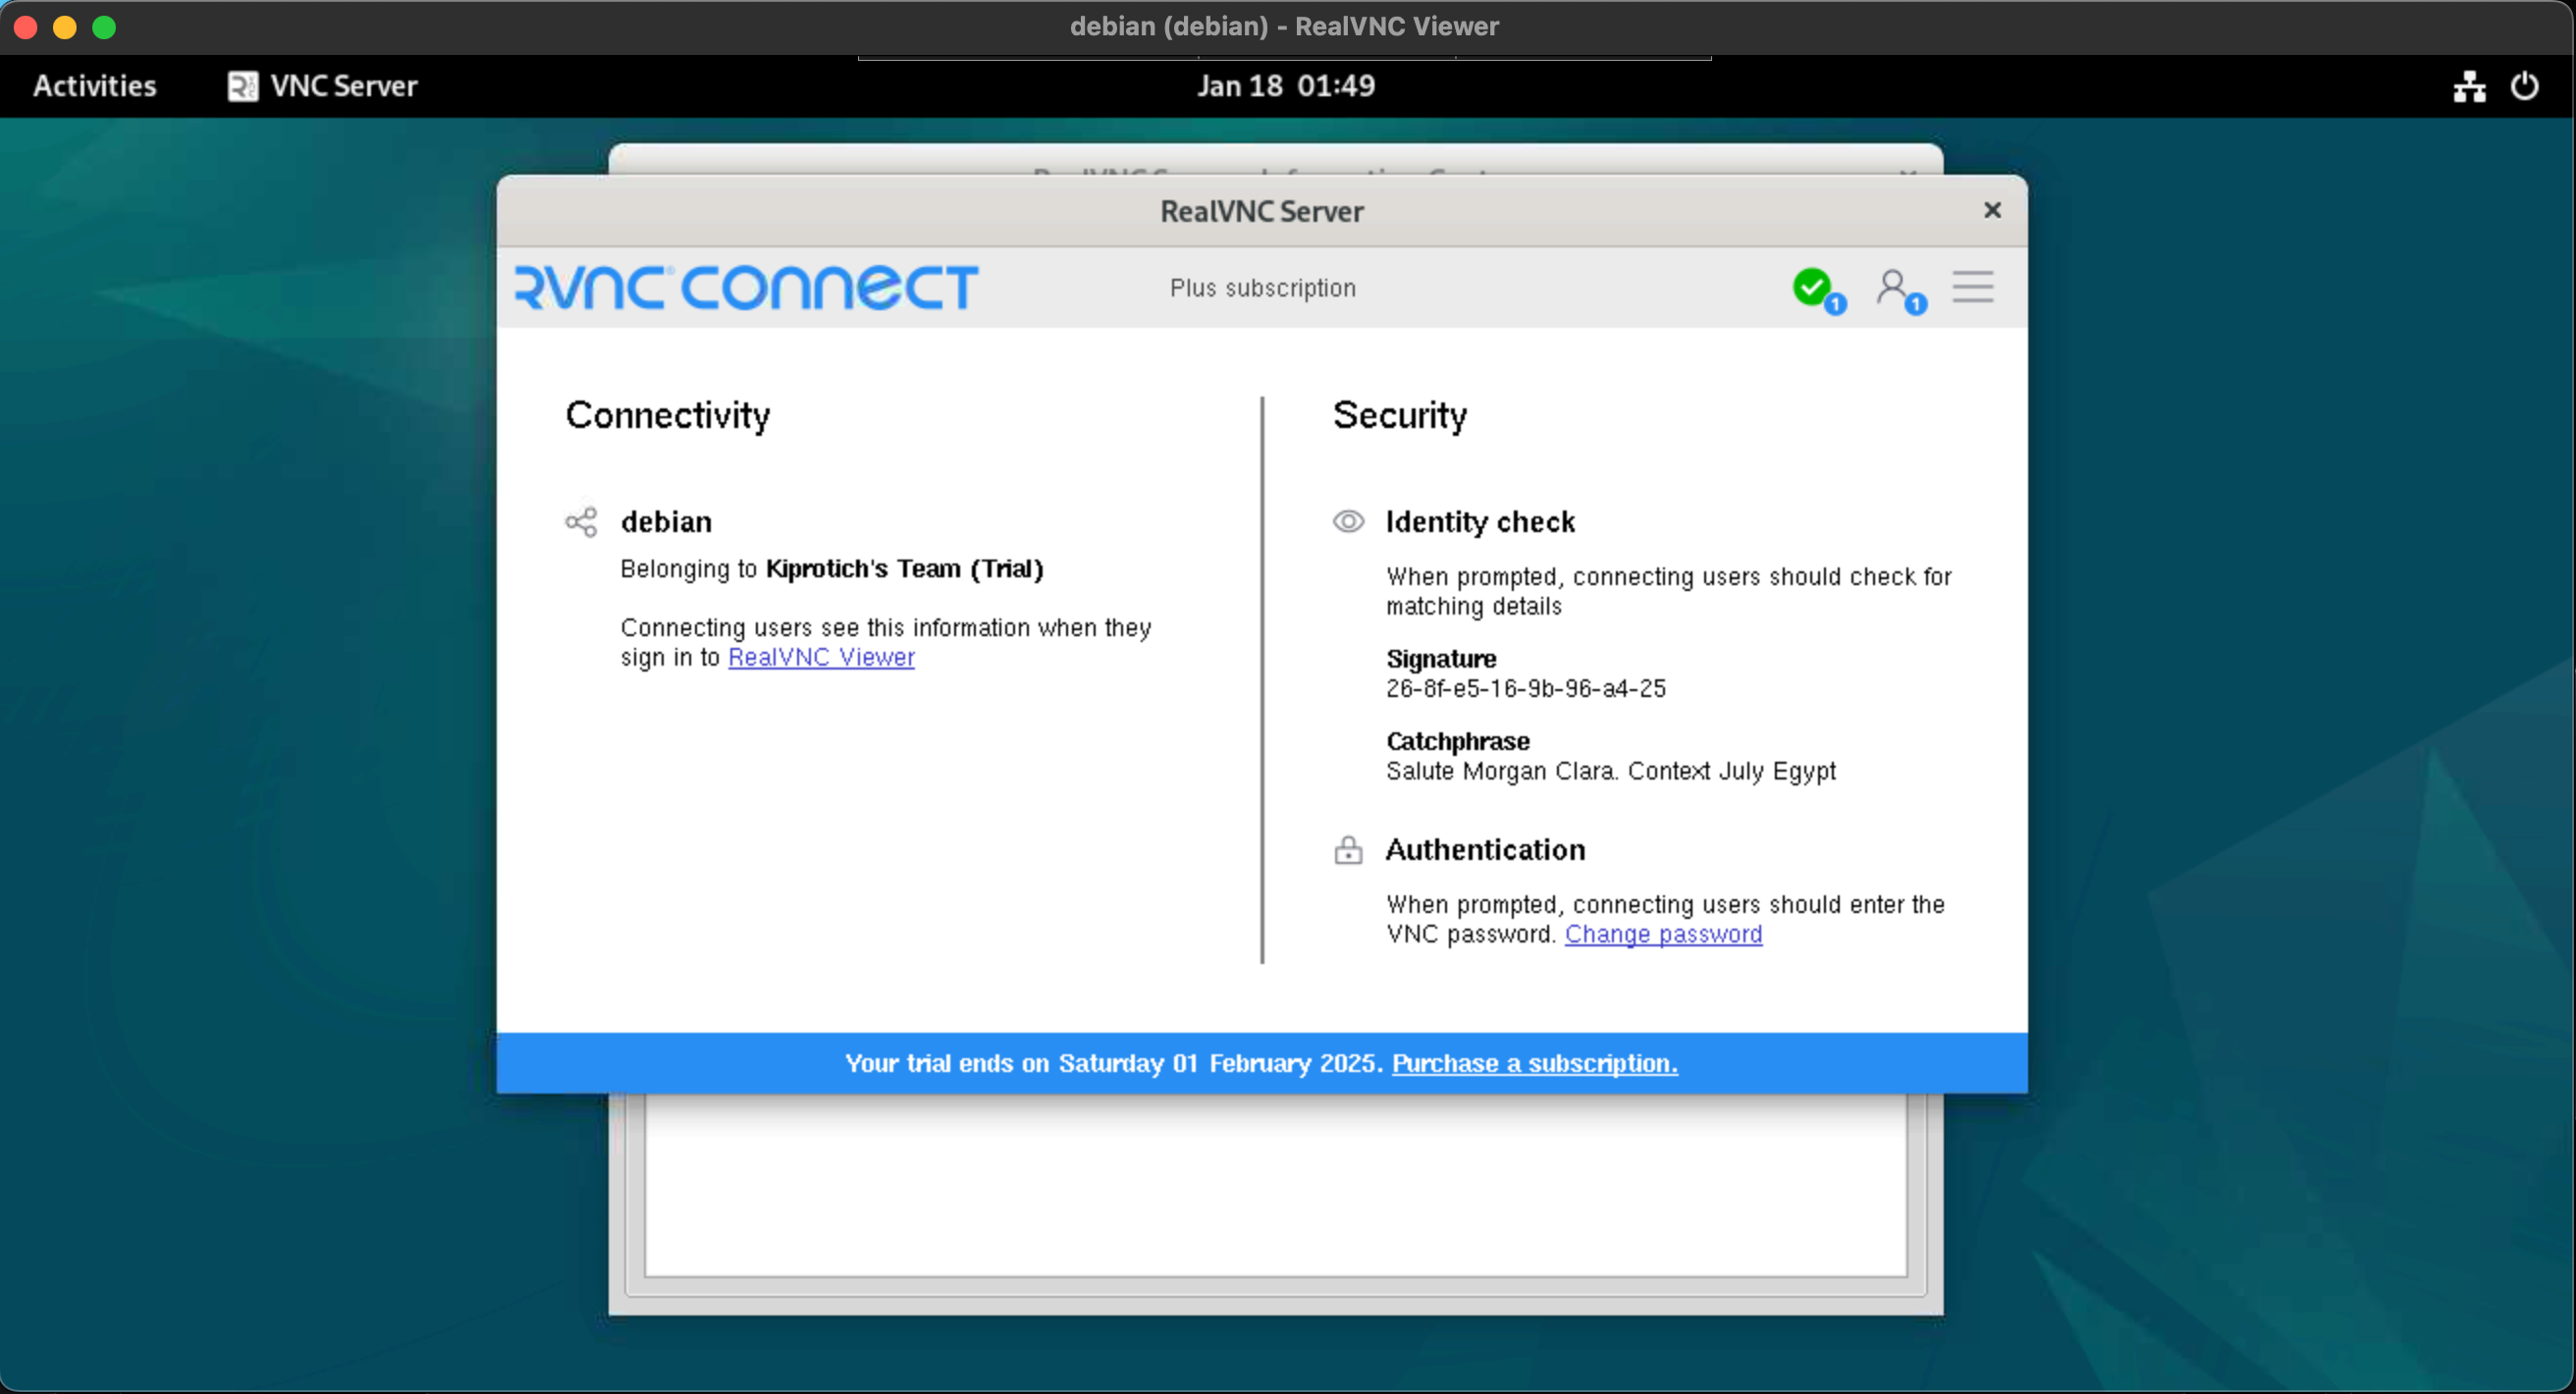
The RealVNC server will now appear as below.
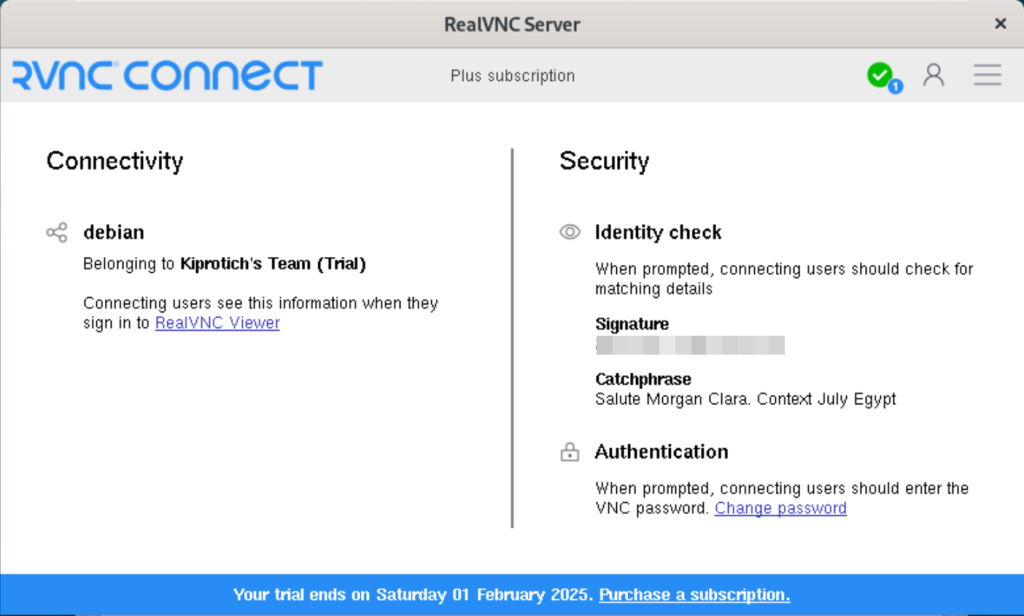
At this point, you can now connect to it using a VNC client
Step 4 – Set up RealVNC Client
The RealVNC client can be installed on any local machine i.e Linux, Windows, macOS, Android, iOS e.t.c. Download the RealVNC package from the official RealVNC download page. Download the preferred VNC viewer for your system.
For example, download and install RealVNC viewer on Linux using the commands:
##On Debian/Ubuntu
wget https://downloads.realvnc.com/download/file/viewer.files/VNC-Viewer-7.6.0-Linux-x64.deb
sudo apt install ./VNC-Viewer-*-Linux-x64.deb

##On RHEL/CentOS/Rocky Linux 8
wget https://downloads.realvnc.com/download/file/viewer.files/VNC-Viewer-7.6.0-Linux-x64.rpm
sudo yum localinstall VNC-Viewer-*-Linux-x64.rpm
Once installed, you can launch the RealVNC viewer from the terminal using the command:
vncviewerThe window below will pop up.
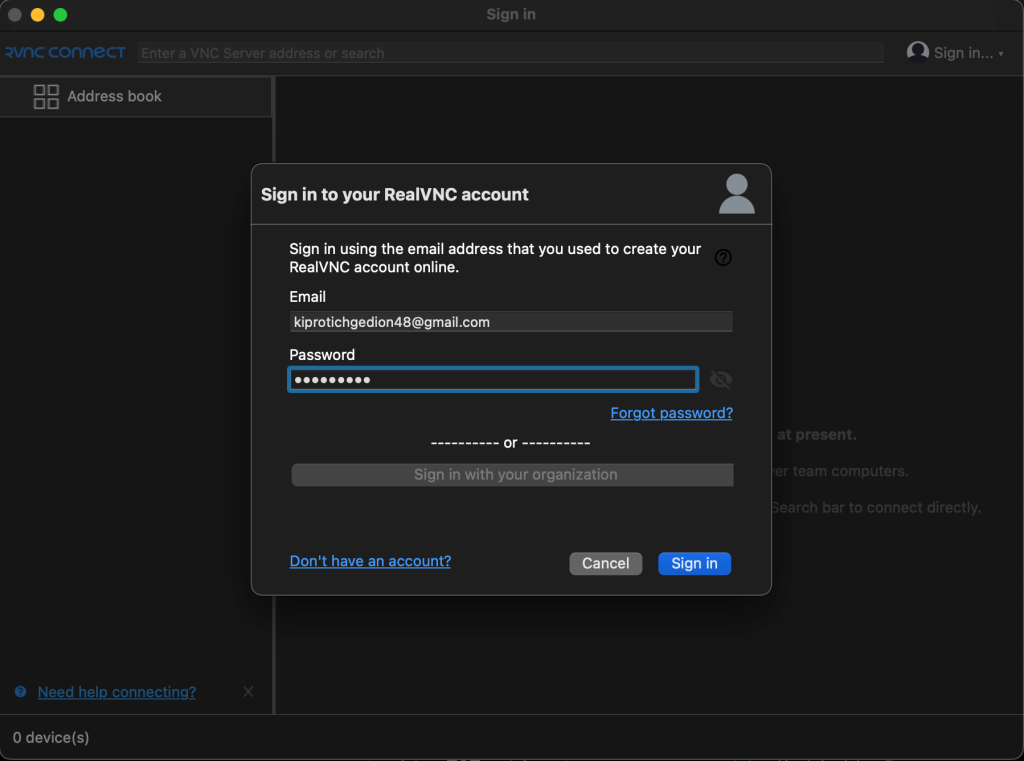
Sign in to RealVNC using the created account. Provide the details and authenticate the connection using the email address sent to the provided email address. On successful authentication, you will see your Team created with the server as below.
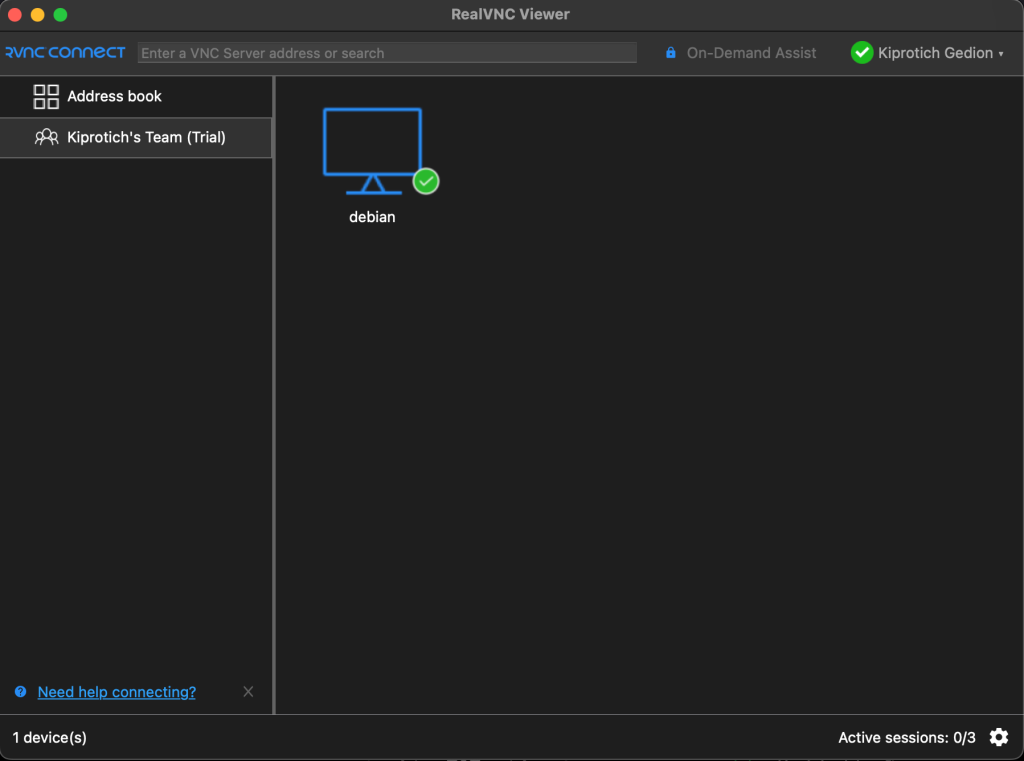
Login to the server by clicking on it.
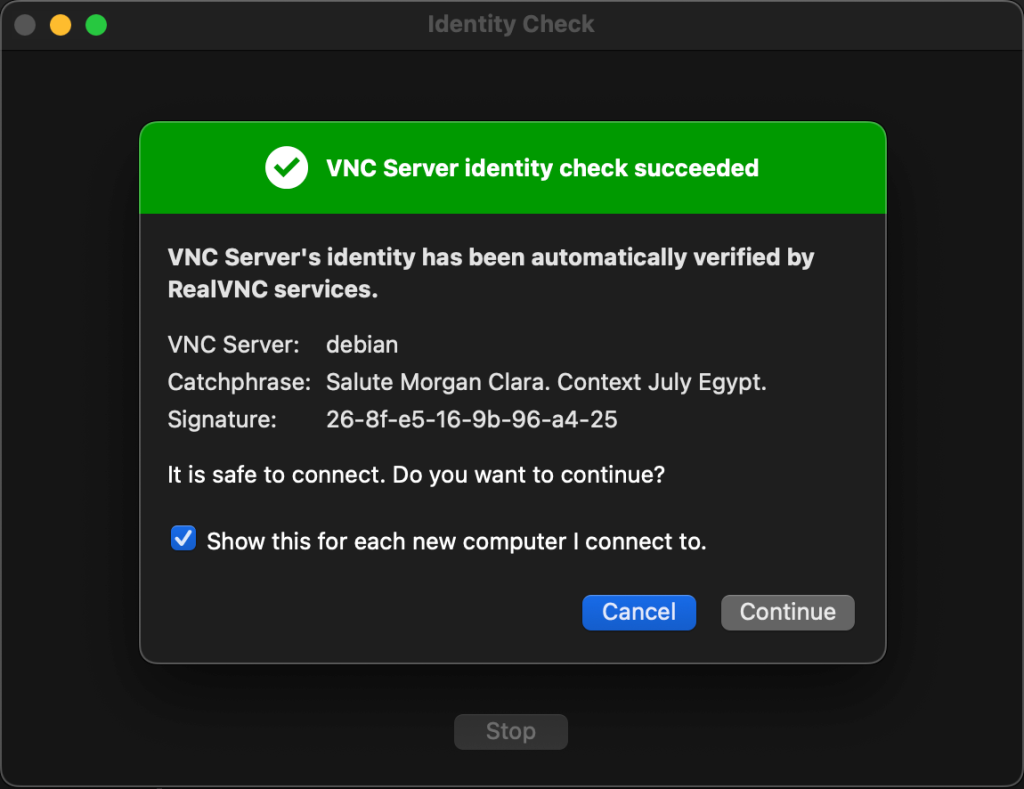
Continue and provide the VNC password set earlier.
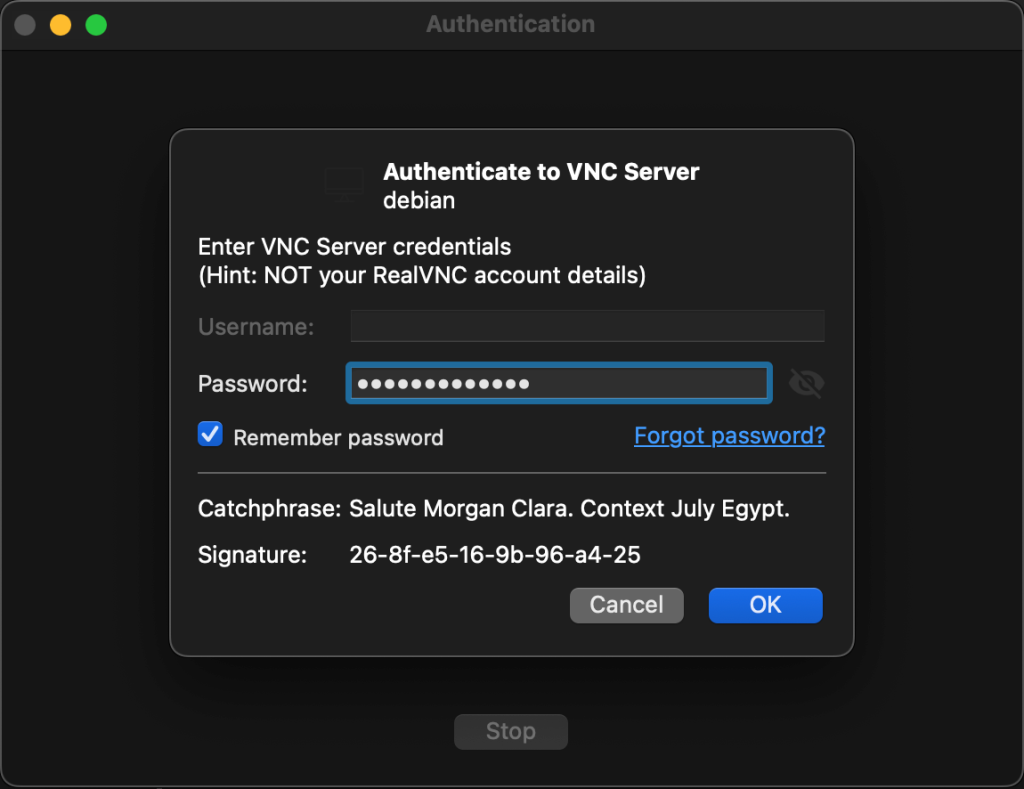
That is it! You will gain remote access to the Debian system.
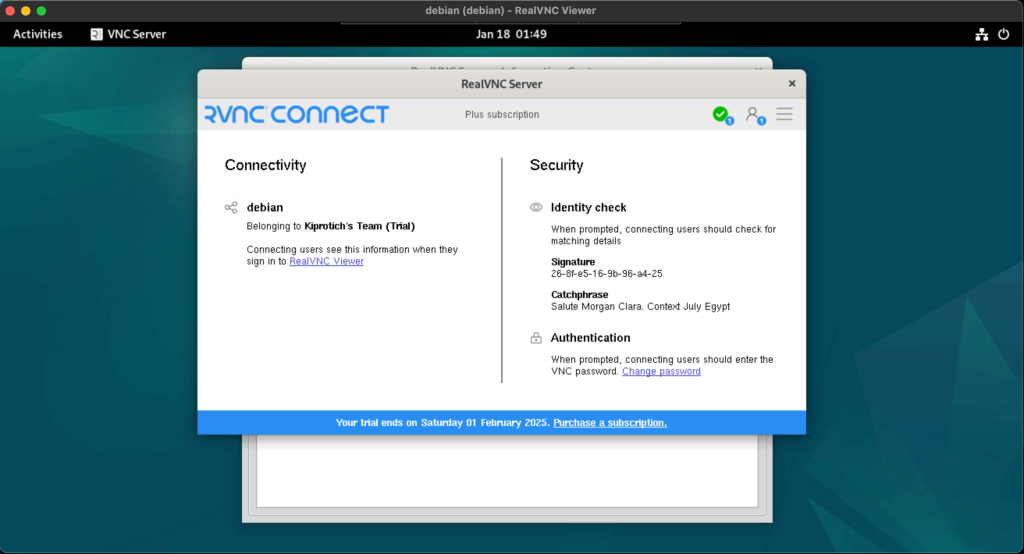
Now perform the desired tasks on the remote system.
Closing Thoughts
Personally am really impressed with the intuitive feel provided by RealVNC. Futhermore it is easy to manage the RealVNC servers using the client. Once connected to the same account, RealVNC makes it so easy to initiate the connections. We wish to hear your feedback about this tool. Provide any feedback in the comments below.
Related posts.

