Android Studio, which is based on IntelliJ IDEA, is the official Integrated Development Environment for developing Android apps. On top of what IntelliJ IDEA already has, Android Studio adds a slew of new functionality. It was created by Google and may be installed on a variety of operating systems, including Linux, Windows, and macOS. Android Studio is a powerful tool for creating mobile apps and user interfaces.
In this guide, I will demonstrate how to Install Android Studio on Rocky Linux 9 | Oracle Linux 9 | AlmaLinux 9. Android Studio have the following features:
- A single development environment for all Android devices.
- Tools and frameworks for extensive testing.
- A Gradle-based build system with a lot of flexibility.
- Updates to push code and resource changes can be applied to a running program without having to restart it.
- An emulator with a lot of features.
- Changes the code and integrates with Github.
- C++ and the NDK are supported.
- Lint tools are provided to aid in the detection of performance, version compatibility, usability, and other issues.
- Support for the Google Cloud platform, which enables Google Cloud messaging and App Engine connectivity.
Install Android Studio on Rocky Linux 9|Oracle Linux 9|AlmaLinux 9
There are two methods to Install Android Studio on Rocky Linux 9 | Oracle Linux 9 | AlmaLinux 9.
- Manual installation
- Using Snap
Before you start installation:
Update System
Make sure you run system update before you begin installation.
sudo dnf update -yInstall Java Development Kit
We must first install Java, which is required for Android Studio to function properly. To install Oracle JDK 21 on Rocky Linux 9 | Oracle Linux 9 | AlmaLinux 9, use the command below.
sudo yum -y install java-21-openjdk java-21-openjdk-develMethod 1: Manually Install Android Studio on Rocky Linux 9 | Oracle Linux 9 | AlmaLinux 9
Visit Android Studio download’s page to download the latest archive.
sudo dnf install wget -y
wget https://redirector.gvt1.com/edgedl/android/studio/ide-zips/2024.2.2.14/android-studio-2024.2.2.14-linux.tar.gz
Extract the downloaded Android Studio archive file using tar command.
tar xvf android-studio-2024.2.2.14-linux.tar.gz After you’ve extracted the tar file, navigate to the ~/android-studio/bin folder and run the installer that is studio.sh as shown below.
cd  ~/android-studio/bin
./studio.sh
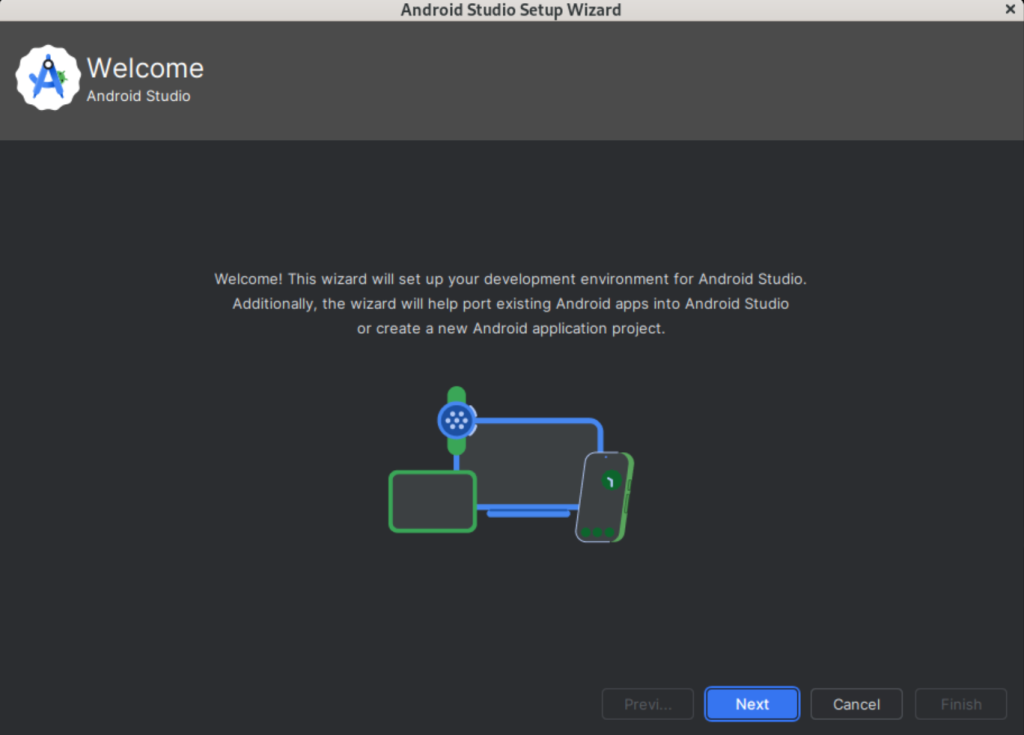
The android welcome wizard will be prompted. Click Next to proceed.
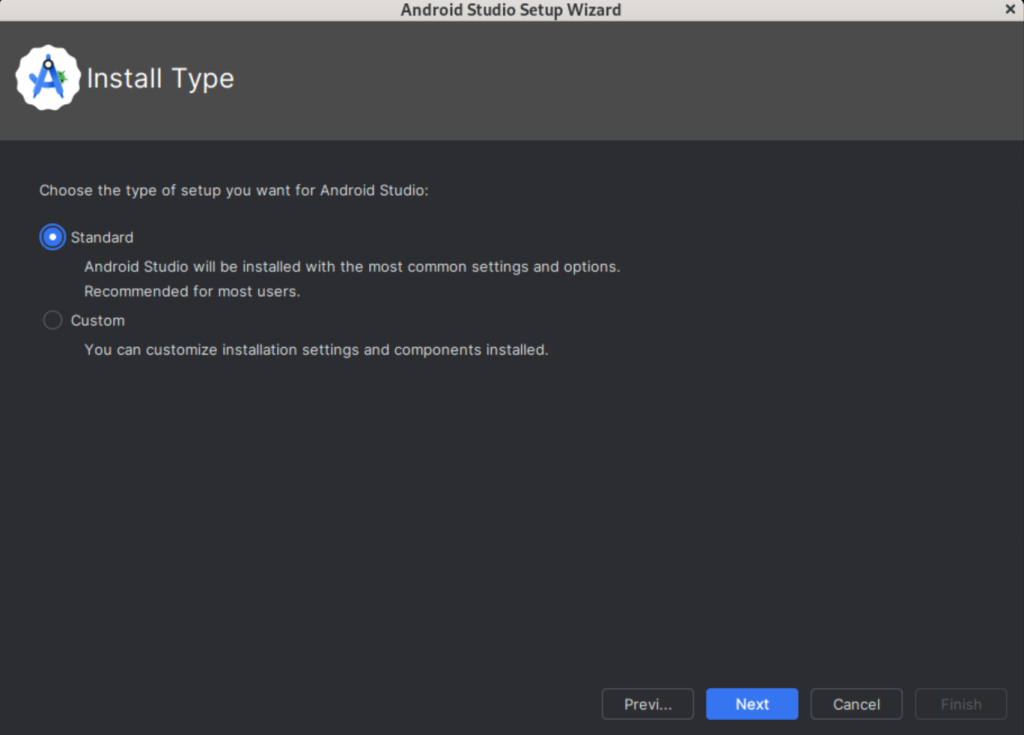
Select Standard in Install Type setup for an android studio and click on Next.
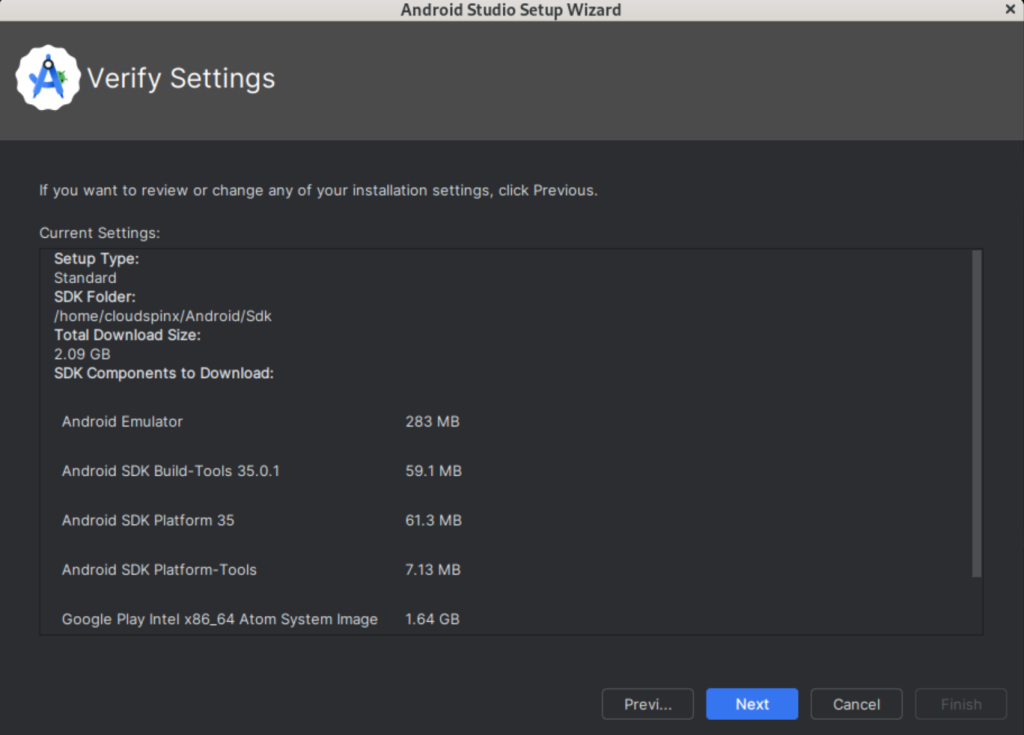
Now, verify installation settings and click Next.
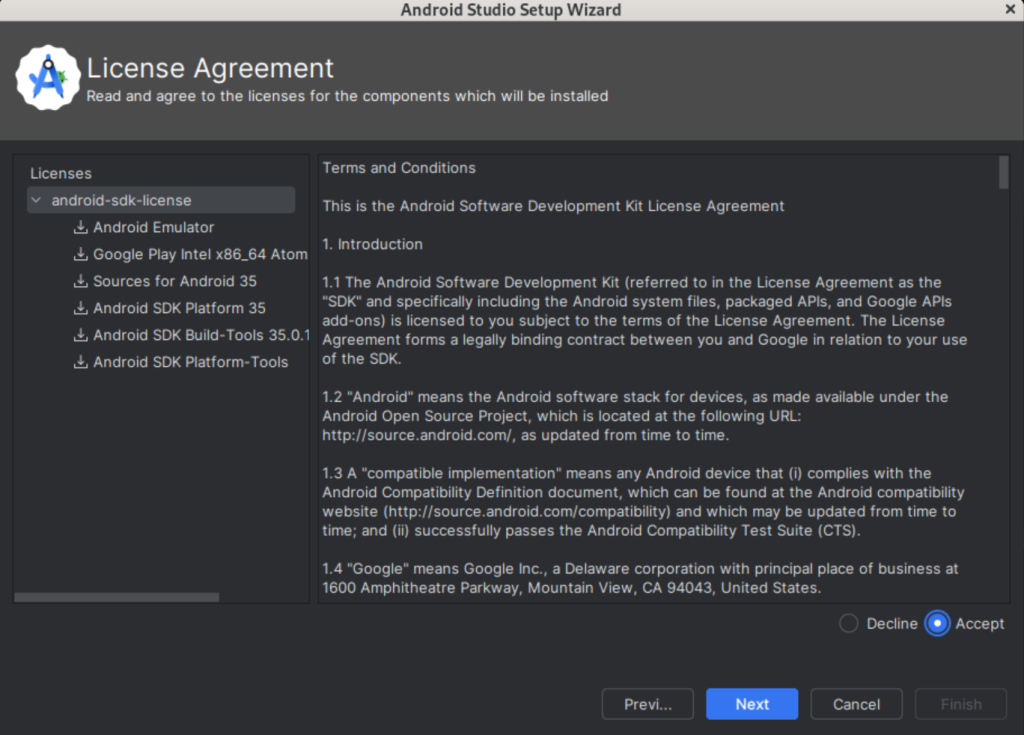
Agree to the Terms and Conditions then click Next:
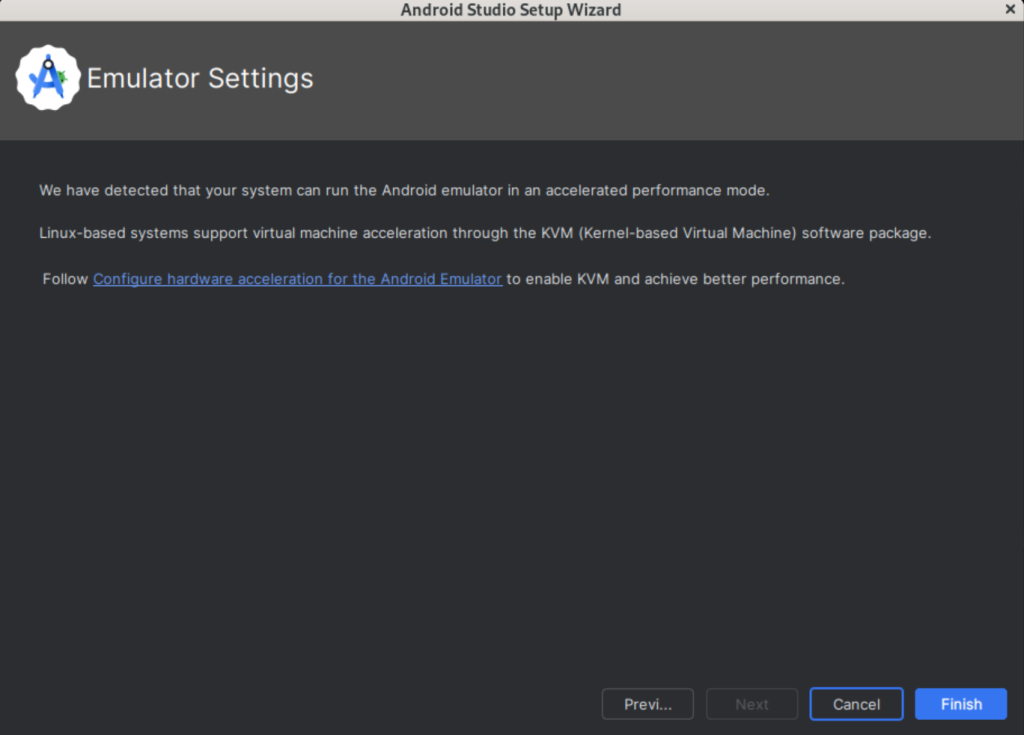
Examine the emulator’s settings before pressing the Finish button.
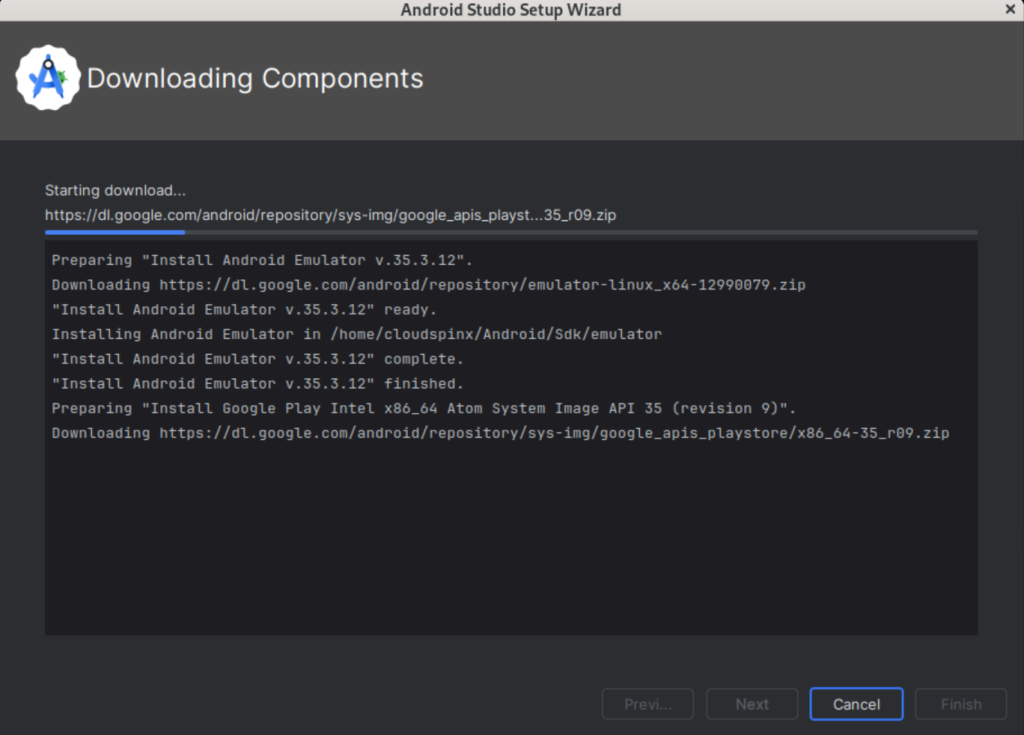
On your machine, the android studio components will begin to download.
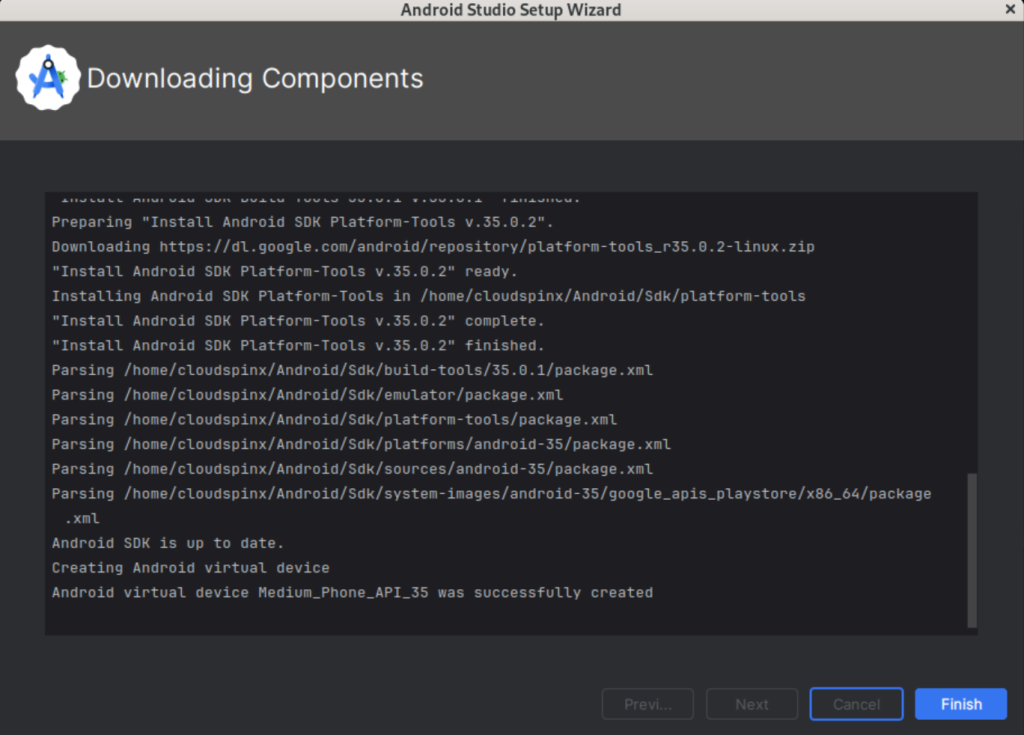
When all components have been downloaded on your system. Click Finish.
You will get the following Welcome Page:
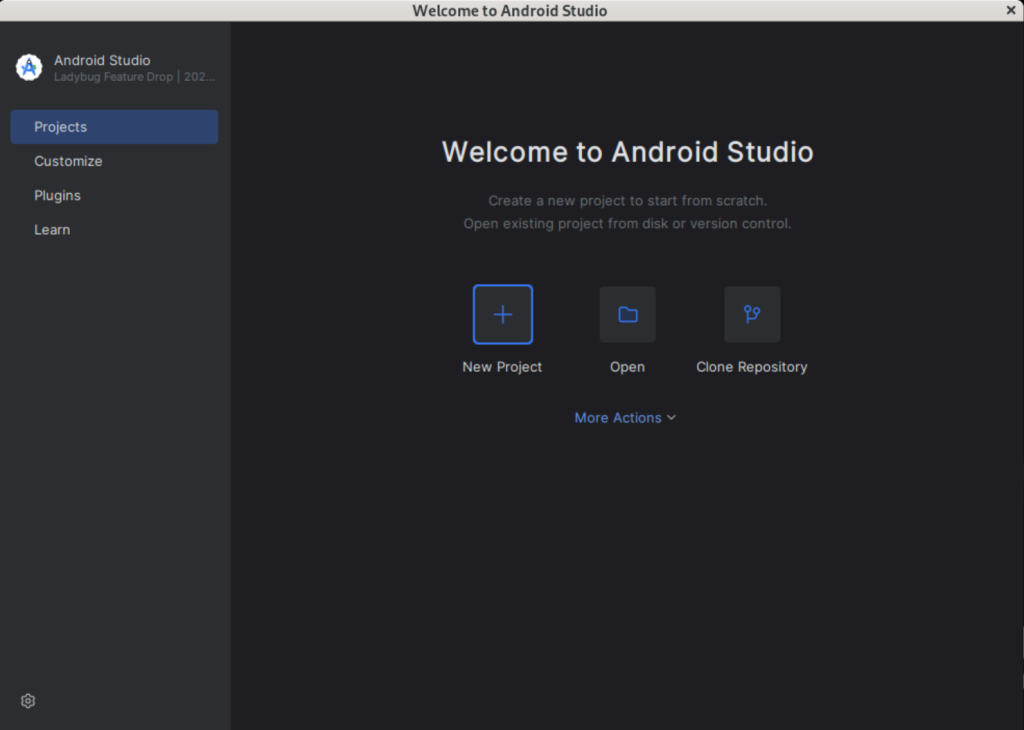
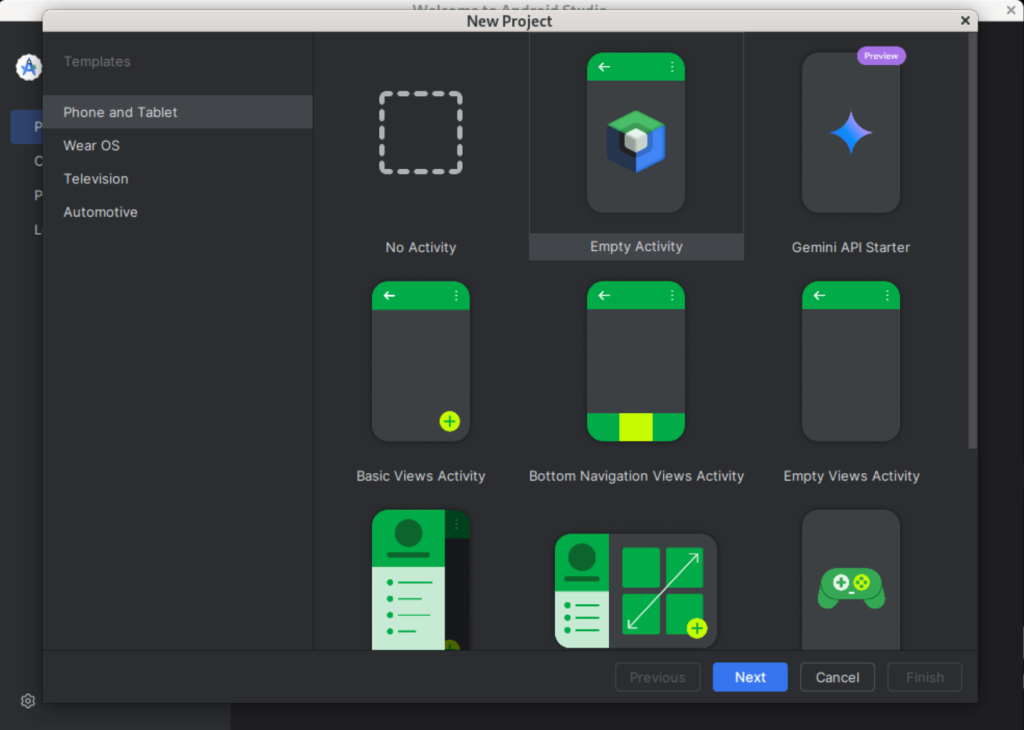
In the above Screen Shot Click and select your project template and click Next.
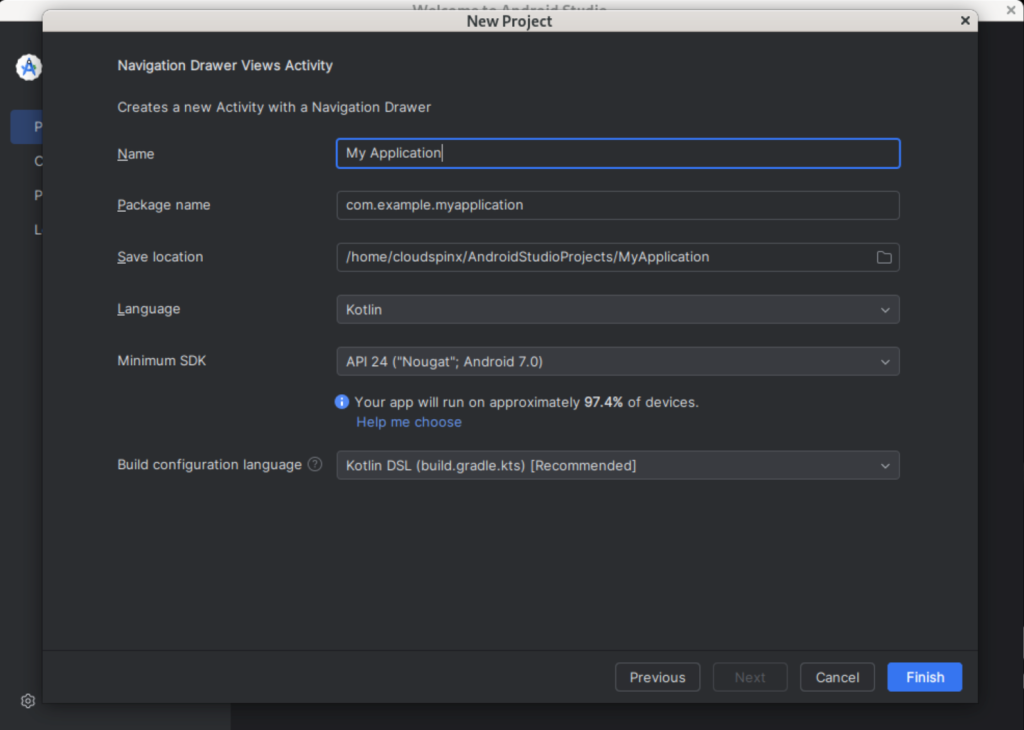
Configure your project name and location on the next page, then click Finish.
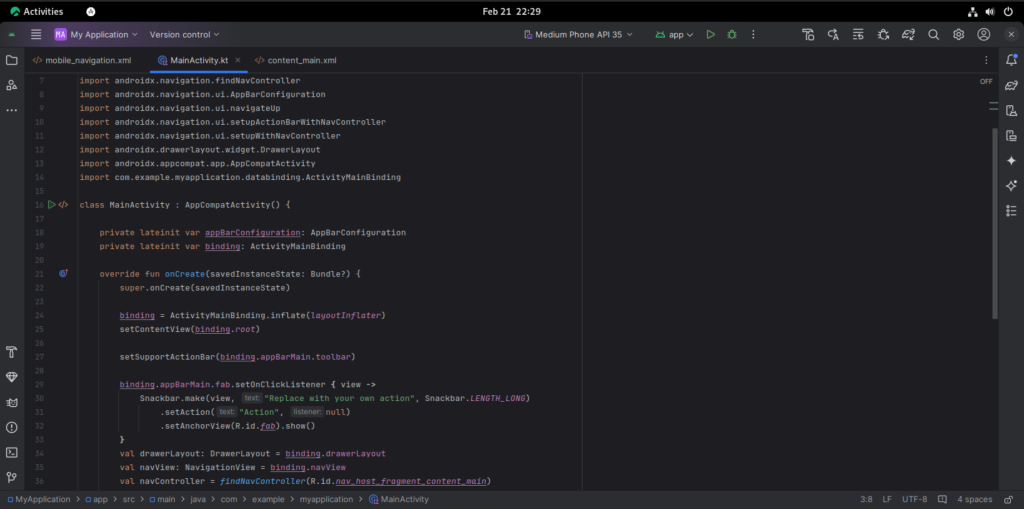
Enjoy your Android development with Android Studio!
Method 2: Install Android Studio on Rocky Linux 9 | Oracle Linux 9 | AlmaLinux 9 Using Snap
On Rocky Linux 9 | Oracle Linux 9 | AlmaLinux 9, the snap application can be used to install Android Studio. To accomplish this, use the following command to install snap on your system:
sudo dnf install snapdAccept installation prompt:
Dependencies resolved.
===============================================================================================================================================================================================
 Package                                           Architecture                               Version                                           Repository                                Size
===============================================================================================================================================================================================
Installing:
 snapd                                             x86_64                                     2.53.2-1.el8                                      epel                                      16 M
Installing dependencies:
 snap-confine                                      x86_64                                     2.53.2-1.el8                                      epel                                     3.2 M
 snapd-selinux                                     noarch                                     2.53.2-1.el8                                      epel                                     463 k

Transaction Summary
===============================================================================================================================================================================================
Install  3 Packages

Total download size: 20 M
Installed size: 63 M
Is this ok [y/N]: y
Start Snap:
sudo systemctl enable --now snapd.serviceTo enable classic snap support, enter the following to create a symbolic link between /var/lib/snapd/snap and /snap:
sudo ln -s /var/lib/snapd/snap /snapNow, run the following command to install Android Studio:
sudo snap install android-studio --classicConclusion
We learned how to install Android Studio on Rocky Linux 9 | Oracle Linux 9 | AlmaLinux 9 in this article. I hope you’ve had a good time.
Other Guides:

