Welcome to our guide on how to install OBS Studio on Arch | Manjaro and Garuda Linux. The OBS Project maintains OBS Studio, often known as Open Broadcaster Software or OBS, which is a free and open-source cross-platform streaming, screen capture, video recording, live streaming, and visual mixing application created using Qt. OBS Studio is available in versions for Microsoft Windows, macOS, Linux platforms, and BSD. OBS aims to offer users with a fully complete video production studio for making high-definition videos.
Features of OBS Studio
Here are the cool features of OBS Studio:
- Video Recording: OBS Studio allows you to record videos for an unlimited amount of time, allowing you to catch hours of footage. A camera may be used as a video source, while a microphone can be used as an audio source in OBS Studio.
- OBS allows you to set up hotkeys to help you navigate between features quickly. Hotkeys may be assigned to practically any operation, including flipping between scenes, beginning and stopping recording and live streaming, muting audio inputs, and more.
- Screen Capture: OBS Studio lets you capture and stream your screen in HD resolution. This function allows you to share your screen with viewers whenever you want to show them what’s on it.
- Quality management: You may choose the video capture quality in OBS Studio. You have the option of setting your own resolution or using your monitor’s default resolution.
- Video broadcasting: You may stream videos in real time with OBS Studio. Despite the fact that OBS Studio is completely free, it includes essential features that distinguish online broadcasting.
- Unlimited scenes: OBS Studio allows you to create as many scenes as you want and effortlessly transition between them using custom transitions.
- Integration: Because it is an open-source tool, OBS Studio may creatively collaborate with other programs and plugins to improve its functionality and performance.
- Nice interface: OBS Studio has a simple UI that makes it incredibly easy to use. Aside from that, the interface’s simplicity includes various settings to allow you easily customize all key features of your live streaming.
OBS Studio System Requirements
To run OBS Studio, you’ll need the following hardware and operating systems:
- Fresh Arch | Manjaro | Garuda Linux server.
- OpenGL 3.3 compatible GPU.
- AMD Advanced Media Framework (AMF)
- X window system.
- Intel Quick Sync Video (QSV).
Install OBS Studio on Arch | Manjaro | Garuda Linux
The steps below will walk you through installing OBS Studio on Arch | Manjaro | Garuda Linux.
Step 1: Update System
We always advise Linux users to upgrade their operating system packages to the latest versions available from upstream sources.
To update your system, use the following command:
sudo pacman -SyuPerform system reboot once the system has been refreshed:
sudo rebootStep 2: Installation OBS Studio
The next step is to install OBS Studio on Arch | Manjaro | Garuda Linux once it has rebooted.
Installing OBS Studio on Arch | Manjaro | Garuda Linux may be done in two methods:
- Installing from AUR
- Installing from snap
Method 1. Install from AUR
Run the following command to install OBS Studio from Arch User Repository (AUR).
sudo pacman -S obs-studioAccept the installation prompt by pressing y or Y to proceed:
resolving dependencies...
looking for conflicting packages...

Package (6)           New Version  Net Change  Download Size

extra/libdatachannel  0.21.2-2       2.57 MiB       0.79 MiB
extra/libjuice        1.5.2-1        0.17 MiB       0.07 MiB
extra/mbedtls         3.6.2-1        5.92 MiB       1.05 MiB
extra/rnnoise         1:0.2-1        1.41 MiB       1.16 MiB
extra/uthash          2.3.0-2        0.18 MiB       0.02 MiB
extra/obs-studio      31.0.1-2      23.44 MiB       6.39 MiB

Total Download Size:    9.47 MiB
Total Installed Size:  33.69 MiB

:: Proceed with installation? [Y/n] y
Method 2: Install from Snap
Install Snap before using the Snap installation technique:
sudo pacman -S git
git clone https://aur.archlinux.org/snapd.git
cd snapd
makepkg -si
The systemd unit that manages the main snap communication socket must be enabled after installation:
sudo systemctl enable --now snapd.socketTo enable classic snap support, build a symbolic link between /var/lib/snapd/snap and /snap using the following command:
sudo ln -s /var/lib/snapd/snap /snapSimply run the following command to install OBS Studio:
sudo snap install obs-studioStep 3: Launch OBS Studio
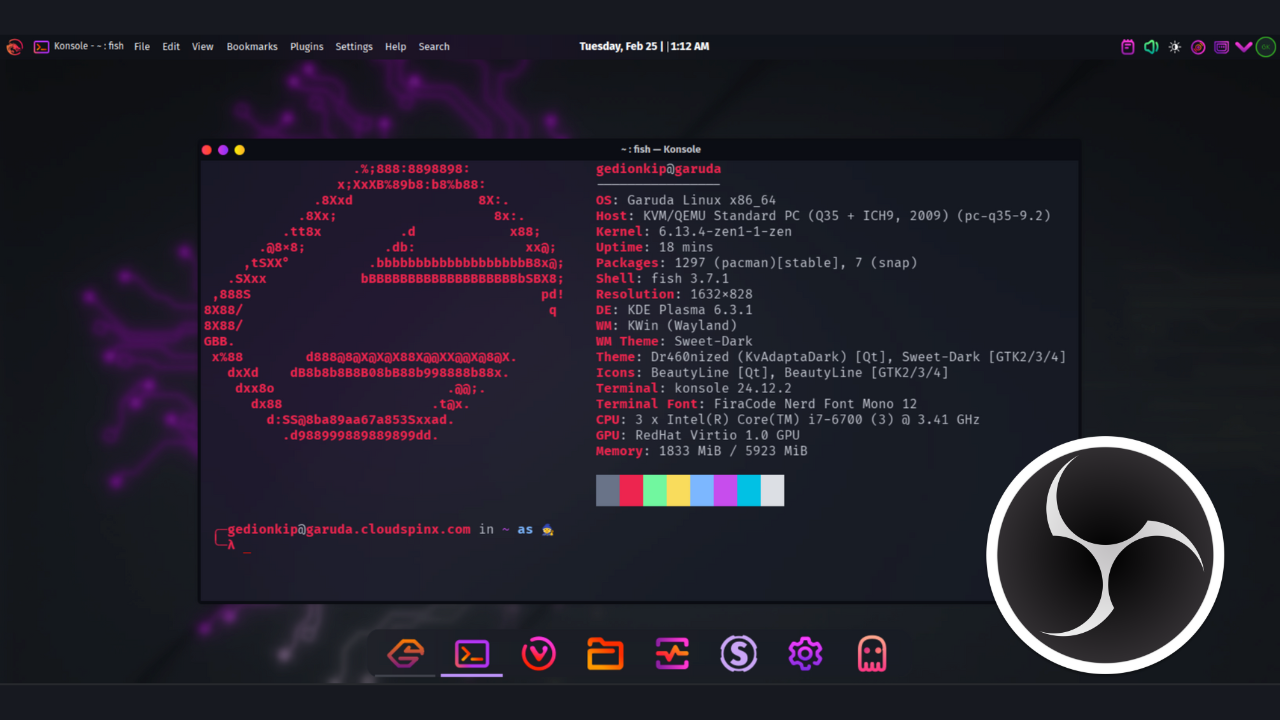
After installing the OBS studio on Arch | Manjaro | Garuda Linux, you may use the terminal or the Desktop Environment Launcher to launch it:
$ obsOn Desktop Environment Launcher:

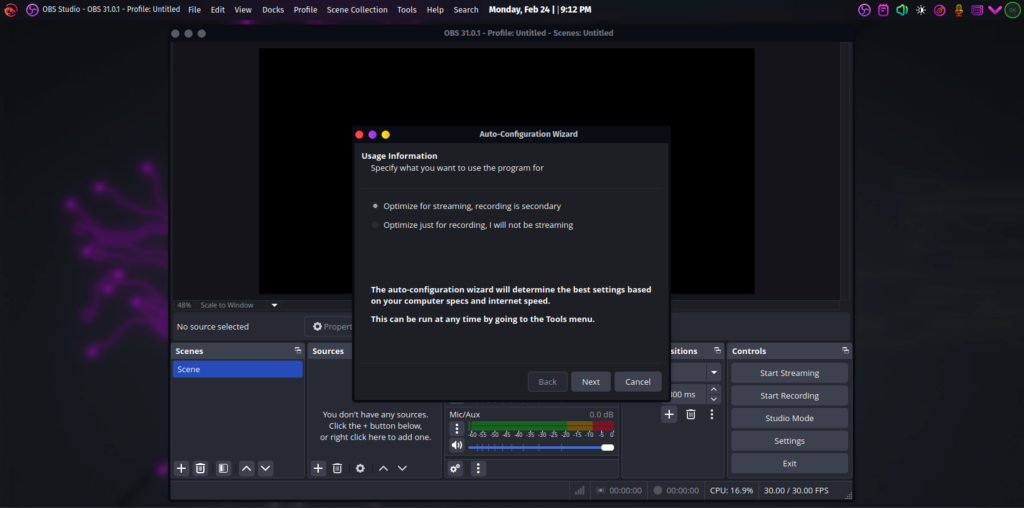
Provide OBS usage information, here we choose optimize for streaming, recording is secondary option:
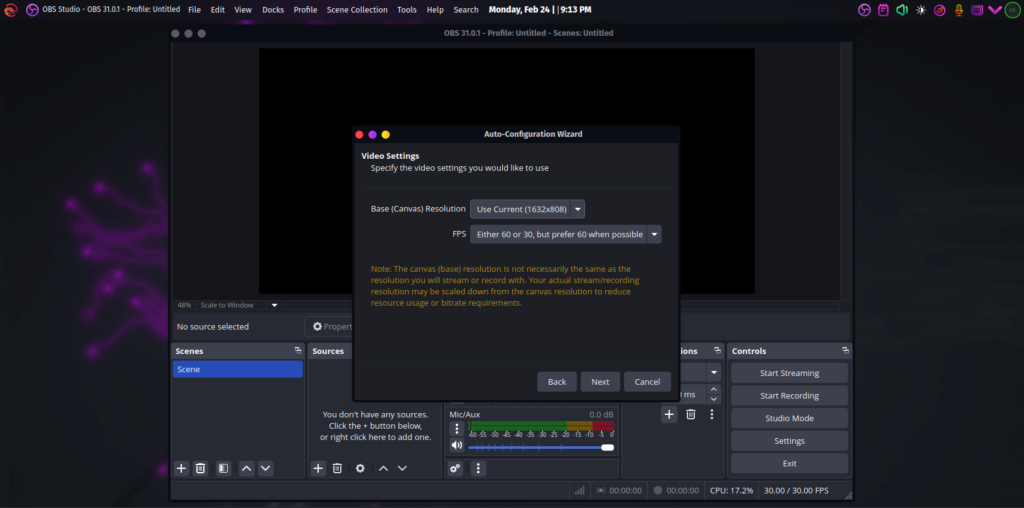
Configure video display based on your machine specification i.e resolution:
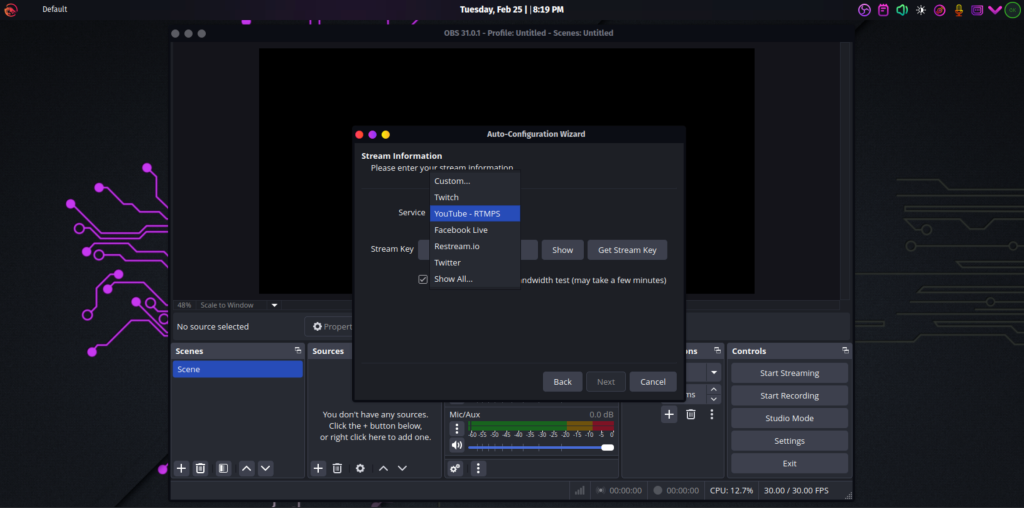
Set the streaming information, you can choose the service of your choice. Here we with YouTube, provide your your stream key to proceed:
Now, execution of tests is done based on the setting provided above. After testing is complete, click Apply Settings:
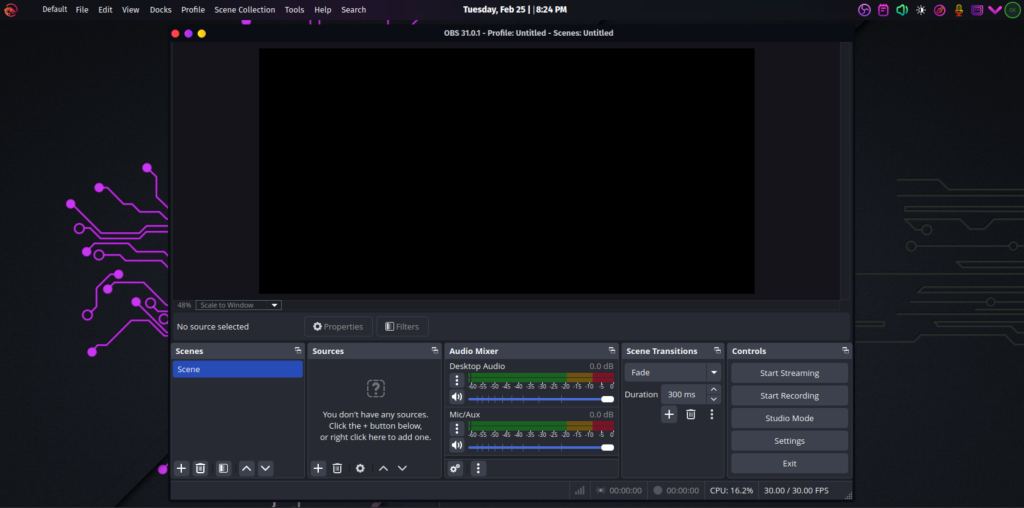
You can now start using OBS Studio to do Recording and Streaming videos:
Conclusion
Our installation instructions for OBS Studio on the Arch | Manjaro | Garuda Linux desktop operating system is now complete. I hope you enjoy using the OBS Studio on your Arch | Manjaro | Garuda Linux to stream and record.
Other guides;