
A remote desktop refers to a software or operating system feature that allows a personal computer’s desktop environment to be run remotely on one system while being displayed on a separate client device. Some allow attaching to an existing user’s session (i.e., a running desktop) and “remote controlling”, either displaying the remote control session or blanking the screen. Commonly used RDP applications are Team viewer and Anydesk. In this article, we are going to discuss RustDesk Remote Desktop Application.
🚀 Ready to master Ubuntu? This content is an extract from The Ultimate Ubuntu Desktop Handbook. Discover the complete guide today.
Usage of RDP Applications
The main use of remote desktop software is remote administration and remote implementation. This need arises when is away from the office and needs to access resources in the office computer. Remote desktop software can be used to access a remote computer: a physical personal computer to which a user does not have physical access, but that can be accessed or interacted with. Unlike servers, remote computers are mainly used for peer to peer connections, where one device is unattended.
RustDesk is a simple, open-source, and extremely useful application for remotely accessing other PCs, with built-in file transfer and TCP tunnelling, written with Rust programming language. Installation and use of RustDesk on Linux are fairly easy. It is a pure great alternative to TeamViewer and Anydesk. Allows you to have full control of your data with no worry or concern about security.
Features of RustDesk
- High-security standard – banking-standard and latest TLS 1.3 end-to-end encryption technology protect your computer from unauthorized access.
- Easy data transfer and TCP Tunneling – Software gives you the capability to transfer files between computers. setup TCP tunnelling easily, and just one click to use RDP connection via TCP tunnelling.
- Raw Application – RustDesk is open source software written with Rust language. You can install via binary files, source code or as a docker image.
- Lightweight – Being an open-source product, the software gives freedom as any user can install. For instance, in Linux, you don’t need to be a root user to install.
- Define your image quality – You can define your own image quality by adjusting bitrate and quantizer.
The advantage with RustDesk it runs entirely on all operating system platforms independently. Let see how you can install and use RustDesk on Ubuntu 24.04|22.04|20.04.
Step 1: Install Dependencies
On your Ubuntu system, open the terminal and run the command below to make sure that all required dependencies are installed first.
sudo apt update -y
sudo apt install -y g++ gcc git curl zip tar wget nasm yasm libgtk-3-dev clang libxcb-randr0-dev libxdo-dev libxfixes-dev libxcb-shape0-dev libxcb-xfixes0-dev libasound2-dev libpulse-dev cmake build-essential unzip
Step 2: Install vcpkg
vcpkg is a free C/C++ package manager for acquiring and managing libraries. It is easy to use, universal, reliable and above all, is for everyone. Since we will be using the C/C++ compiler to build and compile Rustdesk, then it is an essential tool that we need to have installed before we start. Use the below command to download and navigate to the vcpkg directory.
cd ~/
git clone https://github.com/microsoft/vcpkg
cd vcpkg
Install vcpkg by running the installer script as shown below.
$ ./bootstrap-vcpkg.shCreate vpkg root environment with the export command then install libvpx, libyuv and opus.
$ export VCPKG_ROOT=./
$ ./vcpkg install libvpx libyuv opus
#Sample output
...
Elapsed time to handle opus:x64-linux: 15 s
opus:x64-linux package ABI: e1dc43343cfc59667ebe2dfa22f4ac766f19b8bfd9bda6280e3e9b26fed7067b
Total install time: 2.1 min
libvpx provides CMake targets:

  # this is heuristically generated, and may not be correct
  find_package(unofficial-libvpx CONFIG REQUIRED)
  target_link_libraries(main PRIVATE unofficial::libvpx::libvpx)

libvpx provides pkg-config modules:

  # WebM Project VPx codec implementation
  vpx

libyuv provides CMake targets:

  # Unofficial config package and target from vcpkg
  find_package(libyuv CONFIG REQUIRED)
  target_link_libraries(main PRIVATE yuv)

opus provides CMake targets:

  # this is heuristically generated, and may not be correct
  find_package(Opus CONFIG REQUIRED)
  target_link_libraries(main PRIVATE Opus::opus)

opus provides pkg-config modules:

  # Opus IETF audio codec ( build)
  opus

Completed submission of libyuv:x64-linux to 1 binary cache(s) in 141 ms
Waiting for 1 remaining binary cache submissions...
Completed submission of opus:x64-linux to 1 binary cache(s) in 143 ms (1/1)
Step 3: Install Rustdesk on Ubuntu
Install other dependencies required:
sudo apt install -y libclang-dev ninja-build libayatana-appindicator3-1 libgstreamer1.0-dev libayatana-appindicator3-devThere are three main methods that can be used to install install Rustdesk on Ubuntu.
Method 1: Install from .deb package
Download the latest release package.
VER_TAG=$(curl -s https://api.github.com/repos/rustdesk/rustdesk/releases/latest|grep tag_name|cut -d '"' -f 4|sed 's/v//')
wget https://github.com/rustdesk/rustdesk/releases/download/$VER_TAG/rustdesk-$VER_TAG-x86_64.deb
Install the package once downloaded:
sudo apt install ./rustdesk-$VER_TAG-x86_64.debProceed with dependencies and package installation as asked by installer program:
Reading package lists... Done
Building dependency tree... Done
Reading state information... Done
Note, selecting 'rustdesk' instead of './rustdesk-1.3.8-x86_64.deb'
The following additional packages will be installed:
i965-va-driver intel-media-va-driver libigdgmm12 libva-drm2 libva-x11-2 libva2 mesa-va-drivers va-driver-all
Suggested packages:
i965-va-driver-shaders
The following NEW packages will be installed:
i965-va-driver intel-media-va-driver libigdgmm12 libva-drm2 libva-x11-2 libva2 mesa-va-drivers rustdesk va-driver-all
0 upgraded, 9 newly installed, 0 to remove and 38 not upgraded.
Need to get 4608 kB/24.8 MB of archives.
After this operation, 16.5 MB of additional disk space will be used.
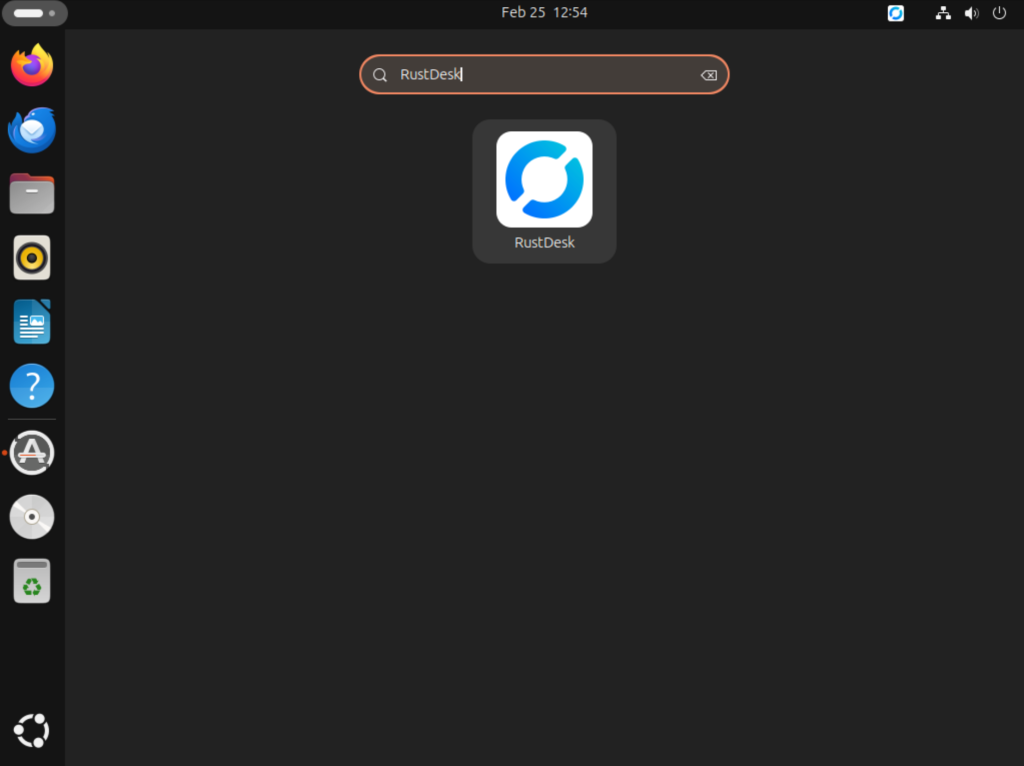
Do you want to continue? [Y/n] yLaunch Rustdesk from your Desktop launcher once it has been installed.
Method 2: Build from source
Install rust programming language compiler with help of this command. When presented with the below information in the terminal just press Enter to continue with default installation.
$ curl --proto '=https' --tlsv1.2 -sSf https://sh.rustup.rs |sh

Welcome to Rust!

This will download and install the official compiler for the Rust
programming language, and its package manager, Cargo.
----------------------------------------------------------------------------------------------------------------------------------------------------------------------------------------------------

Current installation options:

   default host triple: x86_64-unknown-linux-gnu
     default toolchain: stable (default)
               profile: default
  modify PATH variable: yes

1) Proceed with installation (default)
2) Customize installation
3) Cancel installation
> 1
Due successful installation of rust, you will see a sample output message as shown below.
Rust is installed now. Great!

To get started you may need to restart your current shell.
This would reload your PATH environment variable to include
Cargo's bin directory ($HOME/.cargo/bin).

To configure your current shell, run:
source $HOME/.cargo/env
Activate environment.
source $HOME/.cargo/envDownload rustdesk source files from GitHub to rustdesk directory. Navigate to the directory and create add two subsequent directories (target/debug). Download dependencies then move to newly created directory target/debug.
cd ~/
git clone https://github.com/rustdesk/rustdesk
cd rustdesk
mkdir -p target/debug
wget https://raw.githubusercontent.com/c-smile/sciter-sdk/master/bin.lnx/x64/libsciter-gtk.so
mv libsciter-gtk.so target/debug
Run the command below to download the necessary files, compile and build the RustDesk application.
export VCPKG_ROOT=$HOME/vcpkg
cargo run
Method 3: Run RustDesk in docker container
To build Rustdesk application with docker, start by cloning repository and build docker container.
cd ~/
cd rustdesk
docker build -t "rustdesk-builder" .
Build the application.
docker run --rm -it -v $PWD:/home/$USER/rustdesk \
  -v rustdesk-git-cache:/home/$USER/.cargo/git \
  -v rustdesk-registry-cache:/home/$USER/.cargo/registry \
  -e PUID="$(id -u)" \
  -e PGID="$(id -g)" rustdesk-builder
Rust desk will start automatically and the window below will pop up.
Step 4: How To Connect and Use RustDesk
As we stated earlier, RustDesk supports remote desktop access, file transfer protocol and TCP Tunnelling. Let’s dig down to illustration and see how RustDesk works.
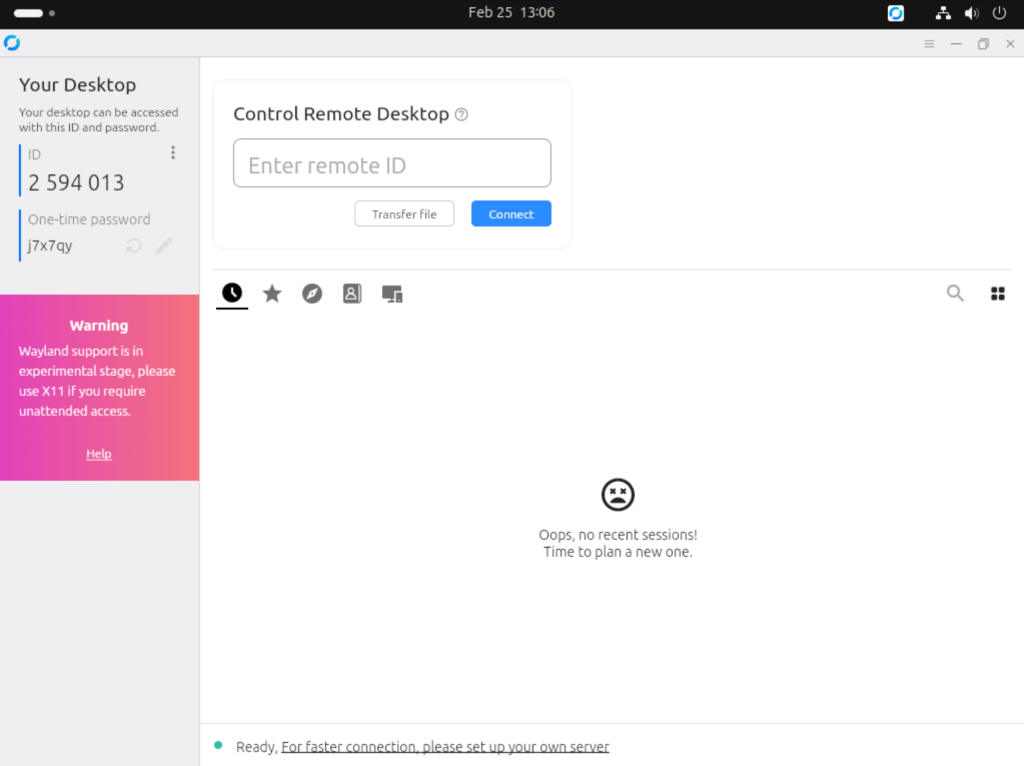
Remote Desktop Access
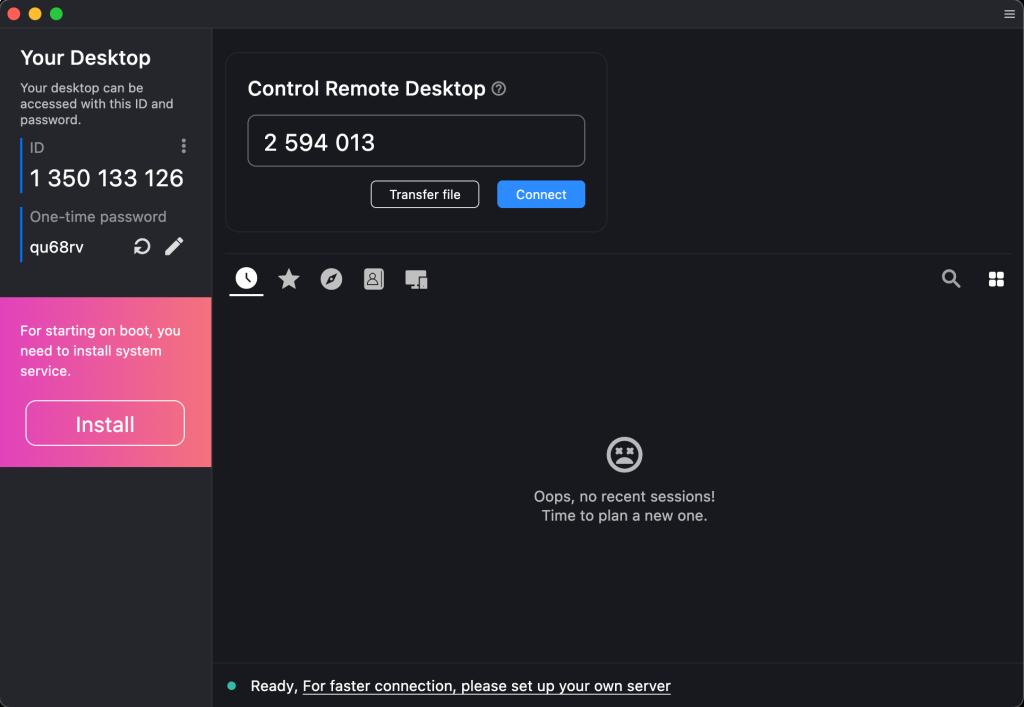
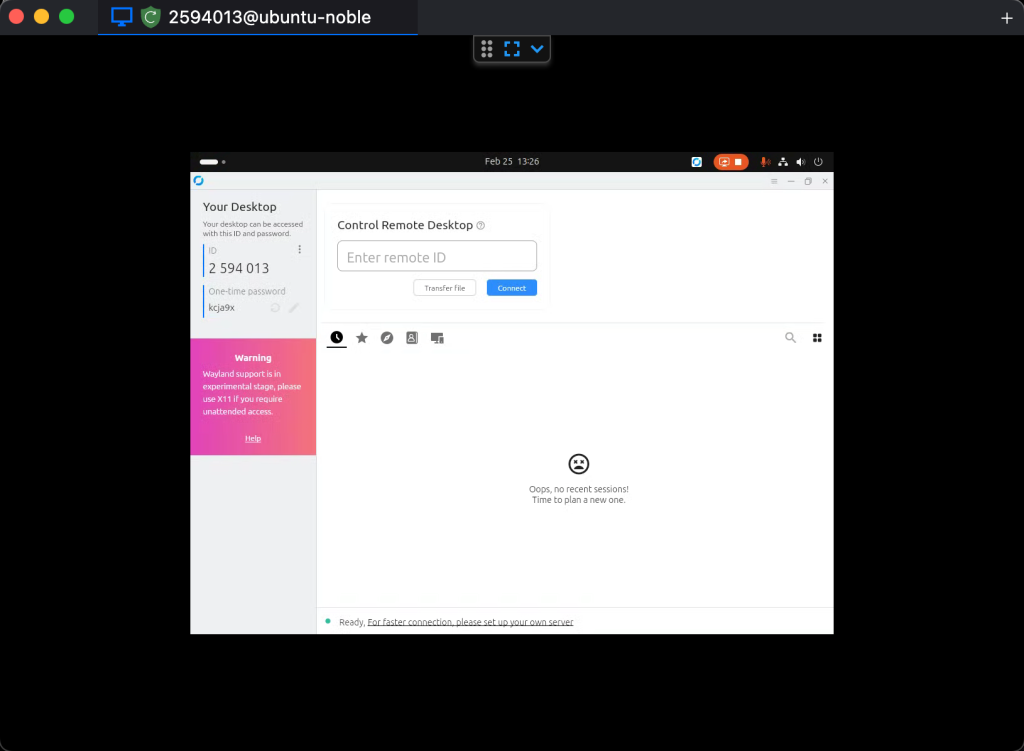
At this point, make sure that you have two computers each running Rustdesk, ready to connect. Just like anydesk, enter the ID of a remote computer in your local computer as shown below then click connect.
Initializing connection. Wait for the handshake to be established between the two computers.

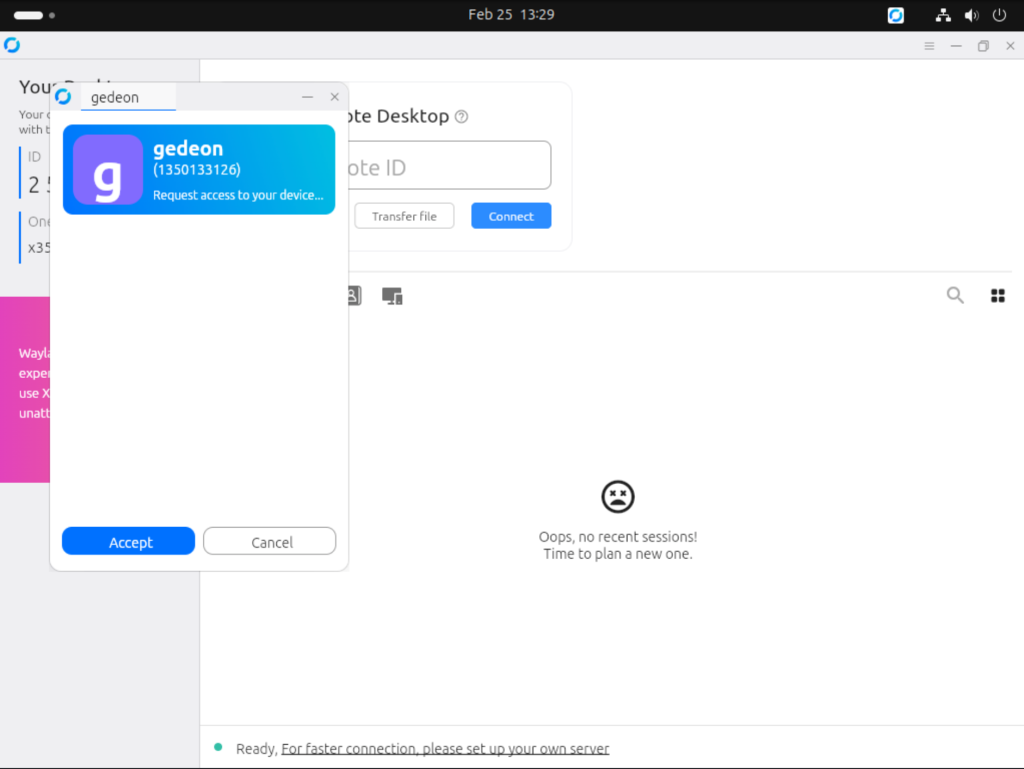
Enter the password or allow users from the other end to accept the connection.
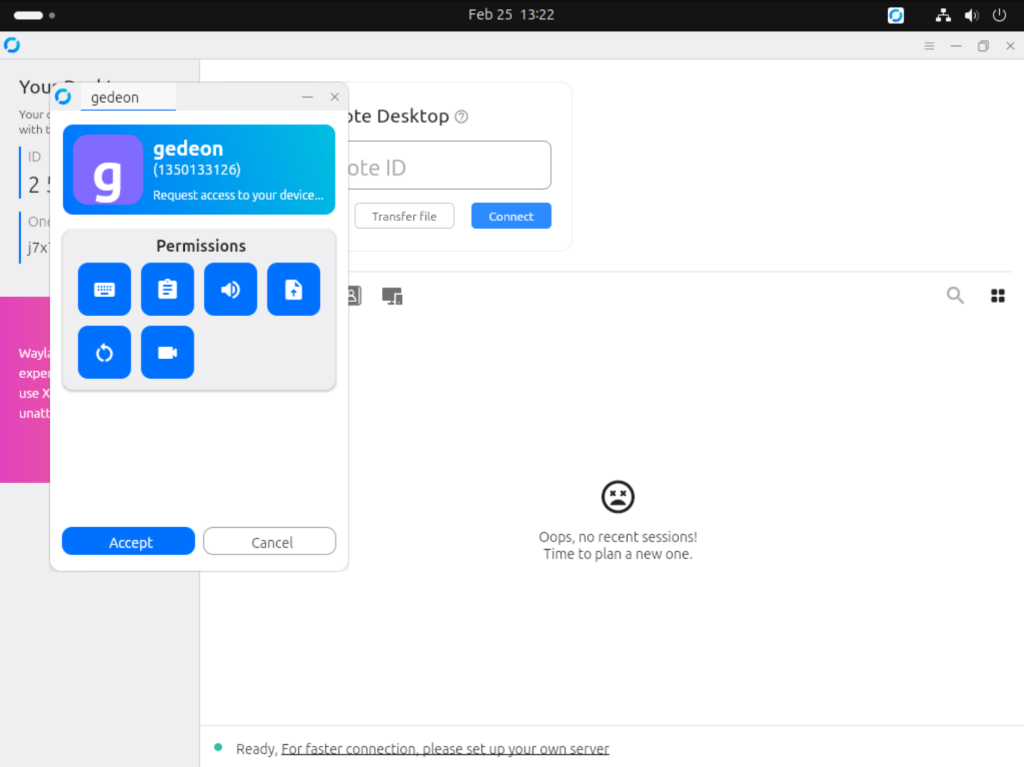
Click on Share on your Ubuntu:

Success!! now you have full control of the remote computer.
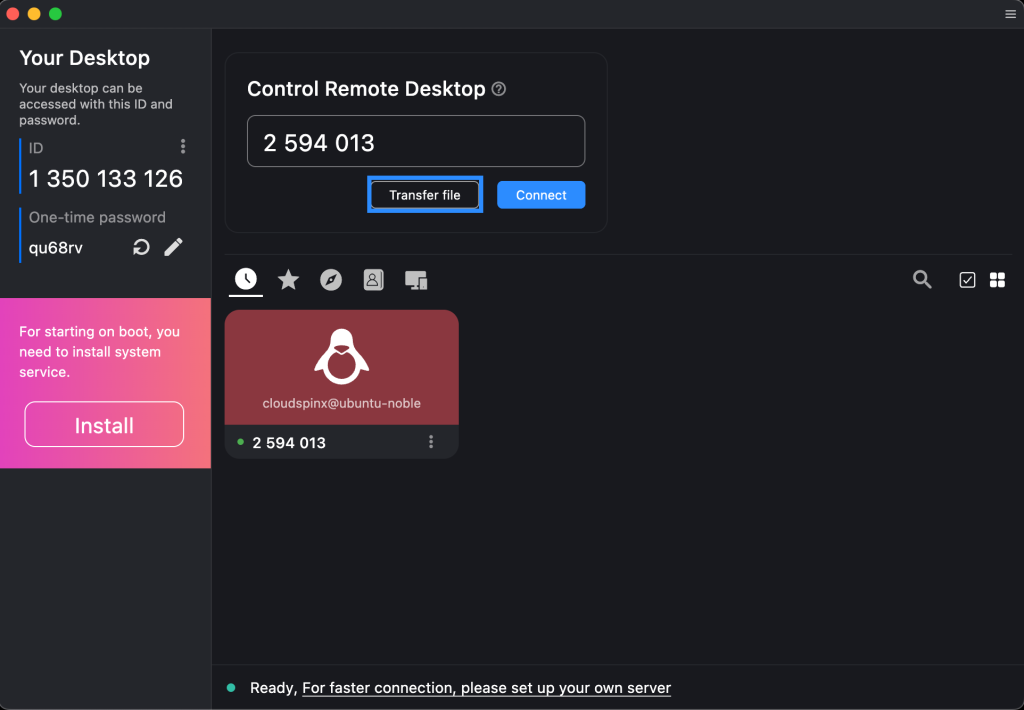
File Transfer Protocol.
If you want to use an application to transfer files between two servers then use the Transfer File button to connect to a remote computer after entering the remote ID.
Enter the password or ask the remote user to accept the incoming connection.
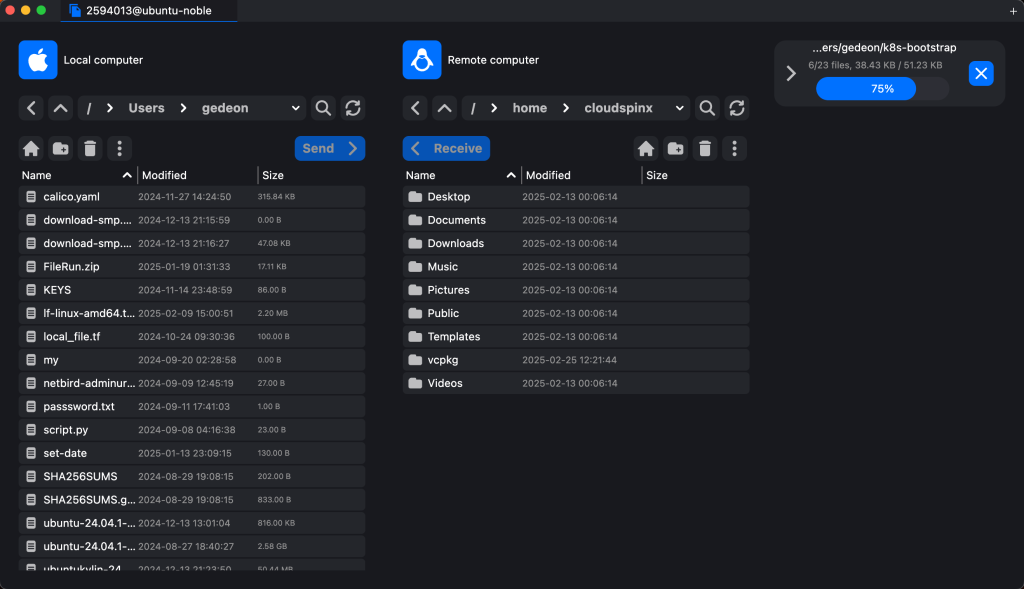
You will be presented with the screen showing files in the local computer on the left while remote computer files on the right.
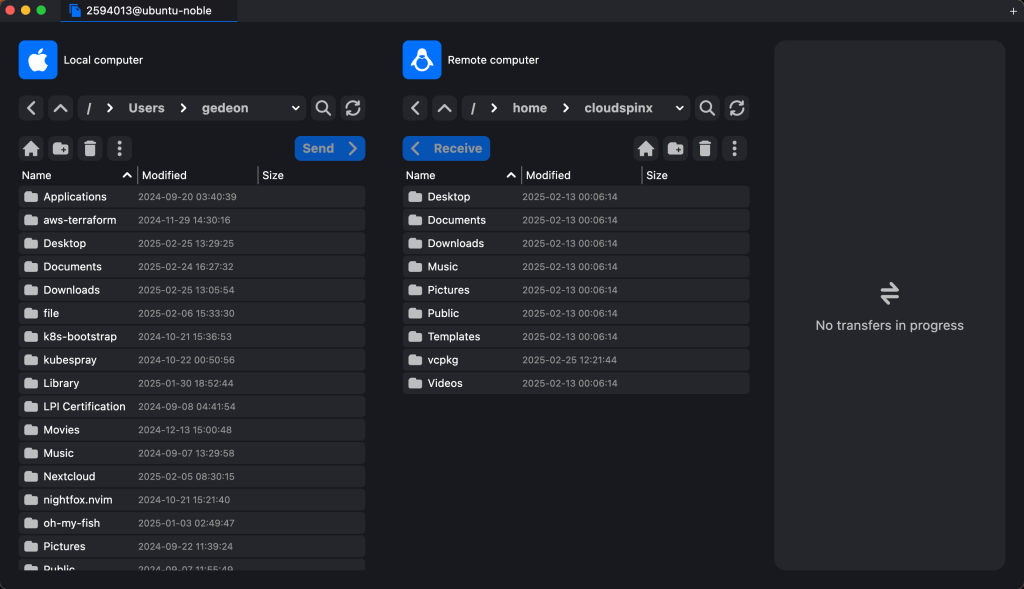
You can transfer files by dragging them from one computer to another or by selecting files then click send button.
Cheers! Rustdesk is now working!
Conclusion.
Congratulations on successfully installing Rustdesk. Hope you will enjoy the experience and the beautiful features included such as ID/Relay Server. The advantage with Rusdesk it tries to initiate a previous connection when you are back online as long as you did not end the session nor shut down the computer.
Others also read on:


