We’ll go through how to install the Brave and Chromium browsers on the Garuda Linux desktop operating system in this post. Brave is a free-to-use next-generation browser created by Brave Software, Inc under an open source license. Brave Desktop’s source code is based on Chromium and is designed to run on Linux, Windows, and macOS. The Brave browser is designed to be secure by removing irritating adverts and website trackers, ensuring that users’ privacy is protected when surfing the web. Google Chrome, on the other hand, is a web browser created by Google for Linux, Windows, Android, and iOS. With Google’s smarts built-in, the Chrome browser is meant to be easy, safe, and quicker than its competitors.
Features of Brave | Chromium Desktop Browser
Brave Desktop Browser
The following are some of the features of Brave browser;
- Transfer your bookmarks and settings- You can quickly import your bookmarks and settings from your previous browser.
- Search- You have the option of using the default search engine or using keyboard keys to switch to a different search engine.
- Security- Take use of the built-in password manager, form autofill, and the ability to activate “Do not track” when surfing.
- Brave supports the majority of Chrome extensions available in the Chrome Web Store.
- Shields- Ad blocking, Cookie control, Per-site shield settings, and Cookie control.
- Brave Rewards helps you support your favorite websites- Enable Brave Rewards and give a bit back to the websites you visit the most.
- Private Windows, Pinned Tabs, Auto-unload, and many other features are available in Tabs & Windows.
- Faster page load times- Brave is said to load websites more quickly than Chrome and Firefox.
Chromium Desktop Browser
Cool features of Chromium browser;
- Websites’ Task Manager
- Reopen any tabs on the website that you accidentally closed.
- Contextual Menus that are really clean
- Websites may be launched from the Start Menu / Quick Launch Bar.
- Use the Address Bar to Find Your Favorite Websites
- History of the Visual Browser
- Different Browsers’ Memory Usage
Install Brave | Chromium Browser on Garuda Linux
The following steps will guide you on how to install Brave and Chromium browser on Garuda Linux:
Install Brave Browser on Garuda Linux
Step 1. Update System
We constantly recommend that Linux users upgrade their operating system packages to the most recent versions available in upstream sources.
Run the following command to update Garuda Linux:
sudo pacman -SyuPerform a system power recycle once the system has been refreshed.
sudo rebootStep 2. Installation
After the reboot, the next step is to install the Brave browser on Garuda Linux.
There are two methods to install Brave browser on Garuda Linux:
- Installing from AUR.
- Installing from snap.
Method 1. Install from AUR
First, we need to install yay:
sudo pacman -S --needed git base-devel
git clone https://aur.archlinux.org/yay.git
cd yay
makepkg -si
After you’ve installed yay, you can use it to install the Brave browser on Garuda Linux:
$ yay -S braveNow, start the installation process;
Packages (1) brave-1.27.111-1

Total Download Size:   112.55 MiB
Total Installed Size:  263.99 MiB

:: Proceed with installation? [Y/n] y
The CLI may be used to launch the Brave browser;
$ braveAlternatively, you may select a program from the list of installed apps in the menu bar.
Method 2. Install from Snap
Install Snap before using the Snap installation technique:
$ git clone https://aur.archlinux.org/snapd.git
cd snapd
makepkg -si
The systemd unit that handles the primary snap communication socket must be activated after installation:
sudo systemctl enable --now snapd.socketTo enable classic snap support, build a symbolic link between /var/lib/snapd/snap and /snap using the following command:
sudo ln -s /var/lib/snapd/snap /snapSimply run the following command to install Brave:
sudo snap install braveStep 3. Launch Brave Browser on Garuda Linux
On Garuda Linux, you may launch the brave web browser via the terminal or the Desktop Environment Launcher after installation:
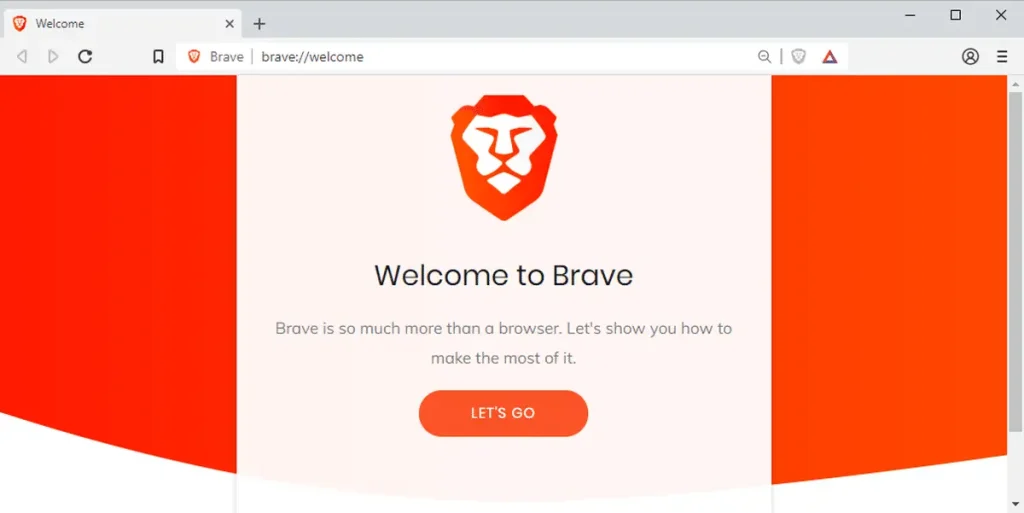
$ braveTo begin setting Brave Browser and using it as your default web browser, click the “Let’s Go” button.

Install Chromium Browser on Garuda Linux
We will install Chromium browser as follows:
Step 1. Install Chromium Browser from AUR
Install yay:
$ sudo pacman -S --needed git base-devel
$ git clone https://aur.archlinux.org/yay.git
$ cd yay
makepkg -si
After you’ve installed yay, you can use it to install the Chromium browser on Garuda Linux:
$ yay -S google-chromeNow, start the installation process:
Packages (1) google-chrome-92.0.4515.131-1

Total Download Size:   102.78 MiB
Total Installed Size:  243.85 MiB

:: Proceed with installation? [Y/n] y
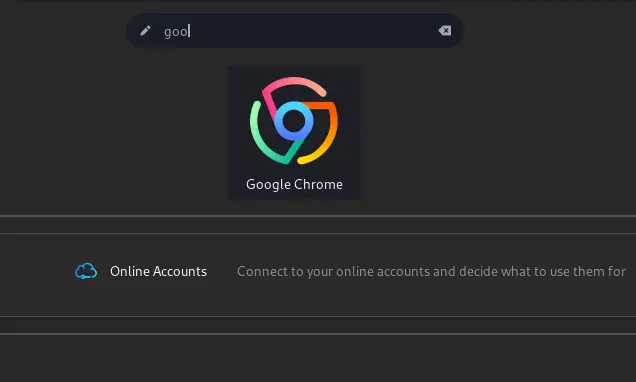
To open Chrome Browser, go to your Desktop Environment and search for it:

To use Chrome features like Sync and other services like YouTube, you’ll need to sign in:

Keyboard Shortcuts for Google Chrome
These are the most frequent Keyboard Shortcuts for the Google Chrome Browser that will help you become more efficient.
| Keyboard Shortcut | Function |
| Crtl + n | Open a new Chrome Window |
| Ctrl + shift + tab | Switch tabs from right to left |
| Cctrl + Shift + w | Exit a window |
| Ctrl + shift + n | Create a new incognito window |
| Ctrl + tab | Switch tabs to the right |
| Ctrl + w | Close and exit a tab |
| Ctrl + Shift + t | Reopen all previous tabs if you close the browser. |
Conclusion
Our guide to installing the Brave and Chromium browsers on the Garuda Linux desktop operating system is now complete. I hope you enjoy browsing with the Brave and Chromium browsers on your Garuda Linux system.
Similar guides:


