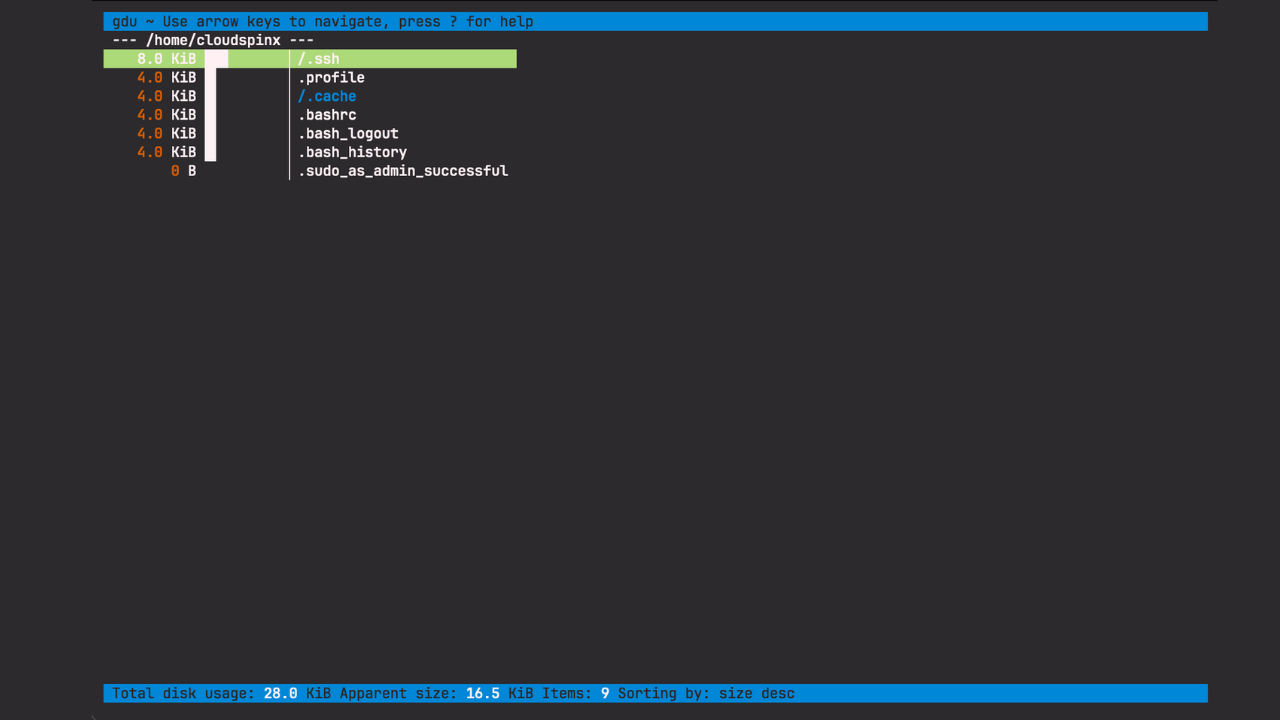
In this article, we are looking at how to analyze disk usage in Linux using gdu. Gdu is a high speed console disk usage analyzer written in Go language and primarily meant for Solid State Drives (SSD) where it can make use of parallel processing. It can still work with HDDs but with compromised performance. Below is how gdu interface looks like. You can use ‘arrow keys’ to navigate through the available directories and ‘Enter’ to select. Gdu works just like ncdu but with a big difference in operating speeds.
Installing GDU on Linux
There are different ways of installing gdu on Linux as discussed below:
Install gdu from binaries
With curl, we are going to download gdu binaries to our Linux system, make them executable and copy to the right path. Run the commands below. I am running these commands on Debian/ Ubuntu. Other binaries are available in gdu github releases page.
# From Linux binary file
curl -L https://github.com/dundee/gdu/releases/latest/download/gdu_linux_amd64.tgz | tar xz
sudo chmod +x gdu_linux_amd64
sudo mv gdu_linux_amd64 /usr/bin/gdu
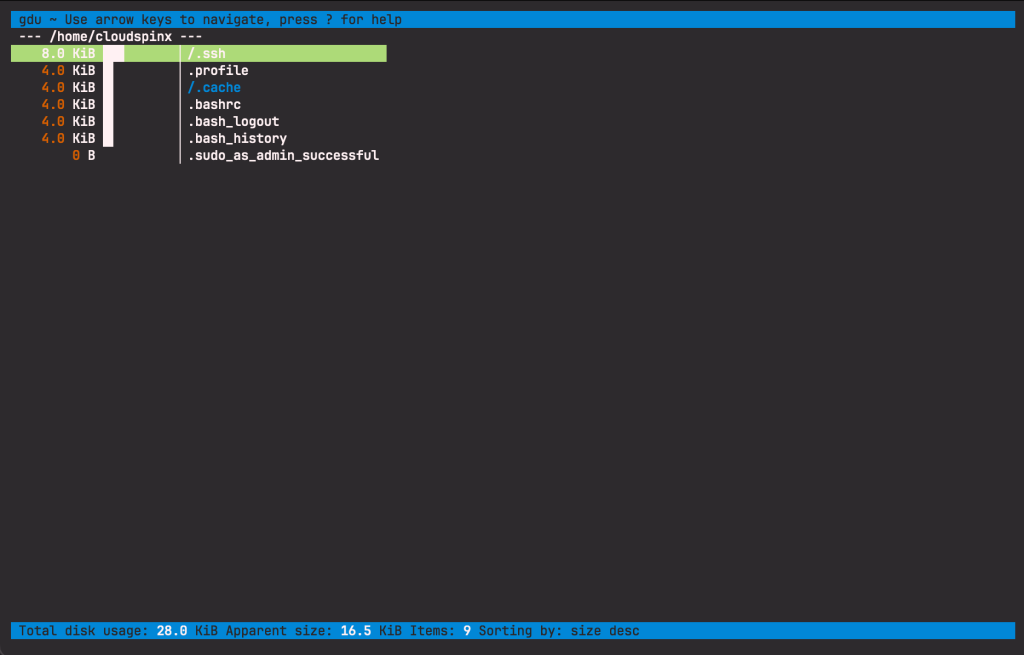
Once done, you can simply run gdu on your terminal. You should get an output similar to the below:
Installing gdu Using Snap
You can simply install gdu using snap by running the below commands:
snap install gdu-disk-usage-analyzer
snap connect gdu-disk-usage-analyzer:mount-observe :mount-observe
snap connect gdu-disk-usage-analyzer:system-backup :system-backup
snap alias gdu-disk-usage-analyzer.gdu gdu
Install gdu from package managers
Gdu is available on AUR and Brew and you can install as below:
# Arch
yay -S gdu

# Homebrew
brew install gdu
Analyze Disk Usage on Linux using gdu
Some flags used with gdu are as eplained below:
Usage:
$ gdu [directory_to_scan] [flags]Flags:-h, --help help for gdu-i, --ignore-dirs strings Absolute paths to ignore (separated by comma) (default [/proc,/dev,/sys,/run])-l, --log-file string Path to a logfile (default “/dev/null”)-c, --no-color Do not use colorized output-p, --no-progress Do not show progress in non-interactive mode-n, --non-interactive Do not run in interactive mode-d, --show-disks Show all mounted disks-v, --version Print version
Let’s look at some usage examples.
Check gdu version:
$ gdu -v
Version:	 v5.30.1
Built time:	 Mon Dec 30 10:17:46 PM CET 2024
Built user:	 dundee
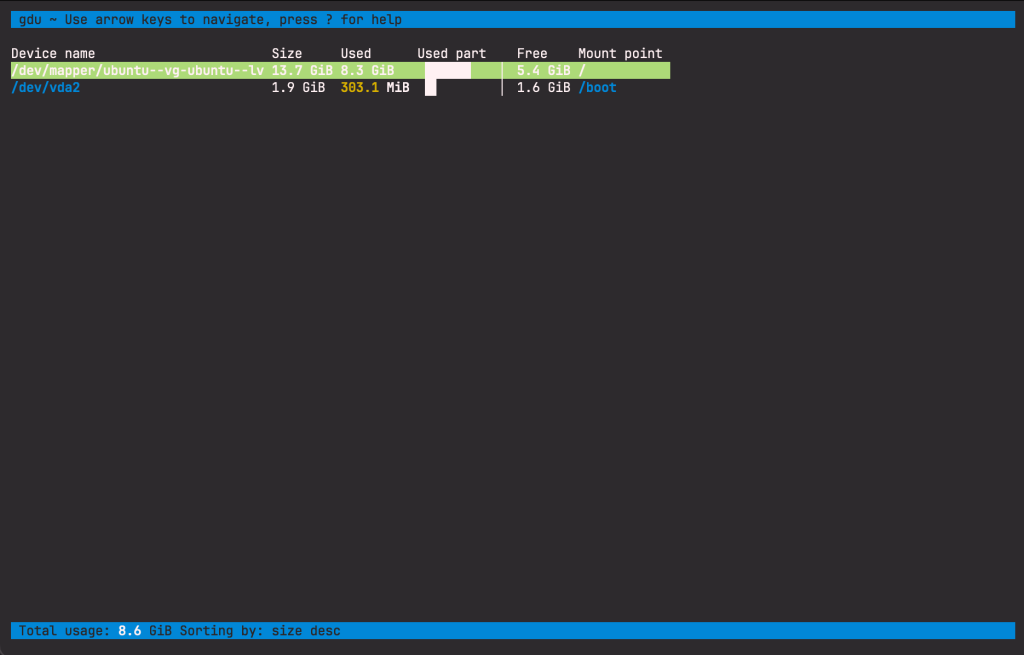
Show all mounted disks:
gdu -dOutput:
Run gdu -l ./gdu.log <path> and get corresponding logs on ./gdu.log. The command analyzes the specified directory and logs to the specified file.
gdu -l ./gdu.log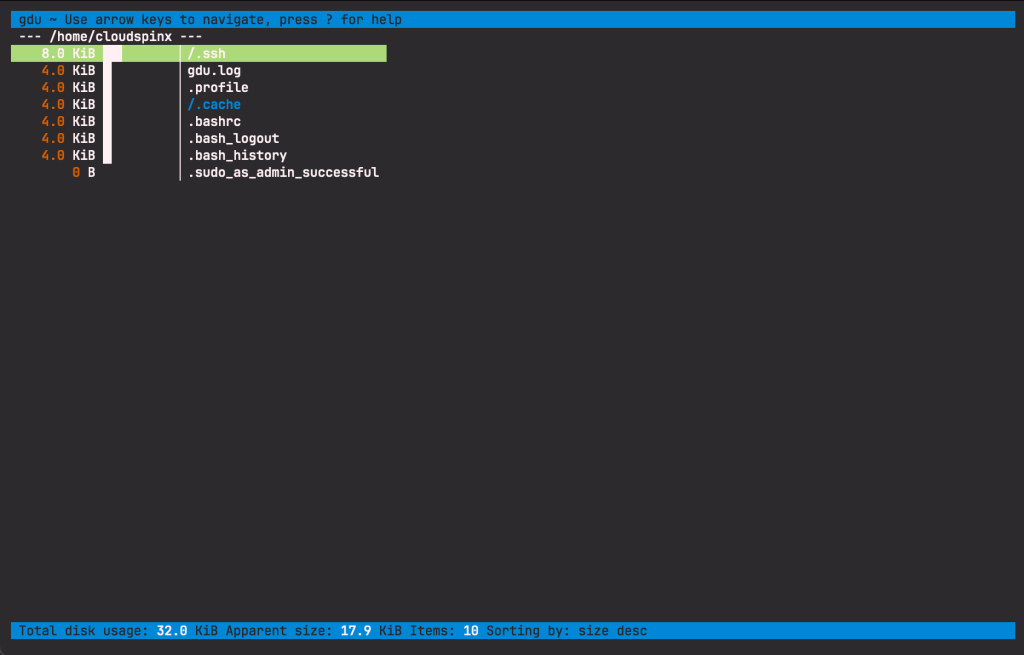
A log file is added as specified
$ ls
gdu.log
You can use the following keyboard options to manipulate the directories, for example to select, sort by size, delete etc
Upork– move cursor upDownorj– move cursor downEnter,Rightorl– select directory / deviceLeftorh– go to parent directoryd– delete selected file or directoryn– sort by name (asc/desc)s– sort by size (asc/desc)c– sort by items (asc/desc)
As an example, check disk utlization for /.
gdu /Output:
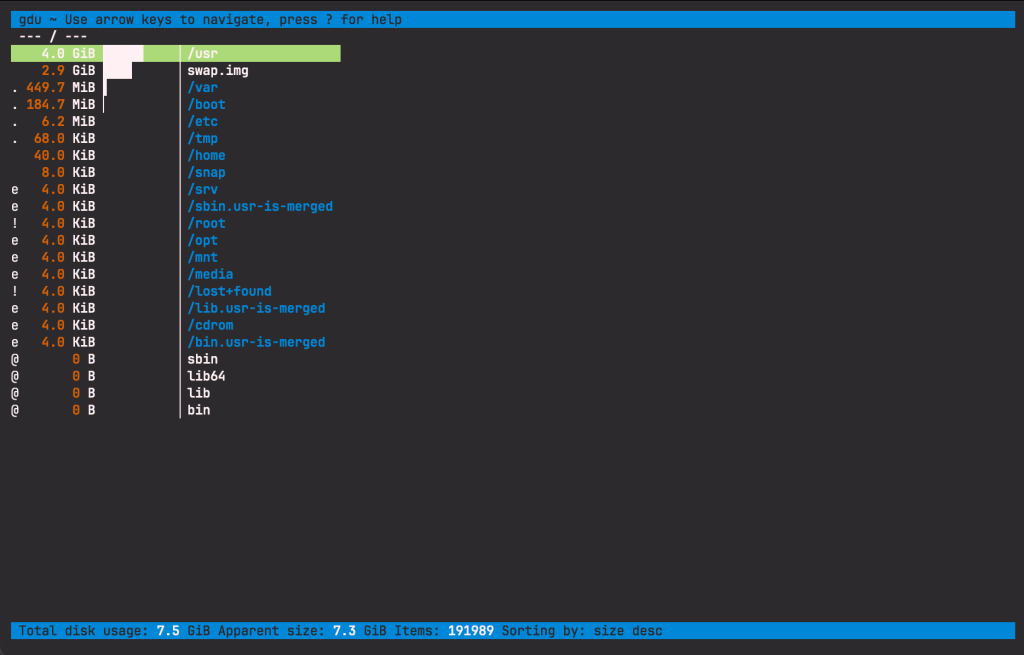
Now press s to sort the directories from the smallest. Output as below:
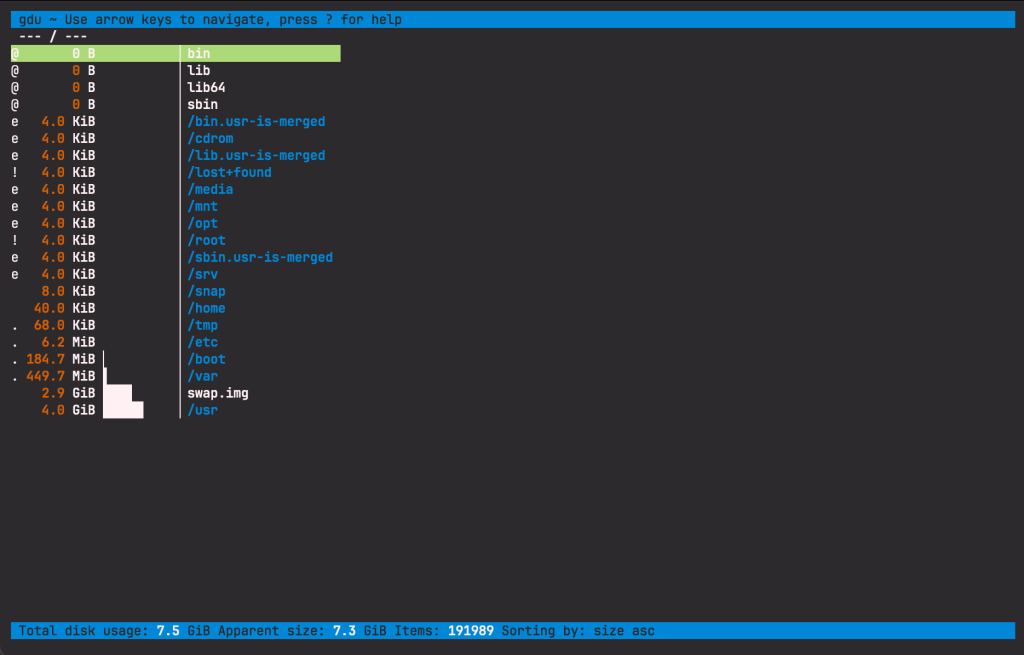
That’s it with the installation and usage of gdu disk analyzer on Linux. If you require fast analysis of your disks utilization, especially if working with SSDs the gdu is the appropriate tool to use.
Gdu is pretty fast and enables you to manipulate the disks through the use keyboard keys, for example selecting, sorting according to sizes or names and deleting. I hope the guide has been helpful.
More articles to read:

