In this guide you’ll learn to install KVM with Virtual Machine Manager on Linux Mint. KVM, short for Kernel-based Virtual Machine is a virtualization platform for Linux and owned by Red Hat. KVM turns your Linux system into a hypervisor and allows you to run multiple guest operating systems (virtual machines) which do not interfere with the normal Linux operations.
With KVM, every virtual machine is implemented like a regular Linux process but with isolated resources such as network card, memory and CPU. It is part of Linux and is faster than its counterparts.
🔥 Check out the #1 best-selling eBook on KVM Virtualization – your ultimate guide to mastering it!
Features of KVM
The features below describe why KVM would be preferred as an enterprise hypervisor:
- Security – KVM uses both security-enhanced Linux (SElinux) and secure virtualization (sVirt) to ensure VMs security.
- Storage – KVM uses any storage supported by Linux. This includes local disks and network-attached storage. Multiple I/O can also be used to enhance storage and redundancy. It also supports shared filesystems enabling VM images to be shared by multiple hosts. Thin provisioning, where resources are allocated in demand.
- Hardware support – KVM can use wide ranges of Linux supported hardware since latest hardware features are quickly adopted in the Linux kernel.
- KVM inherits Linux memory management features.
- Supports live migration
- Performance and scalability – Scaling to match demand if the number of VMs or workload increased.
- Scheduling and resource control.
- Lower latency and higher prioritization.
Install KVM on Linux Mint
I am going to be installing KVM on a virtual machine. To be able to this, we are going to use nested virtualization. We need to ensure our host system supports nested virtualization, which enables running a virtual machine inside another virtual machine.
Enabling nested virtualization on KVM
First check if nested virtualization is enabled on the host, depending on whether you are running on intel or AMD. Run the commands below:
$ cat /sys/module/kvm_intel/parameters/nested
Y
$ cat /sys/module/kvm_amd/parameters/nested
Y
If you get an output as ‘Y’ or ‘1’,nested virtualization is enabled, otherwise it is not. To enable, follow the procedures below:
Shut down all running VMs and unload the kvm_probe module:
sudo modprobe -r kvm_intel Activate the nesting feature:
sudo modprobe kvm_intel nested=1To permanently enable, add the following line to the /etc/modprobe.d/kvm.conf file and add the following line:
$ sudo vim /etc/modprobe.d/kvm.conf
options kvm_intel nested=1
Do the same for AMD processors, replacing intel with AMD in the above commands.
Enable Nested Virtualization on Virtualbox
From virtualbox 6.1 nested virtualization is supported for host systems running AMD and Intel CPUs. To enable nested virtualization from command line, we run the following commands:
First list the available VMs with the following command:
$ vboxmanage list vms
“Linux Mint” {c7be48bc-5f91-4371-9533-940aee57da83}
Enable nested virtualization specifying the VM you want to use. In this case, I only have Linux Mint VM.
vboxmanage modifyvm "Linux Mint" --nested-hw-virt onTo enable nested virtualization from UI, Open VirtualBox manager, choose the VM you want to work with then open Settings→ System→ Processor. Check the box for ‘Enable Nested VT-x/AMD-V’.
Install KVM on Linux Mint
To install KVM with virtualization manager on Linux Mint, run the below command on the terminal:
sudo apt-get update
sudo apt-get install qemu-kvm libvirt-daemon-system libvirt-clients bridge-utils virt-manager
Once installation is complete, we need to add the user to libvirt and kvm groups. Run the commands below:
sudo usermod -aG libvirt $USER
sudo usermod -aG kvm $USER
sudo reboot
After adding the user, log out and back in to allow the changes to take effect. The user will then be able to run and manage virtual machines.
You can verify your KVM installation with the below command:
$ sudo virsh -c qemu:///system list
Id	Name		State
------------------------------------
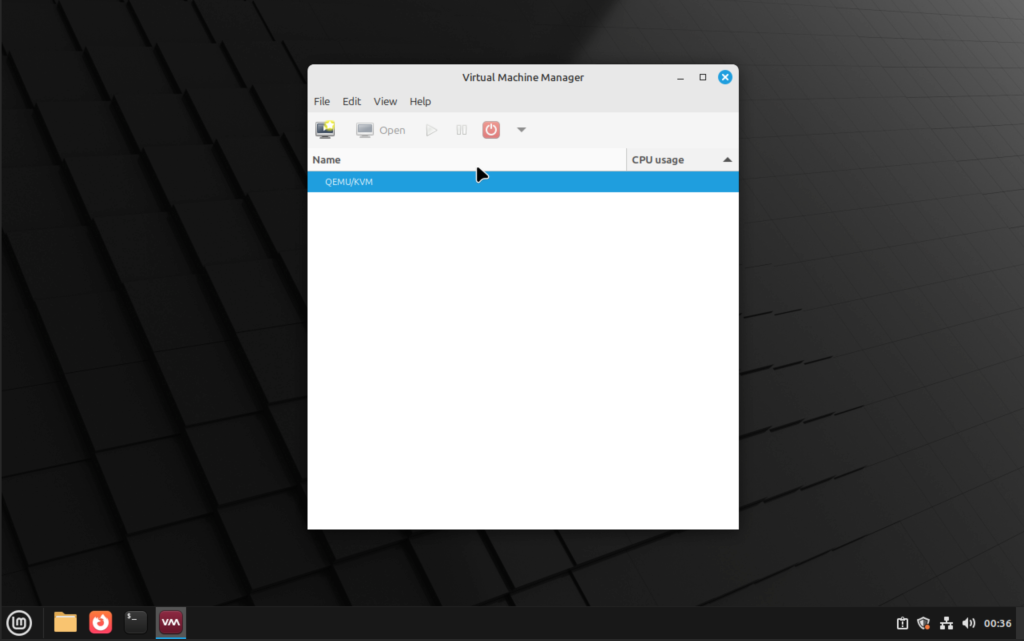
The above output signifies a successful installation, otherwise it would throw an error. Go ahead and check virtual machine manager from your system applications and click to open it:
How To Create a VM with KVM on Linux Mint
With KVM, there are two ways of creating virtual machines. We can create from the command line as well as from the graphical interface. To create from the graphical interface, we use virtual machine manager.
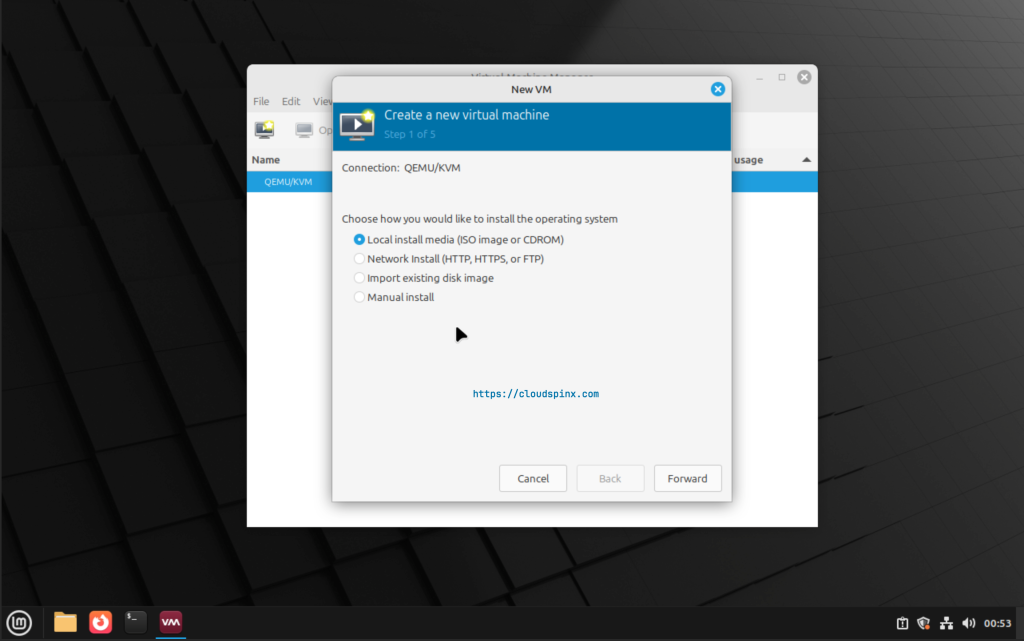
To create a new virtual machine, click on file → new virtual machine. “Local Install Media” should be selected. Click “forward“.
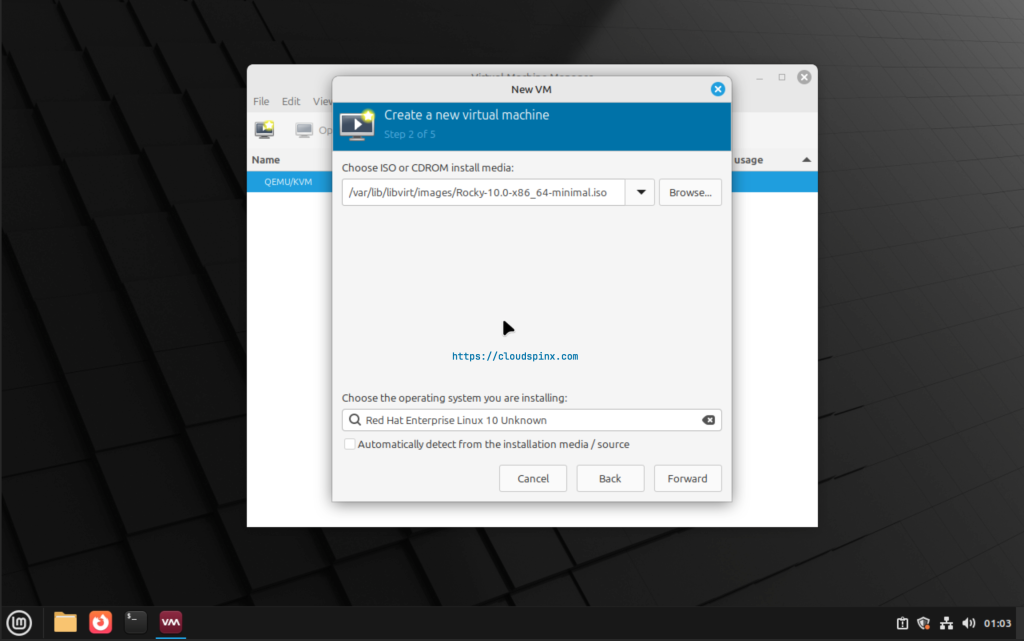
In the next page, browse to the downloaded iso file, and choose the operating system you are installing, then click “forward“. In my case I am installing a Rocky Linux 10 VM, which I’ll select RHEL 10 as the OS since Rocky 10 is not listed.
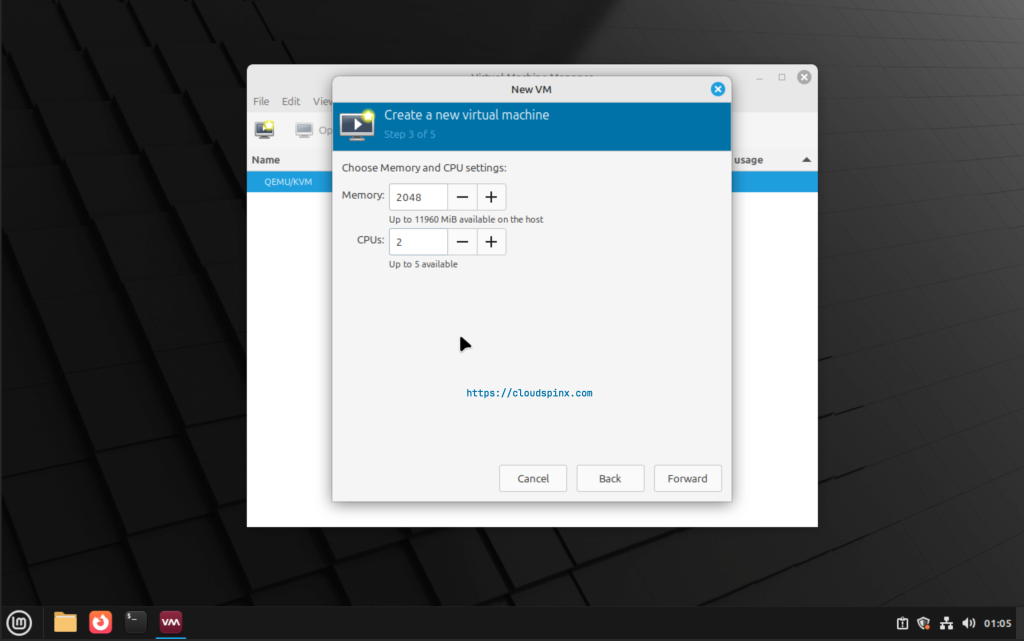
In the next page, set memory and CPU for your VM then click “forward“.
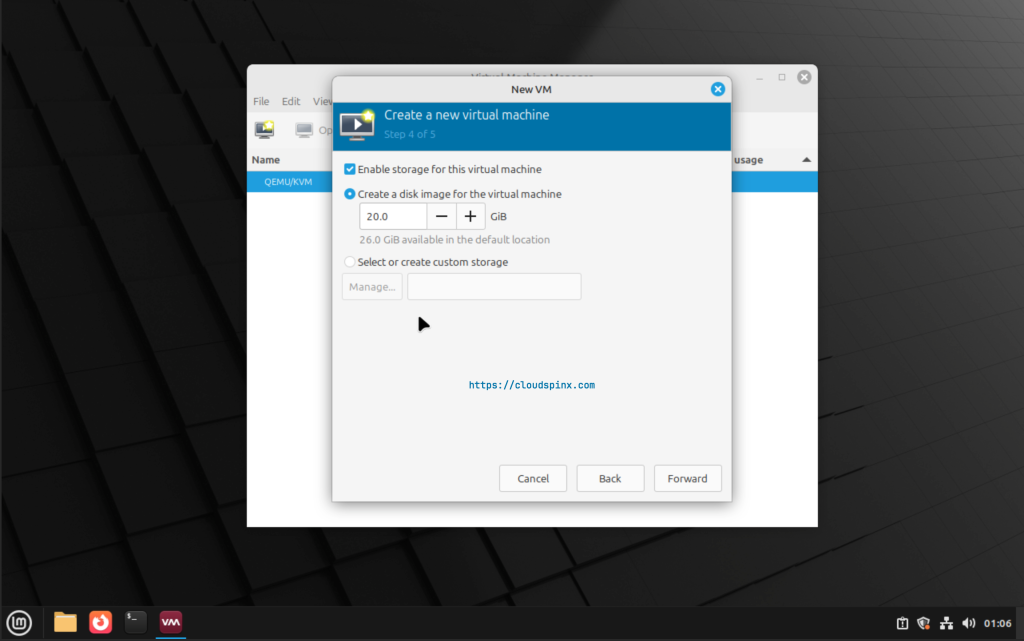
Next, enable storage and click “forward”.
Next, give your VM a name and make any other configurations you may need. After that click finish.
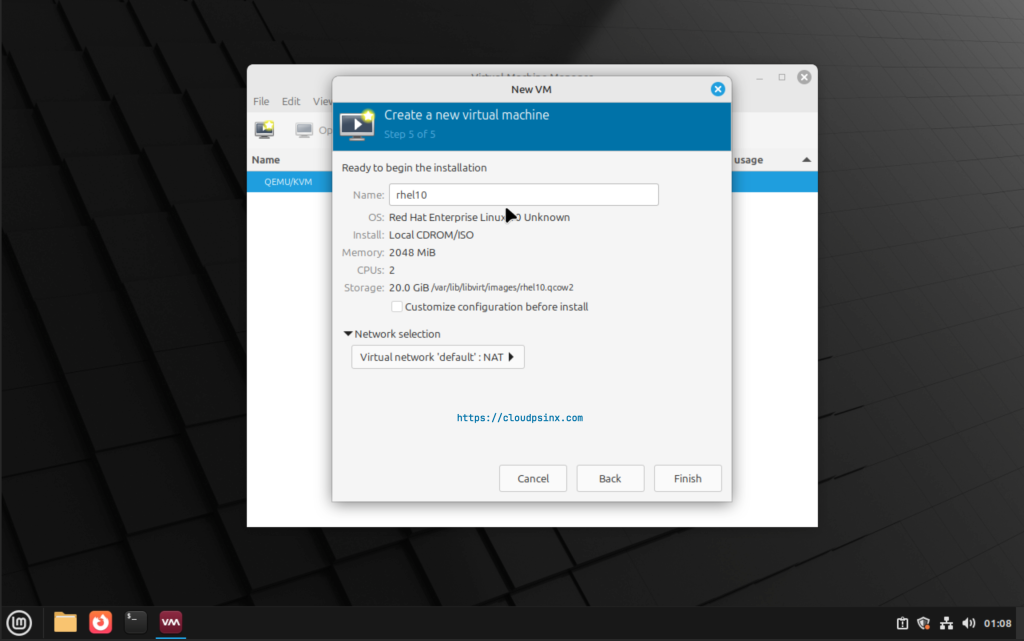
You should notice VM creation process begins.
KVM create VM command line
To create a VM from command line, we input a command specifying all the requirements for the VM to be created. For example, to create Ubuntu 20.04 VM, I use the below command:
sudo virt-install \
  --name rocky10 \
  --ram 4096 \
  --vcpus 2 \
  --disk path=/var/lib/libvirt/images/rocky10.qcow2,size=20 \
  --os-type linux \
  --os-variant rhel10 \
  --cdrom /path/to/Rocky-10-x86_64-dvd.iso \
  --network network=default,model=virtio \
  --graphics spice \
  --console pty,target_type=serial \
  --noautoconsole
The Virsh Utility
Virsh is a utility used to interact with the virtual machines. For example, you can list all the configured guests by running the command below:
$ virsh list --all
 Id   Name     State
------------------------
 1    rhel10   running
You can also use edit guest parameters by running the command below and specifying VM name:
$ virsh edit rhel10
Select an editor. To change later, run 'select-editor'.
  1. /bin/nano
  2. /usr/bin/vim.tiny
  3. /bin/ed
choose 1-3 [1]: 2
The output is an xml file of the VM configuration which you can edit as you like and save the file.
That’s it. You have successfully installed KVM with virtualization manager on Linux Mint. You have also learnt how to enable nested virtualization for host and VirtualBox. We have seen how to create a virtual machine both using the KVM virtual machine manager and using the command line. I hope the guide has been useful. Check below more interesting Linux guides:

