
LAMP is a short name that stands for Linux, Apache, MySQL and PHP. Developers need a combination of these open source software to do developments on their local machines before their websites go live. This tutorial explains how to install LAMP Stack (Apache MySQL and PHP) in a Linux operating system computer. Apache is a web server, MySQL is for database while PHP is the language used for programming.
Update Linux Mint
Before installing LAMP server, first update and upgrade your Linux Operating system by running the below commands on the terminal:
You will be prompted to enter your password when running the update and upgrade commands. Go ahead and input the user password which will not be visible as you type. Once done press Enter:
sudo apt update && sudo apt dist-upgrade -yWhen the updates and upgrades have run to completion, it is important to reboot your Linux machine to ensure that the new updates take effect. The command for rebooting is:
[ -f /var/run/reboot-required ] && sudo reboot -fInstall the LAMP server
Once your Linux computer has rebooted, it is time to install LAMP server. Use the command below on your terminal.
sudo apt install lamp-server^The caret (^) at the end must be included in the command. Once the command is entered, it will start installing LAMP server, showing a long list of outputs.
When prompted, press ‘Enter’ to continue the installation:

Testing Apache web server
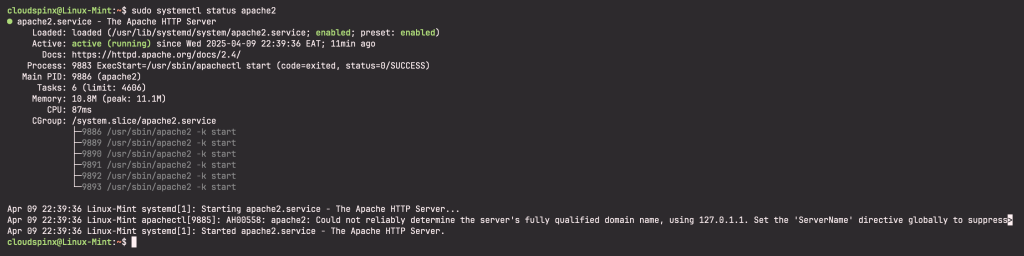
As stared earlier, Apache is the web server for LAMP stack. Check that it is properly installed and running. On your terminal the command, ‘sudo systemctl status apache’ tells you whether Apache is running:
sudo systemctl status apache2The output should show that it is active and running and therefore is successfully installed:
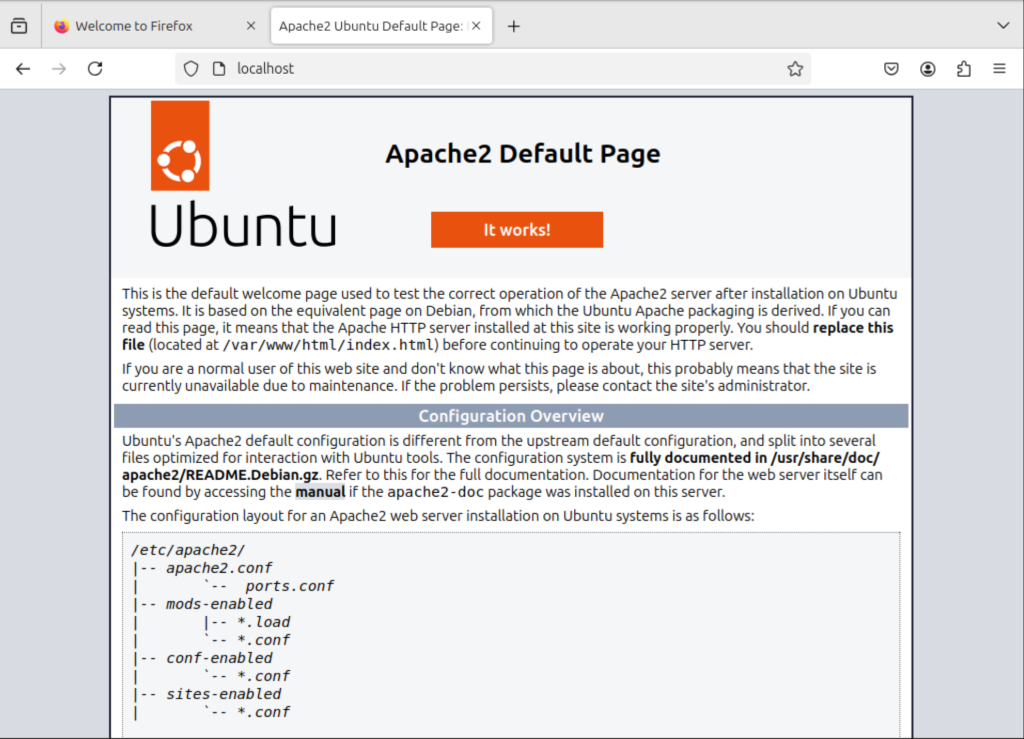
To check apache successful installation on your browser, type ‘http://localhost on your browser window. You should get an output as shown below. This means that Apache webserver is successfully installed and you can therefore add your web pages as you need. Apache2 page runs in the default path /var/www/html. Changing the content of index.html will replace the default page with new content:
Testing PHP
PHP stands for Hypertext Preprocessor and it is the scripting that will be used in development as part of LAMP stack. To verify its successful installation, we will use a very simple php script. On your terminal, create a file called info.php in /var/www/html.
sudo vim /var/www/html/info.phpThe above command will open an empty file called info.php. Copy the below script and paste it in you file.
<?php
phpinfo();
?>
Save the file and exit. Restart Apache2 to ensure that the changes take effect before testing php.
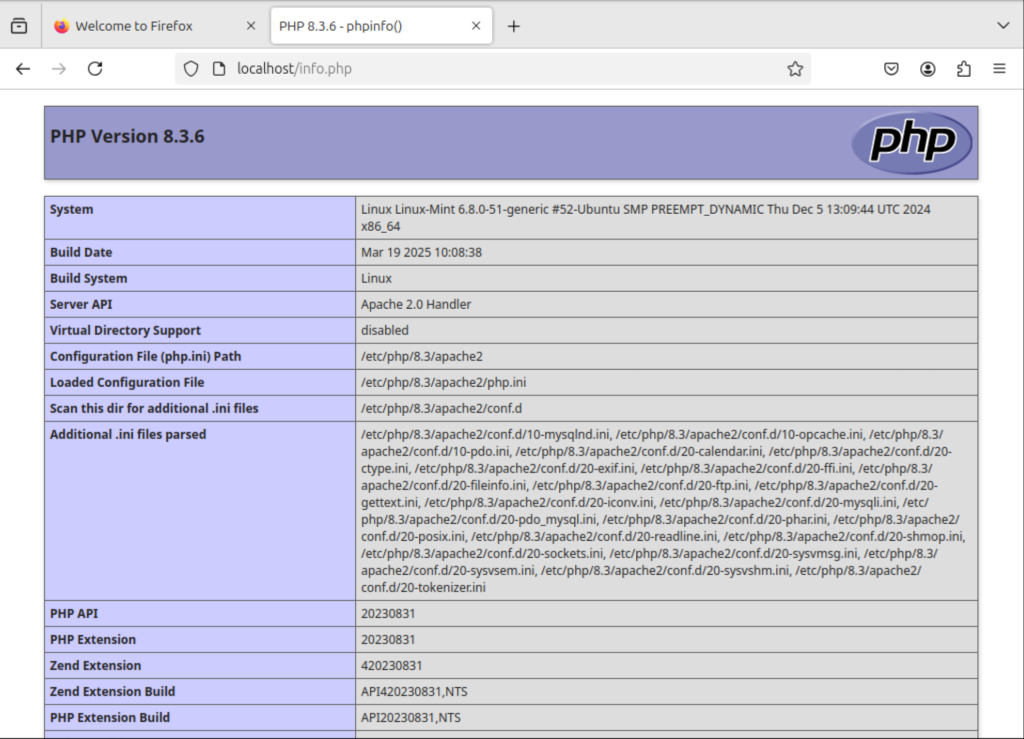
sudo systemctl restart apache2On your browser, enter http://localhost/info.php. A sucessful php installation gives a browser output as below. It show the installed php version, information about the Linyx environment as well as some apache2 configuration files.
Set MySQL root password
On your terminal, log in to MySQL, set root password (remember to put your chosen password in place of ‘mypassword’). Once the password is set exit then restart mysql.
sudo mysql -u rootYou will see your terminal has changed from the dollar sign, $, to a prompt shown below to tell you that you have entered mysql and you can now make changes to the database.
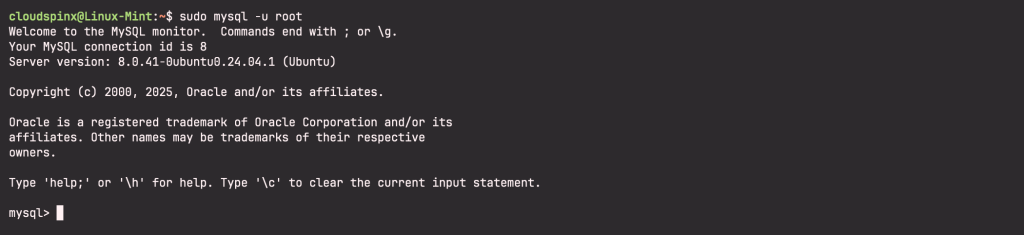
Change the mysql root password, replace ‘mypassword’ with your preferred password:
ALTER USER 'root'@'localhost' IDENTFIED WITH mysql_native_password BY 'mypassword';
QUIT;
Restart mysql for the password change to be saved:
sudo systemctl restart mysqlInstall phpMyAdmin
Using MySQL command line is a great tool for those who have a good knowledge of MySQL commands. PhpMyAdmin, however, provides a friendly graphical interface for managing databases. PhpmyAdmin is not part of LAMP stack but it has been greatly used to simplify MySQL database management. Go back to you terminal window and run the command below to install PhpMyAdmin.
sudo apt install phpmyadminPress ‘Enter’ when prompted with whether you want to continue. When prompted to choose the web server, press ‘spacebar’ to select Apache2.
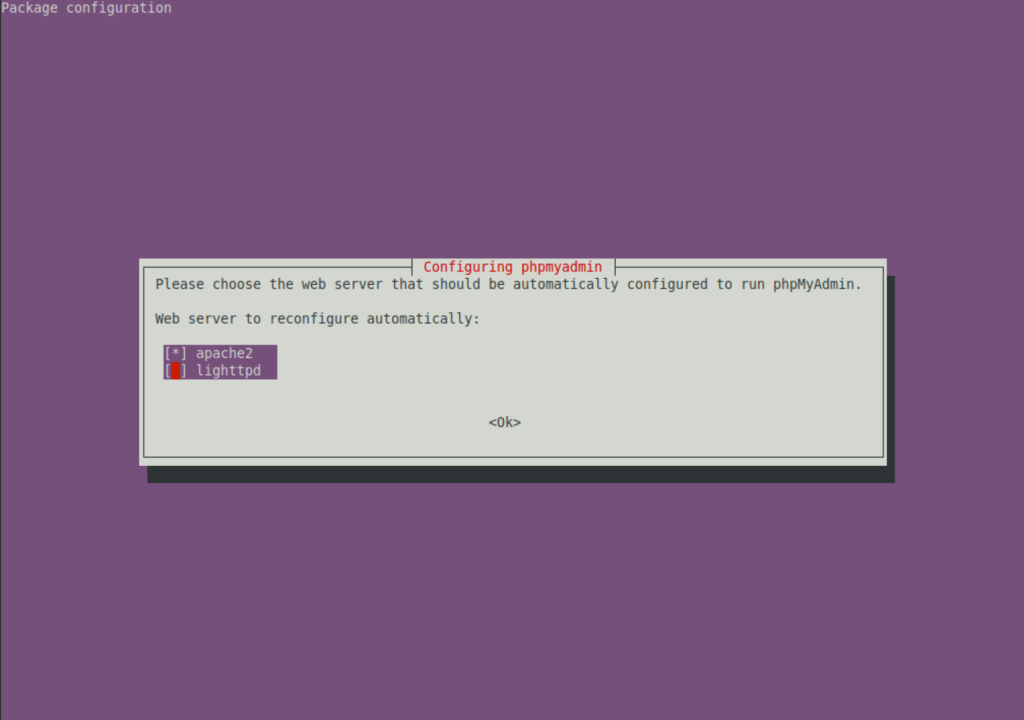
Press ‘Enter’ to continue. Installation will continue until prompted with a dialogue box asking you to agree to configuring database for phpmyadmin.
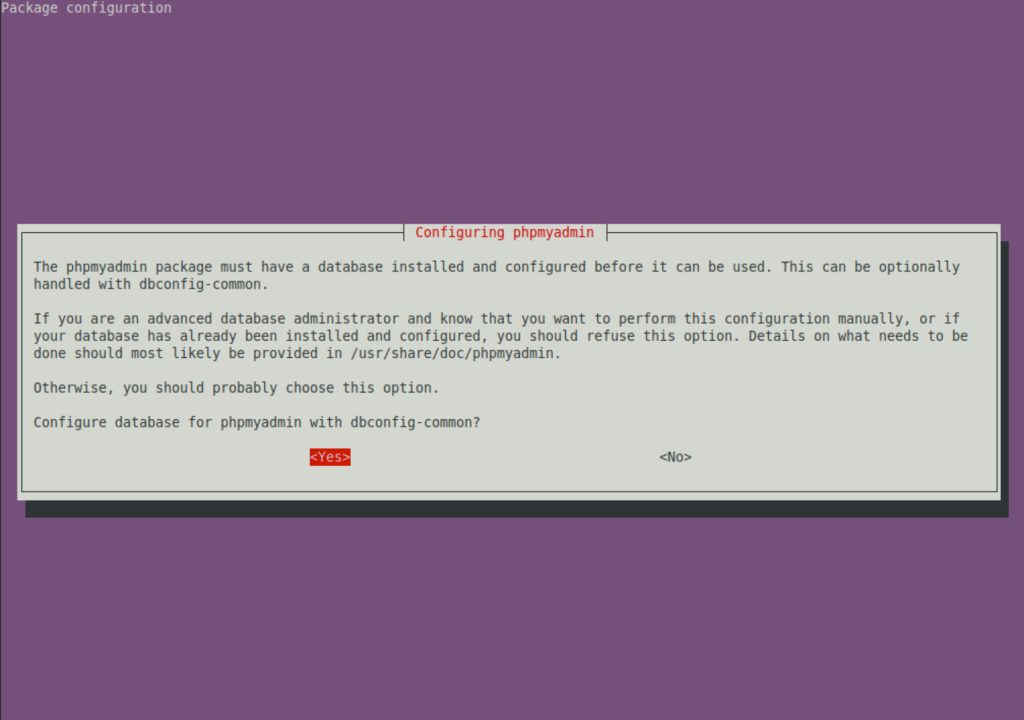
Press ‘Enter’ to choose ‘Yes’.
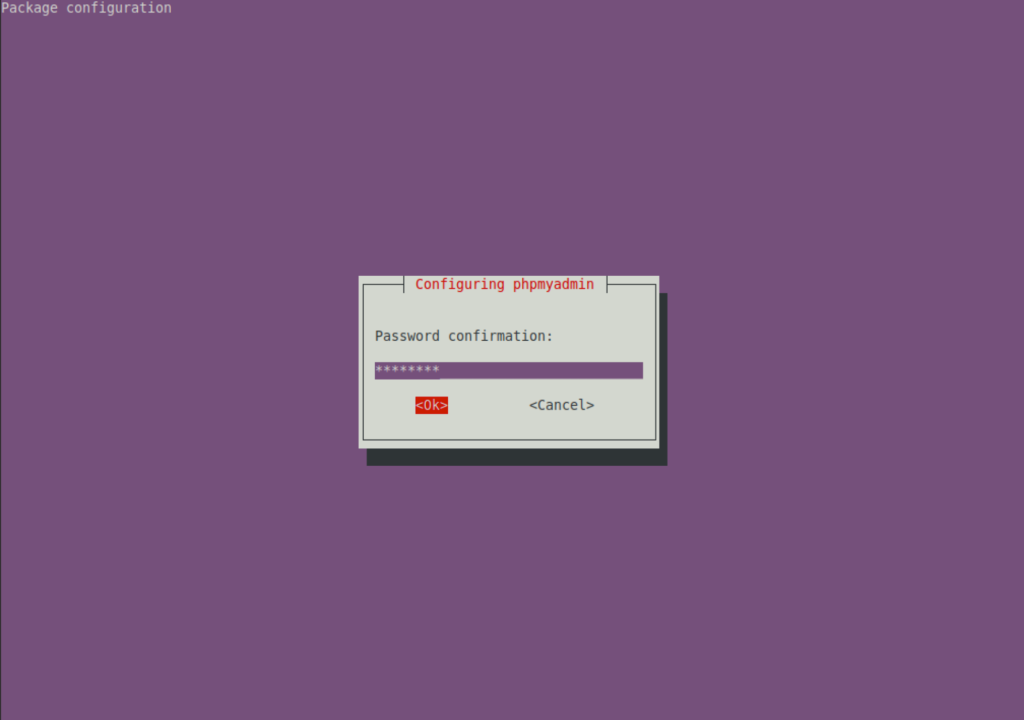
You will then be prompted to enter phpMyAdmin password. Enter the password that you selected before for mysql and phpmyadmin and press ‘Enter’.

Confirm your password:
Access PhpMyAdmin
Enable phpmyadmin page:
sudo ln -s /etc/phpmyadmin/apache.conf /etc/apache2/conf-available/phpmyadmin.conf
sudo a2enconf phpmyadmin
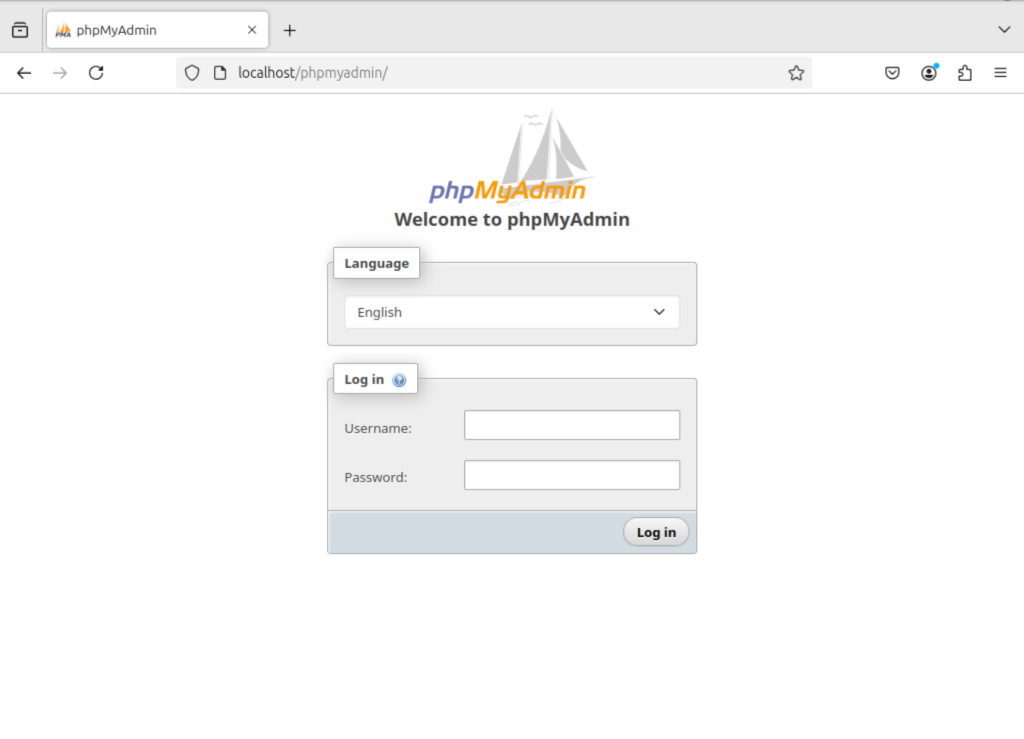
sudo systemctl restart apache2On your browser, enter http://localhost/phpmyadmin and you will be prompted with phpmyadmin login page. Enter username as ‘root’ and enter the phpmyadmin password that you had earlier set.
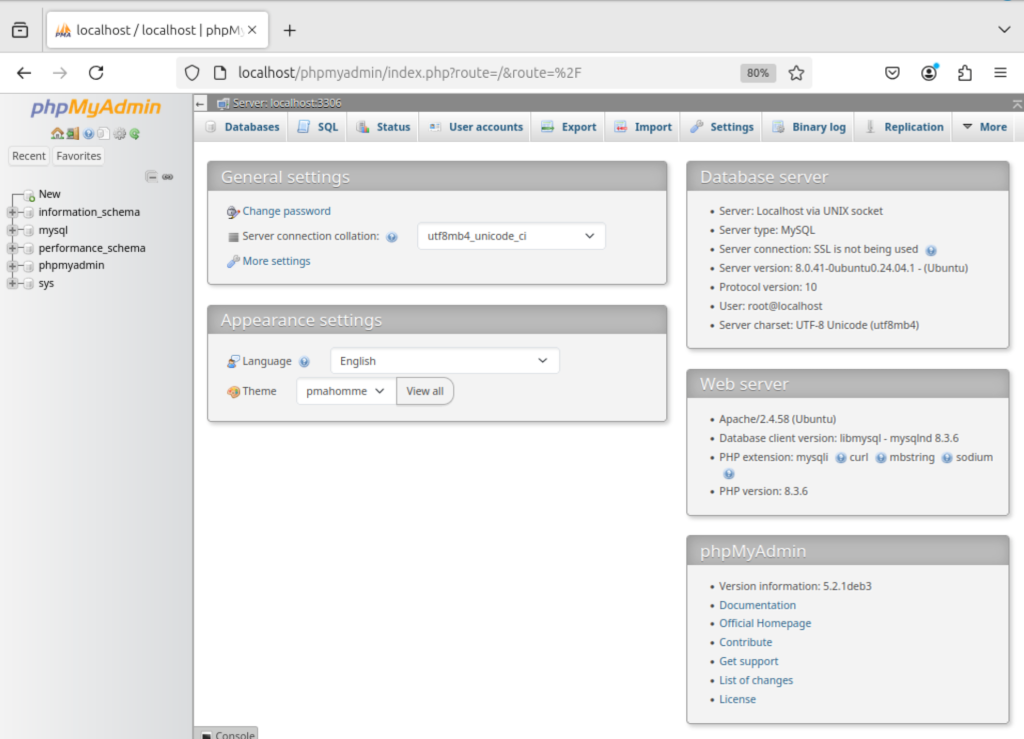
Once login you will see the phpmyadmin dashboard where you can start creating databases and managing your databases.
PhpMyAdmin is also added to the programs in Linux mint, where it can easily be accessed from without having to open the browser. Click menu > programs > phpmyadmin to open. You can also right click on phpmyadmin and choose ‘add to desktop‘ to create its icon on the desktop for easier access.
This has been a guide for the installation of LAMP stack on Linux Mint 22.
Recommended Web Development books to read:
- Best Books to learn Web Development – PHP, HTML, CSS, JavaScript and jQuery
- Best Books To Master Web Design
- Best Books To Learn CSS & CSS3
- Best Books To Learn HTML & HTML5
- Best Apache and Nginx reference Books
Always visit our page to get more elaborate guides on Linux based installations that you always need.


