Pritunl VPN is an open source VPN server and management panel. Has a graphical interface (GUI) that provides a friendly interaction to the user. It is the best alternative for open source and commercial VPN products such pulse secure. Pritunl has a capability of creating wide cloud VPN networks which can support over a thousands of users.
In this tutorial, I am going to guide you on how to install and configure Pritunl VPN on CentOS | Oracle Linux 9. hope you will enjoy.
Step 1: Add Required Repositories
As initial step, we are going to add necessary repositories to yum. In this tutorial, am using vim as my editor. Pritunl VPN requires MongoDB for database management and we are going to add MongoDB repository as below:
sudo tee /etc/yum.repos.d/mongodb-org-8.0.repo<<EOF
[mongodb-org-8.0]
name=MongoDB Repository
baseurl=https://repo.mongodb.org/yum/redhat/9/mongodb-org/8.0/x86_64/
gpgcheck=1
enabled=1
gpgkey=https://pgp.mongodb.com/server-8.0.asc
EOF
Next, add Pritunl repository as shown below:
sudo tee /etc/yum.repos.d/pritunl.repo << EOF
[pritunl]
name=Pritunl Repository
baseurl=https://repo.pritunl.com/stable/yum/oraclelinux/9/
gpgcheck=1
enabled=1
gpgkey=https://raw.githubusercontent.com/pritunl/pgp/master/pritunl_repo_pub.asc
EOF
Once the repositories have been added proceed to step 2.
Step 2: Install Epel Repository
We will need to install EPEL repository which is very important in this process. EPEL Repository is an additional repository that provides easy access to install packages for commonly used software. Provides an interface for easy access to softwares on Enterprise Linux compatible distribution.
sudo dnf -y install https://dl.fedoraproject.org/pub/epel/epel-release-latest-9.noarch.rpmStep 3: Install Pritunl and MongoDB
Install pritunl and mongoDB using the following command:
sudo dnf -y install pritunl mongodb-orgStart and enable both Pritunl and MongoDB as below:
sudo systemctl start mongod pritunl
sudo systemctl enable mongod pritunl
If Firewalld is active, open the ports.
sudo firewall-cmd --permanent --add-service={http,https}
sudo firewall-cmd --permanent --add-port=1194/tcp
sudo firewall-cmd --reload
Step 4: Configuring VPN using Pritunl
Run the following command to generate a setup-key that you will use to login before creating one of your choice.
sudo pritunl setup-keyTake note of the command output as it is required in the next step. Access Pritunl server by poitning your server to http://<ip address>. You should get a page as below:
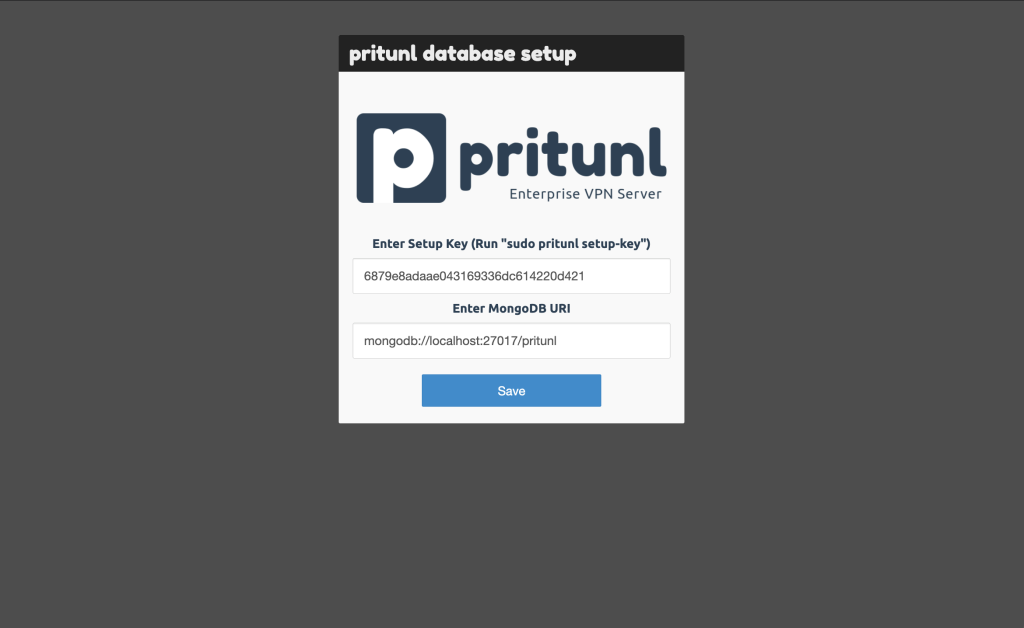
Copy and paste the key that was generated with pritunl setup-key command, then click Save adn you’ll be redirected to the following page:
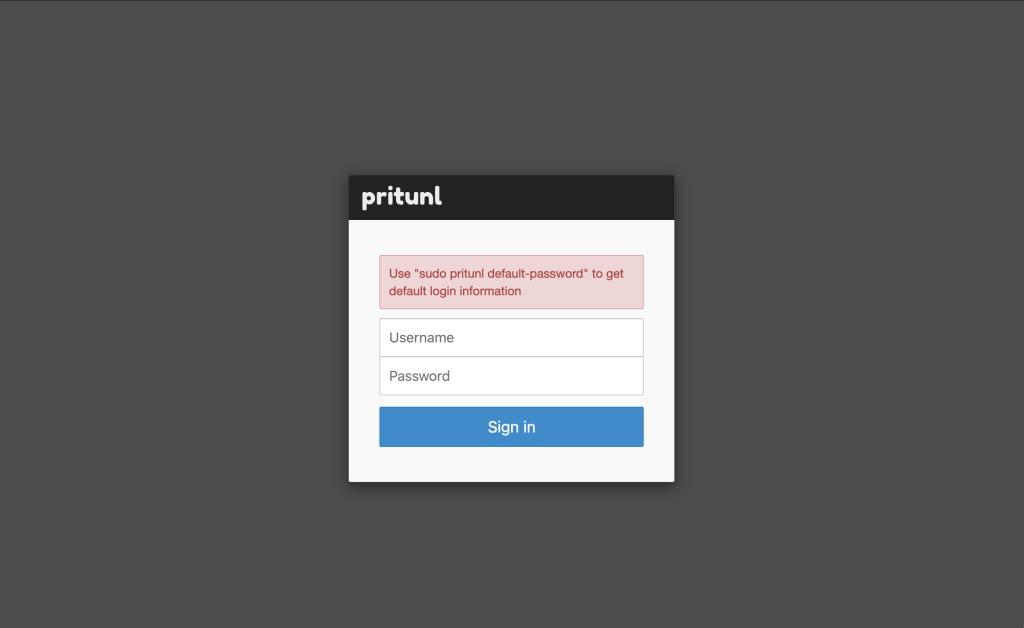
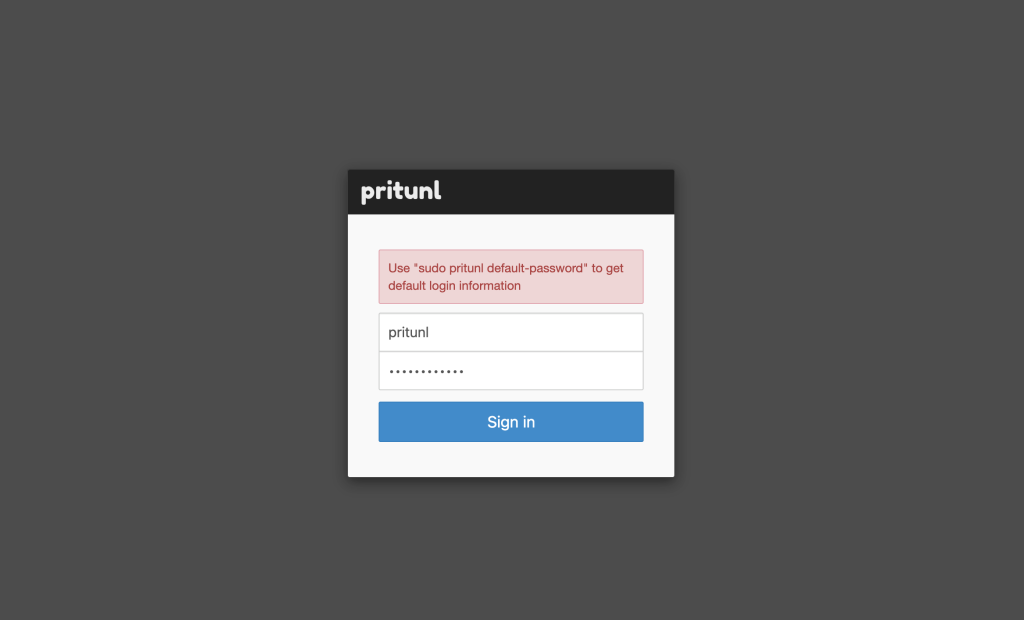
One the server, run the following command to obtain the login credentials:
sudo pritunl default-password
Then enter the credentials and click Sign In.
Now you need to set up your new Pritunl server password, then click Save.
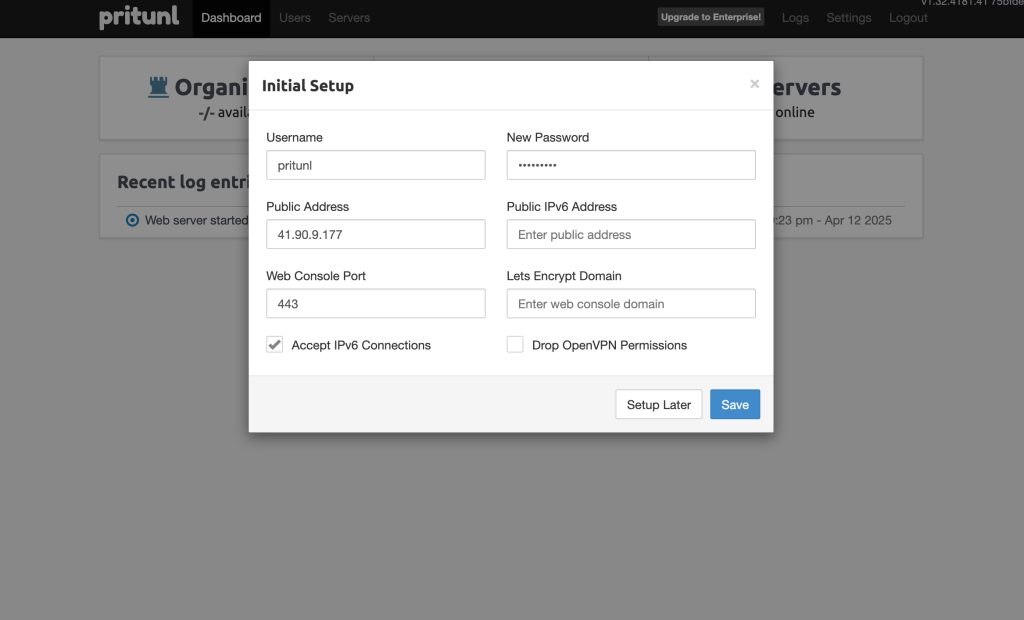
Your server is ready:
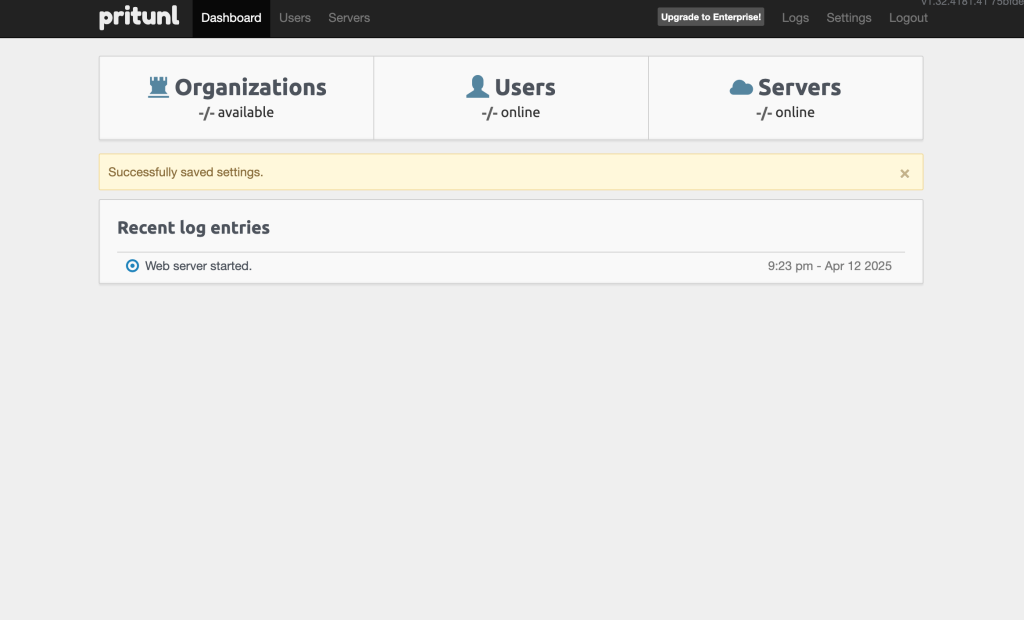
Use links in the navigation bar to add users and servers.
Adding Users on Pritunl VPN
Click on the “Users” link in the nav bar to add new user.
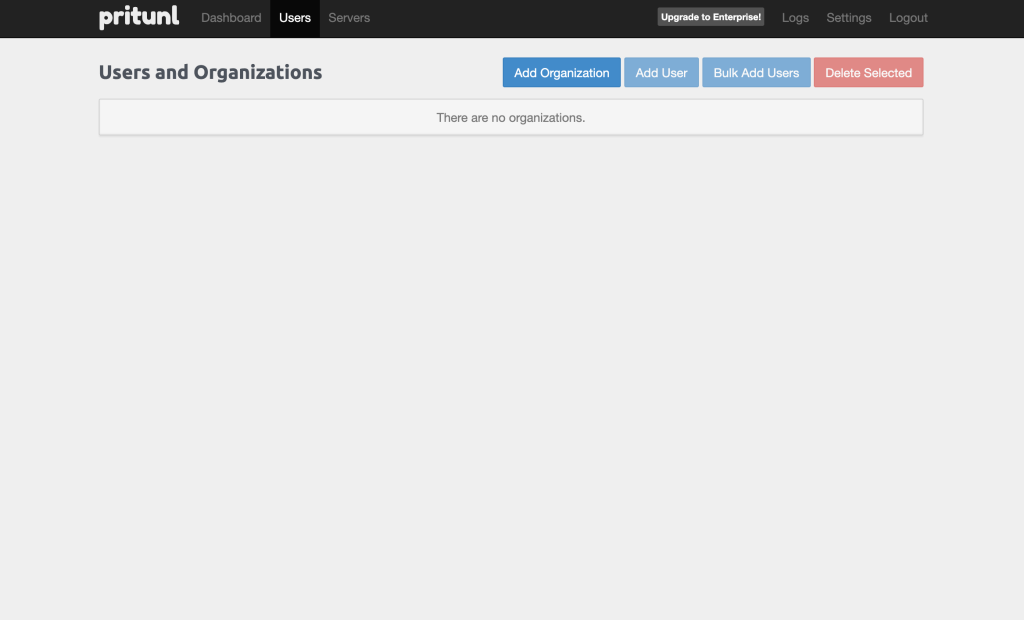
“Add User” link will only be enabled if you have already created an organization. Else, create add an organization first before adding a user.
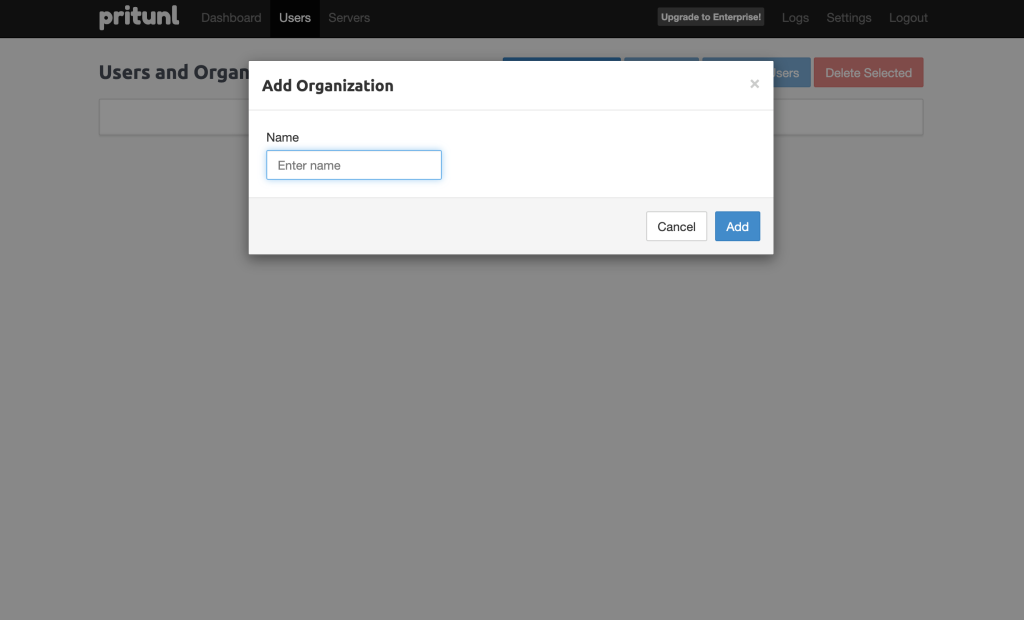
Enter the name then press “add” to create. Let’s now proceed to add user:
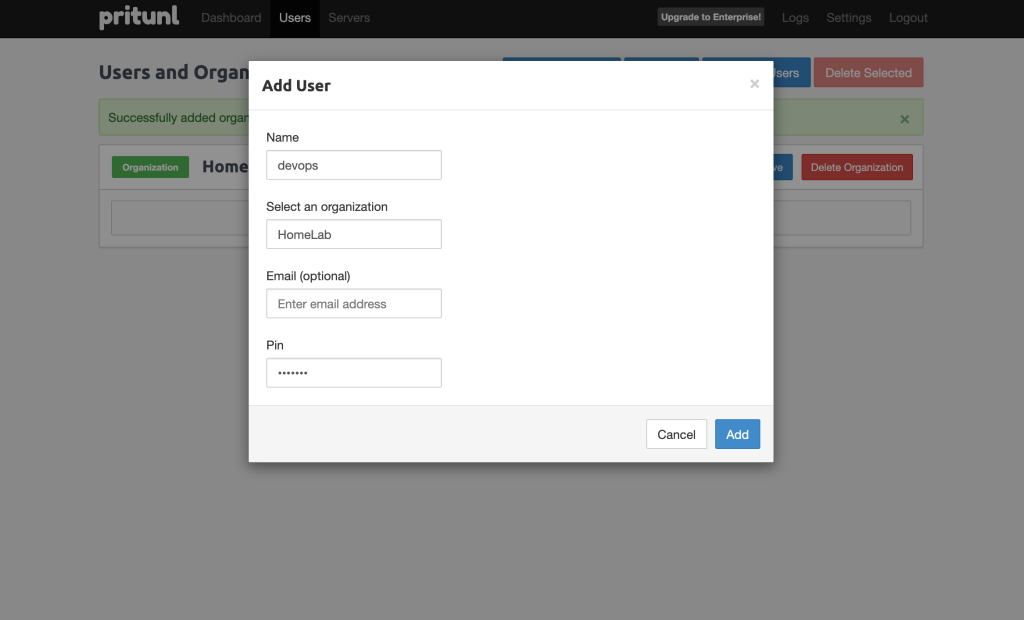
Creating the VPN server
Click on the “Servers” link in the nav bar to add a server.
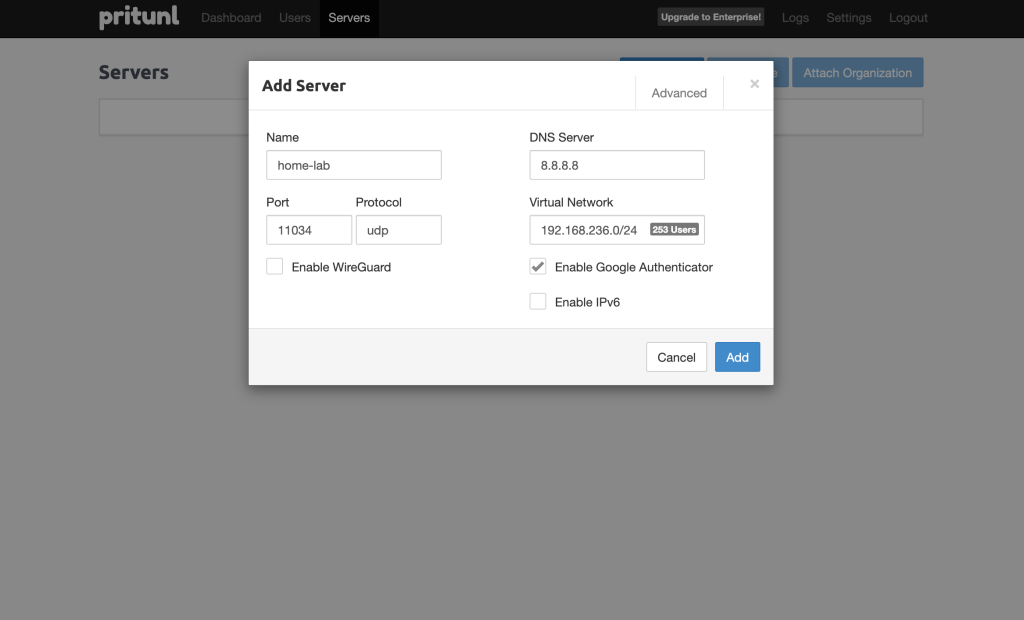
Configure Server Routes
Routes control the traffic passing through the VPN. By default, the VPN server allows 0.0.0.0/0 which routes all internet traffic through the VPN. In order to allow specific traffic, remove 0.0.0.0/0 route, click Add Route to add your local network route.
Downloading User Profile
On the server page, click attach an organization and then start your server.
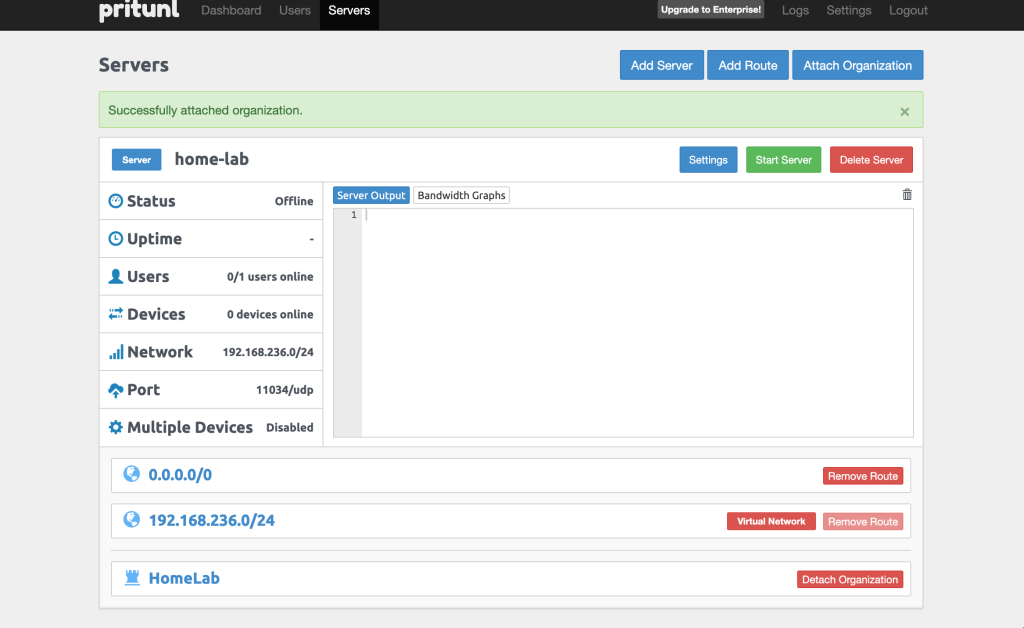
Your server should start up successfully:
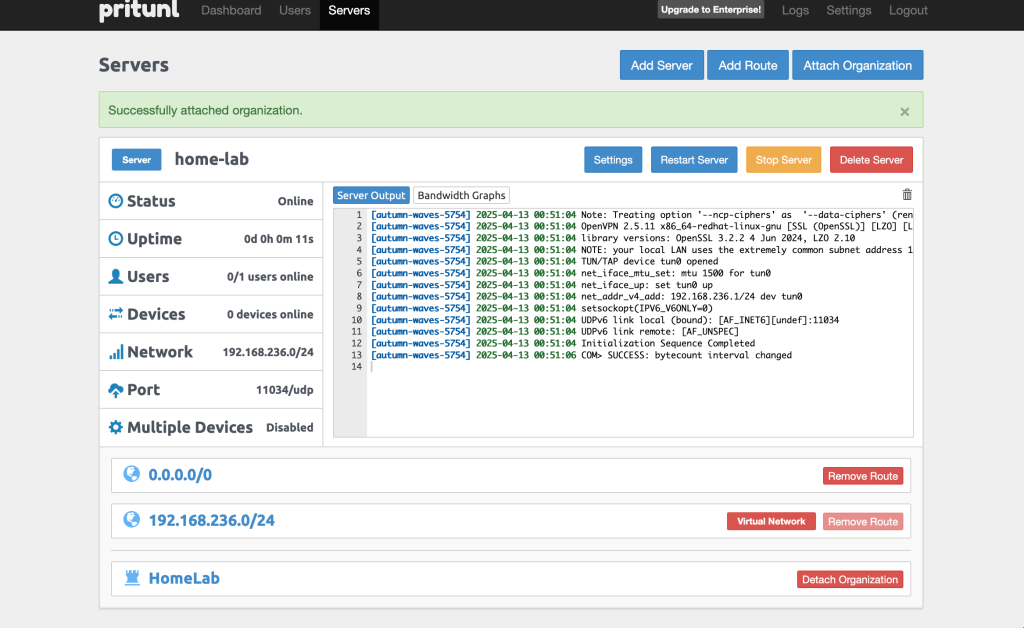
Once Pritunl VPN has been successfully created, user profiles can then be downloaded on the Users page. Click on the download button or profile links button on the right side of a user.
This was a simple procedure on how to install Pritunl VPN on Oracle Linux 9. You can perform unistallation process by running the following command in terminal.
sudo dnf remove -y pritunl mongodb-orgStep 5: Install Pritunl VPN Client
To install Pritunl VPN client on CentOS | Oracle Linux 9, add pritunl repository as below:
sudo tee /etc/yum.repos.d/pritunl.repo << EOF
[pritunl]
name=Pritunl Repository
baseurl=https://repo.pritunl.com/stable/yum/oraclelinux/9/
gpgcheck=1
enabled=1
gpgkey=https://raw.githubusercontent.com/pritunl/pgp/master/pritunl_repo_pub.asc
EOF
Install Pritunl VPN client:
sudo dnf install pritunl-client-electronOnce installed, you should be able to see the application. Import your downloaded profile and you should be able to connect to the Pritunl VPN server. Enjoy!
Check more interesting guides below:


