One of the globe’s most widely used distributions of Linux, thanks to its simplicity of use, stability, and large, helpful user community, is Ubuntu. With the release of Ubuntu 25.04(Plucky Puffin) comes new interesting features, new packages, and improved support for hardware, and it’s a perfect choice for both Linux newbies and experts.
🔑 Unlock the complete Ubuntu Desktop learning journey by purchasing our best selling ebook: The Ultimate Ubuntu Desktop Handbook.
Whether you are setting up a new development, production, or personal system, customizing Ubuntu to meet your requirements and workflow will significantly enhance user experience and productivity. This installation walks you through the installation of Ubuntu 25.04 from the ground up, customizing it with the necessary tools like the OpenSSH server for secure remote access, and customizing the desktop session with alternatives like the popular KDE Plasma and Cinnamon.
Installing Ubuntu 25.04: Plucky Puffin
Ubuntu’s regular release schedule is important in keeping users supplied with the latest software, security fixes as and when they are needed, and support for the latest hardware components.
With the availability of the 25.04 release, this long-standing tradition is once again demonstrated through the inclusion of the latest refinements to the GNOME desktop, updated kernel versions, and significant performance improvements that all go toward the overall user experience.
For users looking for an operating system that offers both a contemporary look and feel and a stable environment for either desktop or server use, Ubuntu 25.04 effectively hits a perfect balance that serves their requirements well.
Requirements
- 2 GHz dual-core processor or better
- 4 GB system memory
- 25 GB of free hard drive space
- A USB device or a VM
- Internet access is recommended, though not compulsory
Step 1: Download Ubuntu 25.04 ISO
You need to download the ISO image for Ubuntu. Ubuntu is distributed on five types of images, but for this guide, we are only concerned with two of the images; desktop image, server image.
## Desktop ISO Image
wget https://releases.ubuntu.com/plucky/ubuntu-25.04-desktop-amd64.iso

## Server ISO Image
wget https://releases.ubuntu.com/plucky/ubuntu-25.04-live-server-amd64.iso
Step 2: Create a Bootable USB Drive | Create a VM
After succesfully downloading the ISO image, you need to create a bootable drive for installation on physical devices. If you are installing Ubuntu 25.04 on a VM, then you need to create a VM on your platform of choice.
Create a Bootable USB Drive
To create a bootable USB, you can use the following tools:
- Rufus- for Windows users
- Balena Etcher – for Linux and macOS users
dd– Linux CLI tool
All of the mentioned tools are excellent choices and are pretty much straightforward when it comes to using them. That being said, let’s briefly have a look at how we can create a bootable USB using the dd CLI tool.
First, connect the USB device and ensure that it is unmounted. Use lsblk to identify your USB drive.
lsblk
#OR
sudo fdisk -l
Then, unmount the drive, and format it:
# unmount
umount /dev/sdb*
# format the drive
sudo mkfs.ext4 /dev/sdb1
Now you are ready to copy the ISO file to the usb drive using the dd command. Navigate to the directory where you have downloaded the ISO. Then use the command below to create your bootable drive:
sudo dd if=ubuntu-25.04-desktop-amd64.iso of=/dev/sdb status="progress"Replace ‘ubuntu-25.04-desktop-amd64.iso‘ with the actual name of the ISO image. The process will take a significant amount of time to complete. Typically, it takes 15–20 minutes per gigabyte using a USB 2.0.
Create a Virtual Machine
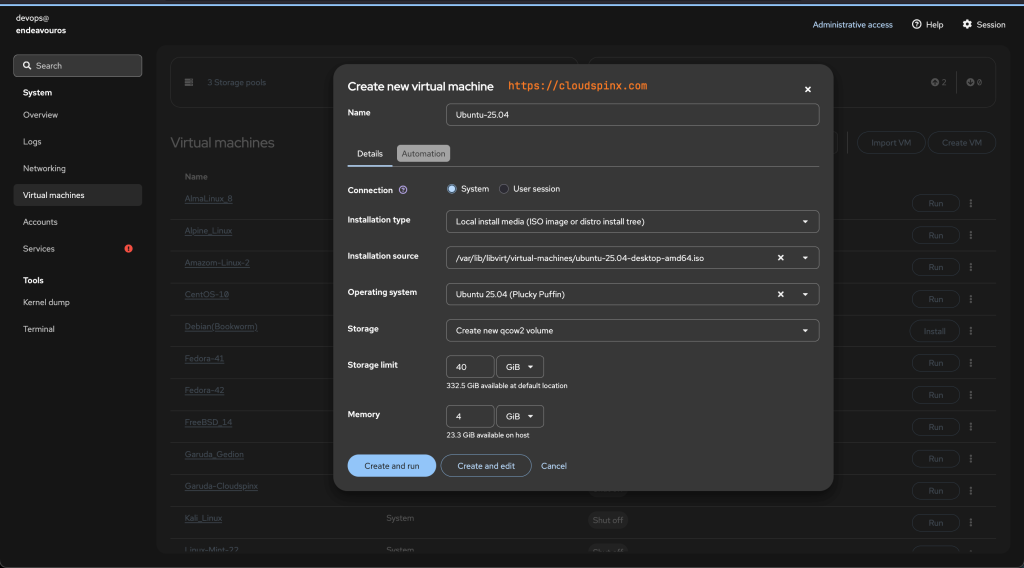
You can create a VM using the platform of your choice. For this demo, we’ll use a KVM host to provision our Ubuntu VM. That being said, we can either use the GUI or the CLI to create your VM.
Using cockpit Web Console
If you prefer using cockpit’s web console:
Using Virt-Install
For the CLI, you can use virt-install:
sudo virt-install \
  --name Ubuntu-25.04 \
  --ram 4096 \
  --vcpus 2 \
  --disk path=/var/lib/libvirt/virtual-machines/ubuntu-25.04-desktop-amd64.qcow2,size=40 \
  --os-variant ubuntu25.04 \
  --cdrom /var/lib/libvirt/virtual-machines/ubuntu-25.04-desktop-amd64.iso \
  --network network=bridged-network \
  --graphics vnc \
  --console pty,target_type=serial \
  --noautoconsole
Sample Output:

The above command will create a VM and you can access it via cockpit web console or virt-manager.
Step 3: Install Ubuntu
Boot into the Ubuntu installer to start your installation. Once the installer has initialiazed, you are required to pick your preferred language:
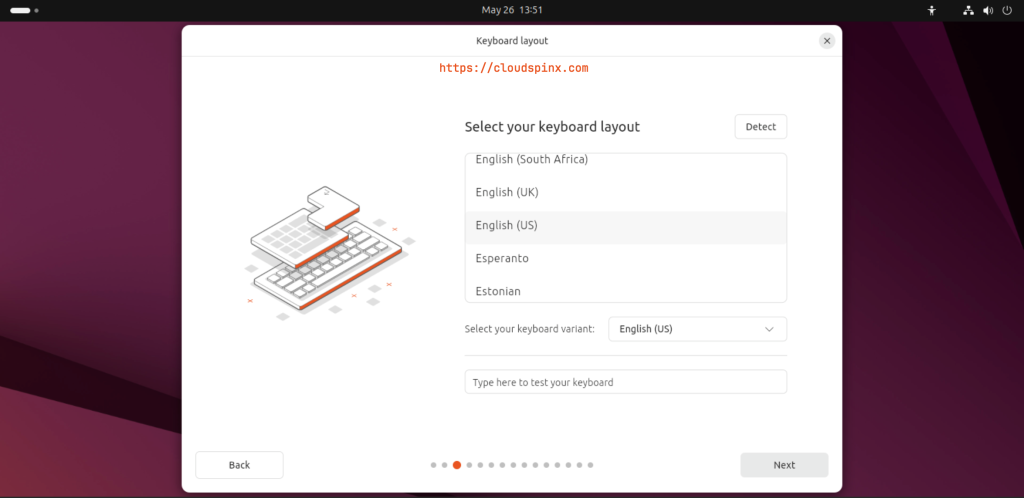
Customise Ubuntu to your needs before you set up.These settings can be changed later in your system settings:
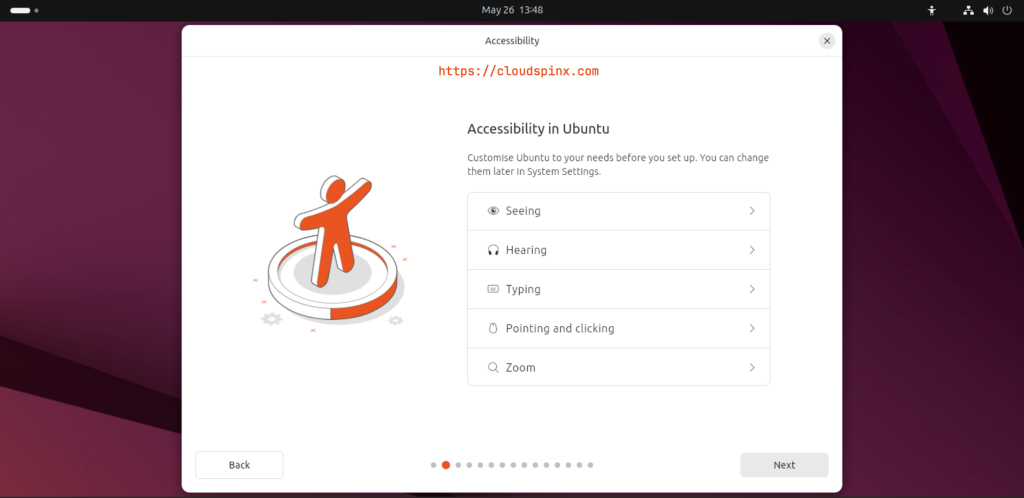
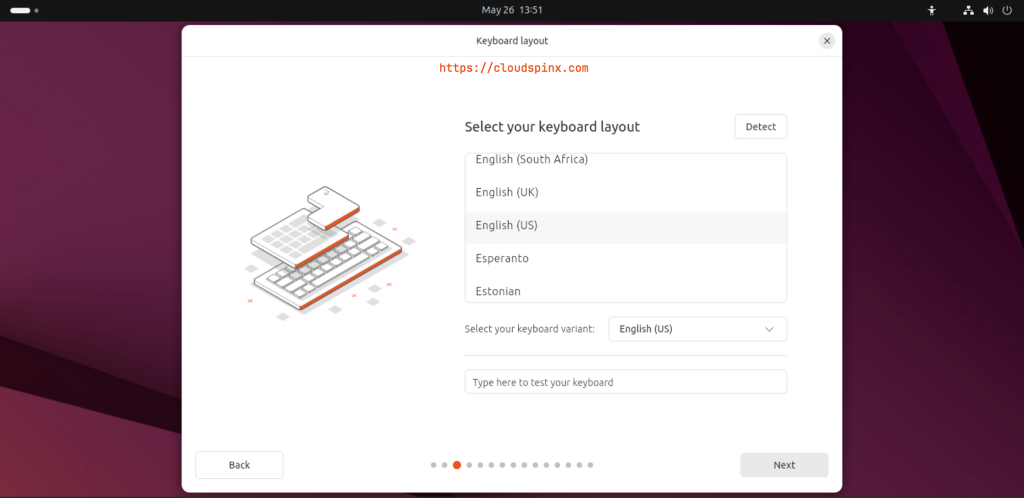
Then select your keyboard layout:
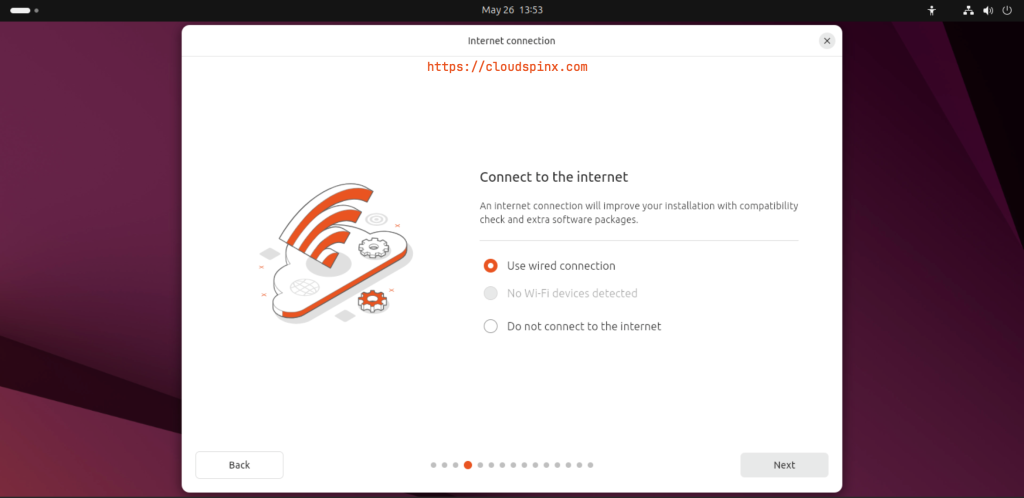
You need an internet connnection to improve your installation with compatibility checks and extra software packages:
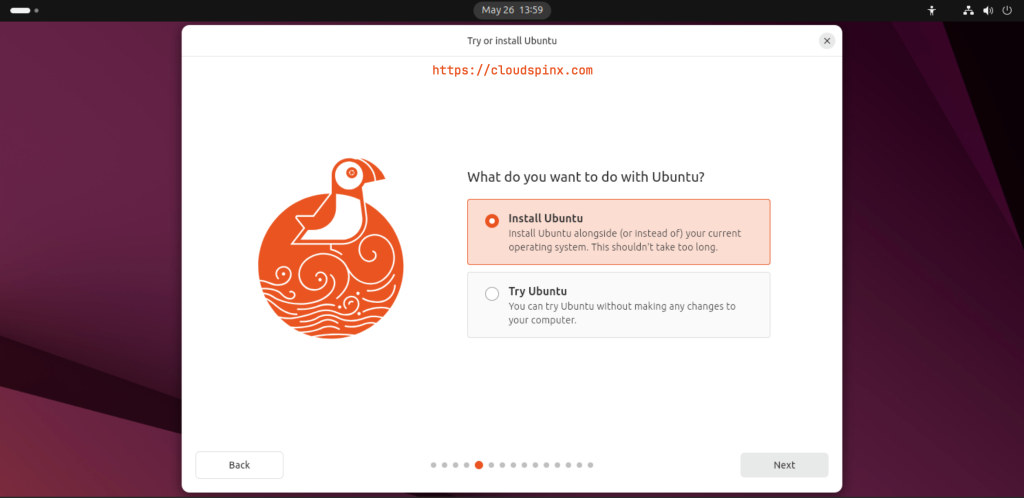
Then choose ‘Install Ubuntu‘:
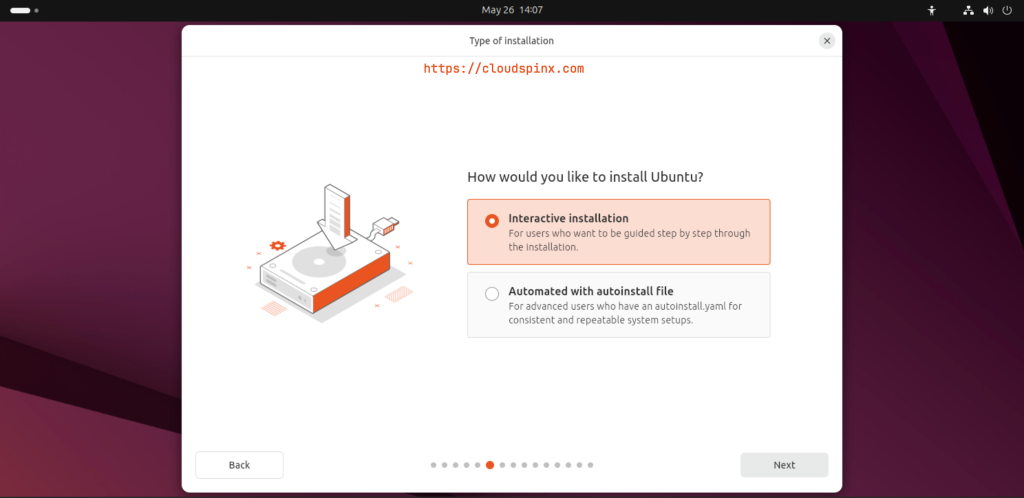
For a step by step walkthrough of the installation, use ‘Interactive installation‘. Otherwise, for advanced users who have an autoinstall.yaml file, use ‘Automated with autoinstall file‘ method.
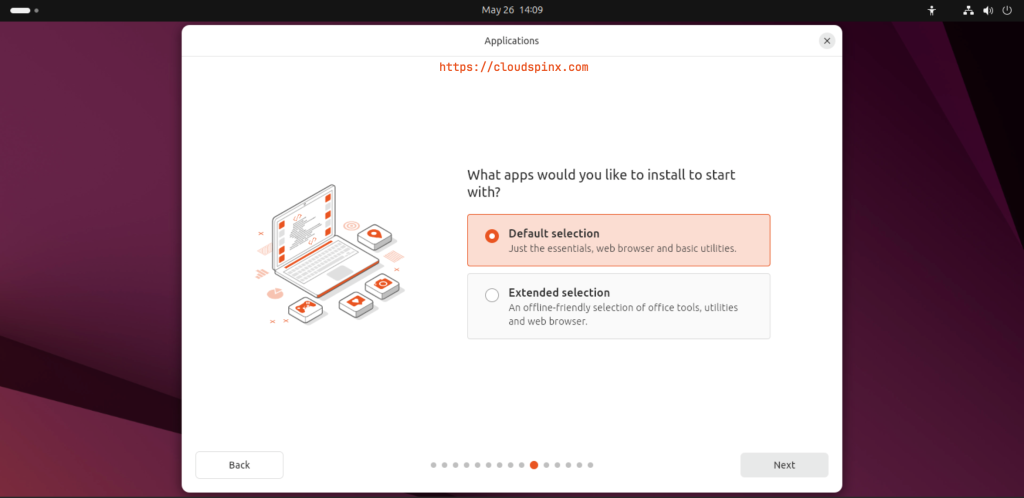
Now select the appliction set you’d like to be installed. The choices are pretty much self explanatory.
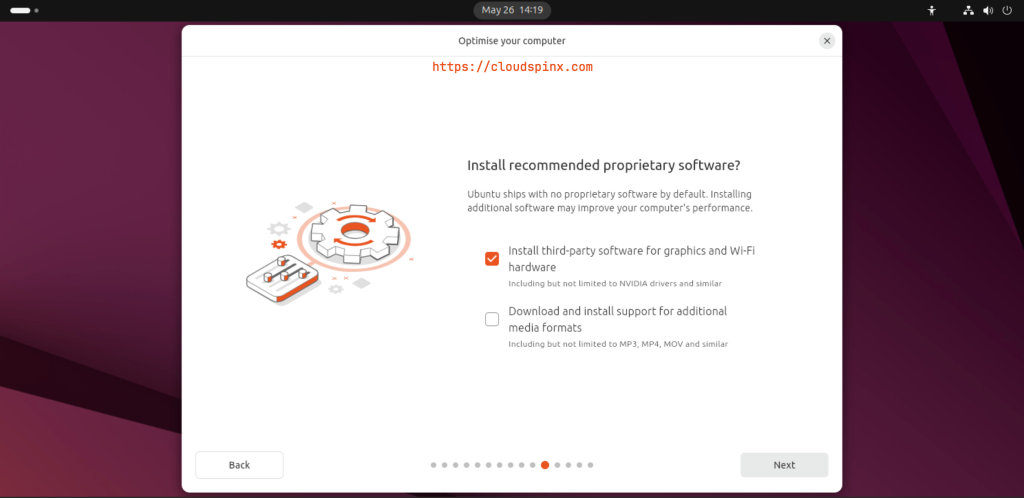
By default, ubuntu ships with no proprietarysoftware. Installing software may improve your computer’s performance:
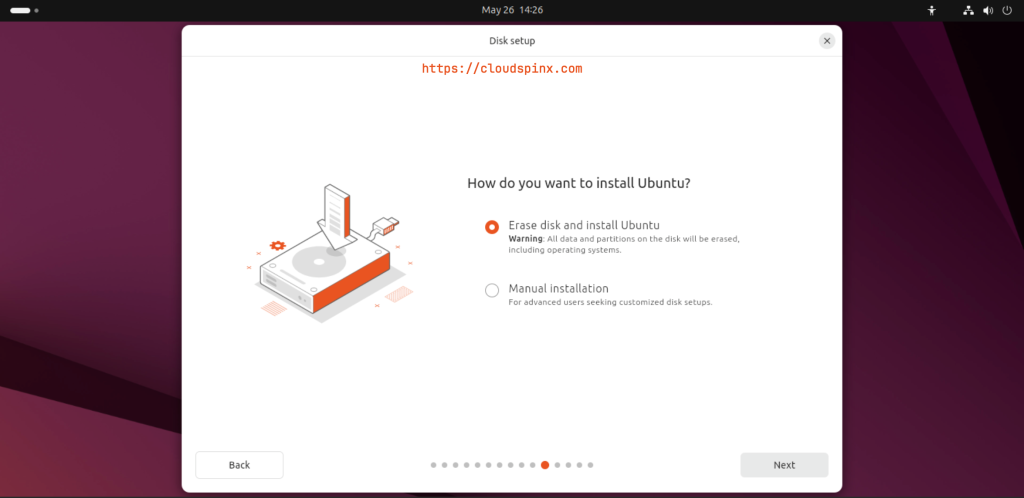
Choose how you want to install Ubuntu on your device:
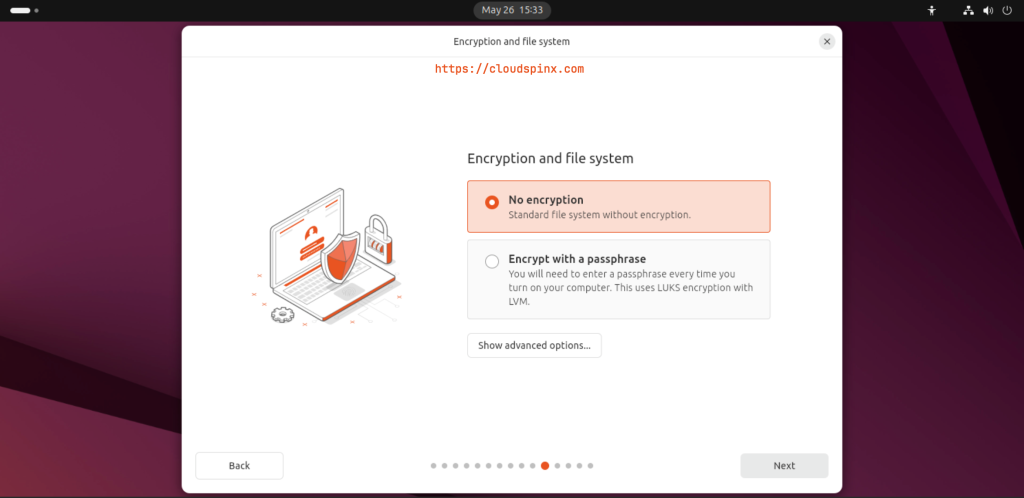
Then choose whether you wan to encrypt your file system:
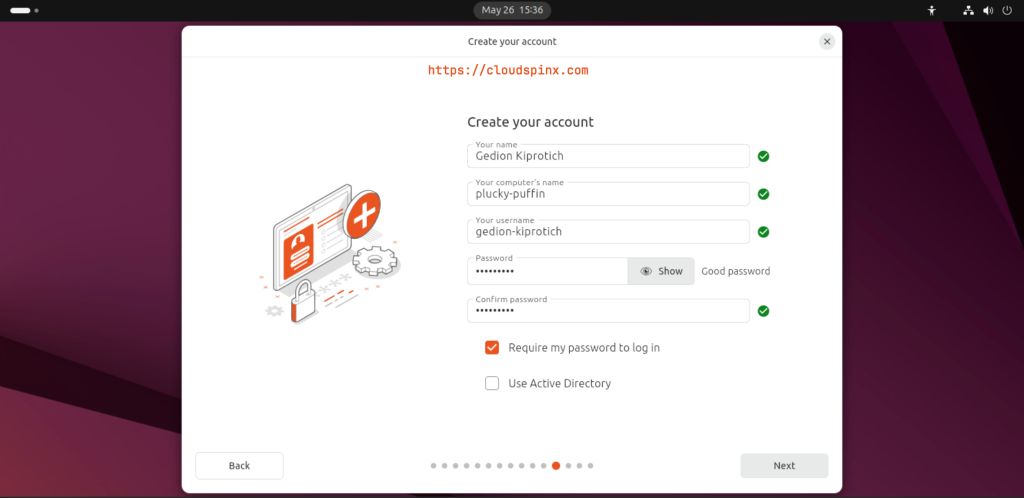
Create your user account:
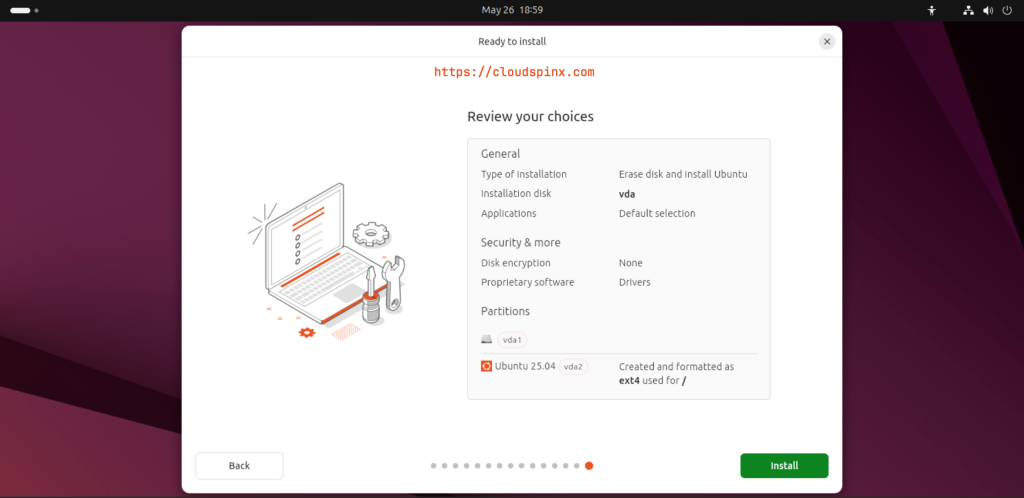
Review your Installation choices before you can proceed to start the installation:
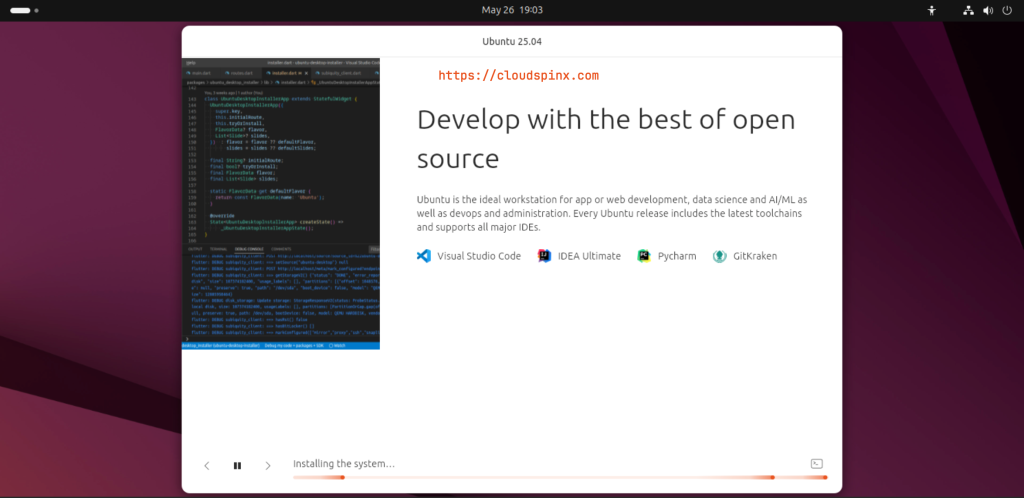
After confirming all your choices, click ‘Install‘, which should start the installation process immediately:
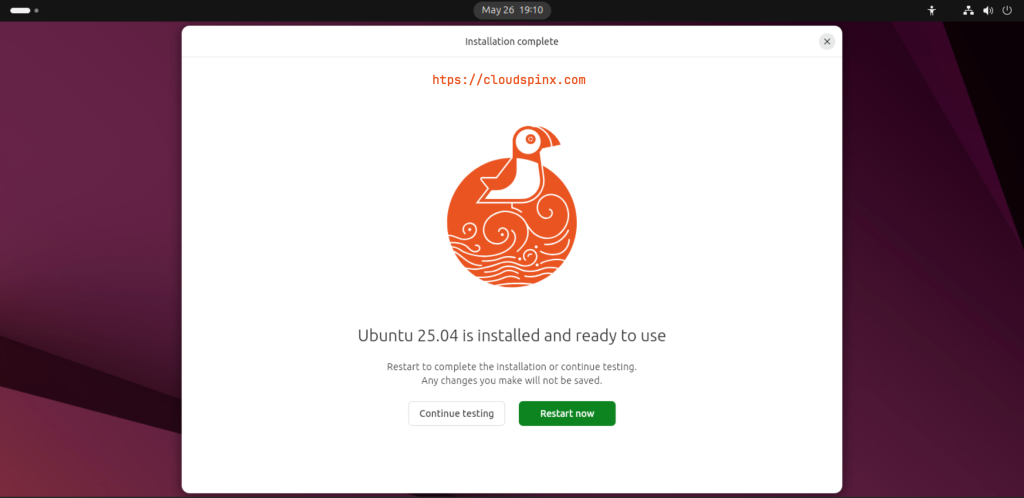
Restart your system when the installation is done:
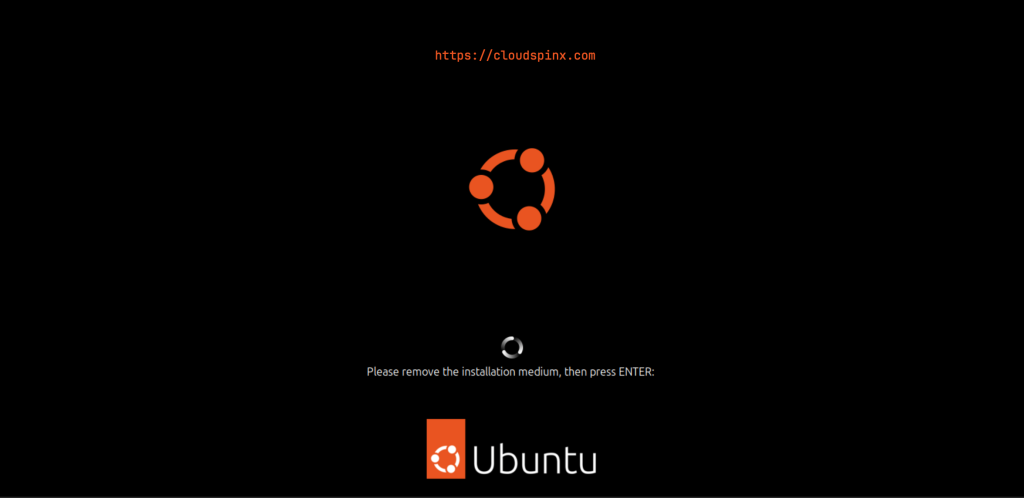
Remove the installation media then press enter to boot into Ubuntu 25.04:
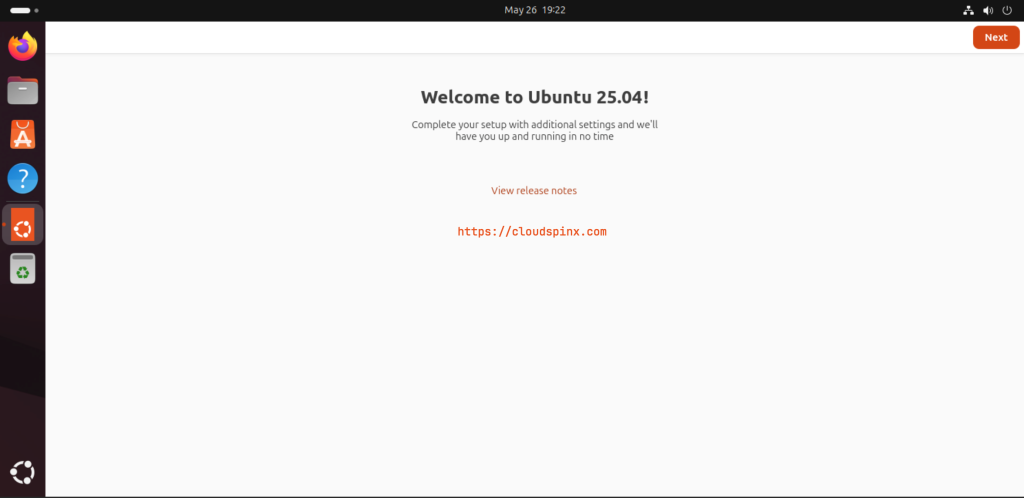
Welcome to Ubuntu 25.04:
Step 4: Update Your System
Once installed, the first step is to ensure your system is up to date:
sudo apt update && sudo apt upgrade -y
sudo reboot
Step 5: Setting Up OpenSSH Server
Remote management is essential for server environments and convenient for desktop setups too. OpenSSH provides a secure, encrypted channel to manage your Ubuntu system remotely.
To install OpenSSH Server:
sudo apt install openssh-server -yStart, enable and verify the service:
sudo systemctl enable ssh
sudo systemctl start ssh
sudo systemctl status ssh
Configure your SSH server
First, you can add your SSH public key to your new Ubuntu desktop using the following command:
ssh-copy-id -i ~/.ssh/id_rsa.pub [email protected]Sample Output:

After you’ve added your SSH key, proceed to edit the sshd_config file. Open the file:
sudo vim /etc/ssh/sshd_configThen you can edit the file as follows:
Port 2222                      # Change the default port to reduce automated attacks
PermitRootLogin no             # Disable root login via SSH
AllowUsers yourusername        # Limit access to specific users
PasswordAuthentication no      # Use key-based authentication instead of passwords
The restart SSH service:
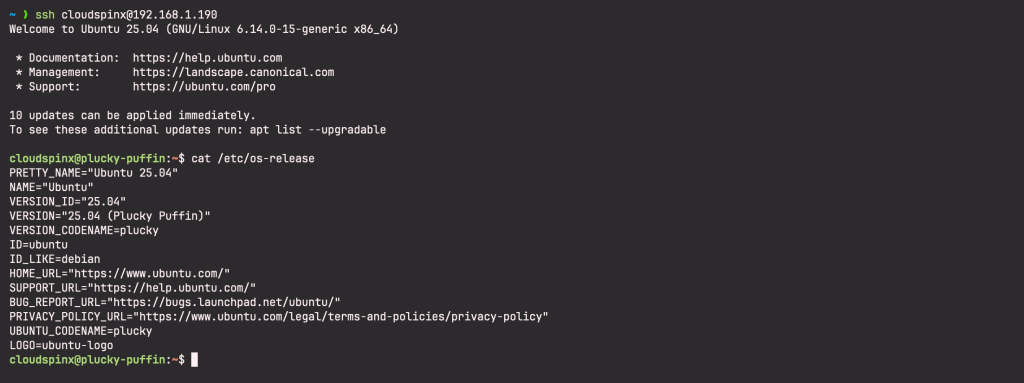
sudo systemctl restart sshThen login remotely to your new Ubuntu 25.04:
Step 6: Customizing Your Desktop Environment
GNOME 48 is the default Ubuntu desktop environment, but it doesn’t mean that you can’t have it in another desktop environment. Ubuntu can be customized with a lot of different desktop environments such as the popular KDE desktop, Cinnamon, Pantheon, etc.
As a regular Ubuntu desktop user, you probably want to be working in an environment that matches your workflow and visual preference. That being said, here’s how you can install these desktop environments:
KDE Desktop Environment
For a minimal KDE Desktop install:
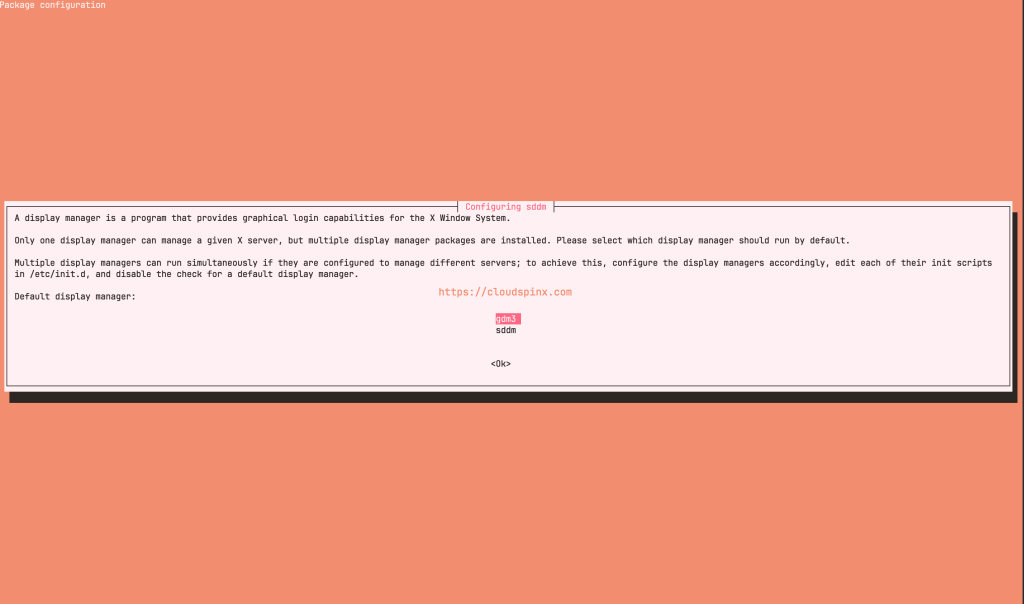
sudo apt install kde-plasma-desktopSelect gdm3 as your display manager:
For a full experience including all KDE apps:
sudo apt kde-fullSwitch to KDE Plasma Desktop
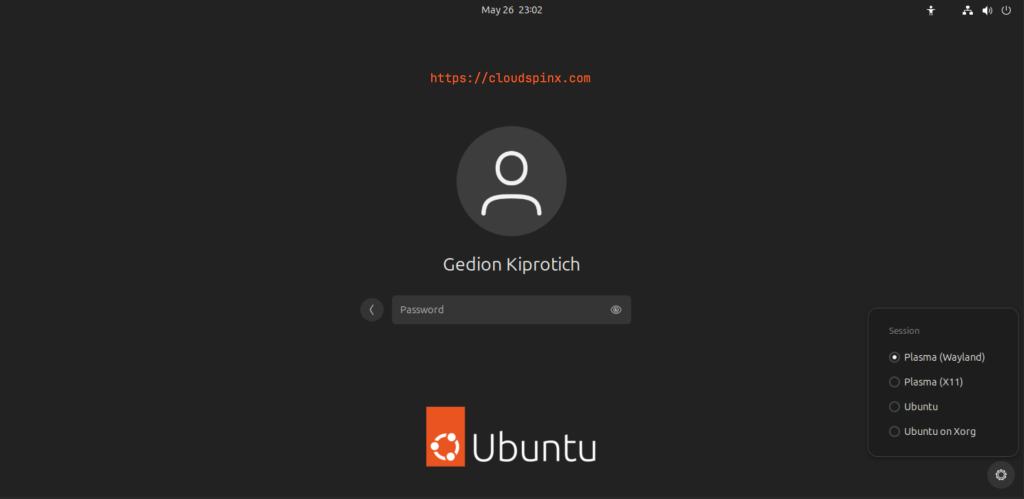
Logout of GNOME desktop and on the login screen, click on the gear icon to choose ‘KDE Plasma‘:
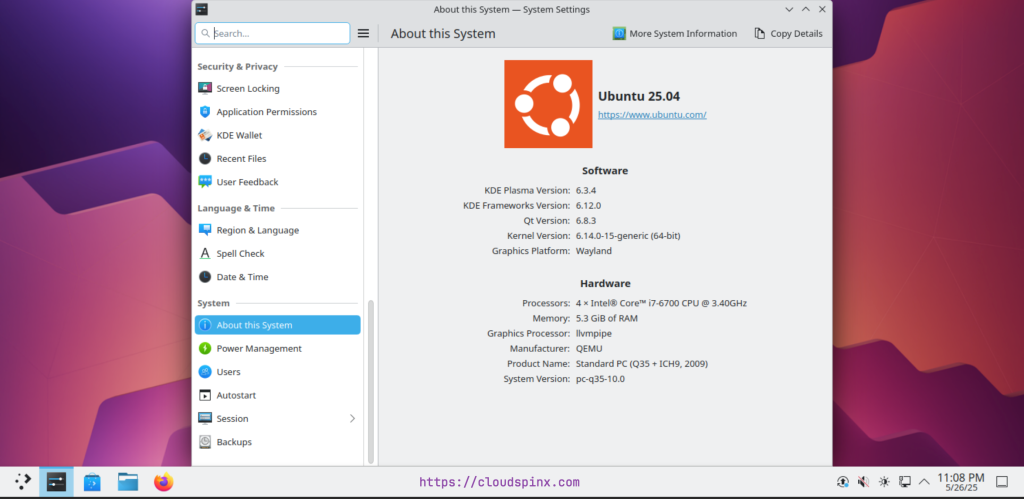
Welcome to KDE Desktop on Ubuntu.
Cinnamon Desktop Environment
Cinnamon desktop is a much more traditional desktop in some kind of way. It offers a very familiar look and layout for the Windows user migrating to Ubuntu Linux. This makes the transitioning process very easy for the new users.
To install Cinnamon desktop environment, run the following command:
sudo apt install cinnamon-desktop-environment -ySwitch to Cinnamon Desktop
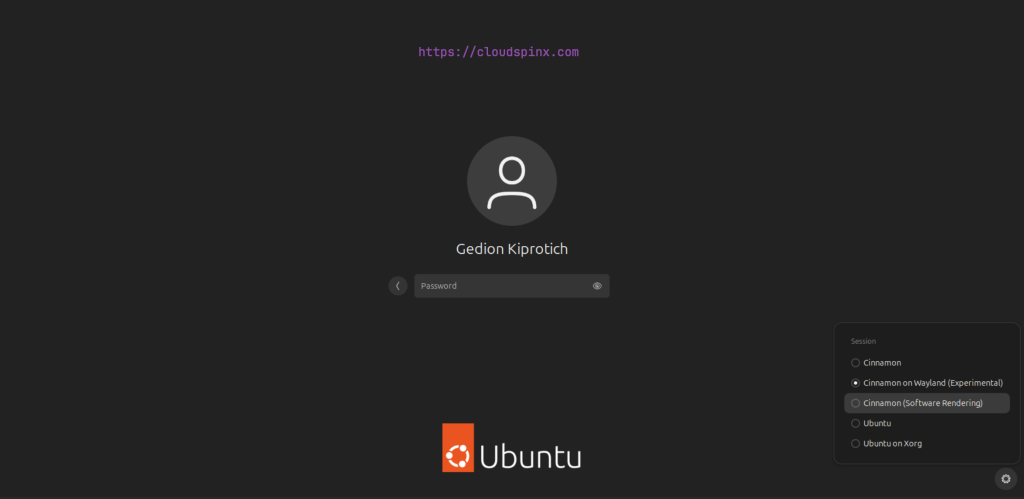
After the installation is done, log out of your current desktop environment and click on gear icon in screen:
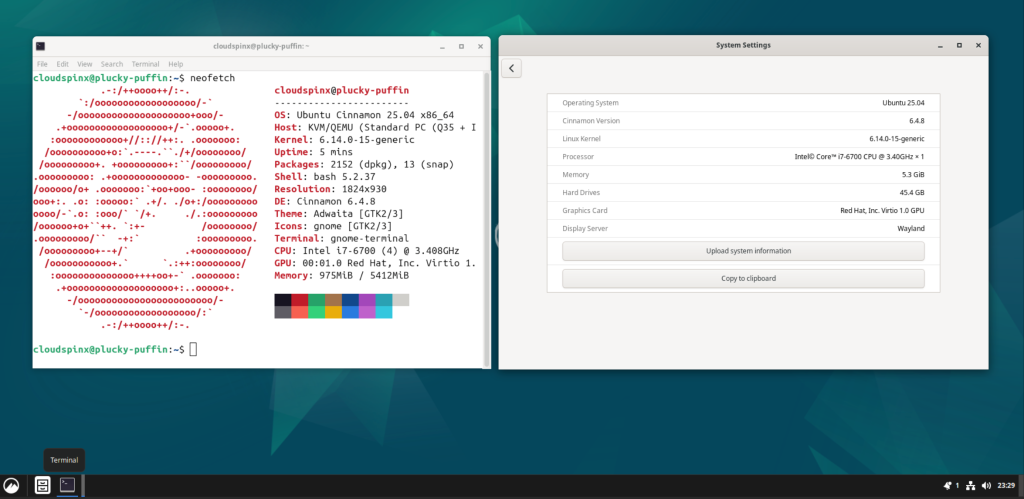
You should now be in the Cinnamon desktop environment on your Ubuntu 25.04:
Step 7: Install Additional Utilities
Additional utilities such as git and curl are pretty much the tools that you use on a daily basis and it is important to have them installed:
sudo apt install vim git curl htop neofetch -yFlatpak can also be installed since it lets you install sandboxed applications independently of your system packages. Use the following commands to install Flatpak and add the flatpak repository to your system:
sudo apt install flatpak -y
flatpak remote-add --if-not-exists flathub https://flathub.org/repo/flathub.flatpakrepo
Conclusion
In this guide, you’ve been able to install Ubuntu 25.04 and do a little bit of post-install steps and tweaks. We hope the guide was helpful, have fun!
Here’s a few guides you might be interested in:

