
Upgrading to a newer version of FreeBSD can actually feel like a frightening and, in many ways, intimidating ordeal for many users who may not want to go through the process, but with the correct mindset and approach, the process can become a seamless and painless operation that anyone, regardless of their level of experience, can easily complete. Throughout this detailed step-by-step tutorial, we will carefully guide you through each of the necessary steps to successfully upgrade your system from FreeBSD version 13 to the brand-new and highly appealing FreeBSD 14. Regardless of why you might wish to make the jump to this new version of FreeBSD—be it to fully utilize the significant improvement in performance, enjoy the excitement of new features that have been added, or indulge in the new security protections that are part of this new release—upgrading to FreeBSD 14 is well worth the decision to maintain your system as current, pertinent, and fully updated with the new and impressive developments of the FreeBSD universe.
The new features in FreeBSD 14 are:
- FreeBSD 14 boosts amd64 and arm64 cores from 256 to 1,024 to favor big servers and tasks with heavy demands.
- SSH also supports FIDO/U2F hardware authenticators for added security.
- Root user’s shell: The default shell of the root user is sh, the minimal command line.
- Jail Configuration Enhancements: Filename globbing and include directives in jail.conf enhance flexibility and ease of management.
- Mail Transport Agent Update: Dragonfly is the new default MTA, simplifying email management.
- OpenZFS 2.2 has enhanced performance and added new capabilities.
- NFS over TLS: New rpc.tlscl
- FreeBSD 14 includes OpenSSL 3.0.12 with improved cryptography and security.
- OpenSSH 9.5p1 improves security and corrects bugs to provide more secure remote access.
- TCP Congestion Control: The default is CUBIC to improve network performance.
- Driver Updates: MGB driver is updated to support Microchip LAN7430 and LAN7431 for enhanced network compatibility.
- Legacy drivers removed: amr(4), iir(4), twa(4), mn(4), mly(4), and n.
FreeBSD 14 can be installed from bootable ISO images or over the network. The ISO images are available for amd64, i386, PowerPC, powerpc64, powerpc64le, powerpcspe, armv6, armv7, aarch64, and riscv64 architectures.
This guide provides a quick method to upgrade to FreeBSD 14 from FreeBSD 13. Before we dive into the nub of this matter, begin by checking the FreeBSD version.
freebsd-version
uname -mrs
Sample Output:

Now we can proceed and upgrade FreeBSD 13 to FreeBSD 14.
#1. Update Your Server
Before we begin the upgrade, we need to ensure that the FreeBSD 13 system is updated. Download and install all the security patches.
NB: All the commands here are run as root, please ensure that your are logged in as the root user, not as a user with root privileges.
freebsd-update fetch
freebsd-update install
pkg upgrade
Once updated, reboot your system to apply the changes:
reboot#2. Upgrade to FreeBSD 14 from FreeBSD 13
After all the security patches have been downloaded and applied, you are safe to proceed with the upgrade. Run the command below to initiate the upgrade:
freebsd-update -r 14.2-RELEASE upgradeDuring the upgrade, you will be asked a question on what to keep and what to remove.
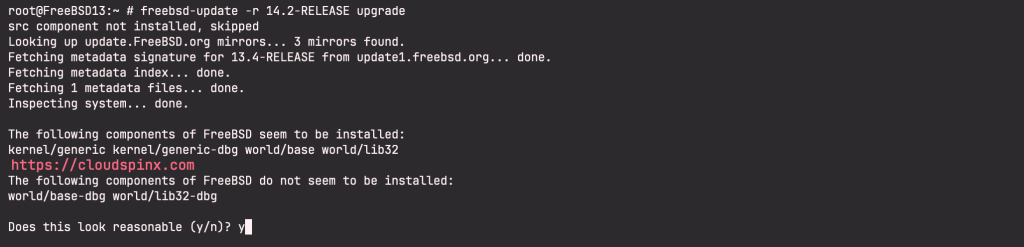
Proceed as shown below:
Does this look reasonable (y/n)? yWhen this command is run, it evaluates the current configuration file to gather the required information for the upgrade.
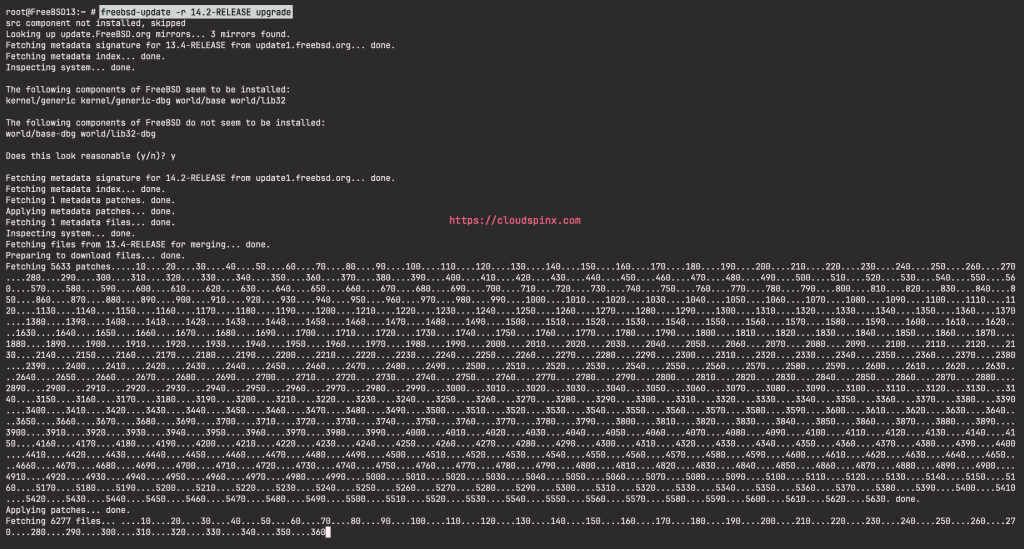
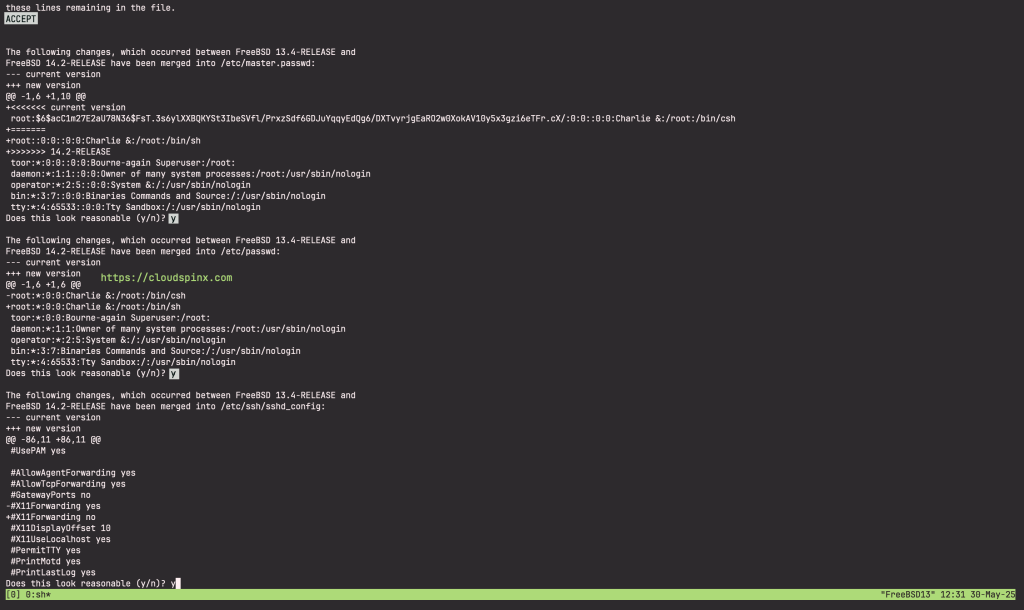
Once all the patches have been downloaded to the local system, they will be applied. This process may take a while, depending on the speed and workload of the machine. After that, it’s time to merge the configuration files. The merging process requires some user intervention as a file may be merged or an editor may appear on screen for a manual merge.
Type ‘ACCEPT‘ and press Enter to merge your /etc/master.passwd.
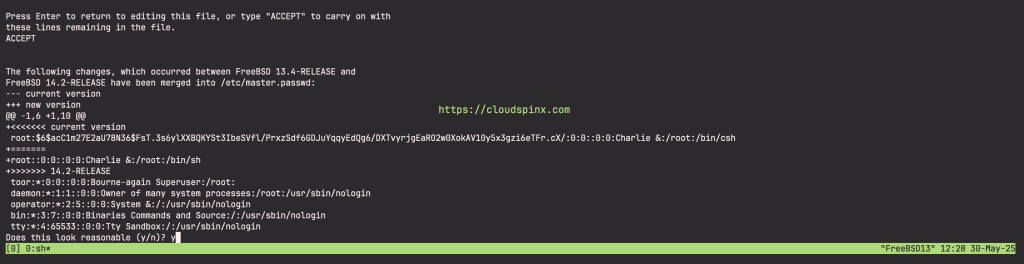
Then type ‘y’ and press Enter to asnwer the questions that follow:
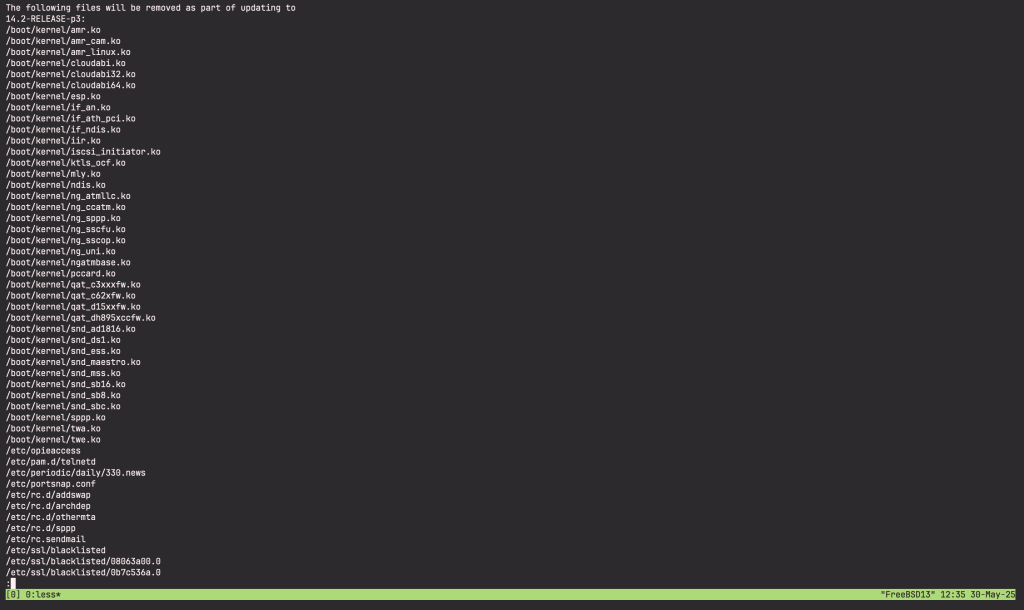
Next, you are presented with a list of files that will be removed as part of the update to FreeBSD 14.2.
The system is not being altered yet as all patching and merging is happening in another directory. After all the patches have been applied and all the config files merged, you can commit the changes to disk using the command below:
freebsd-update installSample Output:

Reboot the system and reinstall the updates.
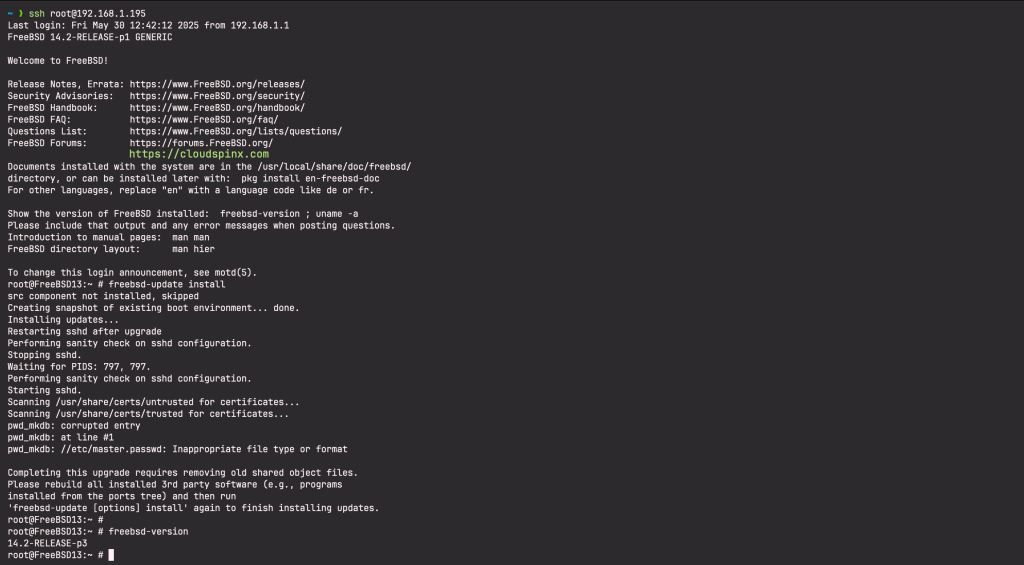
rebootOnce the system reboots, re-run the command as below:
freebsd-update installThe freebsd-update command will not start from scratch but will move on to the next stage and remove old shared libraries and object files.
Sample Output:
#3. Upgrade Packages After the Upgrade
Now at this point, you have upgraded your system to FreeBSD 14. Verify this with the command:
$ freebsd-version
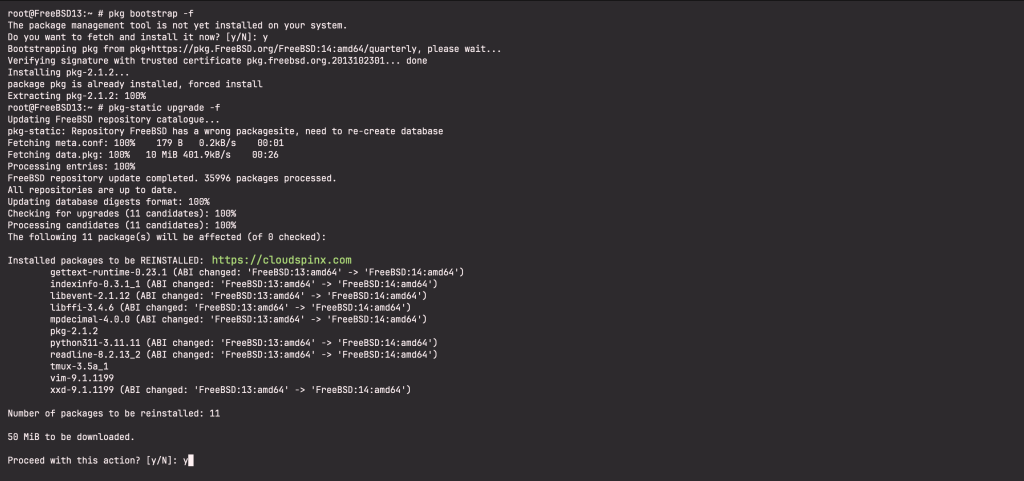
14.2-RELEASE-p3But you need to upgrade the packages as well. Execute the commands below to upgrade the packages:
pkg bootstrap -f
pkg-static upgrade -f
Sample output:
Once complete, run the command for the last time:
freebsd-update installReboot the system to apply the changes:
reboot#4. Verify the Upgrade
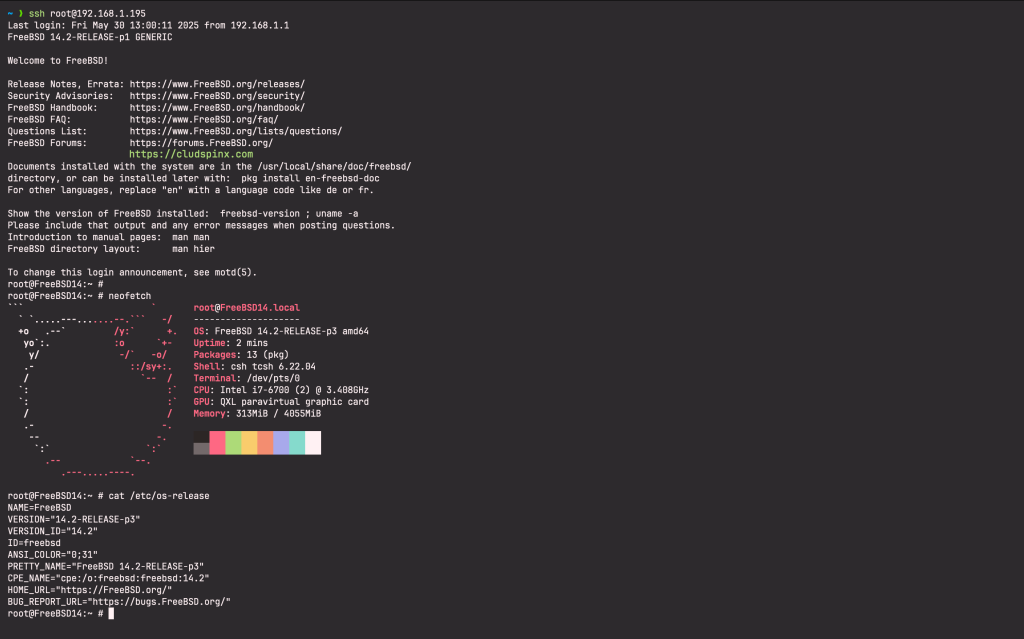
Once the system boots, verify the OS version. We will install the neofetchpackage to provide us with detailed OS information.

Verify the FreeBSD OS version.
neofetchSample Output:
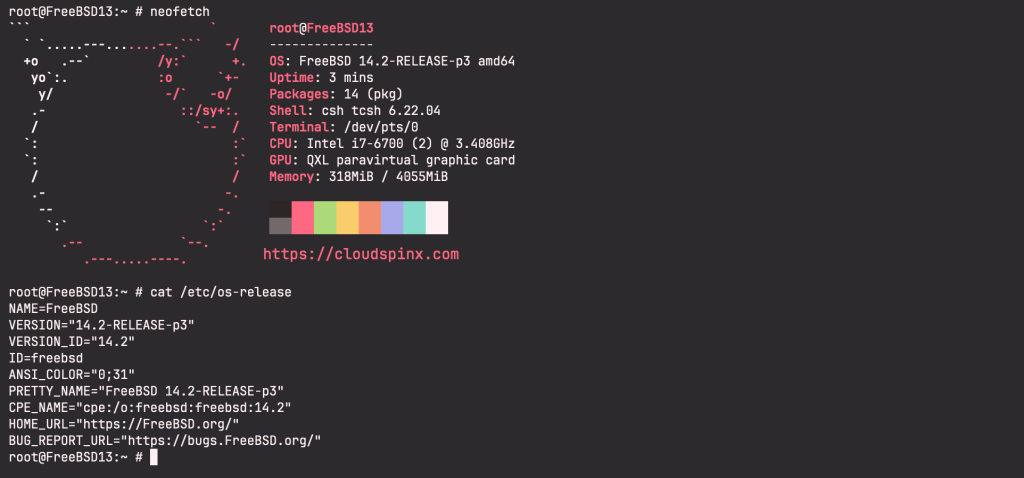
All that’s remaining now is for you to change your system’s hostname to match the release version. Open /etc/rc.conf file and update the hostname:
vim /etc/rc.confThen reboot the system:
That is it! We have successfully upgraded the system to FreeBSD 14 from FreeBSD 13. I hope this article was helpful to you.
See more:


