The virt-install command-line tool is used to create and configure new virtual machines on KVM. It offers numerous options that allowsusers to customize the virtual machines, including setting the operating system, disk, network, memory, CPU, and more.
The virt-Install CLI tool does the automation of many VM configuration tasks, making it easier to get started with virtualization. In this section we cover in detail the usage of virt-install with plenty of examples.
Confirm if virt-install is present and working on your system.
virt-install --versionIf you get version number in the output it’s installed. The basic syntax of virt-install is:
virt-install [options]Virt-install command options
Below is a comprehensive list of virt-install command options, along with explanations:
Basic options
--name NAME: Specifies the name of the virtual machine.--ram MB: Sets the memory allocated to the VM in megabytes.--vcpus COUNT[,maxvcpus]: Specifies the number of virtual CPUs to allocate to the VM. Optionally, you can specifymaxvcpusto set the maximum number of CPUs.--disk [options]: Defines disk configuration. It can include options likepath,size,bus,format, etc.- Example:
--disk path=/var/lib/libvirt/images/ubuntu.img,size=30,format=qcow2
- Example:
--cdrom PATH: Specifies a CD-ROM image for installation. This option automatically sets the VM to boot from the CD-ROM.--location LOCATION: Points to the installation source, such as an ISO file or network URL.- Example:
--location /var/lib/libvirt/boot/ubuntu.isoor--location http://example.com/centos
- Example:
--os-type TYPE: Specifies the type of the guest OS. Common values includelinux,windows,unix.--os-variant VARIANT: Sets the OS variant to optimize the configuration.- Examples include
almalinux9,debian12,ubuntu24.04,win11,win2k22, e.t.c. - List OS variants using the command
osinfo-query os
- Examples include
--network [options]: Configures network interfaces. Common options includebridge,network,model, etc.- Example:
--network bridge=virbr0
- Example:
--graphics TYPE: Specifies the type of graphical interface. Types includespice,vnc,none, etc.
Advanced Options
--cpu [options]: Defines CPU model and features. Options includehost,custom,cores,sockets,threads.- Example:
--cpu host,cores=2,sockets=2,threads=2
- Example:
--console [options]: Sets up console devices. Options includetype,target_port, etc.- Example:
--console pty,target_type=serial
- Example:
--video [options]: Configures the video hardware. Options includemodel,vram,heads.- Example:
--video model=virtio
- Example:
--channel [options]: Adds a channel device. Useful for guest communication channels.--watchdog [options]: Adds a watchdog device to monitor the VM.--sound [options]: Adds a sound device. Options includemodel.--input [options]: Configures input devices like keyboards and mice.--memballoon [options]: Configures the balloon driver for dynamic memory management.
Installation Options
--extra-args ARGS: Passes additional kernel parameters to the guest installer. Useful for automated installations.--initrd-inject PATH: Injects a file into the initrd. Often used with--extra-args.--wait SECONDS: Sets the time to wait after installation. Default is to wait indefinitely (0).--import: Skips installation and imports an existing disk image.--autostart: Configures the VM to start automatically when the host boots.--noautoconsole: Prevents automatically connecting to the VM console after installation.--pxe: Configures the VM to boot via PXE (Preboot Execution Environment). PXE allows the VM to boot from a network server, typically used for network-based installations.
Storage Options
--filesystem [options]: Shares a host directory with the guest. Options includesource,target,type.- Example:
--filesystem source=/data,target=/mnt/data,type=mount
- Example:
--boot [options]: Sets boot options. Options includehd,cdrom,network.- Example:
--boot hd,cdrom
- Example:
We will explore the usage of virt-install through practical examples, showcasing its versatility and how it can streamline virtual machine management.
Mastering KVM Virtualization - The Ultimate eBook
From home labs to production clouds - master KVM Host management, automating KVM administration using Terraform, Vagrant, and cloud automation. This eBook will enable you to build scalable virtual infrastructure that works whether you're learning at home or deploying enterprise solutions. Get your full copy today
1) Linux VM Installation from ISO image
Let’s consider installation of Virtual Machine on KVM from an ISO image. You’ll have to download the operating system installation image before you can proceed.
Run the following command to list all supported OSes and their variants:
osinfo-query os
# You can also use grep to filter results, see examples below:
# osinfo-query os | grep ubuntu
# osinfo-query os | grep rocky
Example 1: Ubuntu Linux VM installation
In this example we are using Ubuntu 24.04 ISO) for this test. Download can be initiated using wget:
wget https://releases.ubuntu.com/24.04.1/ubuntu-24.04.1-live-server-amd64.isoWe can move this ISO file to default storage pool path
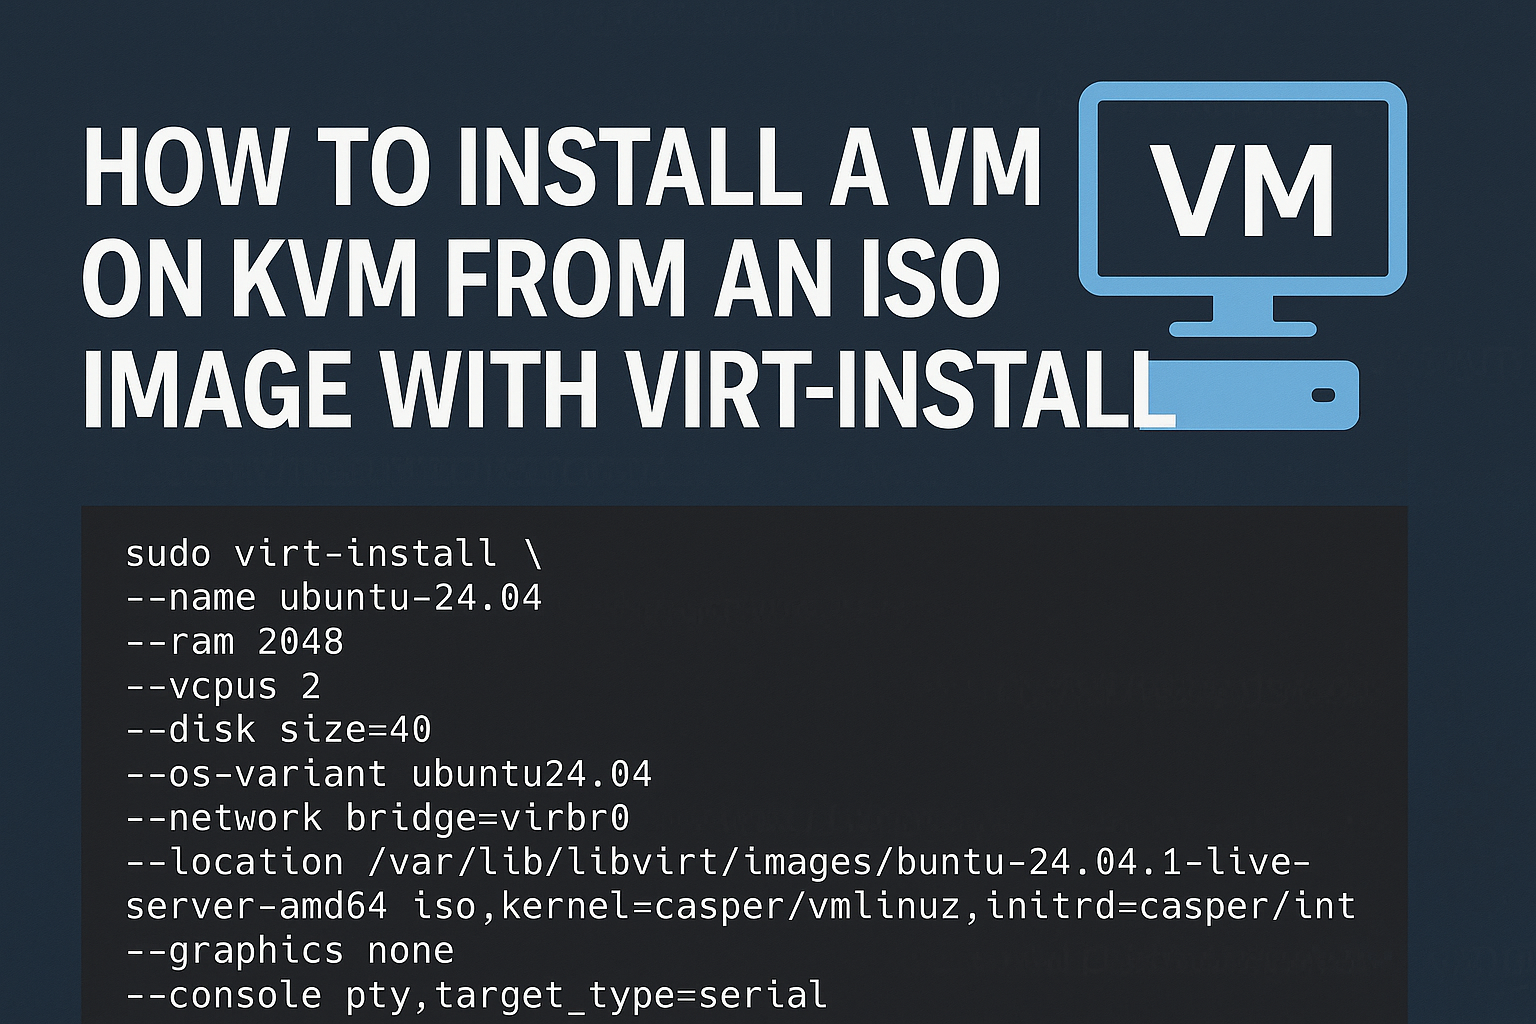
sudo mv ubuntu-24.04.1-live-server-amd64.iso /var/lib/libvirt/images/The following command creates a VM named ubuntu-24.04 that installs the Ubuntu 24.04 Linux OS. The installation is done from an ISO image locally stored in the /var/lib/libvirt/boot/ubuntu-24.04.1-live-server-amd64.iso. The kernel and initrd Images are also defined.
This VM is also allocated with 2048 MiB of RAM and 2 vCPUs, and a 40 GiB qcow2 virtual disk is automatically configured for the VM.
- Server installation without graphical user interface:
sudo virt-install \
  --name ubuntu-24.04 \
  --ram 2048 \
  --vcpus 2 \
  --disk size=40 \
  --os-variant ubuntu24.04 \
  --network bridge=virbr0 \
  --location /var/lib/libvirt/images/ubuntu-24.04.1-live-server-amd64.iso,kernel=casper/vmlinuz,initrd=casper/initrd \
  --graphics none \
  --console pty,target_type=serial \
  --extra-args 'console=ttyS0,115200n8'
Notice the OS installation will run in text-only mode, without graphics, It connects the guest console to the serial console,
================================================================================
  Serial                                                              [ Help ]
================================================================================

  As the installer is running on a serial console, it has started in basic
  mode, using only the ASCII character set and black and white colours.

  If you are connecting from a terminal emulator such as gnome-terminal that
  supports unicode and rich colours you can switch to "rich mode" which uses
  unicode, colours and supports many languages.

  You can also connect to the installer over the network via SSH, which will
  allow use of rich mode.


                          [ Continue in rich mode  > ]
                          [ Continue in basic mode > ]
                          [ View SSH instructions    ]
You can continue with the OS installation from serial console.
Willkommen! Bienvenue! Welcome! Добро пожаловать! Welkom!           [ Help ]
▀▀▀▀▀▀▀▀▀▀▀▀▀▀▀▀▀▀▀▀▀▀▀▀▀▀▀▀▀▀▀▀▀▀▀▀▀▀▀▀▀▀▀▀▀▀▀▀▀▀▀▀▀▀▀▀▀▀▀▀▀▀▀▀▀▀▀▀▀▀▀▀▀▀▀▀▀▀▀▀
  Use UP, DOWN and ENTER keys to select your language.

                [ Asturianu                                 ▸ ]▴
                [ Bahasa Indonesia                          ▸ ]█
                [ Català                                    ▸ ]
                [ Deutsch                                   ▸ ]
                [ English                                   ▸ ]
                [ English (UK)                              ▸ ]
                [ Español                                   ▸ ]
                [ Français                                  ▸ ]
                [ Galego                                    ▸ ]
                [ Hrvatski                                  ▸ ]
                [ Latviski                                  ▸ ]
                [ Lietuviškai                               ▸ ]
                [ Magyar                                    ▸ ]
                [ Nederlands                                ▸ ]
                [ Norsk bokmål                              ▸ ]
                [ Occitan                                   ▸ ]▾
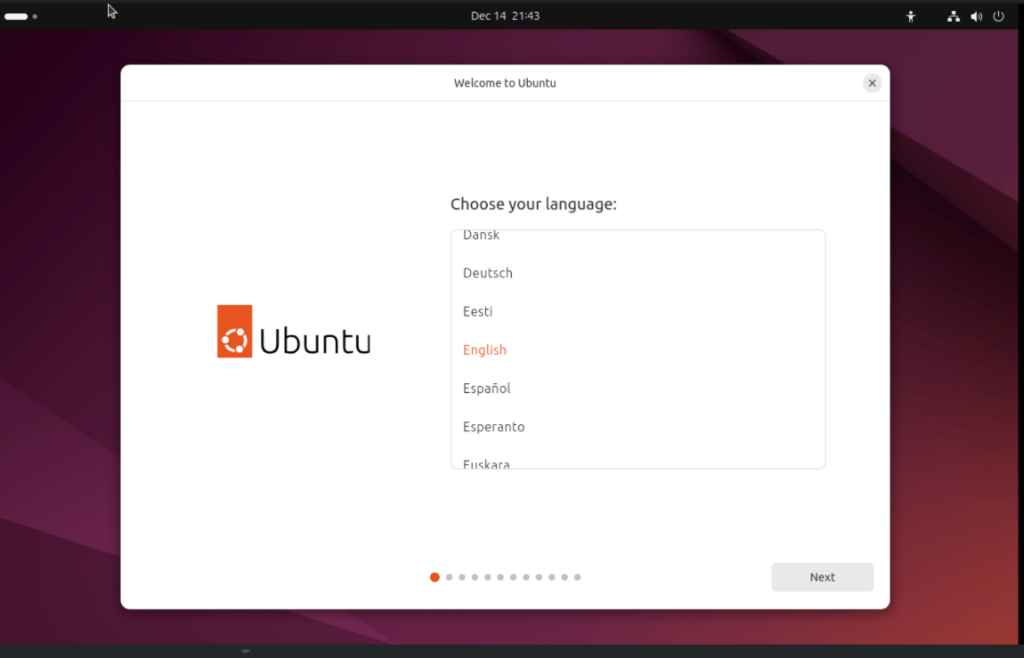
[ Back ]- Ubuntu Desktop OS Installation
The --graphics none is only useful for server-only setups. For VM installation on KVM host with Desktop Envronment the vnc or spice graphics can be used.
sudo virt-install \
  --name ubuntu-desktop \
  --ram 4096 \
  --vcpus 2 \
  --disk size=40 \
  --os-variant ubuntu24.04 \
  --network bridge=virbr0 \
  --cdrom /var/lib/libvirt/images/ubuntu-24.04.1-desktop-amd64.iso \
  --graphics vnc
This will present you with a graphical installation of Ubuntu Linux vitual machine on KVM.
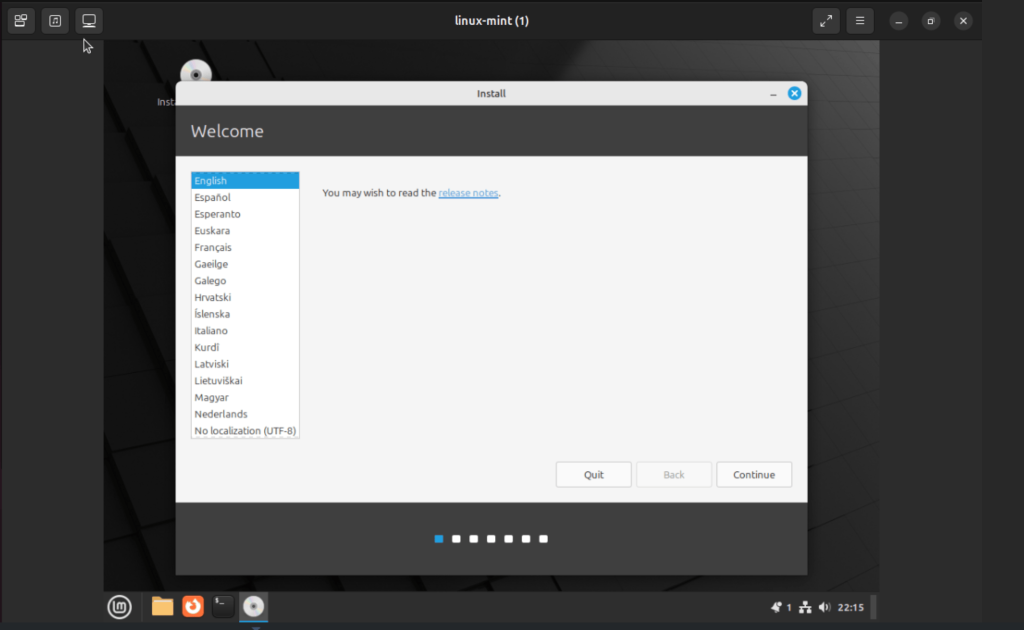
Example 2: Linux Mint Install with Spice
The following example creates a Linux Mint VM and configures the virtual machine’s graphical display to use the SPICE protocol.
sudo virt-install \
  --name linux-mint \
  --ram 4096 \
  --vcpus 2 \
  --disk size=40 \
  --os-variant ubuntu24.04 \
  --network bridge=virbr0 \
  --cdrom /var/lib/libvirt/images/linuxmint-22-cinnamon-64bit.iso \
  --graphics spice
SPICE (Simple Protocol for Independent Computing Environments) is a modern and feature-rich protocol that allows users to interact with the VM offering smooth graphical performance and advanced features.
Example 3: Rocky Linux Server OS installation
The following command creates a VM named rocky9 that uses the ISO image to run a Rocky Linux OS from a live CD. The VM is allocated with 4096 MiB of RAM and 4 vCPUs.
- No graphics
sudo virt-install \
  --name rocky9 \
  --ram 4096 \
  --vcpus 2 \
  --disk size=40 \
  --os-variant rocky9 \
  --network bridge=virbr0 \
  --location /var/lib/libvirt/images/Rocky-x86_64-minimal.iso \
  --graphics none \
  --console pty,target_type=serial \
  --extra-args 'console=ttyS0,115200n8'
Select Use text mode when performing OS installation from ISO without graphics.
Starting installer, one moment...
anaconda 34.25.5.9-1.el9.rocky.0.3 for Rocky Linux 9.5 started.
 * installation log files are stored in /tmp during the installation
 * shell is available on TTY2
 * if the graphical installation interface fails to start, try again with the
   inst.text bootoption to start text installation
 * when reporting a bug add logs from /tmp as separate text/plain attachments
================================================================================
================================================================================
Text mode provides a limited set of installation options. It does not offer
custom partitioning for full control over the disk layout. Would you like to use
VNC mode instead?

1) Start VNC
2) Use text mode

Please make a selection from the above ['c' to continue, 'q' to quit, 'r' to
refresh]:
2- With VNC graphical display
sudo virt-install \
  --name rocky9 \
  --ram 4096 \
  --vcpus 2 \
  --disk size=40 \
  --os-variant rocky9 \
  --network bridge=virbr0 \
  --cdrom /var/lib/libvirt/images/Rocky-x86_64-minimal.iso \
--graphics vnc- With SPICE graphical display
sudo virt-install \
  --name rocky9 \
  --ram 4096 \
  --vcpus 2 \
  --disk size=40 \
  --os-variant rocky9 \
  --network bridge=virbr0 \
  --cdrom /var/lib/libvirt/images/Rocky-x86_64-minimal.iso \
  --graphics spice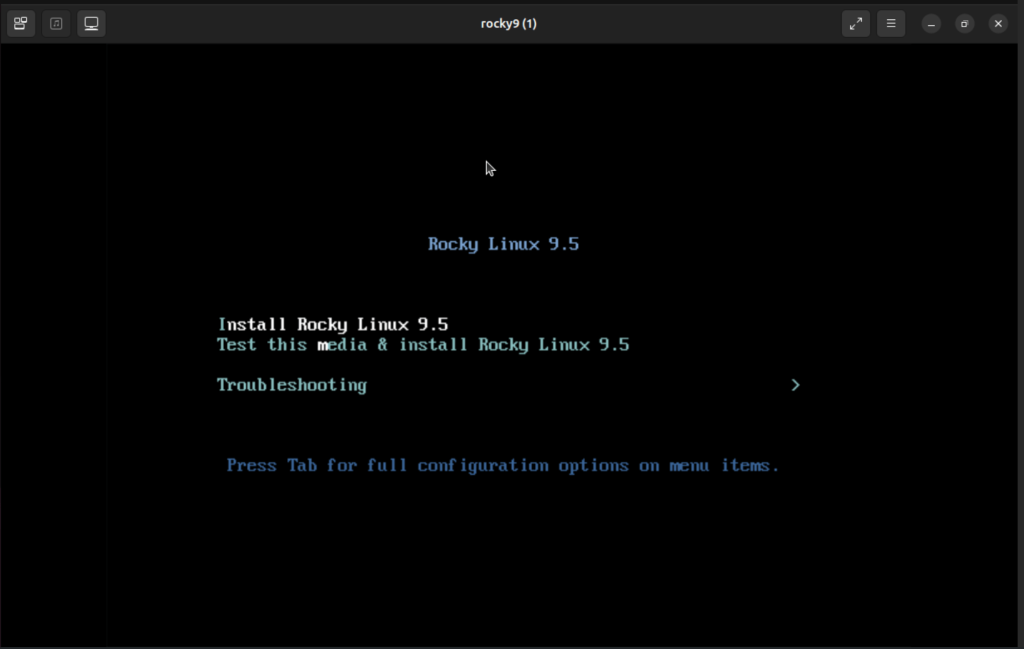
Standard installation of the operation system is to be followed to get it ready for use.
Install QEMU Guest Agent on Linux
To use certain features on a virtual machine (VM) hosted on your KVM system, you must first configure the VM to use the QEMU Guest Agent (GA).
Some of these features are:
virsh shutdown --mode=agent– A more reliable shutdown method guaranteed to shut down a cooperative guest in a clean state.virsh domfsfreezeandvirsh domfsthaw– Freezes the guest file system in isolation.virsh domfstrim– Instructs the guest to trim its file system, which helps to reduce the data that needs to be transferred during migrations.virsh domtime– Queries or sets the guest’s clock.virsh setvcpus --guest– Instructs the guest to take CPUs offline, which is useful when CPUs cannot be hot-unplugged.virsh domifaddr --source agent– Queries the guest operating system’s IP address by using QEMU GA. For example, this is useful when the guest interface is directly attached to a host interface.virsh domfsinfo– Shows a list of mounted file systems in the running guest.virsh set-user-password– Sets the password for a given user account in the guest.virsh set-user-sshkeys– Edits the authorized SSH keys file for a given user in the guest.
Install the QEMU GA on your Linux machine by running the following commands
- Debian-based systems:
sudo apt update
sudo apt install qemu-guest-agent- RHEL-based systems:
sudo yum install qemu-guest-agent
sudo systemctl enable --now qemu-guest-agent
🌍 Our KVM eBook covers all this in details and more. In the book you will learn:
- Understanding Virt-install
- Linux VM Installation from ISO image
- Linux VM Installation using Cloud-Init
- Windows installation (Desktop and Server) using virt-install
- VMs Installation using Virt-builder
- VMs Install using PXE Boot and virt-install
- VMs Installation using virt-install and kickstart
- GPU Passthrough to Virtual Machines