Networking is one of the most important aspects of any virtualization setup. Changing VMs is not a problem. How the VM connects with each other, the host, and outside world depends on the network of the host. Networking in KVM can be handled at a low level using Linux networking tools. For many administrators, however, Virt-Manager provides a simple graphical interface for managing KVM networking.
Mastering KVM Virtualization - The Ultimate eBook
From home labs to production clouds - master KVM Host management, automating KVM administration using Terraform, Vagrant, and cloud automation. This eBook will enable you to build scalable virtual infrastructure that works whether you're learning at home or deploying enterprise solutions. Get your full copy today
Let’s go through some basic network configurations that you can perform using Virtual Machine Manager:
Creating Virtual Networks
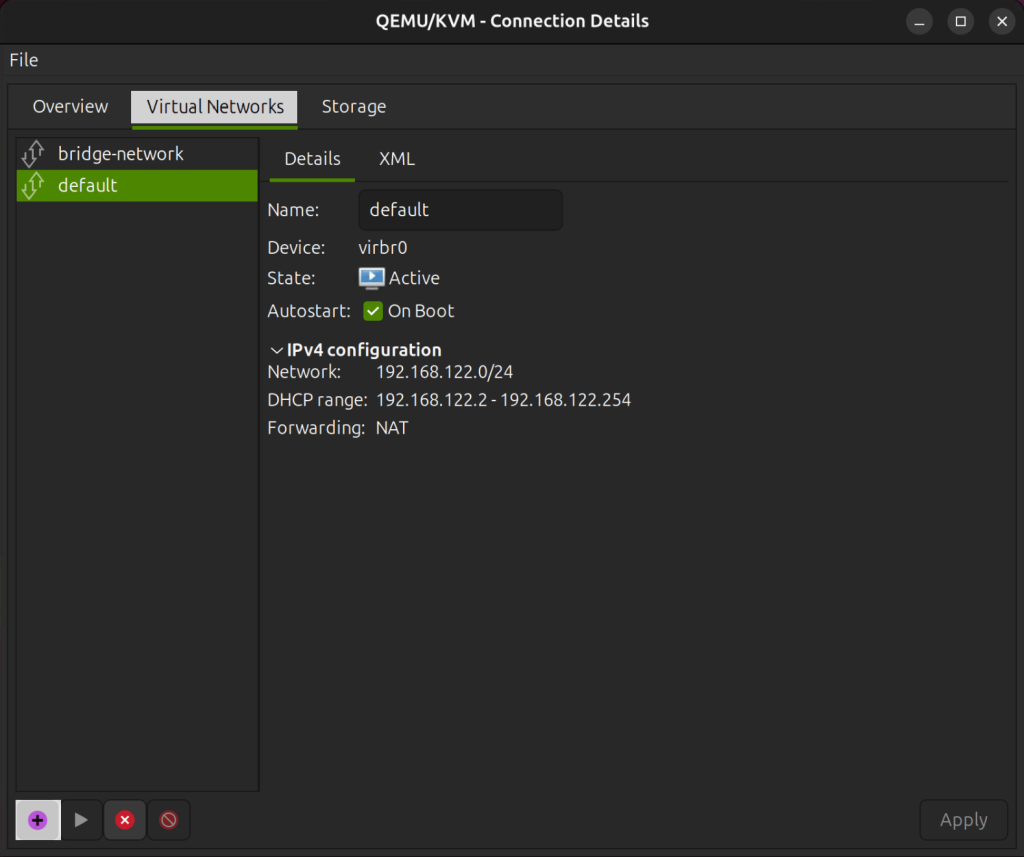
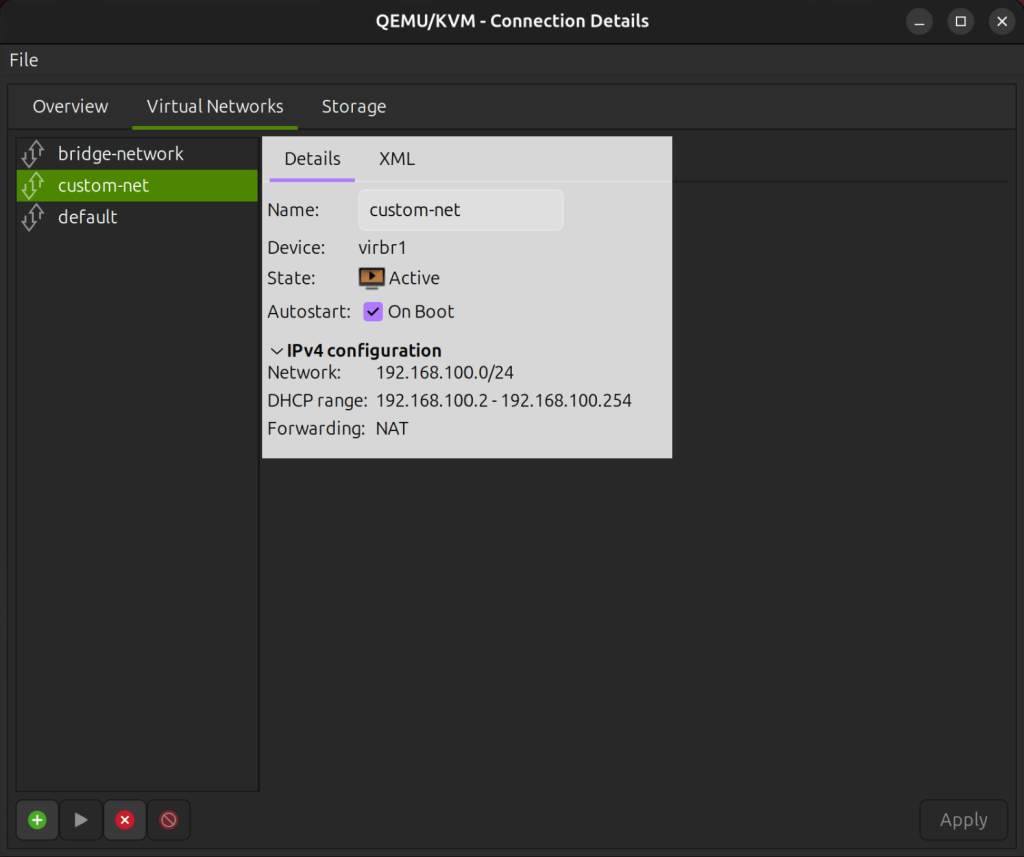
Launch Virt Manager and select a KVM host then go to Edit → Connection Details. Navigate to the Virtual Networks tab and click on the plus icon that says Add Network when hovered.
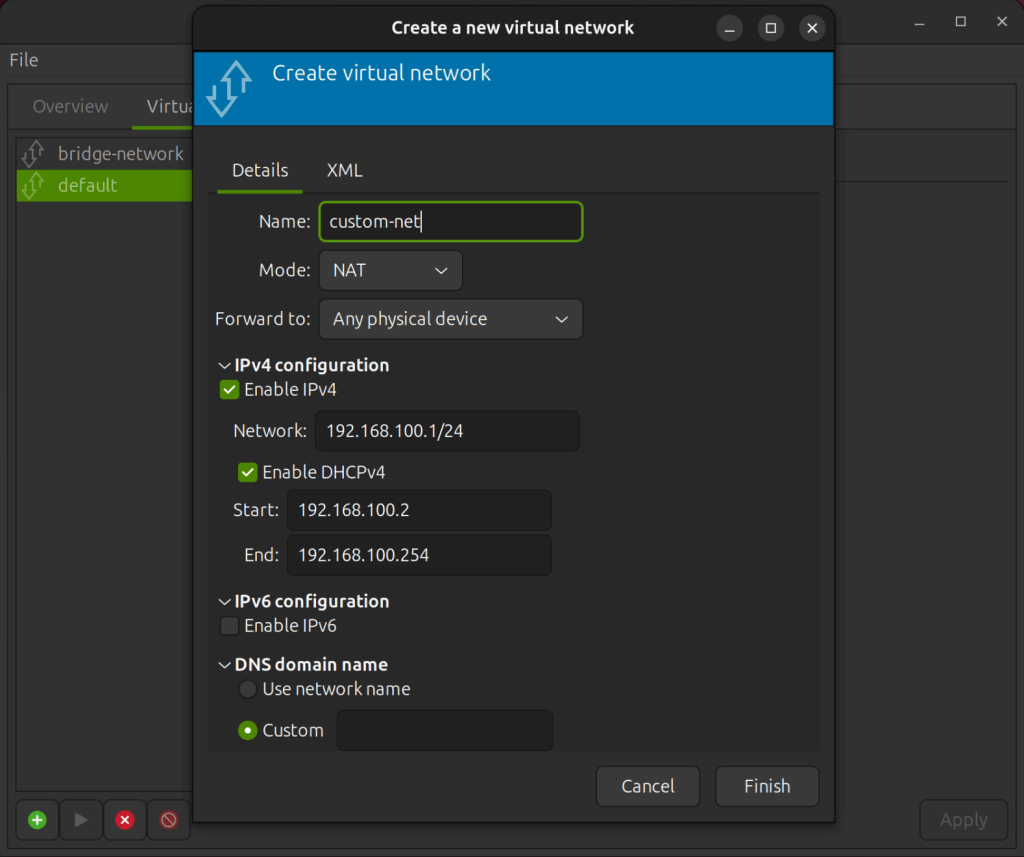
A new configuration wizard pops up and you can configure your virtual network:

You can specify whichever subnet you want, as long as it does not conflict with any existing virtual network.
You can also configure your virtual network using xml on virt-manager.
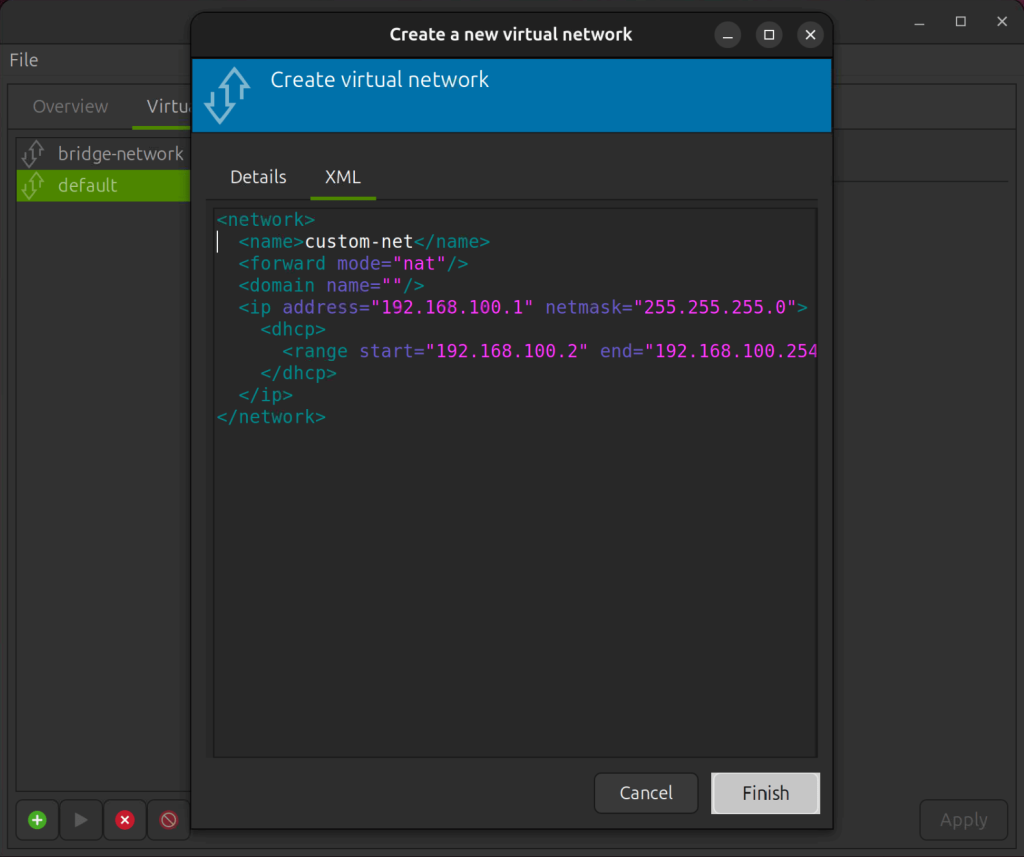
Click on Finish when done. Now your new Virtual Network is up and running.
Attach Virtual Network to VM
Now, let’s attach the custom Network to a VM. Open the VM details by selecting the VM, then click Open → View → Details → NIC.
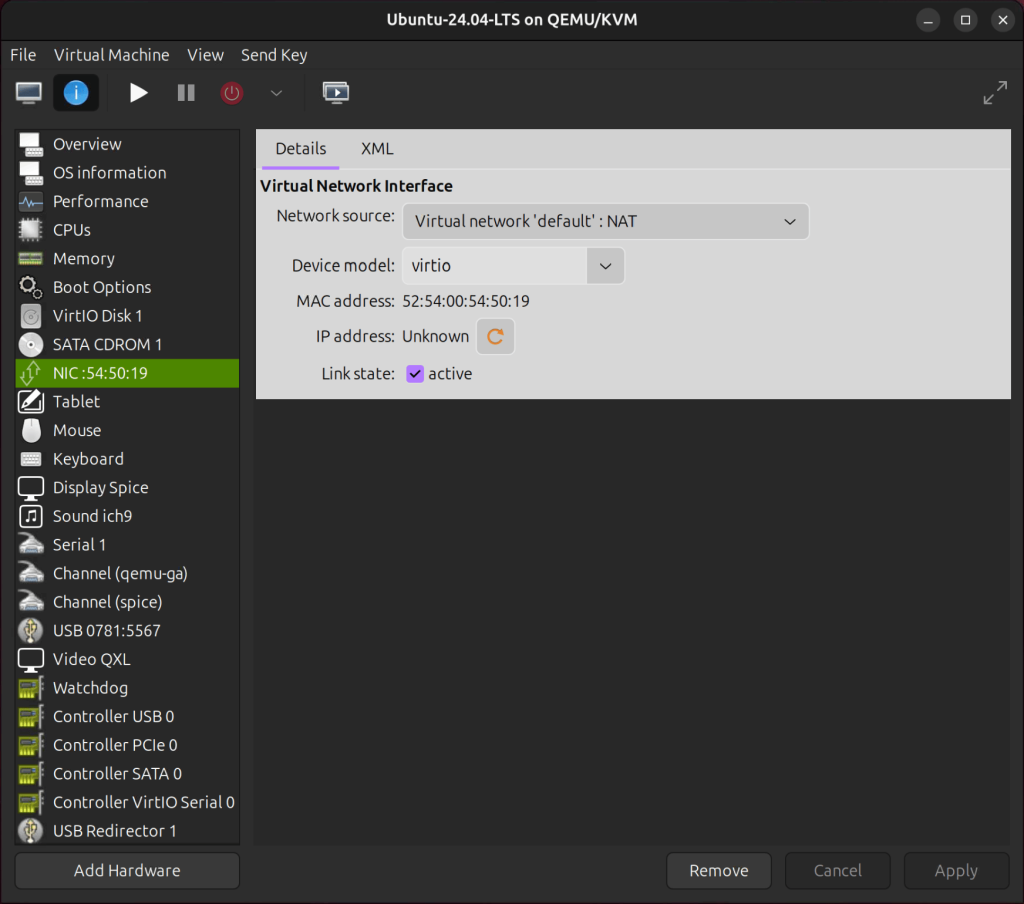
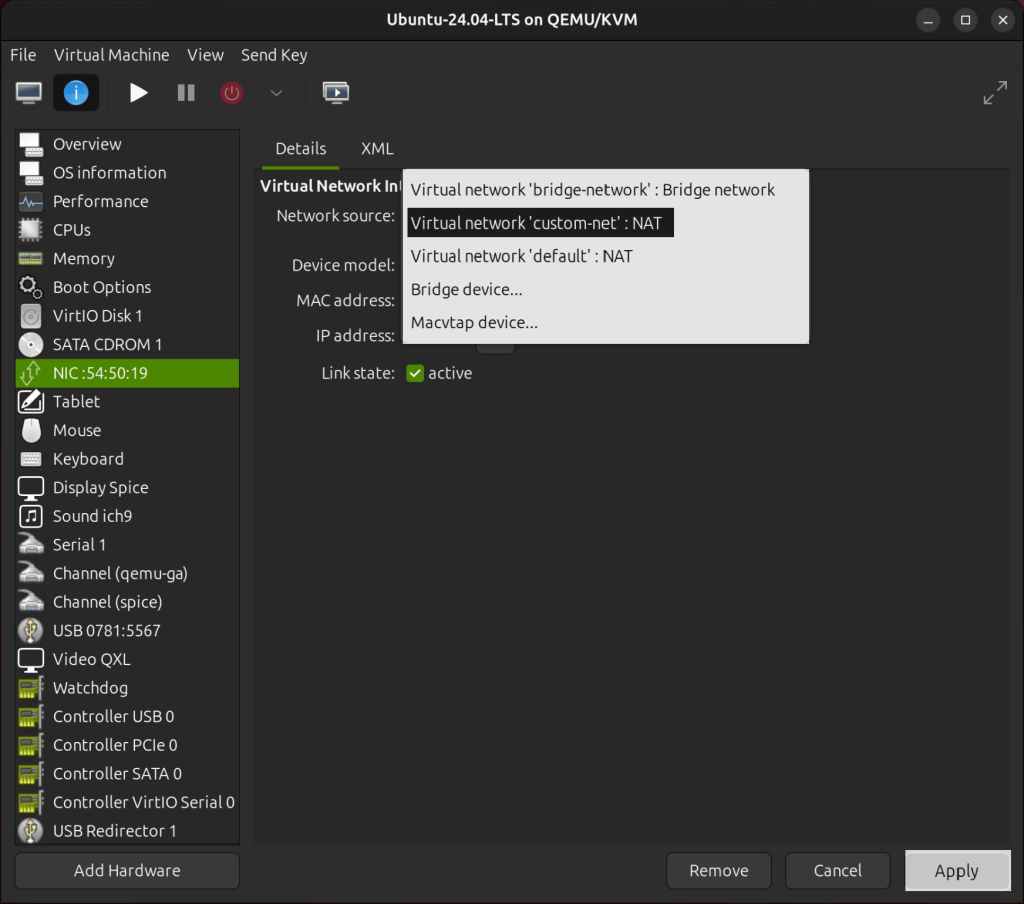
Click on Network source and select the Virtual Network you just created then click Apply.
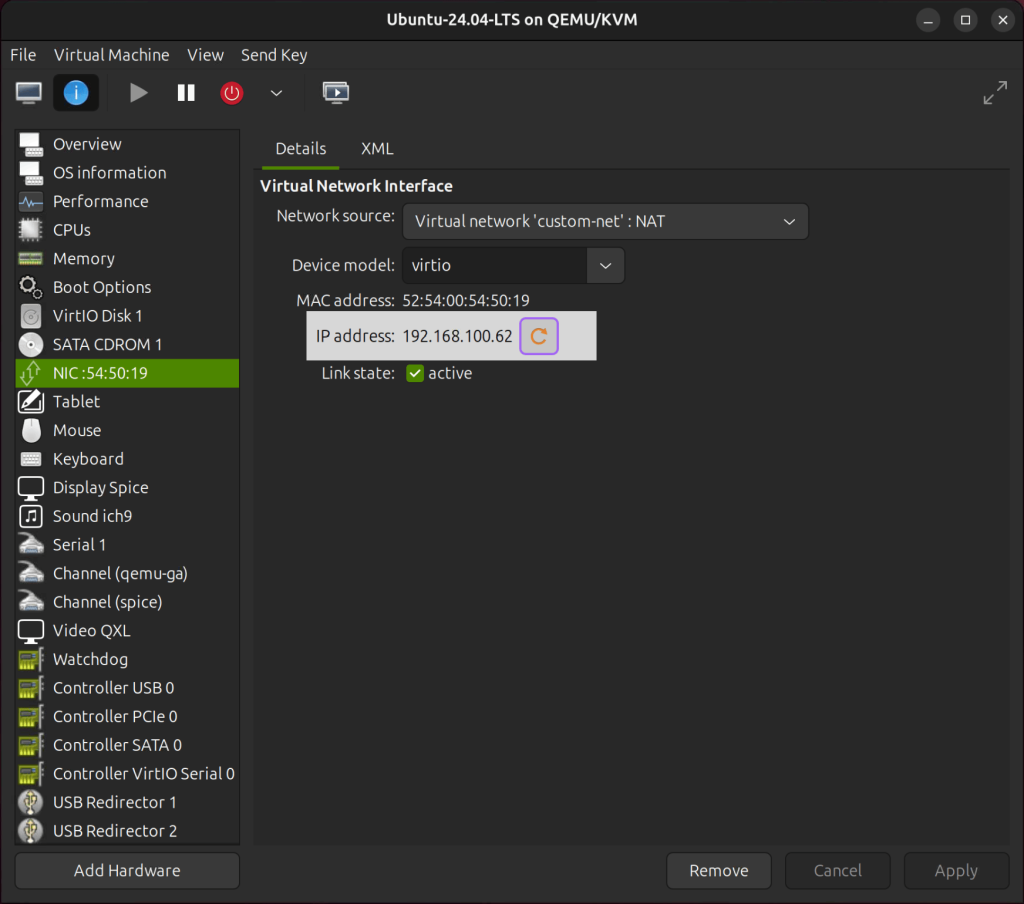
After powering on the VM, you can reload the IP address to have a look at the new IP address:
Configure Bridged Networking
By default, virt-manager does not show the bridged network option. You need to manually create a Linux bridge and configure it for use with KVM. For this step, please refer to these guides:
- Configuring Bridged Network on KVM Host with Netplan
- KVM Host Network Management using Network Manager (NMCLI)
- How to Manage KVM Host Network using Networking Scripts
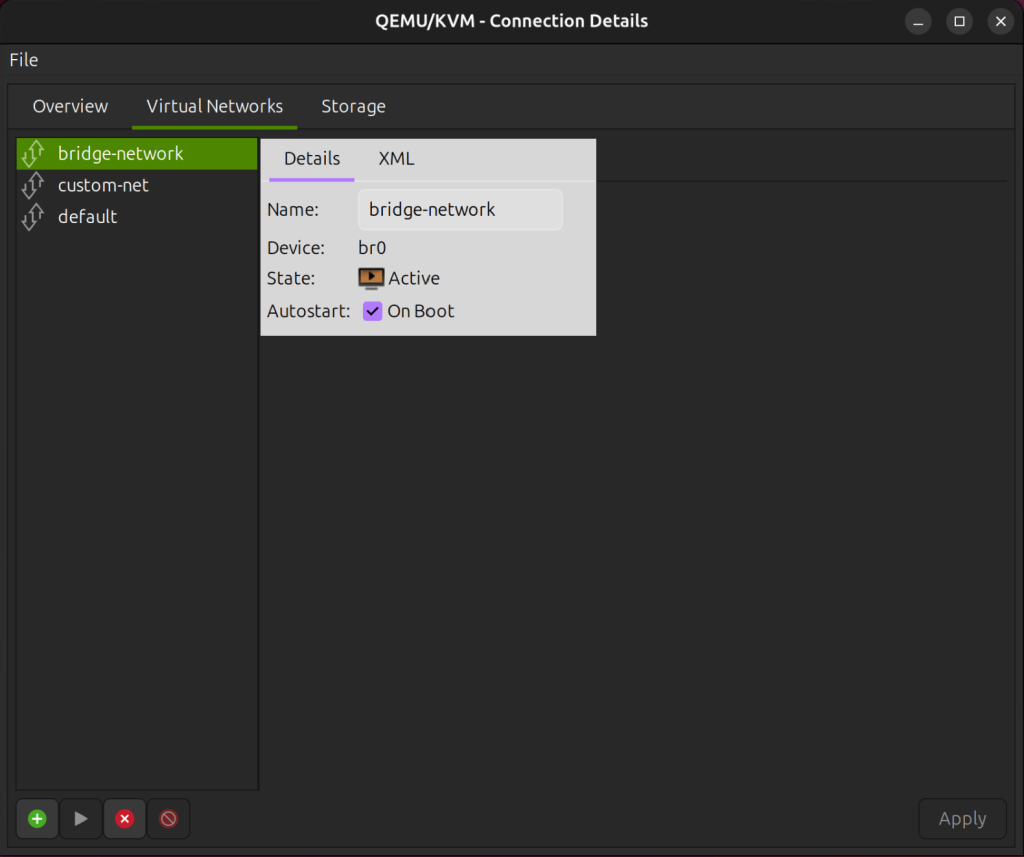
After you have successfully set up the bridge network, proceed to open Virt-Manager and go to Edit → Connection Details, then select the Virtual Networks tab. Ensure that the brigde network is present.
23.png
To assign the new network to a VM, go to Virtual Machine Details → NIC Network → Source.
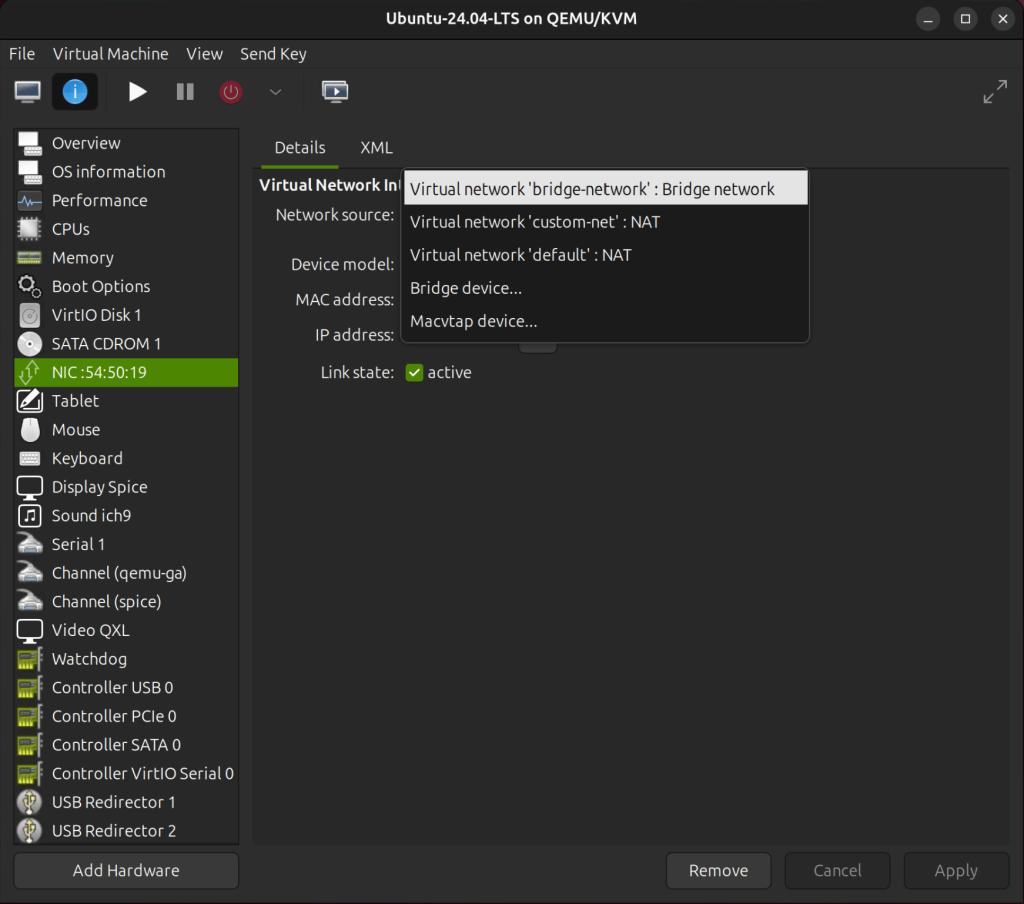
Virt-Manager focuses on creating virtual networks using libvirt, but bridging requires changes to the host’s networking setup, which is outside libvirt‘s scope.