

Windows Server 2025 has new performance features, scalability and security that make it a great suited for the 2025 environment. When you run it on a virtualized environment, you can test and manage services without needing to deply physical hardware. In the chapter, we are going to install Windows Server 2025 on the KVM hypervisor using ‘Virt-Manager’. It is a GUI based management tool. Home lab enthusiasts, sysadmins and devs can create windows workloads in an isolated, controlled and resource-efficient environment with this approach.
Mastering KVM Virtualization - The Ultimate eBook
From home labs to production clouds - master KVM Host management, automating KVM administration using Terraform, Vagrant, and cloud automation. This eBook will enable you to build scalable virtual infrastructure that works whether you're learning at home or deploying enterprise solutions. Get your full copy today
Install Windows Server 2025
Let’s go through how we can install Windows Server 2025 VM on KVM using Virt-manager. Knowing how installation works is key to smooth deployment, whether one is setting up a server for the first time or upgrading from a previous version.
Pre-requisites
Choose Installation type
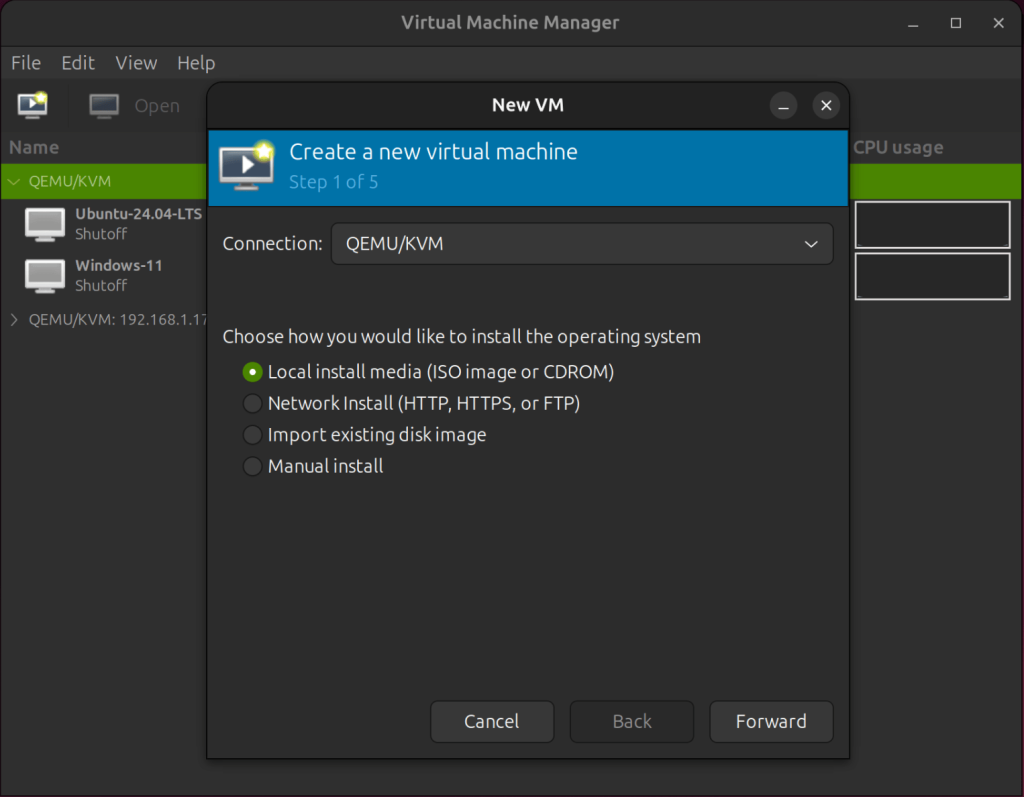
Launch virt-manager and create a new Virtual Machine and choose local installation because we’ll be using an ISO image.
Choose Installation Media
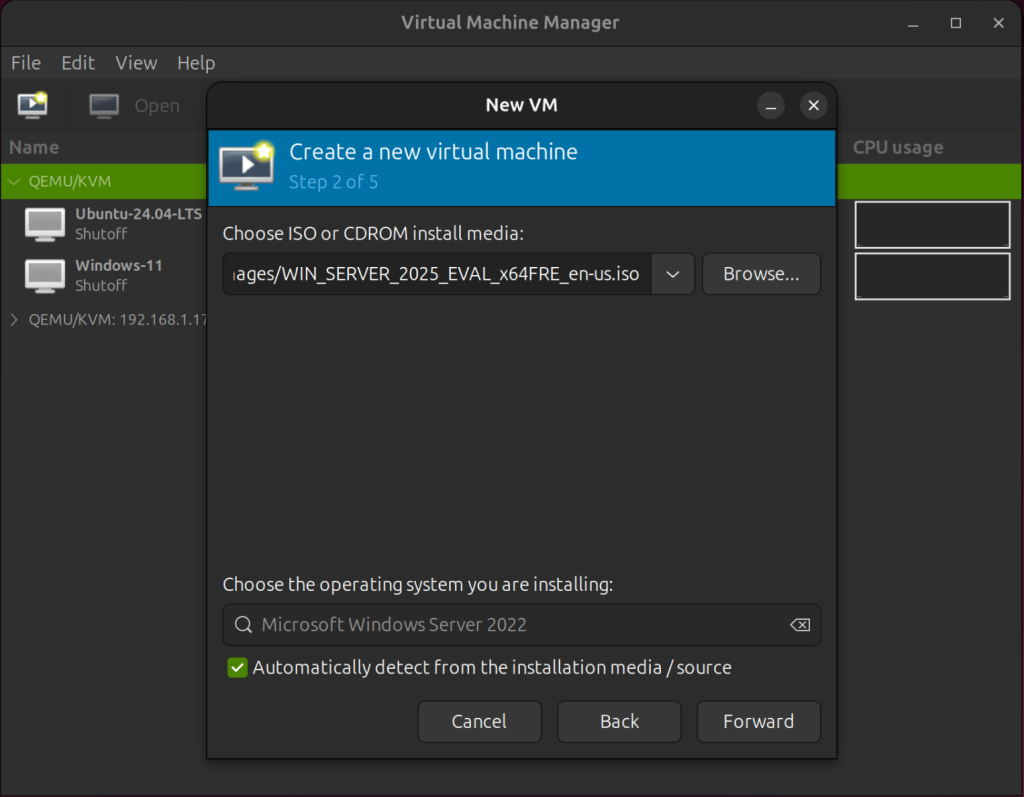
Provide the path to the downloaded ISO file or browse to it using the Browse button.
Configure Memory and CPU
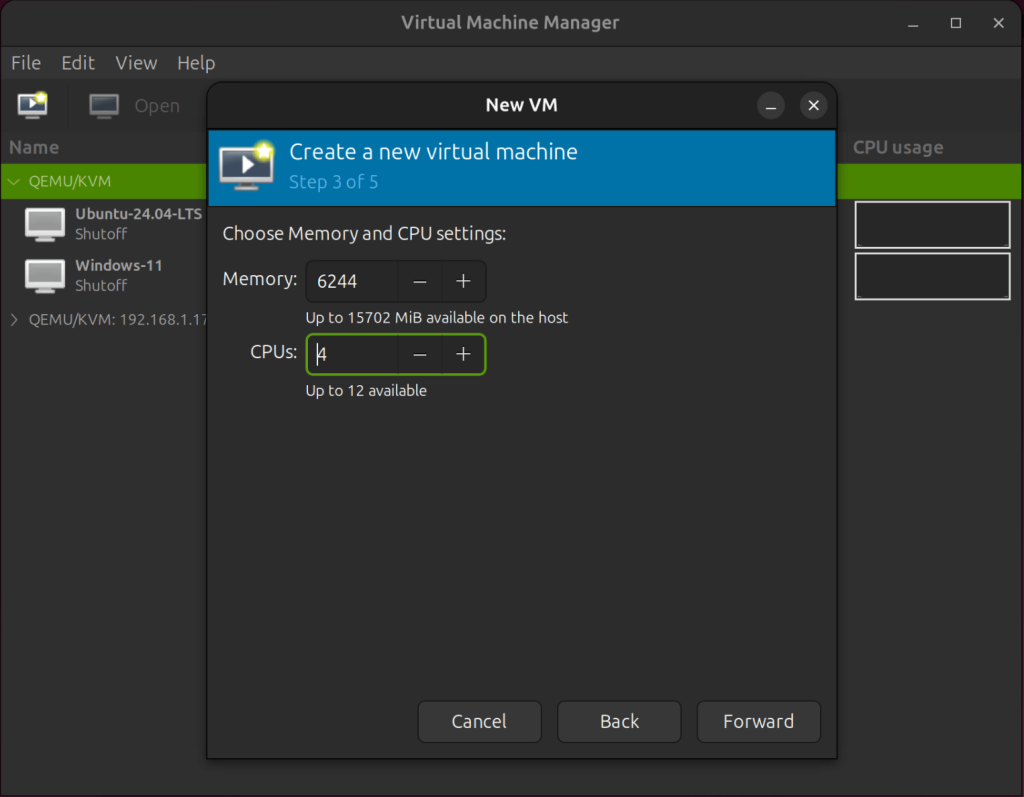
Set the amount of host memory and CPU that the guest VM will be assigned and allowed to use. For this, I’ll se the memory to 6GiB and 4vCPUs. This is only according to my hosts resouce availability and also bear in mind that it’s only for demo purposes.
Create a Storage Disk
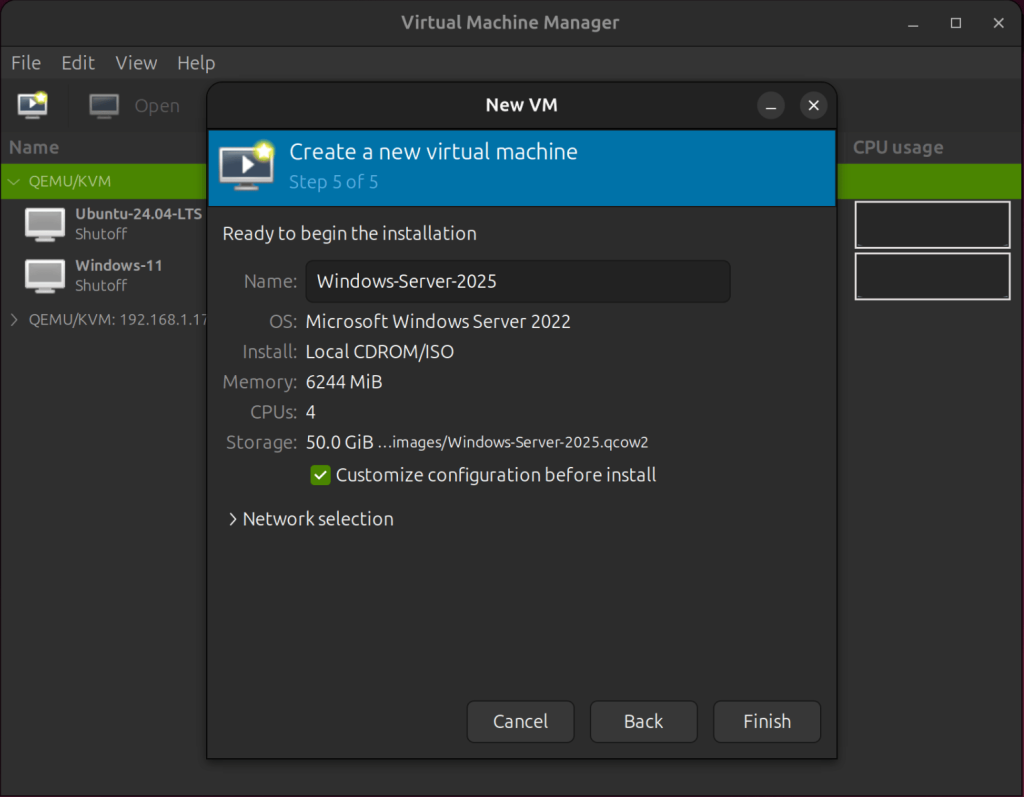
Set the disk image size for the virtual machine. The disk image that is created will be of the type QCOW2, which is a copy-on-write format. Windows server has a minimum of 32GiB storage for the disk, so I’ll set it to 50GiB.

VM Customizations
This is the final step for the Virtual Machine Creation wizard. Provide a name for the VM and check the box that says Customize Configuration before Installation.
Enable CPU Host-Passthrough
Select the CPUs section in the left panel and ensure that host-passthrough is enabled. This is so that the host’s CPU’s model and features are exactly passed on to the guest virtual machine.
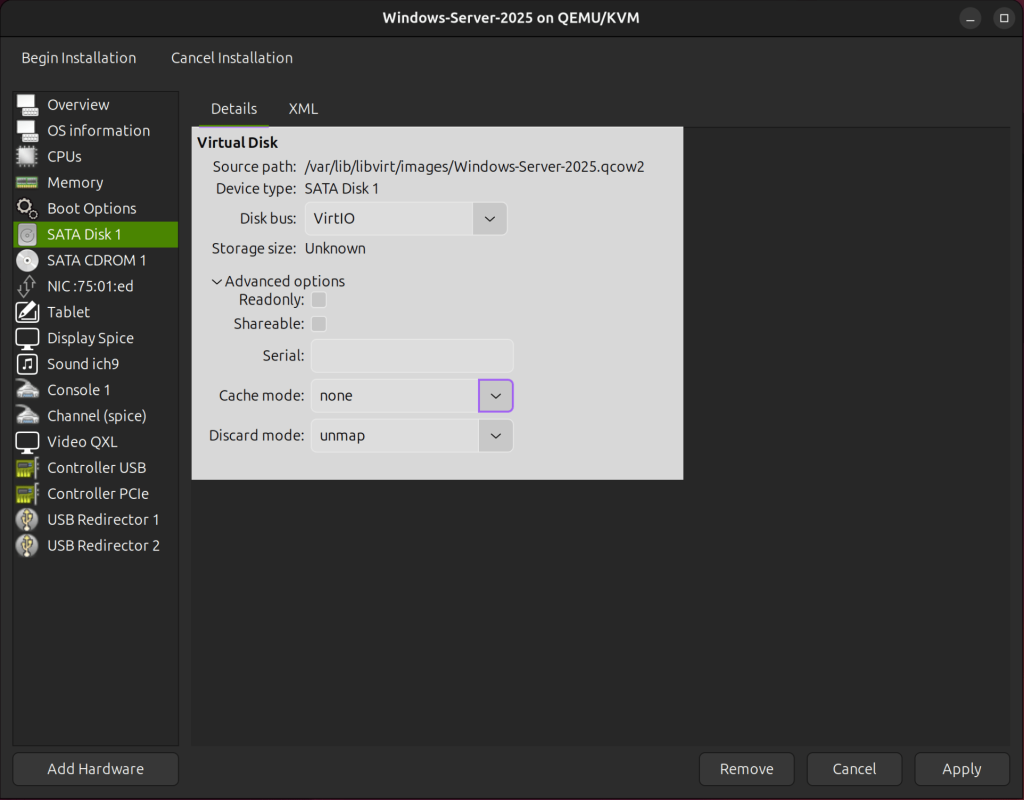
Configure the Storage
On the left panel, select SATA Disk 1, then change the disk bus from SATA to VirtIO and set cache to none. Discard mode should be set to unmap.
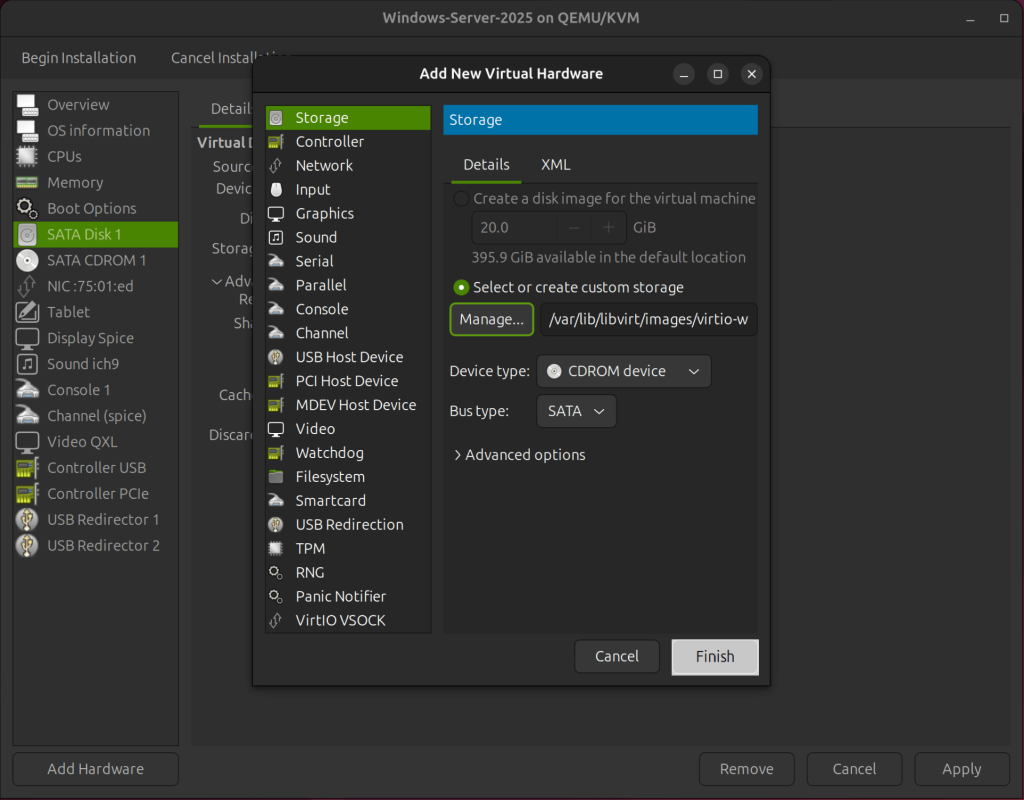
Mount the VirtIO ISO Image
Since VirtIO drivers are not provided by Microsoft, we need to install them when installing a Windows virtual machine. To achieve this, we must mount the virtio-win.iso image file, which contains the VirtIO drivers for windows.
For this, we need to add a second CD-ROM to our VM. Click Add Hardware, then select CDROM device as the Device type then click Finish to mount.
Configure Virtual Network Interface
In the NIC section, change the device model to virtio, which is specifically designed and optimized for virtualization.
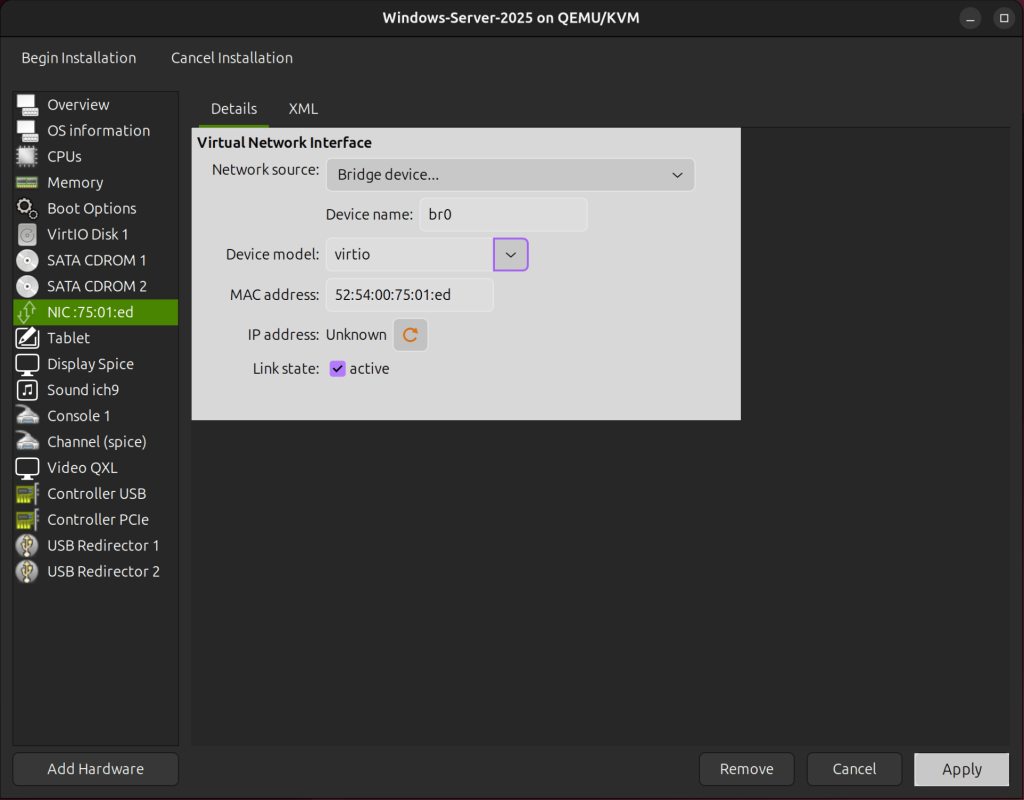
We are done with the virtual hardware configuration, let’s proceed with the OS installation. Apply any pending changes and click Begin Installation.
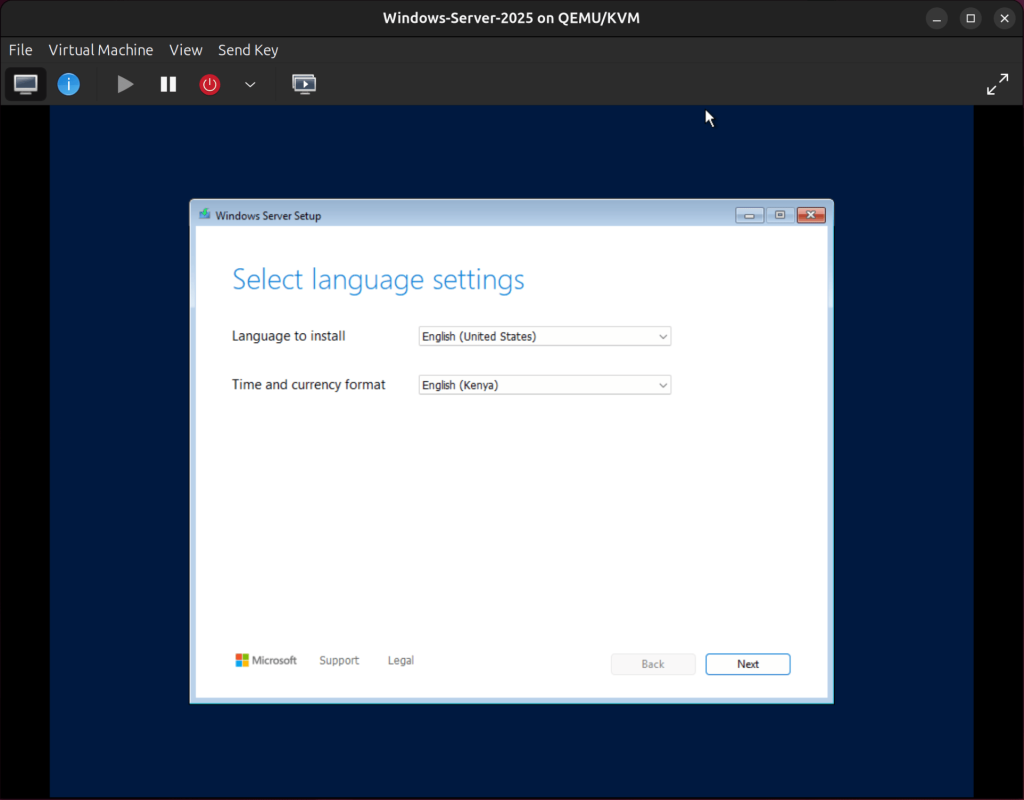
Install Windows Server 2025
Choose your preferred installation language and the time and currency format then click Next to proceed.
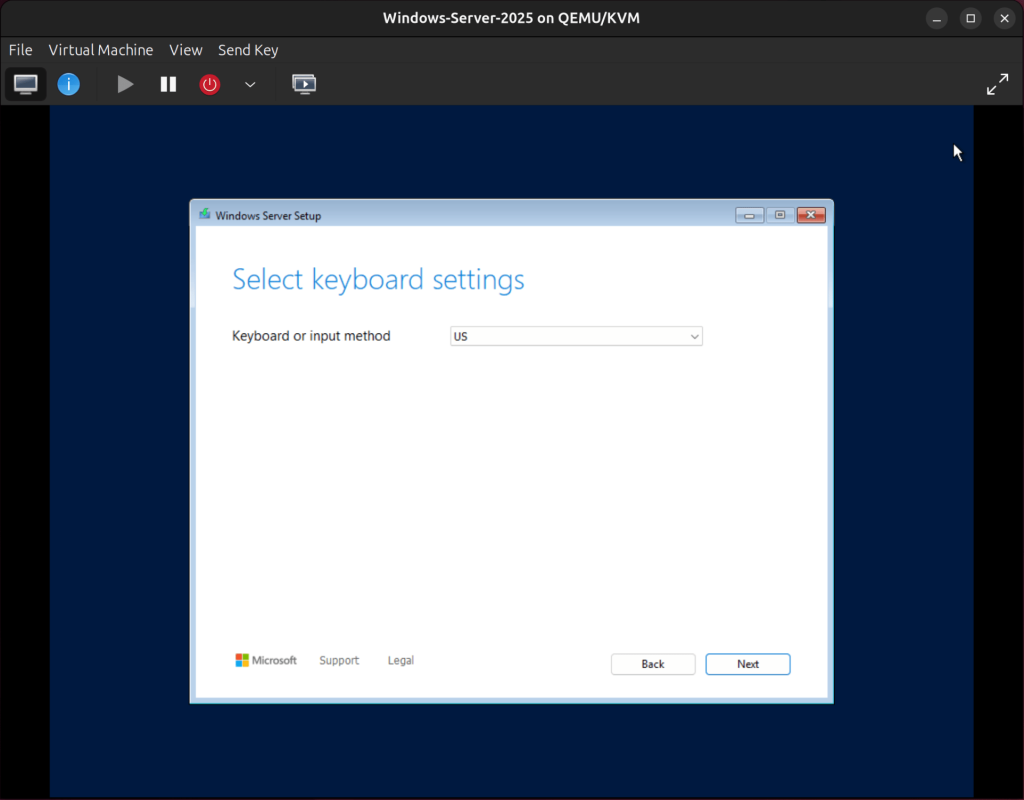
Select your keyboard or input method and click on Next.
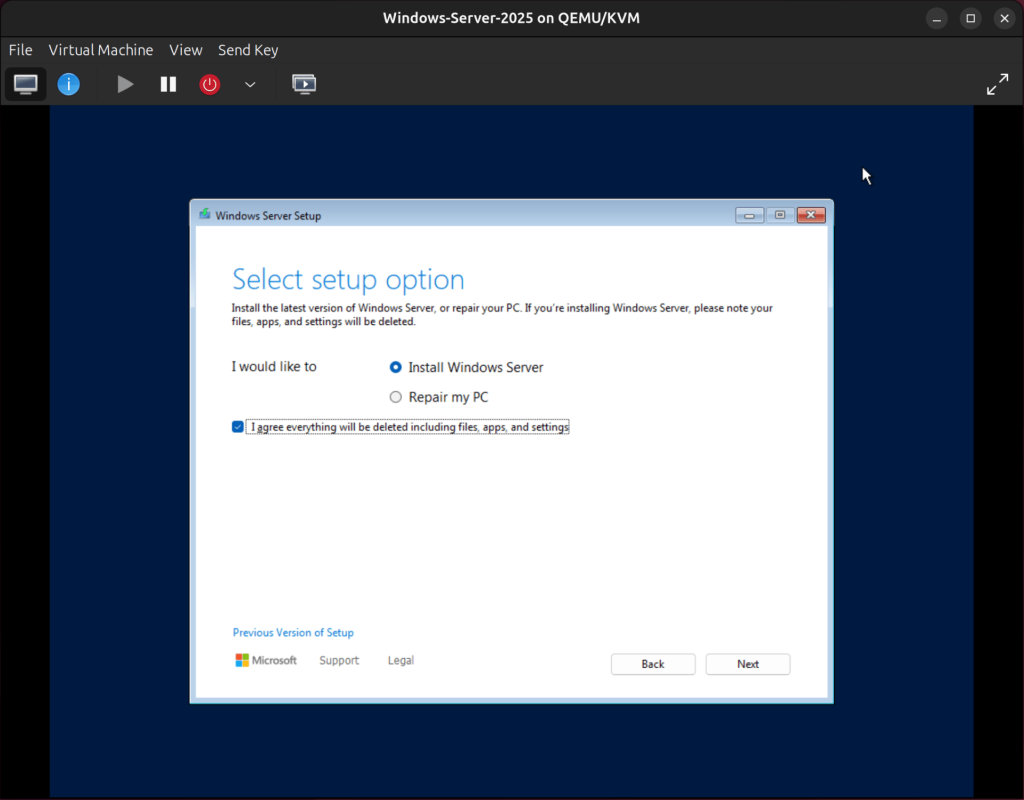
Pick Install Windows Server and click on the checkbox to agree that everything on the disk that Windows Server will be insytalled is going to be deleted including files, any applications, and settings.
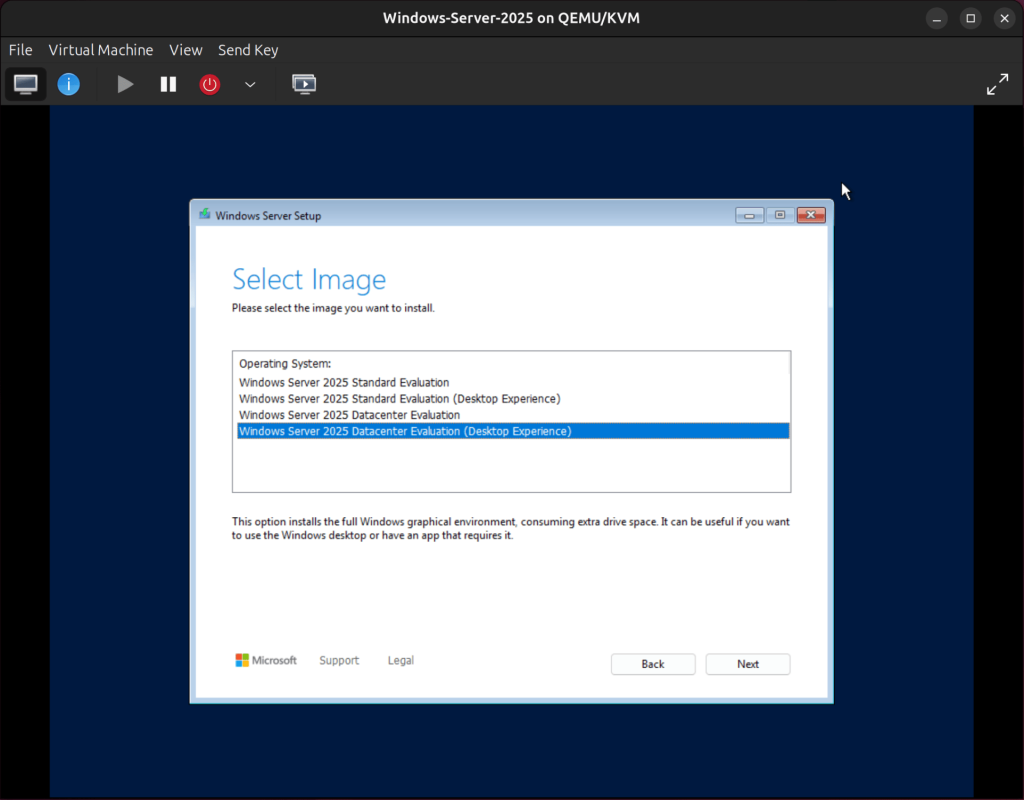
Next, choose the version you want to install. For this demo, we will install Windows Server 2025 Datacenter Desktop Experience.
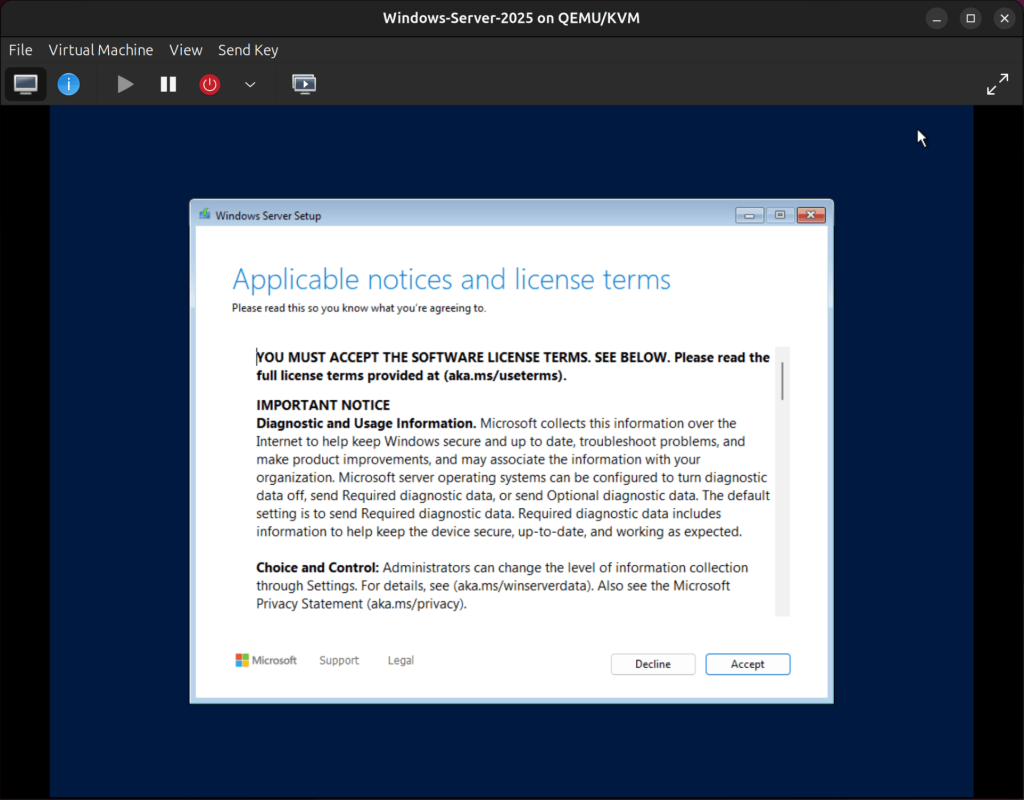
Agree to the terms and conditions to proceed.
Next, we need to load the VirtIO disk driver. VirtIO drivers are not recognized by Windows and we needs to be installed manually.
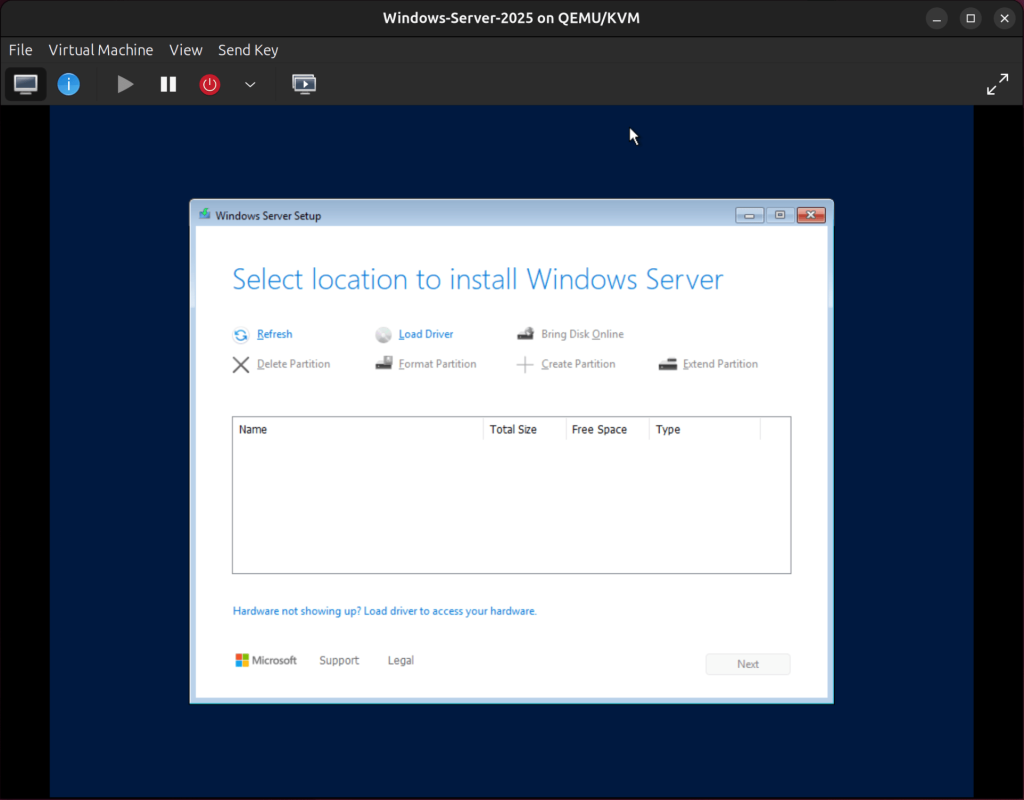
Click on Load Driver and then click Browse in the window that appears.
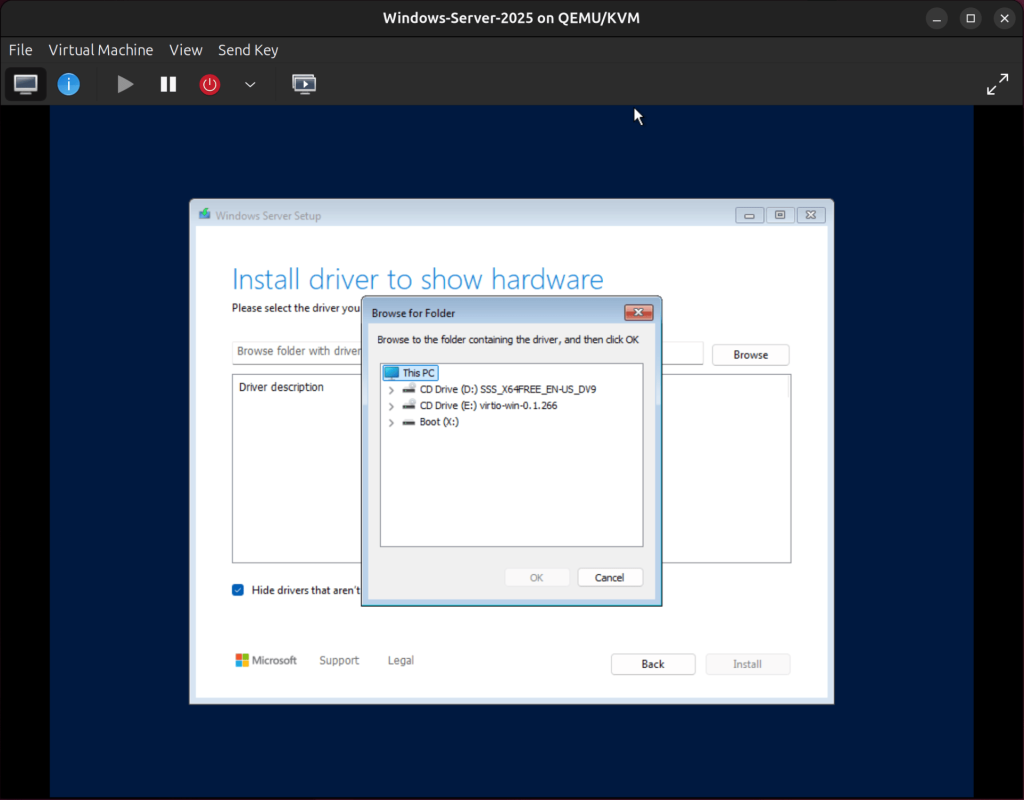
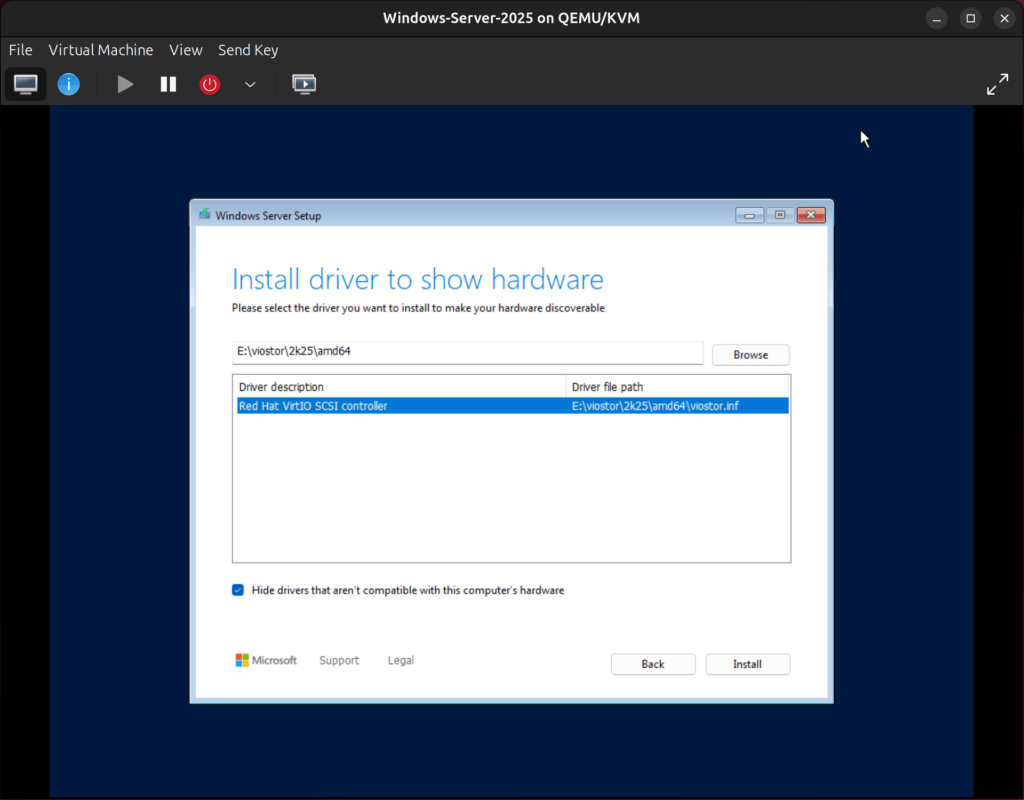
Then choose your CD-ROM(the CD Drive labeled with virtio), then look for CD Drive (E:)→viostor→2k25→amd64, then click on OK.

Then select the RedHat VirtIO SCSI Controller and click Install.
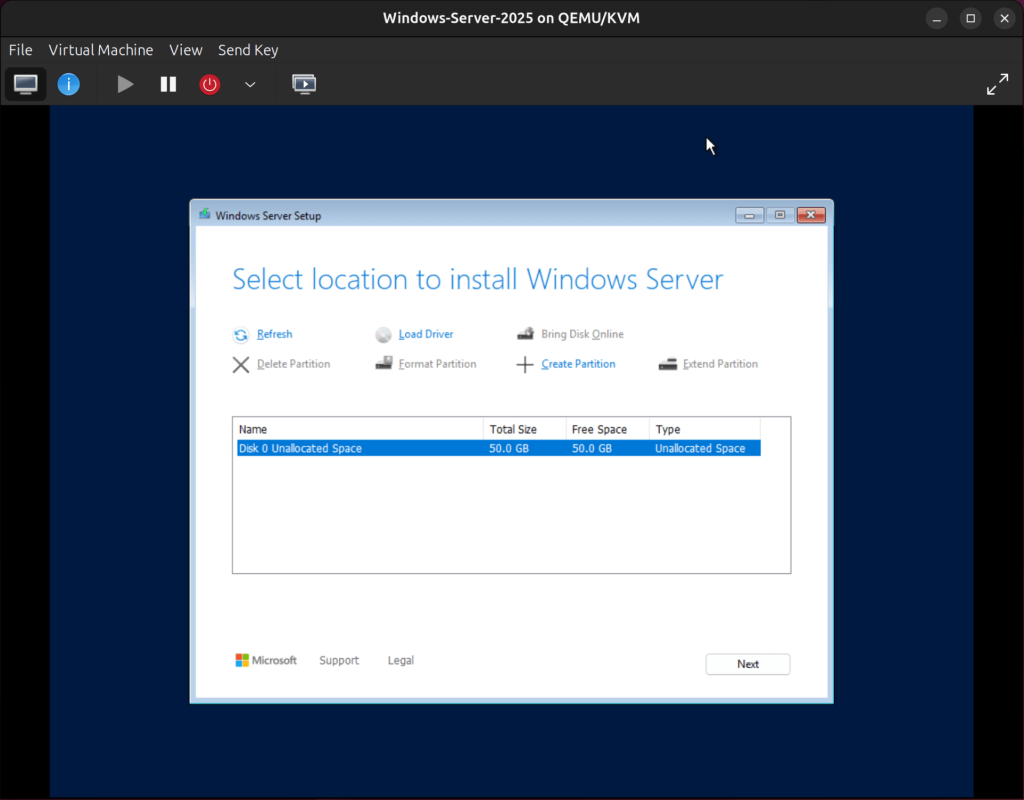
Now the VirtIO disk will be displayed and ready for use.
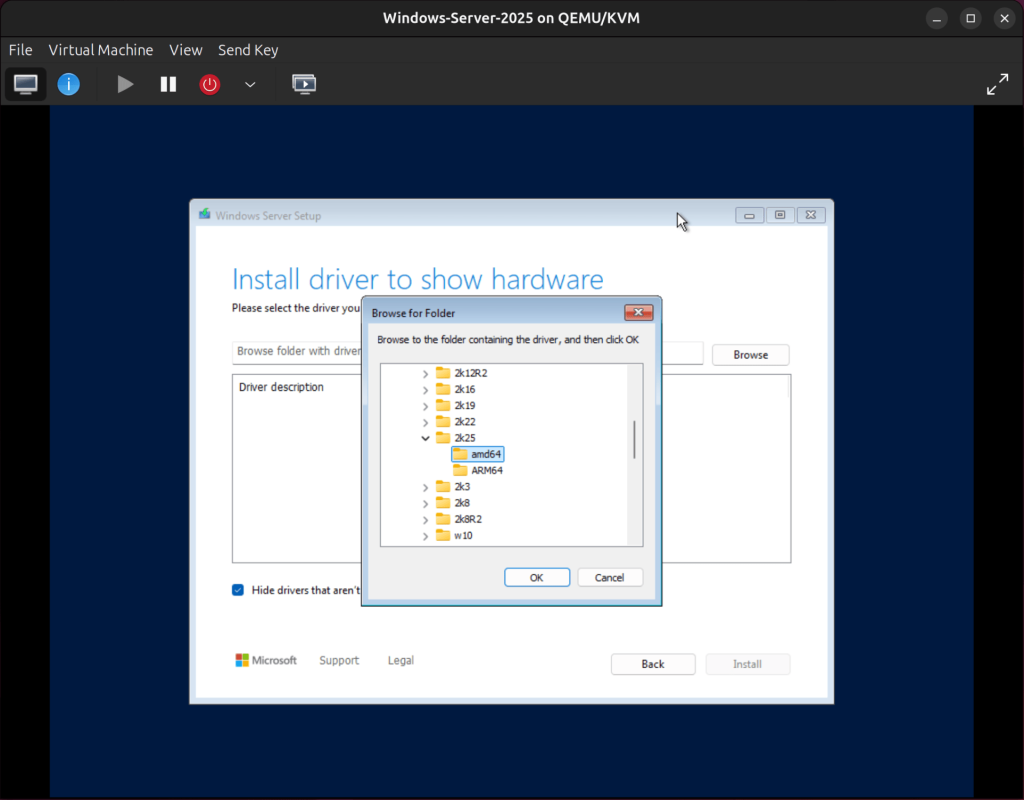
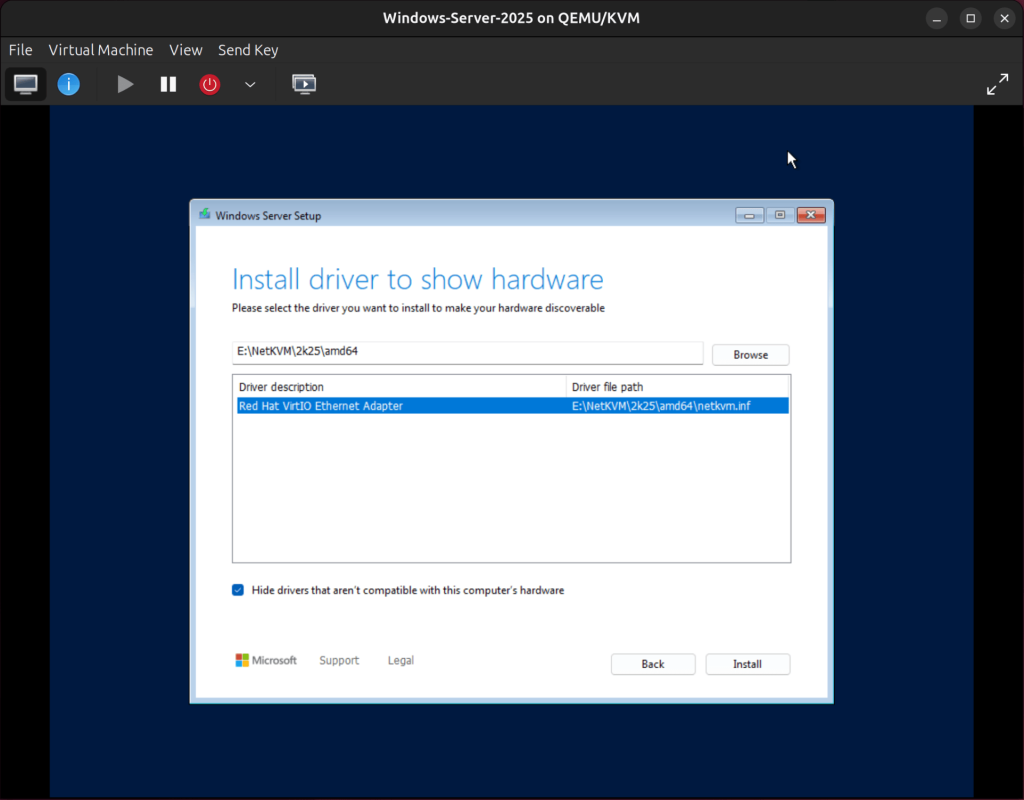
Don’t click Next just yet, we also need to load the VirtIO Network driver. Click on Load Driver then Browse. Choose the VirtIO CD-ROM then go to CD Drive (E:)→NetKVM→2k25→amd64, then click on OK.
Select the displayed driver i.e Red Hat VirtIO Ethernet Adapter driver and click on Install.
Now that both the VirtIO disk and Network drivers have been installed, we can proceed with the installation. Click Next to proceed.
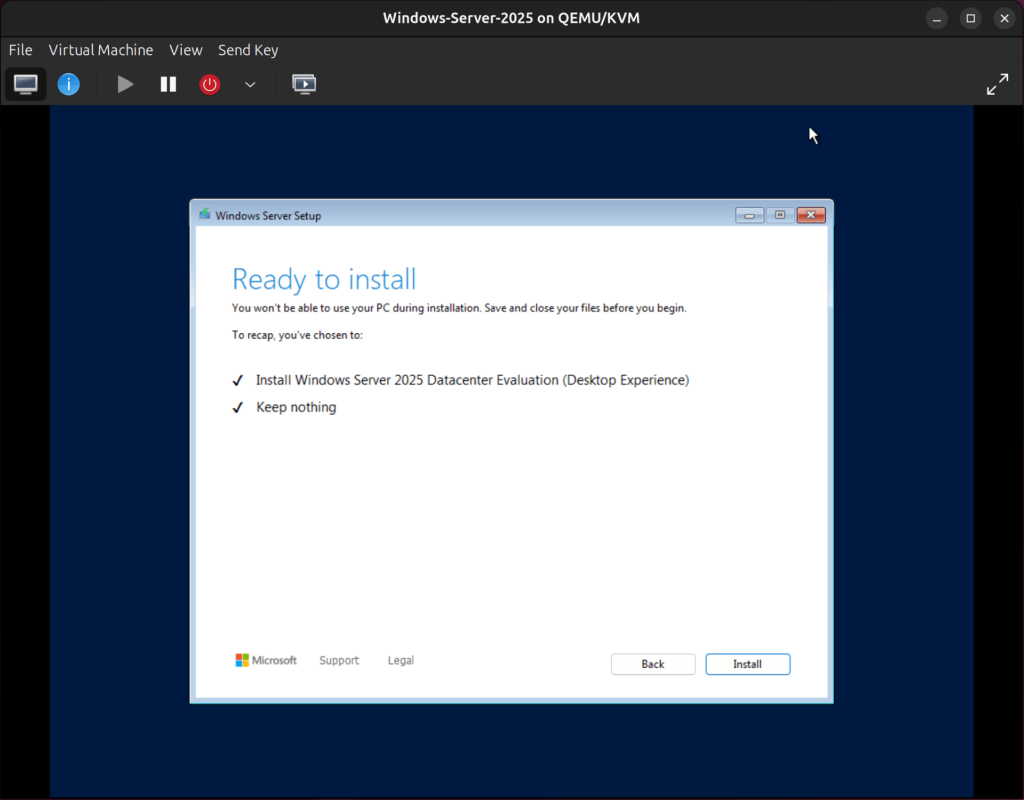
Now click Install to begin installing Windows Server 2025 on your VM.
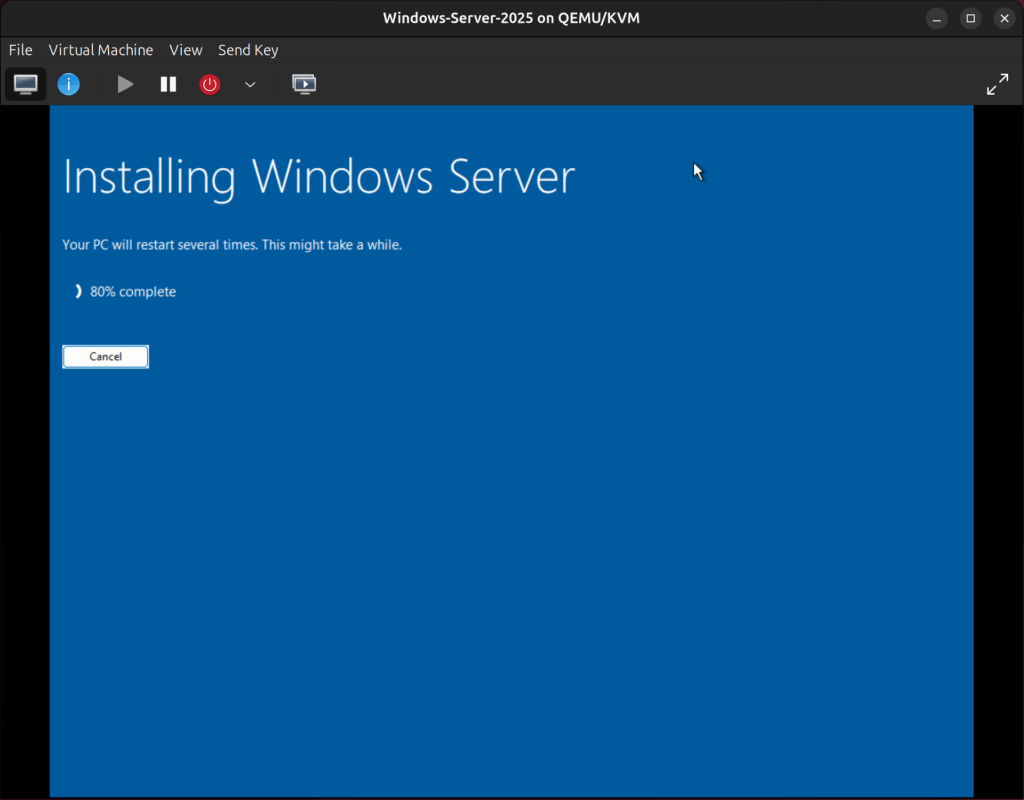
Your VM will reboot and start installing.
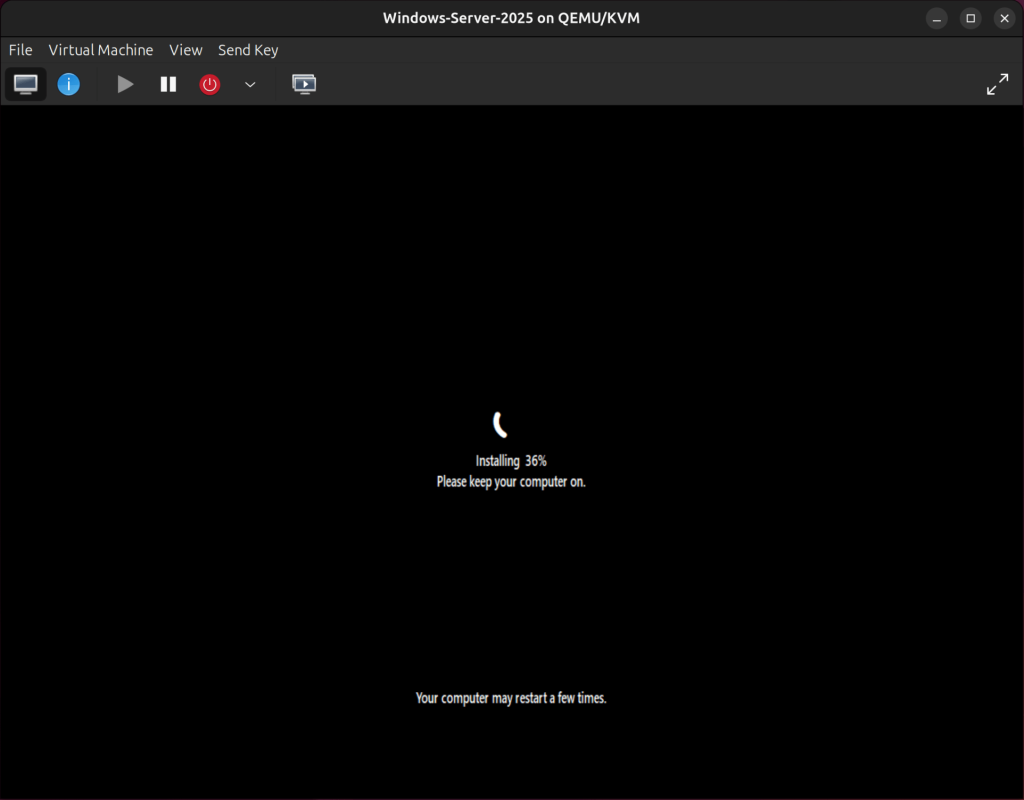
When the Installation is done, create an Admin account and proceed to login to your Windows Server VM.

Install VirtIO-Win Drivers
For the first post-instalation step, we need to install the VirtIO-win drivers. These drivers permit your Windows VM to communicate efficiently with the KVM/QEMU virtualized hardware. The Virtio-win drivers provide improved disk I/O, faster networking, and memory ballooning.
Follow these steps to instlall the VirtIO-win drivers:
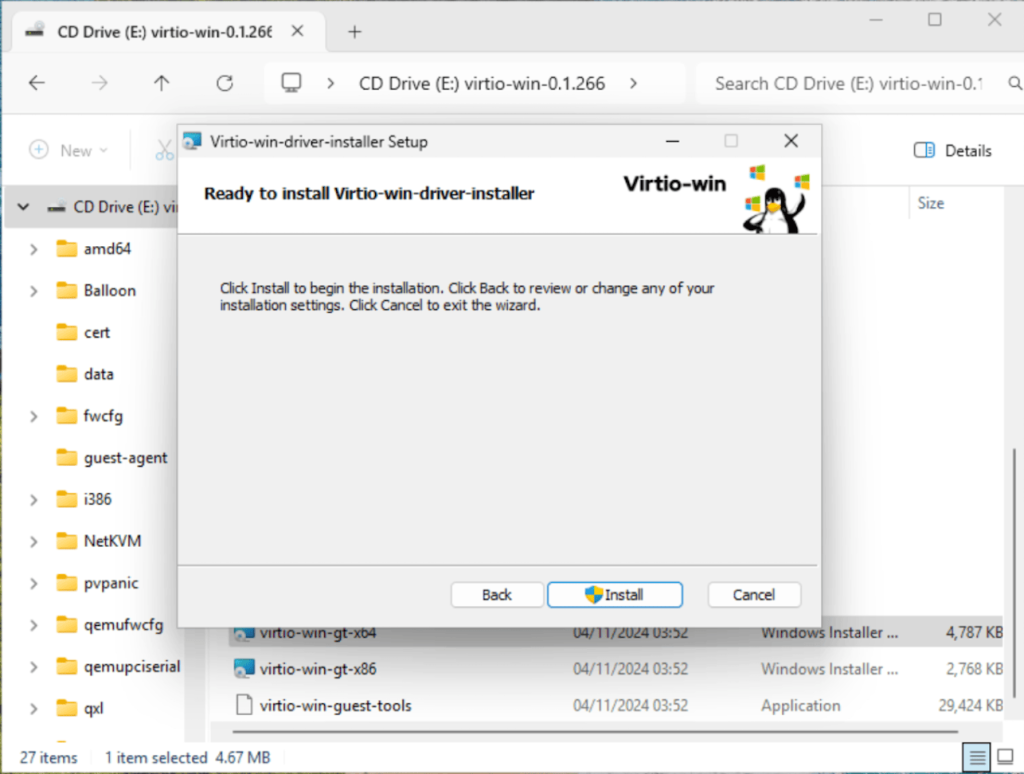
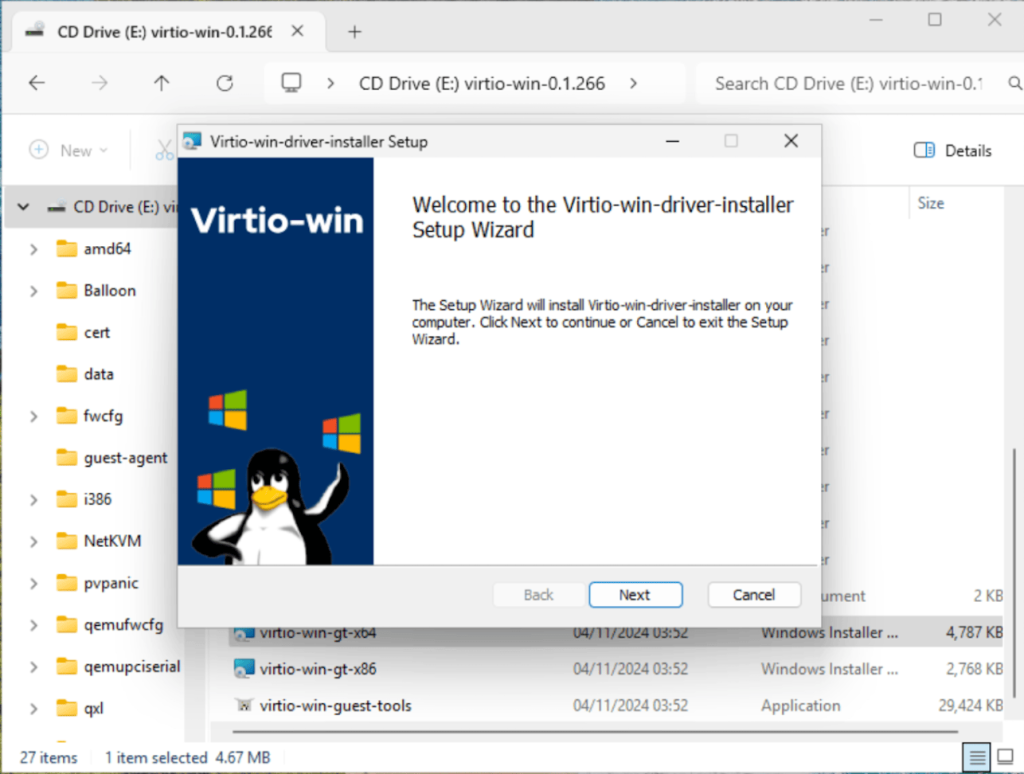
Navigate to the VirtIO CD-ROM and locate the installer package. Then double-click on the package and click Next in the Custom Setup window. Read the License agreement and tick the checkbox to agree then click Install to install the drivers.
Wait for the installation to complete.
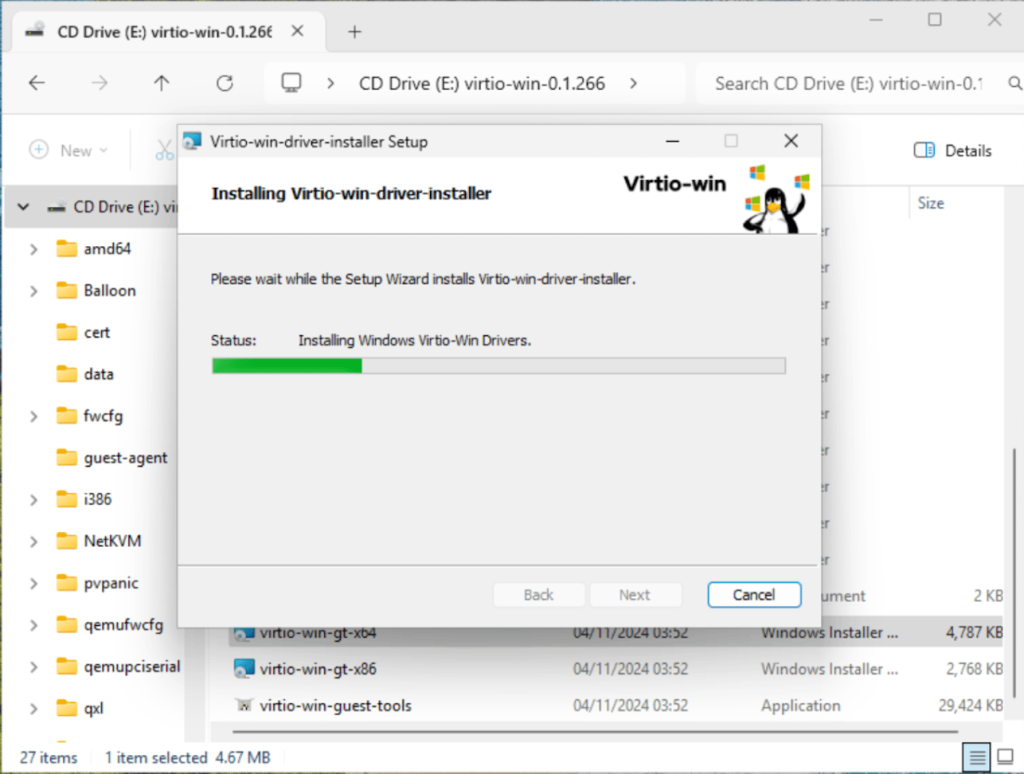
You have successfully installed the Virtio-WIn Drivers on Windows Server.
Install Qemu-Guest-Agent
Now we need to install the Qemu guest agent using the Qemu guest tools application. This Qemu guest agent enables more effective interaction between the host and the guest, which enables the possibility of better features such as automatic shutdown and resource management.
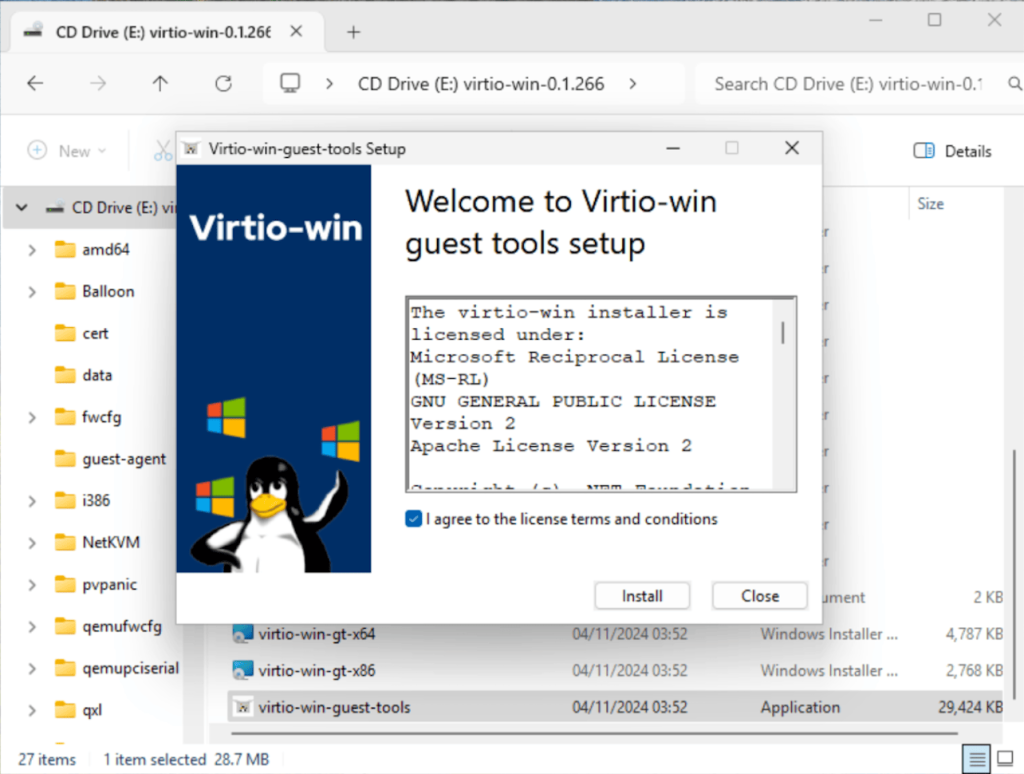
Locate the application in the VirtIO CD-ROM then run the virtio-win-guest-tools application.
Click Next, then agree to the License terms and click the Install button.
Wait for the installation to complete then close the wizard.

That covers just about everything on Installing Windows Server 2025 on KVM using Virtual Machine Manager.


