This guide walks you through installing NixOS on a Proxmox virtual machine (VM) booted from the NixOS ISO. It assumes you’re starting with a fresh virtual disk in the VM, as shown in your lsblk output. We’ll use GPT partitioning for UEFI boot, which is required for Proxmox with OVMF BIOS.
Prerequisites:
- Download the latest NixOS ISO (e.g., from nixos.org) and attach it to your Proxmox VM as a CD/DVD drive.
- In Proxmox, create a VM – for example 2GB RAM, 1 CPU core, and a 32GB SCSI disk. Initially, set BIOS to SeaBIOS (we’ll switch to OVMF later).
- Boot the VM from the ISO and log in as root (no password needed).
Step 1: Verify Disk Layout
Run this to confirm your disk is empty and the ISO is mounted:
[root@nixos:~]# lsblk
NAME  MAJ:MIN RM  SIZE RO TYPE MOUNTPOINTS
loop0   7:0    0  1.5G  1 loop /nix/.ro-store
sda     8:0    0   32G  0 disk
sr0    11:0    1  1.6G  0 rom  /iso
Step 2: Partition the Disk (GPT for UEFI)
We’ll create:
- Partition 1: 512MiB EFI System Partition (ESP) for boot (FAT32).
- Partition 2: Remaining space for root filesystem (ext4, labeled
nixos).
Use parted for GPT labeling and partitioning. Run these commands as root:
DISK=/dev/sda

sudo parted $DISK -- mklabel gpt
sudo parted $DISK -- mkpart ESP fat32 1MiB 512MiB
sudo parted $DISK -- set 1 esp on
sudo parted $DISK -- mkpart primary 512MiB 100%
Expected output (warnings are normal):
Information: You may need to update /etc/fstab.Verify partitions:
lsblkNow you should see:
sda      8:0    0   32G  0 disk
├─sda1   8:1    0  511M  0 part
└─sda2   8:2    0 31.5G  0 part
Step 3: Format the Partitions
Format the ESP as FAT32 (label: boot) and root as ext4 (label: nixos):
sudo mkfs.fat -F 32 -n boot /dev/sda1
sudo mkfs.ext4 -L nixos /dev/sda2
Expected output:
mkfs.fat 4.2 (2021-01-31)
mkfs.fat: Warning: lowercase labels might not work properly on some systems

mke2fs 1.47.2 (1-Jan-2025)
Discarding device blocks: done
Creating filesystem with 8257280 4k blocks and 2064384 inodes
Filesystem UUID: 12e9e807-bdbb-4f23-89d0-5d309fd362f0
Superblock backups stored on blocks:
        32768, 98304, 163840, 229376, 294912, 819200, 884736, 1605632, 2654208,
        4096000, 7962624

Allocating group tables: done
Writing inode tables: done
Creating journal (32768 blocks): done
Writing superblocks and filesystem accounting information: done
Step 4: Mount the Partitions
Mount the root filesystem and create/mount the boot partition:
sudo mount /dev/disk/by-label/nixos /mnt
sudo mkdir -p /mnt/boot
sudo mount /dev/disk/by-label/boot /mnt/boot
Verify mounts:
lsblkYou should see /mnt on sda2 and /mnt/boot on sda1.
Step 5: Generate Initial Configuration
Scan hardware and generate base config files:
sudo nixos-generate-config --root /mntExpected output:
writing /mnt/etc/nixos/hardware-configuration.nix...
writing /mnt/etc/nixos/configuration.nix...
For more hardware-specific settings, see https://github.com/NixOS/nixos-hardware.
Step 6: Edit the Configuration (Recommended)
Edit /mnt/etc/nixos/configuration.nix to customize your setup. Use nano (or vim):
sudo nano /mnt/etc/nixos/configuration.nixHere’s a complete example config (replace placeholders like hostname, timezone, and SSH key as needed). This enables GRUB for UEFI (removable mode for VMs), NetworkManager, a user account, SSH, and basic packages:
{ config, lib, pkgs, ... }:

{
  imports = [
    # Include the results of the hardware scan.
    ./hardware-configuration.nix
  ];

  # Boot loader configuration for VMs without EFI variable support
  boot.loader.grub = {
    enable = true;
    device = "nodev";
    efiSupport = true;
    efiInstallAsRemovable = true;
  };
  boot.loader.efi.canTouchEfiVariables = false;  # For VMs without EFI vars (Proxmox default)

  networking.hostName = "nixos";  # Change to your preferred hostname
  networking.networkmanager.enable = true;  # Enables WiFi/Ethernet management

  # Set timezone
  time.timeZone = "Africa/Nairobi";  # Change as needed

  users.users.jkmutai = {  # Replace with your username
    isNormalUser = true;
    initialPassword = "temporarypassword";  # Change on first login!
    extraGroups = [ "wheel" "networkmanager" ]; # Enable sudo and network control
    openssh.authorizedKeys.keys = [
      "ssh-ed25519 AAAAC3NzaC1lZDI1NTE5AADBAIAsll7S1S9sqmeExwJeOJMzD5pEMvgfsYvJjxhFdHS/j"
    ];
    packages = with pkgs; [
      tree
      tmux
      htop
    ];
  };

  services.openssh = {
    enable = true;
    settings = {
      PermitRootLogin = "yes";  # For initial setup; disable later for security
      PasswordAuthentication = true;
    };
  };

  # Enable a desktop environment (optional, e.g., GNOME)
  # services.xserver.enable = true;
  # services.xserver.desktopManager.gnome.enable = true;
  # services.xserver.displayManager.gdm.enable = true;
  # environment.systemPackages = with pkgs; [ firefox ];  # Add apps

  system.stateVersion = "25.05";  # Match your NixOS version
}
Tips:
- For hashed passwords (more secure): Run
mkpasswd -m sha-512on another NixOS system, then setinitialHashedPassword = "...";instead ofinitialPassword. - Print current config (excluding comments/empty lines) to verify:
grep -v '^\s*#' /mnt/etc/nixos/configuration.nix | grep -v '^$'Step 7: Install NixOS
Run the installer. It will build derivations, install packages, and prompt for the root password:
sudo nixos-installExpected output (abridged):
copying channel...
building the configuration in /mnt/etc/nixos/configuration.nix...
these 252 derivations will be built:
  /nix/store/047wnsgg5rglpg2zrgsw0dwhpjly1isn-groupmems.pam.drv
  ... (many more)
...
installing the boot loader...
setting up /etc...
updating GRUB 2 menu...
installing the GRUB 2 boot loader into /boot...
Installing for x86_64-efi platform.
Installation finished. No error reported.
setting up /etc...
setting root password...
New password:
Retype new password:
passwd: password updated successfully
installation finished!
Step 8: Configure Proxmox for UEFI Boot
Before starting:
- Shut down the VM in Proxmox.
- In the Proxmox web UI:
- Select your VM > Hardware tab.
- Edit “BIOS” and change from SeaBIOS to OVMF (UEFI).
- Add an “EFI Disk” if not present (under Hardware > Add > EFI Disk, use default settings).
Step 9: Start VM and Post-Install Setup
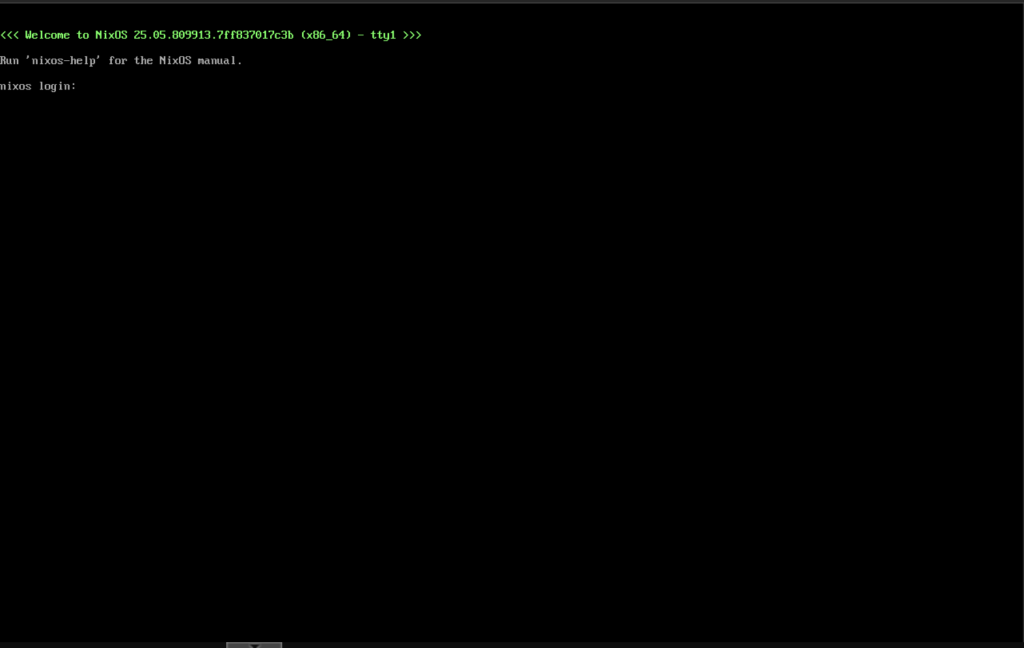
Boot your NixOS VM from Proxmox UI or CLI
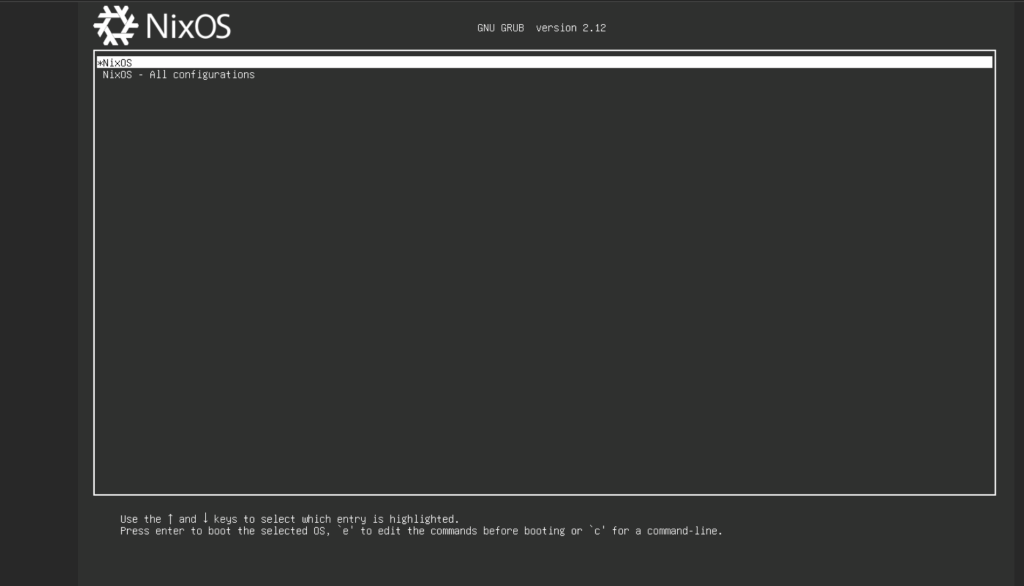
- The VM will boot into NixOS via GRUB (UEFI).
- Log in as
rootwith the password you set.
- Change the user’s password (if using
initialPassword):
passwd cloudspinx- Test SSH access (replace IP with your VM’s IP, e.g., from
ip a):
ssh cloudspinx@192.168.1.193Expected SSH output:
Warning: Permanently added '192.168.1.193' (ED25519) to the list of known hosts.

[cloudspinx@nixos:~]$
Troubleshooting
- Boot failure: Ensure OVMF is set and EFI Disk is added in Proxmox. Re-run
nixos-installif needed. - No network: Enable NetworkManager in config and reboot.
- Disk labels not found: Use UUIDs from
blkidinfstabor config. - More customizations: See NixOS Manual.
Your NixOS installation is now complete! For production, disable root SSH login and use key-based auth only.