

AlmaLinux is an open-source, community-driven, and cost-free distribution of the Linux operating system that is compatible with RHEL (Red Hat Enterprise Linux) at the binary level. It is an alternative to CentOS, which was abandoned in favor of CentOS Stream. AlmaLinux will provide enterprise-level stability and performance in on-prem and in the cloud, making it a good fit for solo development and corporate adoption as well.
AlmaLinux has gained popularity among developers as well as companies looking for a stable open-source Linux distribution with the change of the CentOS scenario. New functionalities and improvements in AlmaLinux 10 enhance the user experience, the performance of the system, and security. It offers seamless migration from CentOS, RHEL, or any other distribution of Linux.
In this tutorial, we are going to guide you through the process of installing AlmaLinux 10 and discuss some of its wonderful features that make the distribution an ideal workstation or server option.
🧠 Don’t just learn KVM – master it with the best-selling eBook trusted by thousands.
New Features in AlmaLinux 10
Before we proceed with the installation, here are some new features that come with AlmaLinux 10 release:
- RHEL Compatibility: AlmaLinux 10, being a variant of the recently released RHEL 10, is fully compatible with it, just as AlmaLinux 9 is to RHEL 9. We could say it is perfect for users who rely on RHEL but want a different environment from the one that RHEL has to offer. It also provides a smooth transition from RHEL without dealing with compatibility issues.
- Frame Pointers: For software developers, frame pointers are critical to diagnosing and optimizing their applications. The feature allows for optimization of application performance through real-time profiling done system-wide. Well, this feature comes enabled by default on AlmaLinux 10.
- SELinux Policy Updates: Critical SELinux policy updates have been brought into AlmaLinux 10, which provides more control over the system security and limits the vulnerabilties of the system.
- Secure Boot for ARM Platforms: AlmaLinux 10 offers support for secure boot for both Intel/AMD and ARM platforms. With the rise and popularity for virtualized environemnt, secure boot has pretty much become a requirement for bare metal devices, and luckily AlmaLinux 10 is very much capable of that.
- Sequioa PGP Tools: Sequoia provides encryption, verification, and authentication tools to users and developers for better security. These tools are integrated in AlmaLinux 10 to ensure data integrity and confidentiality.
- x86-64-v2 Architecture Support: AlmaLinux 10 extends the support for x86-64-v2 support to cater for users that are running much older hardware to receive updates for anotehr 10 years. This decision is because RHEL 10 only supports x86-64-v3 architecture, which pretty much leaves out a good number of versions that represent specific CPU feature sets.
- KVM Support for IBM POWER: KVM support for IBM POWER architecture has been unavailable since version 9.0. With consideration for users running IBM POWER architectures, AlmaLinux has decide to include a tech-preview of KVM virtualization.
- EPEL Support for x86-64-v2 Architecture: Typically, EPEL packages are built following RHEL’s builds and so they are exclusively designed for x86-64-v3 architectures but, AlmaLinux 10 also builds EPEL packages for both x86-64-v3 and x86-64-v2 architectures.
- SPICE Support: After the discontinued supoport for SPICE (Simple Protocol for Independent Computing Environments) since RHEL 9.0, it has now been fully enabled starting with AlmaLinux 10.
Prerequisites for Installing AlmaLinux 10
- Hardware Requirements:
- A 64-bit processor (x86_64 architecture)
- At least 1 GB of RAM (2 GB or more recommended)
- Minimum of 10 GB of disk space (20 GB or more recommended)
- Software Requirements:
- A bootable USB drive or a Virtual Machine (e.g., Proxmox, VMware, VirtualBox, KVM)
- A stable internet connection (optional, but recommended)
Installing AlmaLinux 10: Step-by-Step
Let’s get started with the installation steps:
Step 1: Download the AlmaLinux 10
To download the various architecture ISO files, head over to the AlmaLinux Website. Choose between the minimal installation, the DVD ISO, or the boot ISO depending on your needs.

Alternatively, run either one of the following commands to download the ISO file:
## The DVD ISO
wget https://repo.almalinux.org/almalinux/10/isos/x86_64/AlmaLinux-10.0-x86_64-dvd.iso

## The Boot ISO
wget https://repo.almalinux.org/almalinux/10/isos/x86_64/AlmaLinux-10.0-x86_64-boot.iso

## The Minimal ISO
wget https://repo.almalinux.org/almalinux/10/isos/x86_64/AlmaLinux-10.0-x86_64-minimal.iso
Step 2: Create a Bootable USB Drive | Create a VM
In this step, we cover how we can create either a bootable installation media or create a virtual machine which will be used to install the AlmaLinux 10 operating system.
Create a Bootable Drive
This step is only necessary if you are installing AlmaLinux 10 on a physical device rather than a virtualized environment. Today, tools such as Rufus and Balena Etcher make the process very easy and simple.
To create a bootable USB, you can use the following tools:
- Windows users: Rufus
- Linux & macOS users: Balena Etcher
dd– Linux CLI tool
All of the mentioned tools are excellent choices and are pretty much straightforward when it comes to using them. That being said, let’s briefly have a look at how we can create a bootable USB using the dd CLI tool.
First, connect the USB device and ensure that it is unmounted. Use lsblk to identify your USB drive.
lsblk
#OR
sudo fdisk -l
Then, unmount the drive, and format it:
# unmount
umount /dev/sdb*
# format the drive
sudo mkfs.ext4 /dev/sdb1
Now you are ready to copy the ISO file to the usb drive using the dd command. Navigate to the directory where you have downloaded the ISO. Then use the command below to create your bootable drive:
sudo dd if=AlmaLinux-10.0-x86_64-dvd.iso of=/dev/sdb status="progress"Replace ‘AlmaLinux-10.0-x86_64-dvd.iso‘ with the actual name of the ISO image. The process will take a significant amount of time to complete. Typically, it takes 15–20 minutes per gigabyte using a USB 2.0.
Create a Virtual Machine
If you are installing AlmaLinux 10 in a virtualized environment such as Proxmox VE, VirtualBox, VMware, or KVM, you need to set up a VM. Setting up a VM in any of these environments is pretty much straightforward.
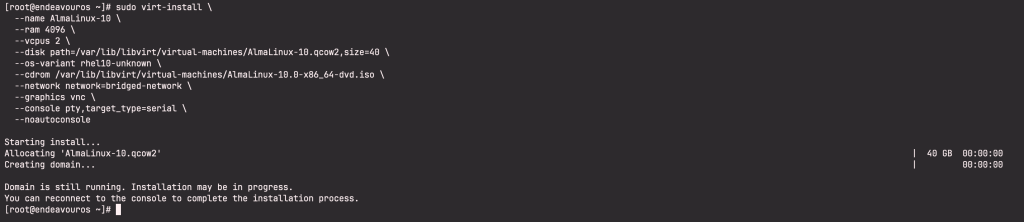
For instance, to setup a VM on KVM, you’d execute such a command on the KVM host:
sudo virt-install \
  --name AlmaLinux-10 \
  --ram 4096 \
  --vcpus 2 \
  --disk path=/var/lib/libvirt/virtual-machines/AlmaLinux-10.qcow2,size=40 \
  --os-variant rhel10-unknown \
  --cdrom /var/lib/libvirt/virtual-machines/AlmaLinux-10.0-x86_64-dvd.iso \
  --network network=bridged-network \
  --graphics vnc \
  --console pty,target_type=serial \
  --noautoconsole
Sample Output:
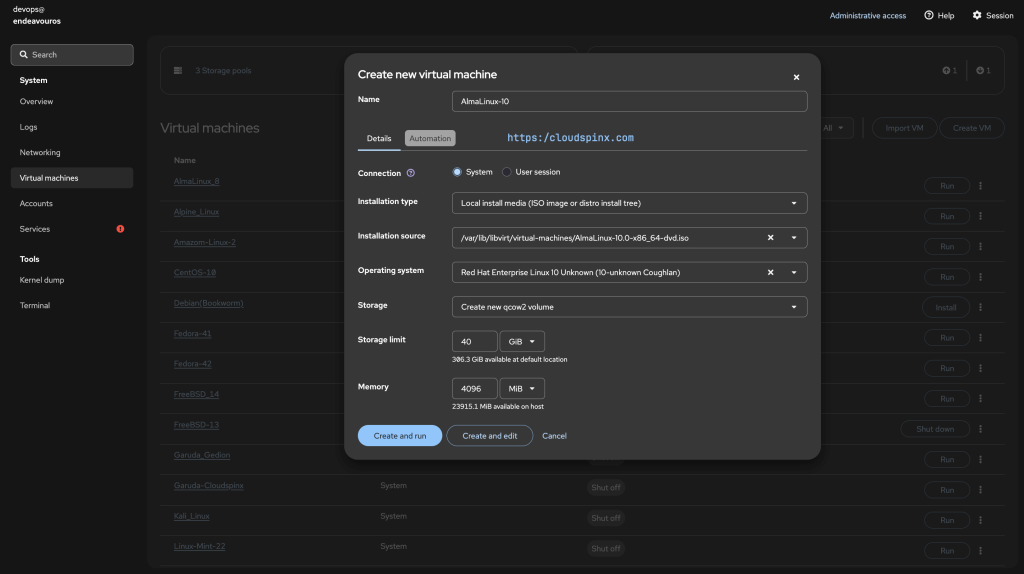
Or, via a KVM GUI such as Cockpit:
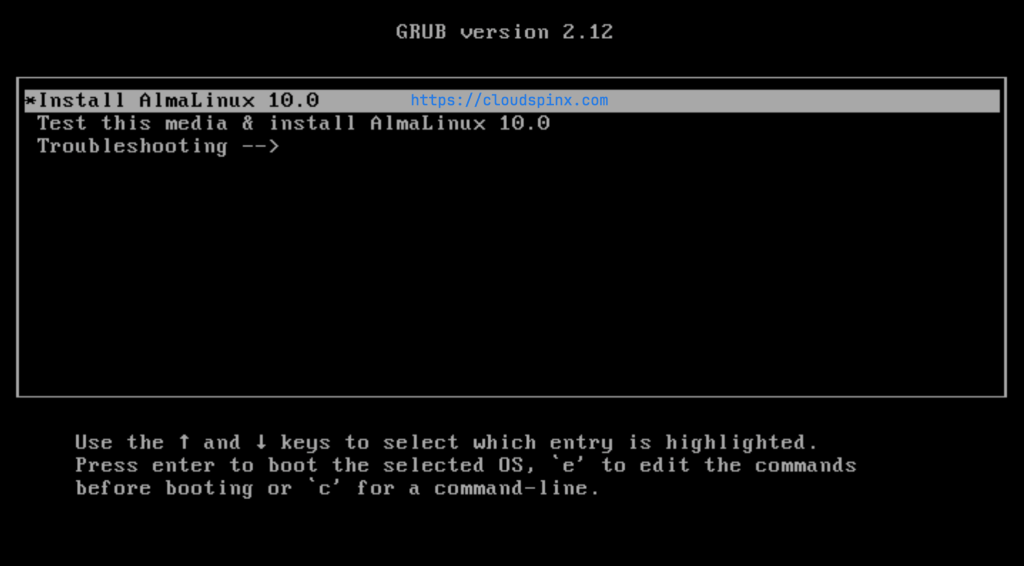
Step 3: Start the Installation
Boot up your VM or physical device (from the bootable USB):
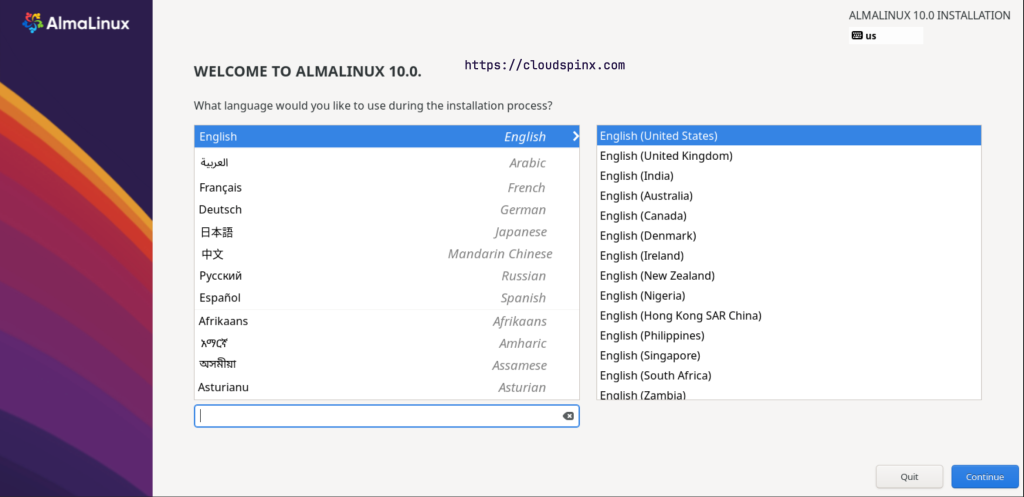
When the installer starts, select the language you would like to use during the installation, then click continue:
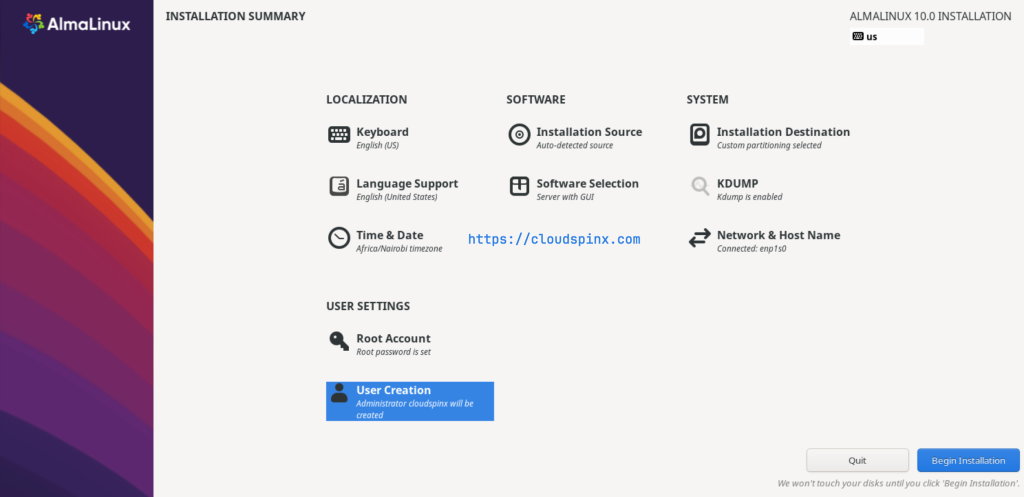
The next screen is the Installation Summary. Here, every items marked with an exclamation mark must be completed before you can proceed with the installation:

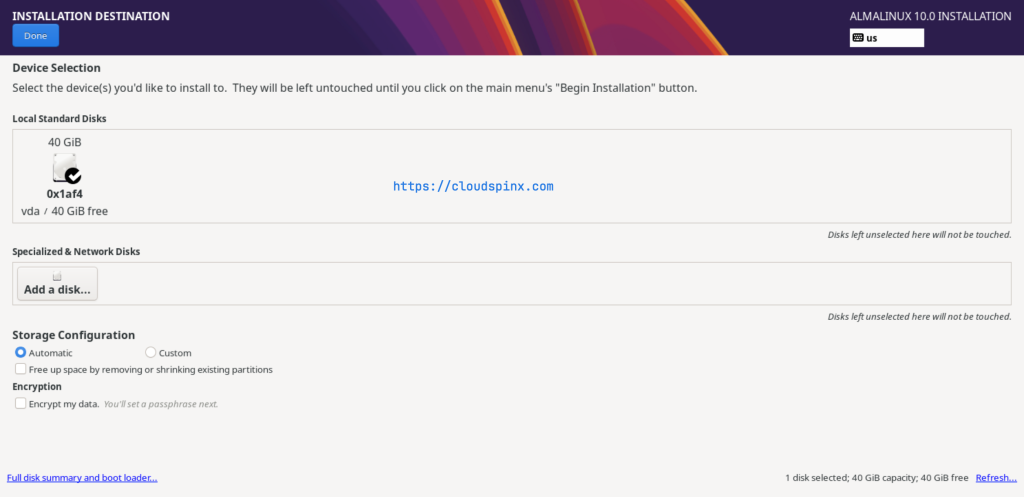
You can start with any section, it’s up to you and it has no order. Let’s start with the Installation Destination section. Click on it to proceed. Once open, you can configure the system storage and data encryption.
Automatic Disk Partitioning
For beginners, it’s best to choose Automatic Partitioning unless you have specific needs.
Manual Disk Partitioning
For advanced users, you can opt for manual partitioning and customize the disk layout according to your requirements. Select Custom, then click Done. This will open the disk partitioning wizard and you can select the partitioning scheme you prefer.

Use the plus(+) button to create new mount points and their desired capacity:
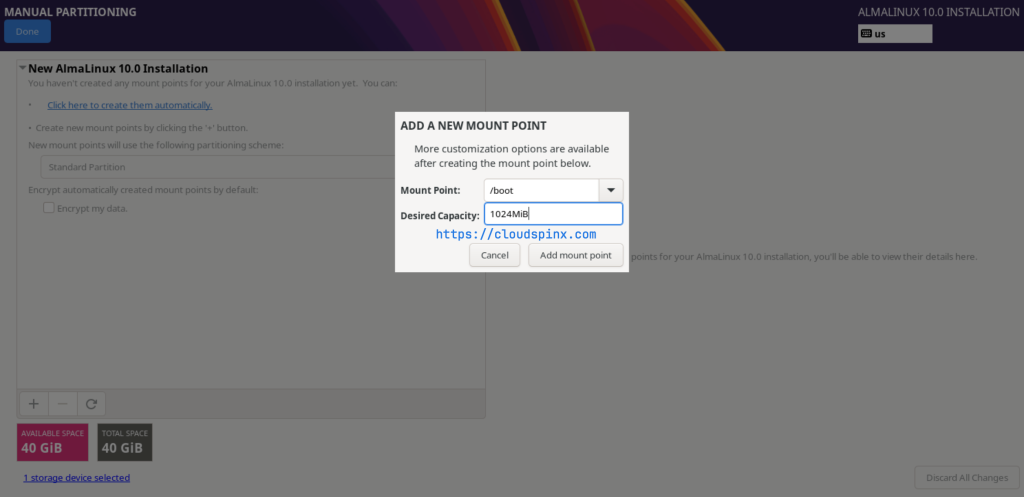
Ensure that you create a root partition(/) and a boot partition(/boot) and any other partition you need.

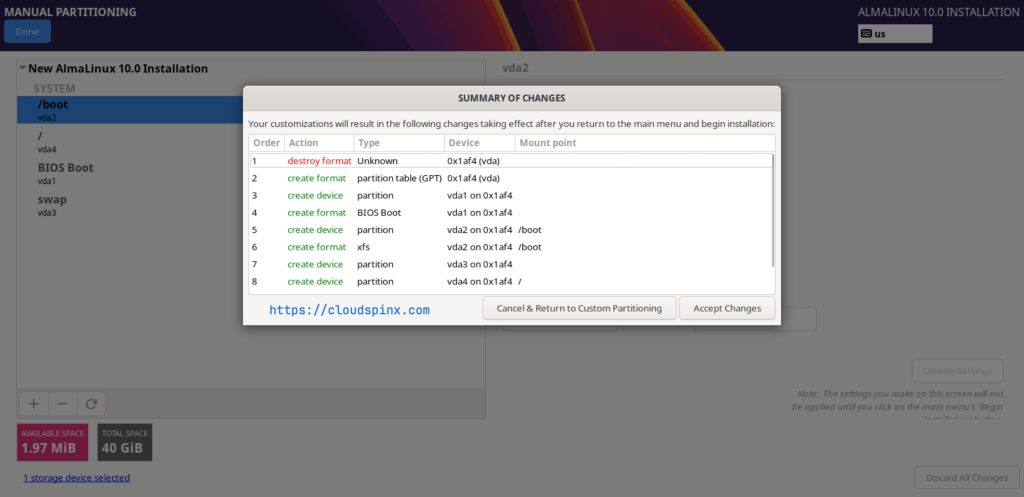
When you are satisfied with the disk partitioning, click Done to proceed and accept the changes to be made to the disk:
User Account Settings
Now, proceed to the USER SETTINGS section. This section is where you can configure the root account and the user account. You can start with either one of them.
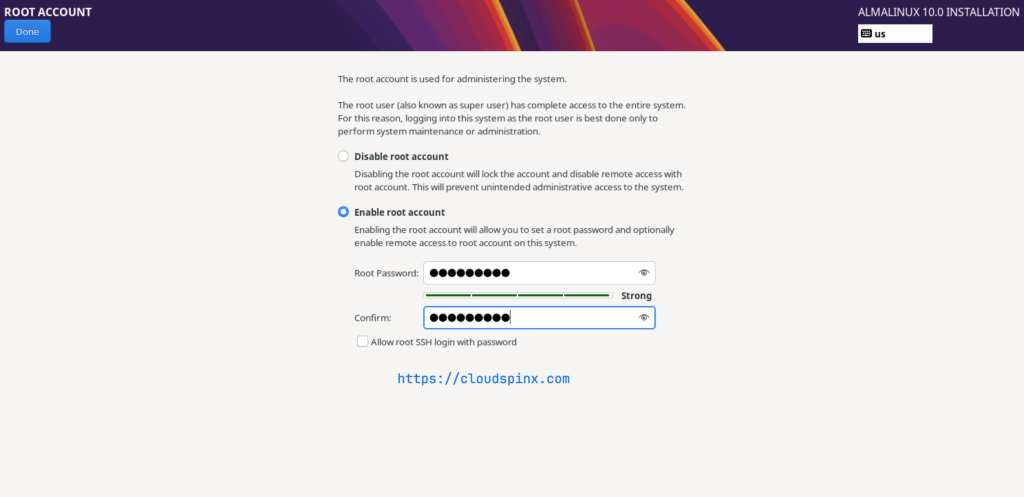
Root Account
By default, the root user account is disabled, enable it by checking the Enable root account option, and setting a password. If you want to allow root SSH Login with password, also check that option:
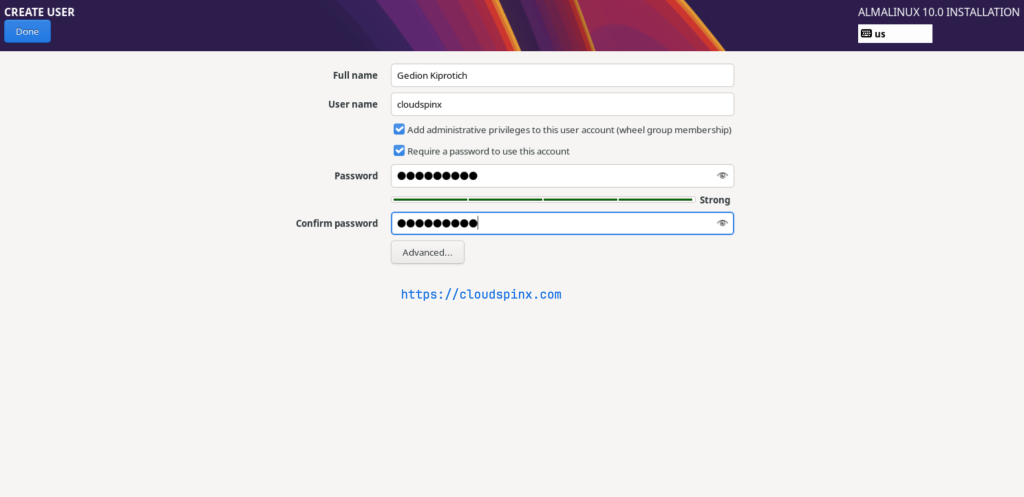
Non-root User Account Settings
Then proceed to set up a user account. Click Done when you are done configuring your user:
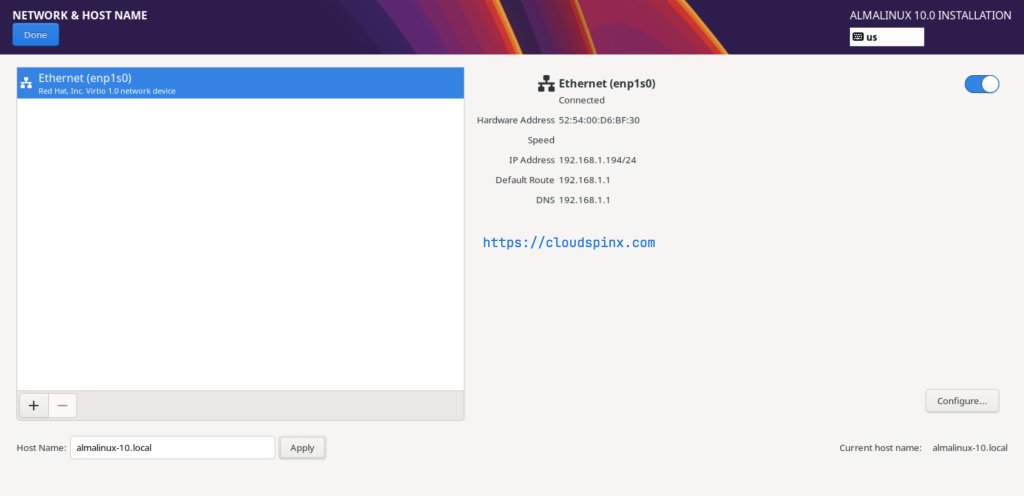
Network Settings
The installer should have already picked up an IP address from your DHCP server, but you can also manually configure the network settings for your system and set a static IP address:
You should now be able to begin the installation without any sections marked with an exclamation mark:
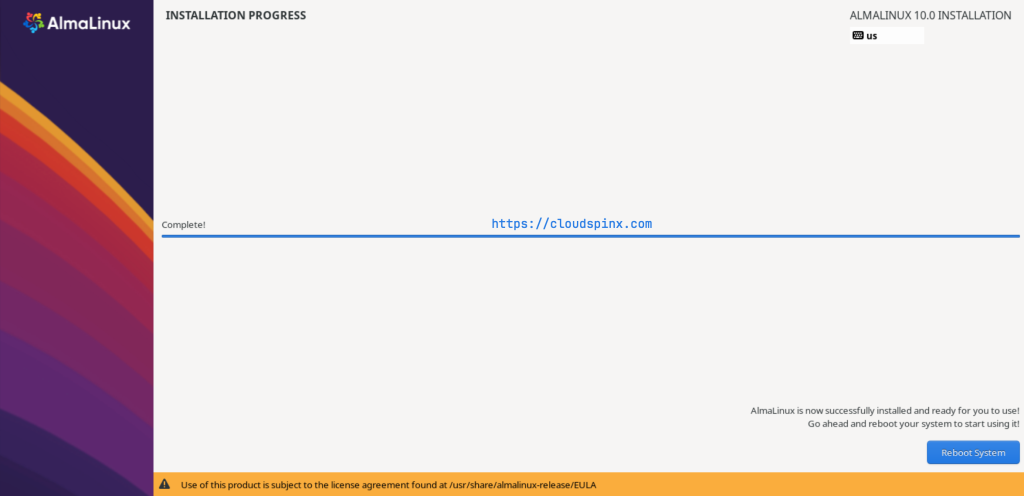
Now begin the installation and wait for it to complete:
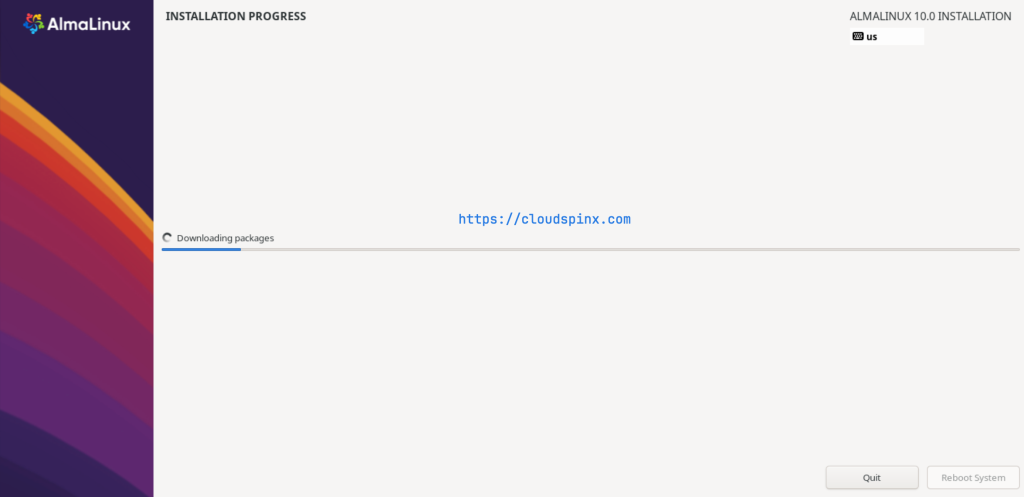
Reboot the system when the installation is completed:
Post-Installation Steps
After the reboot, be sure to remove the installation media to prevent system booting from it again. You wil then be presented with AlmaLinux 10’s login screen:

Login to the system with the user password you had set earlier. Welcome to AlmaLinux 10:

# Update the System
Run the following command to ensure that your system is up-to-date:
sudo dnf update# Enable EPEL repository
The EPEL repository provides additional software packages that are typically not found in the default AlmaLinux repositories. Run the command below to install epel-release:
sudo dnf install epel-releaseConclusion
AlmaLinux 10 is a secure, stable, and enterprise-grade Linux distribution. Its greater RHEL compatibility, added features, and sensible community-oriented philosophy make AlmaLinux 10 the perfect operating system for any user looking for a stable and dependable operating system to put on their workstations and servers.
Related articles:


