
AlmaLinux 10 debuts with an abundance of significant enhancements to cover a broad range of areas such as but not limited to security improvements, improved performance, and overall broad hardware support. If you are using AlmaLinux 9 right now and would like to maximize the use of the leading-edge features of this new release but would rather steer clear of the generally time-consuming endeavor of reinstalling your system from the ground up, then this detailed guide is going to give you well-crafted, step-by-step instructions to the suggested upgrade method you should undertake.
This upgrade is made possible by the Elevate Project, which is a project aimed at providing the ability to upgrade between major versions of the RHEL-based Linux distributions. This method has been used all over the world and has helped upgrade more than 500,000 devices since it was first announced by AlmaLinux back in 2021.
Prerequisites
- Full system backup
- Root or sudo access
- Stable network connection
- Enough disk space
- Current AlmaLinux 9 system fully updated
AlmaLinux 10 Upgrade Guide: Upgrade from AlmaLinux 9 Safely
It goes without saying that upgrading a production server is highly risky, and if you are going to be upgrading a production server, please ensure that you have full backups. We also highly recommend testing the upgrade first on a non-production environment first, before you perform it on your production server.
Step 1: Update Your AlmaLinux 9 Packages
For the upgrade to go smoothly, you need to ensure that your AlmaLinux 9 system is completely up-to-date. Run the commands below to update the packages:
sudo dnf update -y
sudo dnf clean all
sudo reboot
Verify you are running AlmaLinux 9:
cat /etc/os-releaseSample Output:
[cloudspinx@AlmaLinux-9 ~]$ cat /etc/os-release
NAME="AlmaLinux"
VERSION="9.6 (Sage Margay)"
ID="almalinux"
ID_LIKE="rhel centos fedora"
VERSION_ID="9.6"
PLATFORM_ID="platform:el9"
PRETTY_NAME="AlmaLinux 9.6 (Sage Margay)"
ANSI_COLOR="0;34"
LOGO="fedora-logo-icon"
CPE_NAME="cpe:/o:almalinux:almalinux:9::baseos"
HOME_URL="https://almalinux.org/"
DOCUMENTATION_URL="https://wiki.almalinux.org/"
BUG_REPORT_URL="https://bugs.almalinux.org/"

ALMALINUX_MANTISBT_PROJECT="AlmaLinux-9"
ALMALINUX_MANTISBT_PROJECT_VERSION="9.6"
REDHAT_SUPPORT_PRODUCT="AlmaLinux"
REDHAT_SUPPORT_PRODUCT_VERSION="9.6"
SUPPORT_END=2032-06-01
Step 2: Install the Leapp Upgrade Tool
The Elevate project uses the open-source LEAPP Project and a data library called leapp-data to automate most of the upgrade tasks. That being said, you need to install both these tools.
But before we can do that, you need to install ELevate NG version repo config for AlmaLinux 9:
sudo curl -o /etc/yum.repos.d/elevate-ng.repo https://repo.almalinux.org/elevate/testing/elevate-ng-el$(rpm -E %rhel).repoThen import the Elevate PGP Key:
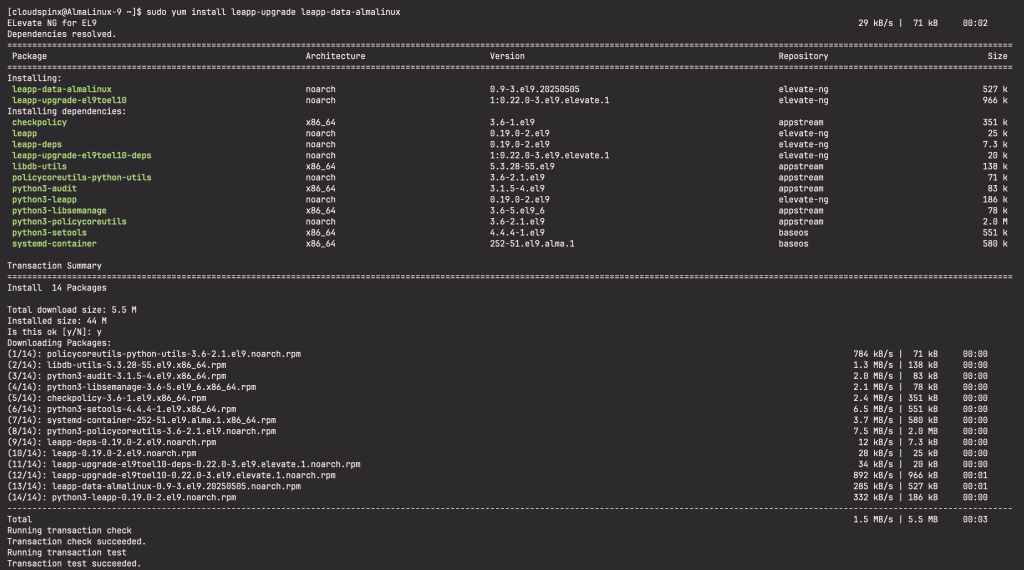
sudo rpm --import https://repo.almalinux.org/elevate/RPM-GPG-KEY-ELevateNow install leapp packages and upgrade data for AlmaLinux:
sudo yum install -y leapp-upgrade leapp-data-almalinuxSample Output:
Step 3: Perform preupgrade checks with Leapp
To identify any potential upgrade issue, you need to run a preupgrade check:
sudo leapp preupgradeLeapp will run an analysis of your system and generate a special /var/log/leapp/leapp-report.txt file containing all the possible problems and recommended solutions. This is just a system check phase and no packages will be upgraded.

In certain configurations, Leapp may generate a /var/log/leapp/answerfile with true/false questions. Leapp utility requires answers to all these questions in order to proceed with the upgrade.
Before you can proceed with the upgrade, review the leapp-report.txt file carefully and resolve the reported issues. You need to do this until there are no more inhibitors, then rerun the leappupgrade command to confirm.
sudo cat /var/log/leapp/leapp-report.txtStep 4: Perform the Upgrade
Once the pre-upgrade checks pass with no inhibitors, proceed with the upgrade:
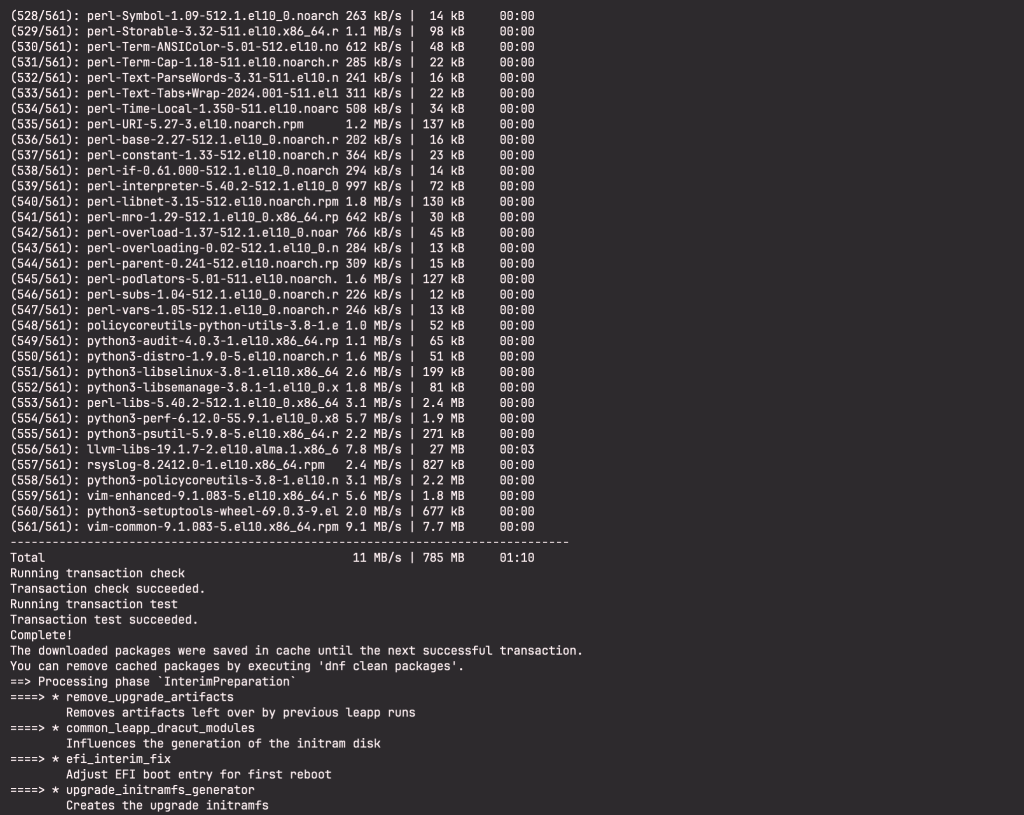
sudo leapp upgrade
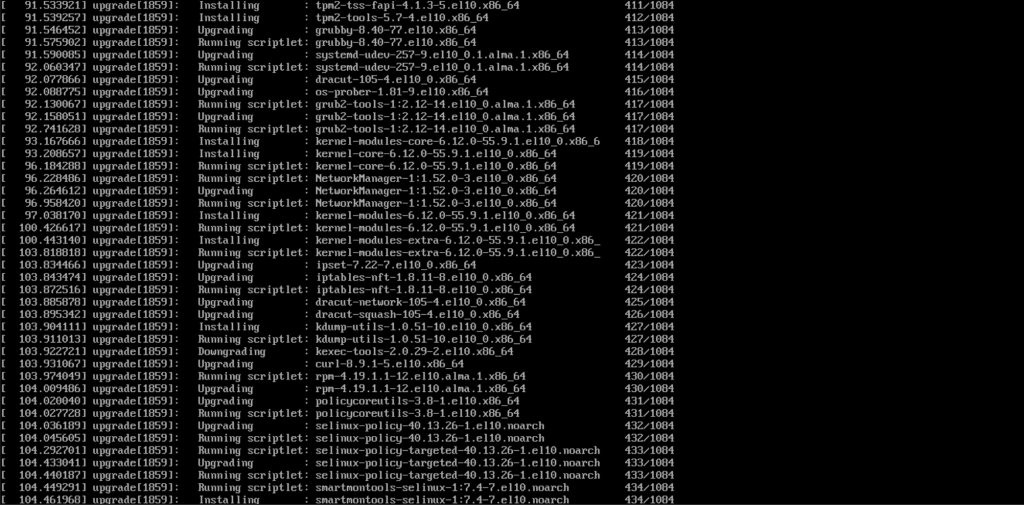
Wait for the packages to be downloaded and installed:
Then you’ll be offered to reboot the system after this process is completed:
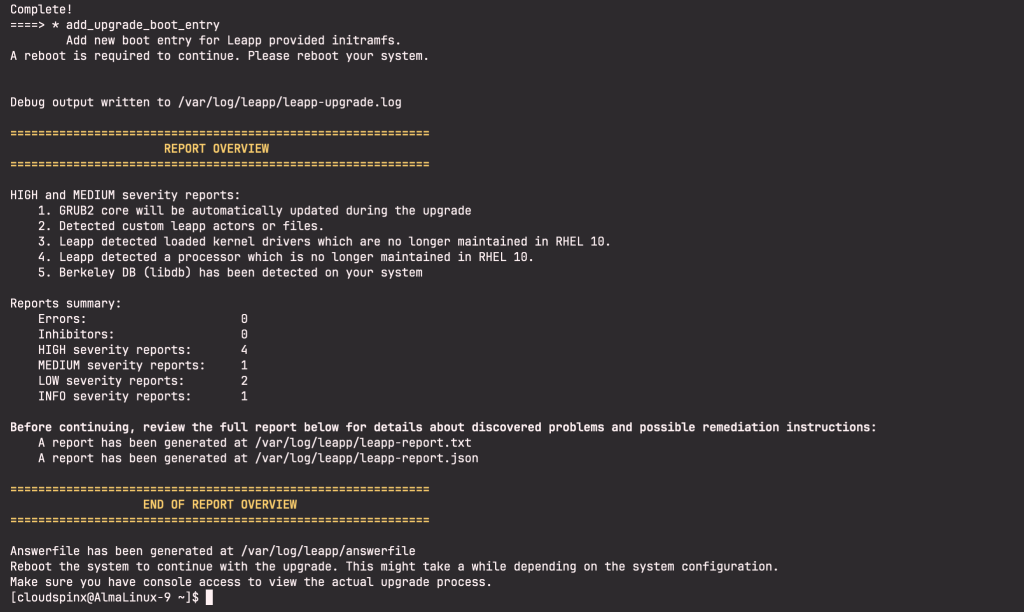
Reboot the system to continue with the upgrade. This might take a while depending on the system configuration. Ensure that you have console access of your server to view the actual upgrade process.
sudo rebootA new entry in GRUB called ELevate-Upgrade-Initramfs will appear and the system will be automatically booted into it and the process will proceed as shown in the screenshot below:
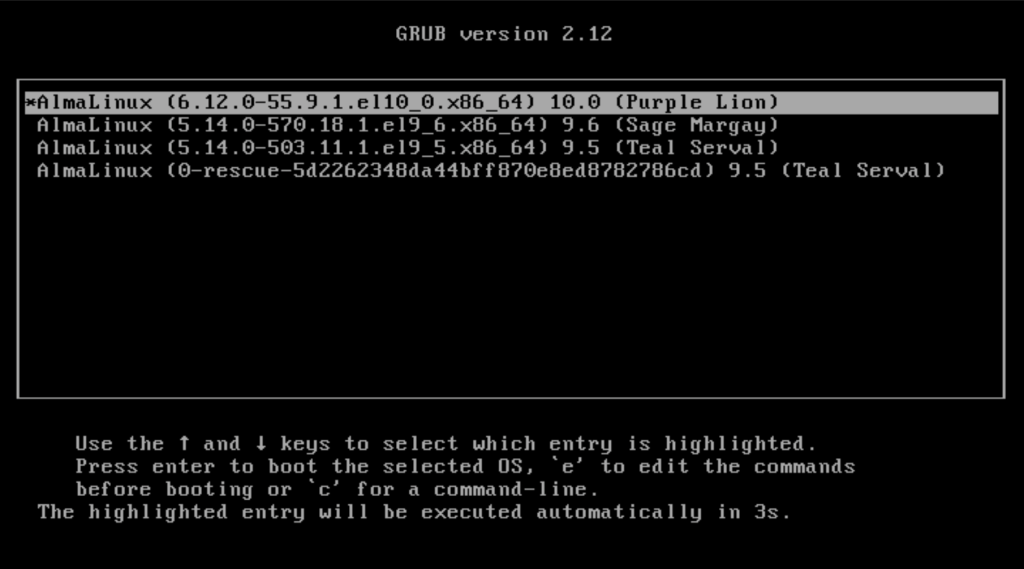
After the upgrade is complete, the GRUB menu should appear and the system should boot into AlmaLinux 10.
Step 6: Verify the Upgrade
After reboot, login to the system and check how the upgrade went.

Verify that the current OS is the one you need. Check logs and packages left from the previous OS version, consider removing them or upgrade them manually.
rpm -qa | grep el9
Change the hostname and any other changes you need to make.
sudo hostnamectl set-hostname AlmaLinux-10.local
sudo reboot
Once the system has rebooted, login to the system. Verify that the system has upgraded to AlmaLinux 10.
cat /etc/redhat-release
#OR
cat /etc/os-release
#OR
neofetch
Sample Output:

You can also check the logs and packages that were left over from the previous AlmaLinux 9 release.
sudo cat /var/log/leapp/leapp-report.txt
sudo cat /var/log/leapp/leapp-upgrade.log
Conclusion
The upgrade from AlmaLinux version 9 to version 10 via the Leapp tool provides a very effective and reliable process that enables users to fully benefit from the new improvements and innovations, without having to perform a full reinstallation of the OS. By strictly adhering to the steps provided in the process, you will be able to minimize the downtime incurred during this upgrade and ensure a smooth transition to the newer version.
More articles:


2 thoughts on “AlmaLinux 10 Upgrade Guide: Upgrade from AlmaLinux 9 Safely”
After enabling back SELINUX, system won’t start
Hi, thanks for letting us know. The fix for that is to leave SELinux enabled during the upgrade process rather than disabling it, as it is not an inhibitor for the upgrade.
The error you are experiencing is probably due to mismatched or missing contexts due to the SELinux policy changes between the two versions. We hope this was helpful; feel free to reach out with any other issues.