
DigitalOcean Spaces is a cloud service that provide S3-compatible object storage. This storage service lets you upload files and directories with the ability to serve large amounts of data. DigitalOcean Spaces service is ideal for storing static, unstructured data like images, audio, video, as well as large amounts of text.19. In this article we’ll explore how you can upload files on your Linux box to DigitalOcean Spaces Object Storage.
With the Spaces free, built-in CDN, which is available at no additional cost, you can serve files directly from the object storage and get minimal page load times, improve performance, and huge reduction in bandwidth and infrastructure costs. The base rate of a Spaces subscription is $5/month which gives you the ability to create multiple Spaces, 250 GiB of data storage (cumulative across all of your Spaces). As of this article update, any additional storage beyond this allotment is $0.02/GiB.
Setup requirements:
- An active DigitalOcean account.
- Linux / macOS system where you can test file uploads from CLI.
- Linux/Unix user account with sudo permissions to install required tools.
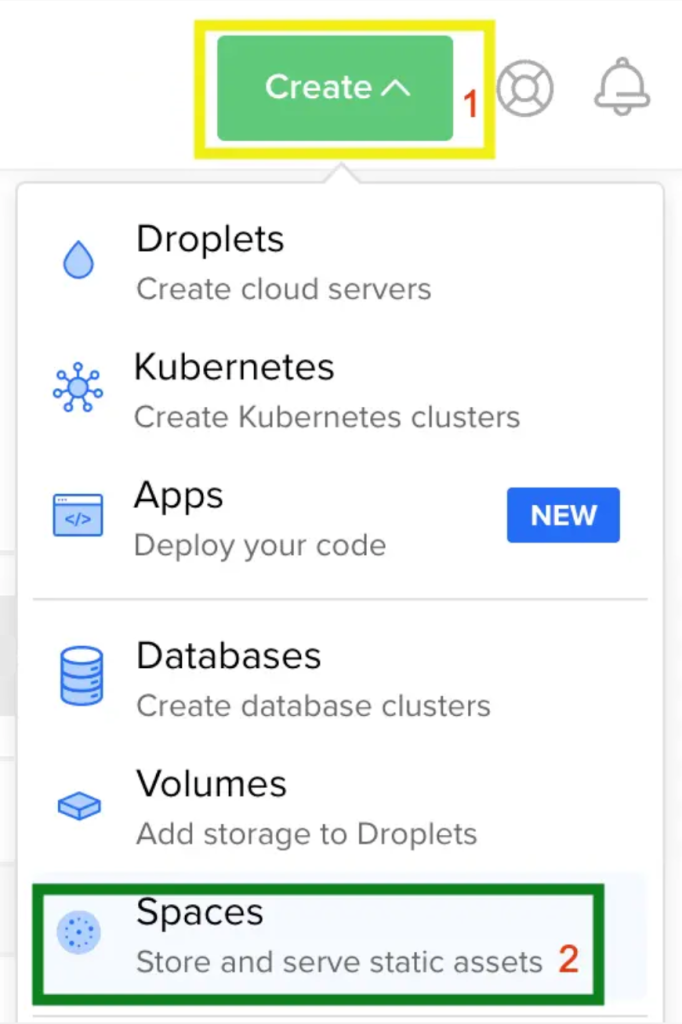
Step 1: Create a Space on DigitalOcean
Login to DigitalOcean Cloud portal and navigate to Create > Spaces.
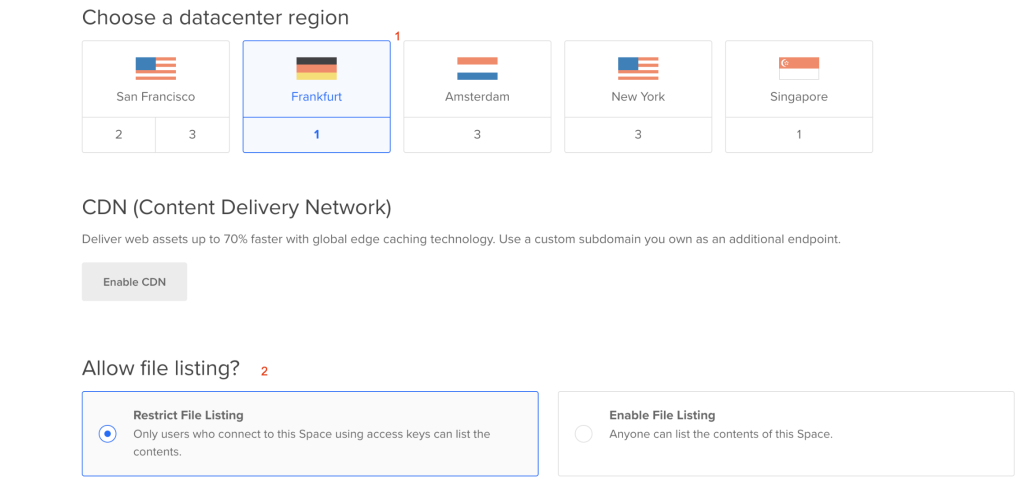
Choose region and file access permissions.
Choose a unique name and select an existing project for this Space to belong to.
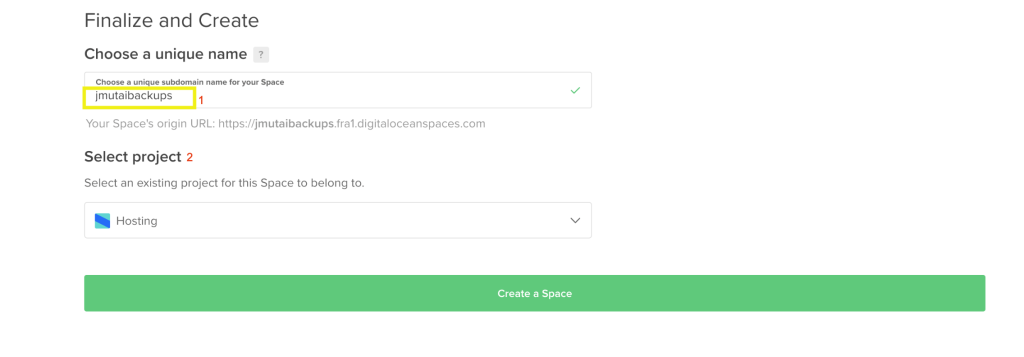
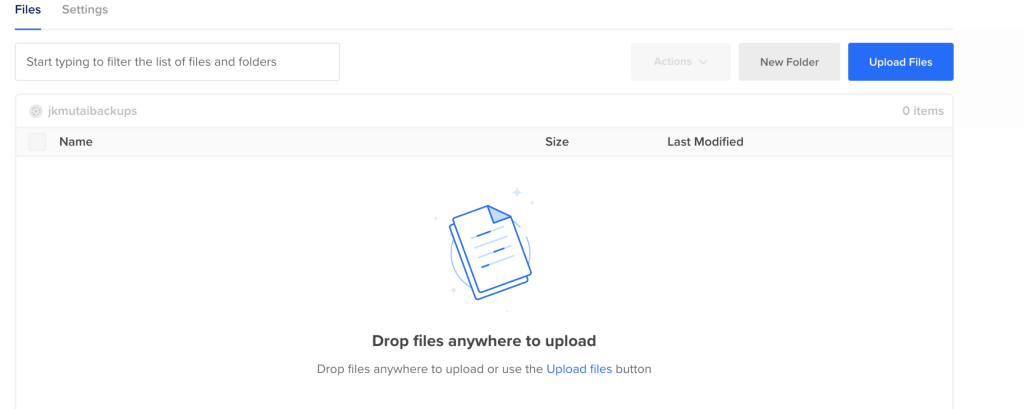
Your Space should be ready upon creation for file uploads and folder creations.
Step 2: Copy Space Endpoint
Click on the name of the Space and go to Settings > Endpoint:
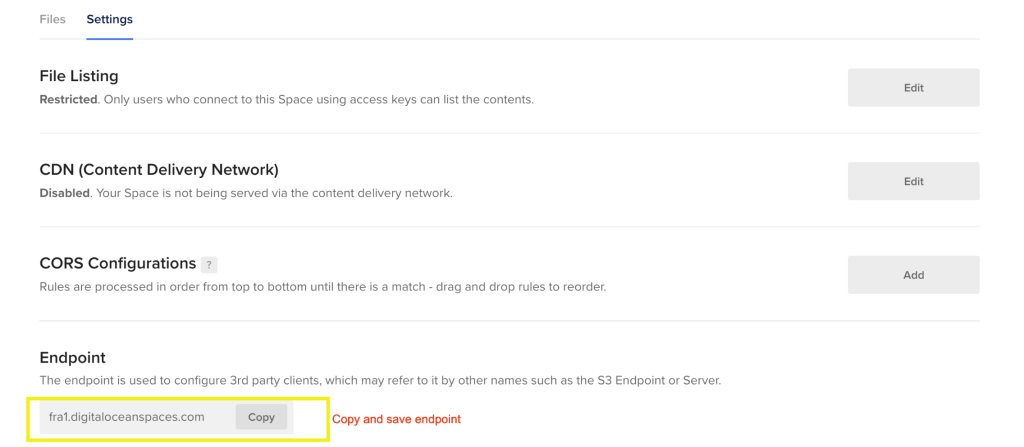
For me this is:
fra1.digitaloceanspaces.comStep 3: Install AWS CLI on Linux / macOS
Linux
### Linux 64-bit ###
curl "https://awscli.amazonaws.com/awscli-exe-linux-x86_64.zip" -o "awscliv2.zip"
unzip awscliv2.zip
sudo ./aws/install

### Linux ARM ###
curl "https://awscli.amazonaws.com/awscli-exe-linux-aarch64.zip" -o "awscliv2.zip"
unzip awscliv2.zip
sudo ./aws/install
macOS
curl "https://awscli.amazonaws.com/AWSCLIV2.pkg" -o "AWSCLIV2.pkg"
sudo installer -pkg AWSCLIV2.pkg -target /
Once the archive is uncompressed install AWS CLI using the commands:
sudo ./awscli-bundle/install -i /usr/local/aws -b /usr/local/bin/awsConfirm the version after installation:
$ aws --version
aws-cli/2.13.17 Python/3.11.5 Linux/4.18.0-477.21.1.el8_8.x86_64 exe/x86_64.rocky.8 prompt/off
Step 4: Configure DigitalOcean Space Endpoint
Now that AWS CLI is installed we can proceed to configure DigitalOcean Endpoint.
Create Spaces access keys
The DigitalOcean API allows you to manage Droplets and resources within the DigitalOcean cloud in a simple, programmatic way using conventional HTTP requests.
To generate Spaces access keys go to DigitalOcean portal and head over to API > Applications & API > Tokens/Keys > Spaces access keys > Generate new key.
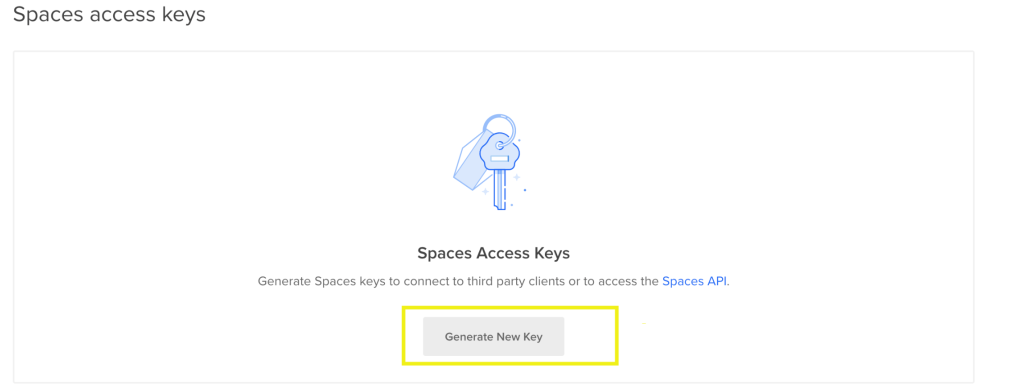
Give it a name and generate access keys.

Then save the values for:
- spaces_key
- Secret
Configure AWS CLI
Run the command below to configure AWS CLI:
#Configure as default
$ aws configure

#Configure with profile name
#$ aws configure --profile=digitalocean
Input the access key and secret.
$ aws configure
AWS Access Key ID [None]: <spaces_key>
AWS Secret Access Key [None]: <Secret>
Default region name [None]:
Default output format [None]:
List your buckets:
$ aws s3 ls --endpoint=https://fra1.digitaloceanspaces.com
2023-05-21 14:11:23 jmutaibackups
Replace fra1.digitaloceanspaces.com with correct endpoint as shown during space creation.
Step 5: Upload files to DigitalOcean Space
Finally we can test upload of files to created space.
List buckets:
$ aws s3 ls --endpoint=https://fra1.digitaloceanspaces.com
2023-05-21 14:11:23 jmutaibackups
Upload files to bucket:
$ aws s3 --endpoint=https://fra1.digitaloceanspaces.com cp awscli-bundle.zip s3://jmutaibackups/
upload: ./awscli-bundle.zip to s3://jmutaibackups/awscli-bundle.zip

$ aws s3 --endpoint=https://fra1.digitaloceanspaces.com ls s3://jmutaibackups/
2023-05-21 15:20:37   17404035 awscli-bundle.zip
Sync folder:
$ mkdir techviewleo
$ touch  techviewleo/{1..10}.txt
$ aws s3 --endpoint=https://fra1.digitaloceanspaces.com sync cloudspinx  s3://jmutaibackups/cloudspinx/
upload: cloudspinx/10.txt to s3://jmutaibackups/cloudspinx/10.txt
upload: cloudspinx/3.txt to s3://jmutaibackups/cloudspinx/3.txt
upload: cloudspinx/1.txt to s3://jmutaibackups/cloudspinx/1.txt
upload: cloudspinx/4.txt to s3://jmutaibackups/cloudspinx/4.txt
upload: cloudspinx/7.txt to s3://jmutaibackups/cloudspinx/7.txt
upload: cloudspinx/6.txt to s3://jmutaibackups/cloudspinx/6.txt
upload: cloudspinx/8.txt to s3://jmutaibackups/cloudspinx/8.txt
upload: cloudspinx/9.txt to s3://jmutaibackups/cloudspinx/9.txt
upload: cloudspinx/2.txt to s3://jmutaibackups/cloudspinx/2.txt
upload: cloudspinx/5.txt to s3://jmutaibackups/cloudspinx/5.txt

$ aws s3 --endpoint=https://fra1.digitaloceanspaces.com ls  s3://jmutaibackups/
                           PRE cloudspinx/
2023-05-21 15:20:37   17404035 awscli-bundle.zip
Let’s clean up:
$ aws s3 --endpoint=https://fra1.digitaloceanspaces.com rm  s3://jmutaibackups/awscli-bundle.zip
$ aws s3 --endpoint=https://fra1.digitaloceanspaces.com rm --recursive  s3://jmutaibackups/cloudspinx
delete: s3://jmutaibackups/cloudspinx/10.txt
delete: s3://jmutaibackups/cloudspinx/1.txt
delete: s3://jmutaibackups/cloudspinx/3.txt
delete: s3://jmutaibackups/cloudspinx/4.txt
delete: s3://jmutaibackups/cloudspinx/2.txt
delete: s3://jmutaibackups/cloudspinx/8.txt
delete: s3://jmutaibackups/cloudspinx/6.txt
delete: s3://jmutaibackups/cloudspinx/7.txt
delete: s3://jmutaibackups/cloudspinx/9.txt
delete: s3://jmutaibackups/cloudspinx/5.txt
You can have an alias for aws s3 –endpoint command, see below example:
$ vim ~/.bashrc
alias s3do='aws s3 --endpoint=https://fra1.digitaloceanspaces.com'

$ source .bashrc
$ s3do ls
2023-05-21 14:11:23 jmutaibackups
We hope this article helped you configure AWS CLI for uploading files to DigitalOcean spaces object storage. From the learnings in this guide you can write bash scripts that automate files uploading and downloading for backups and recoveries.
More guides:


