
Zettabyte File System (ZFS) is an enterprise-class file system and volume manager with high-performance capabilities, originally designed by Sun Microsystems (currently part of Oracle). ZFS is employed as an enterprise-class storage in KVM (Kernel-based Virtual Machine) virtualization to store virtual machine (VM) disk images and other related VM storage resources.
ZFS offers higher-level functionality such as compression, deduplication, integrity, and snapshots, and therefore suits pools of storage well in KVM virtualization environments. File system and volume management are integrated in ZFS, thereby making the storage efficiently manageable in multiple virtual machines with effortless growth and fine-grained control of data.
The ZFS pool type does not use the pool or volume format type element.
Use Cases
- High-Performance Virtualization and Storage: It is used heavily for high performance virtual machine storage in use cases like KVM, which involves a highest priority need for data integrity, high availability and data storage efficiency (compression and deduplication).
- Data Protection using Snapshots: ZFS pools may also be used for taking frequent data snapshots for backup purposes. Snapshots are taken very quickly and space is conserved effectively, which makes ZFS a good fit for very large-scale backup solutions.
- Database Storage: ZFS can also be used for database storage as it has compression support along with the ability to create snapshots that prove to be helpful for database point-in-time restore in databases like MySQL, PostgreSQL, or Oracle.
Mastering KVM Virtualization - The Ultimate eBook
From home labs to production clouds - master KVM Host management, automating KVM administration using Terraform, Vagrant, and cloud automation. This eBook will enable you to build scalable virtual infrastructure that works whether you're learning at home or deploying enterprise solutions. Get your full copy today
Configuring a ZFS Storage Pool
Here’s how you can configure a ZFS storage pool using virsh CLI and Virt-Manager.
First, ensure that you have ZFS installed on your KVM host machine. Then check all the installed drives using fdisk.
sudo fdisk -lUsing virsh CLI
To use virsh to create a ZFS storage pool, you need to first create the pool using zpool create.
Ensure that zfs(Debian/Ubuntu) or zfsutils-linux(RHEL/RHEL-based) is installed on your KVM host before you can proceed with the following steps.
Create Storage Pool with zpool
With ZFS installed, you can create a ZFS storage pool using the zpool create command as shown below:
sudo zpool create vms-zfs-pool /dev/sdbThe above command creates a non-redundant using a single disk device (/dev/sdb).
If you have to disks, you can create a stripped storage pool, or a mirrored storage pool. A striped pool , also called RAID-0 , in which the data is stored in “stripes” across all drives, or a mirrored pool , also called RAID-1 , in which a complete copy of all data is stored separately on each drive.
Striped pools are not fault tolerant whereas mirrored pools can survive the failure of one drive. Striped pools have twice the storage capacity of mirrored pools and have better performance than mirrored pools.
To create a stripped pool, just pass two disks to the zpool create command:
sudo zpool create zfs-pool /dev/sdb /dev/sdcTo create a mirrored pool, we run:
sudo zpool create zfs-pool mirror /dev/sdb /dev/sdcTo check that the new pool has been created, use zpool list:
$ sudo zpool list
NAME                 SIZE  ALLOC   FREE  CKPOINT  EXPANDSZ   FRAG    CAP  DEDUP    HEALTH  ALTROOT
vms-zfs-pool  14.5G   111K  14.5G        -         -     0%     0%  1.00x    ONLINE  -
Check the status:
$ sudo zpool status
  pool: vms-zfs-pool
 state: ONLINE
config:

	NAME                STATE     READ WRITE CKSUM
	vms-zfs-pool  ONLINE       0     0     0
	  sdb               ONLINE       0     0     0

errors: No known data errors
Define the Pool using virsh CLI
To use the ZFS storage pool with KVM, we need to define it with the virsh pool-define command, using an xml configuration file.
Parameters
| Description | XML Code |
|---|---|
| Specifies the type of storage pool (ZFS). | <pool type="zfs"> |
| Name of the storage pool in libvirt. | <name>vms-ZFS</name> |
The name of the ZFS pool created using zpool create. | <source><name>zfspool</name> |
| Path to each device making up the ZFS pool. It could be as many devices as you need. | <source><device path="/dev/sda1"/><device path="/dev/sda2"/> |
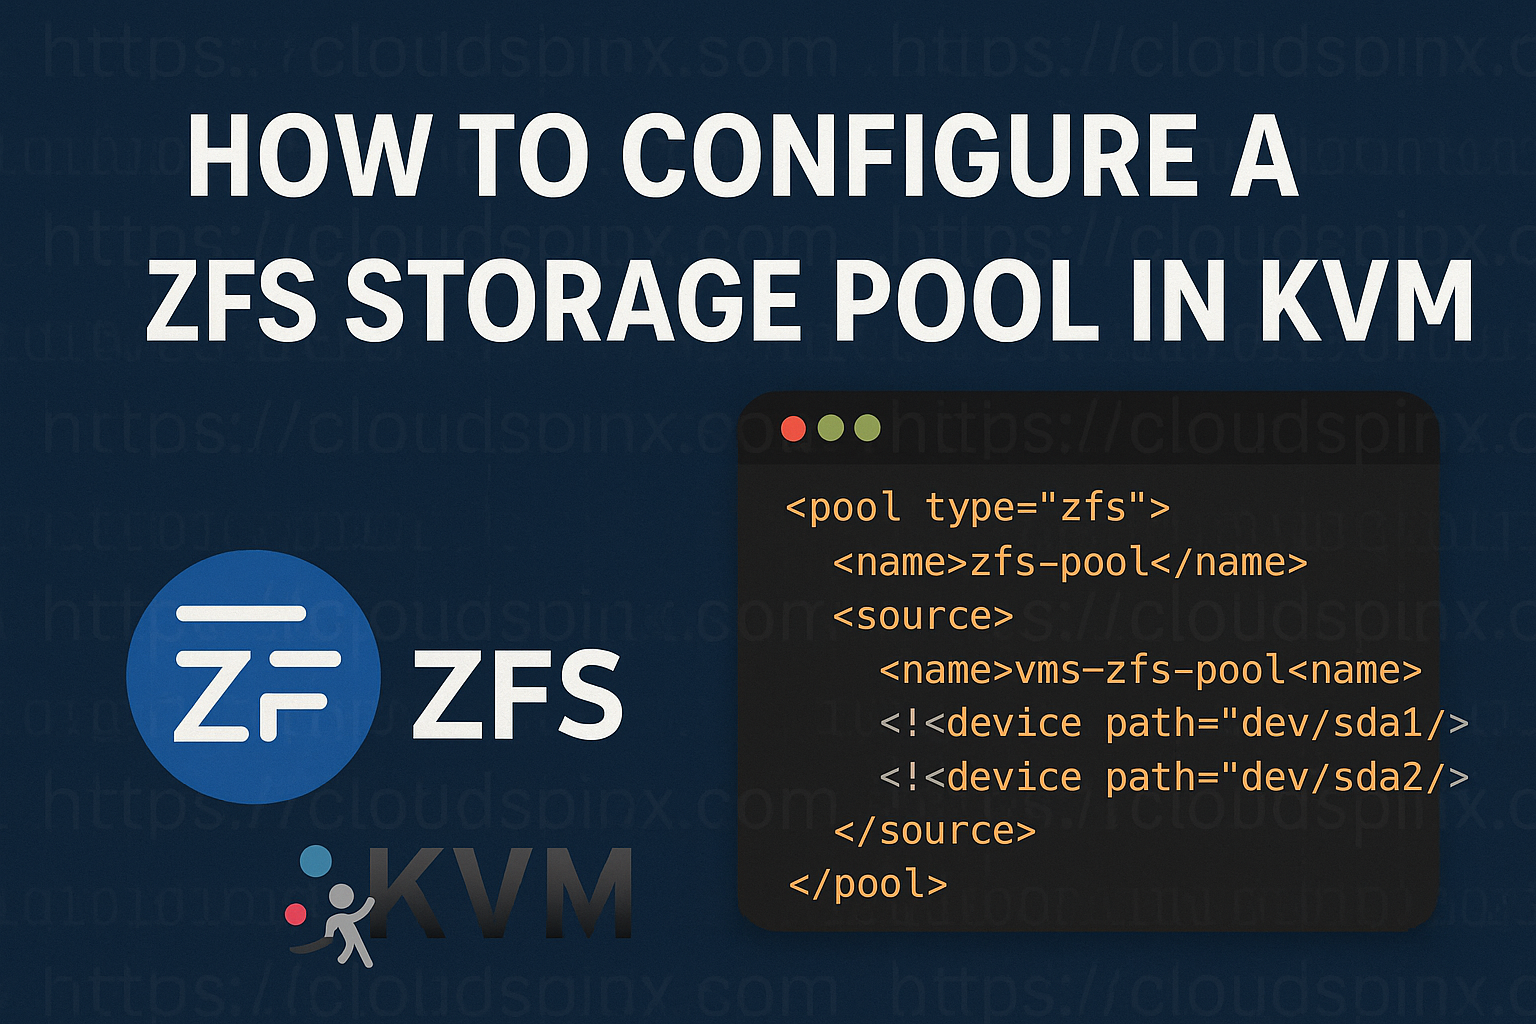
Using the above parameters, create an xml file as below.
<pool type="zfs">
  <name>zfs-pool</name>
  <source>
    <name>vms-zfs-pool</name>
   <!--- <device path="/dev/sda1"/> --->
   <!--- <device path="/dev/sda2"/> --->
  </source>
</pool>
Since we already created the ZFS pool with zpool, we don’t require the devices in the source section.
Save the xml file (e.g vms.xml) and then run the virsh pool-define command to define the storage pool.
virsh pool-define path/to/vms.xmlList all the available storage pool to verify that the pool has been created:
$ virsh pool-list --all
 Name       State      Autostart
----------------------------------
 default    active     yes
 images     active     yes
 zfs-pool   inactive   no
Start the storage pool
Then start the storage pool:
virsh pool-start zfs-poolOptionally, you can configure the storage pool to start automatically when the host system boots up.
virsh pool-autostart zfs-poolVerify the storage pool
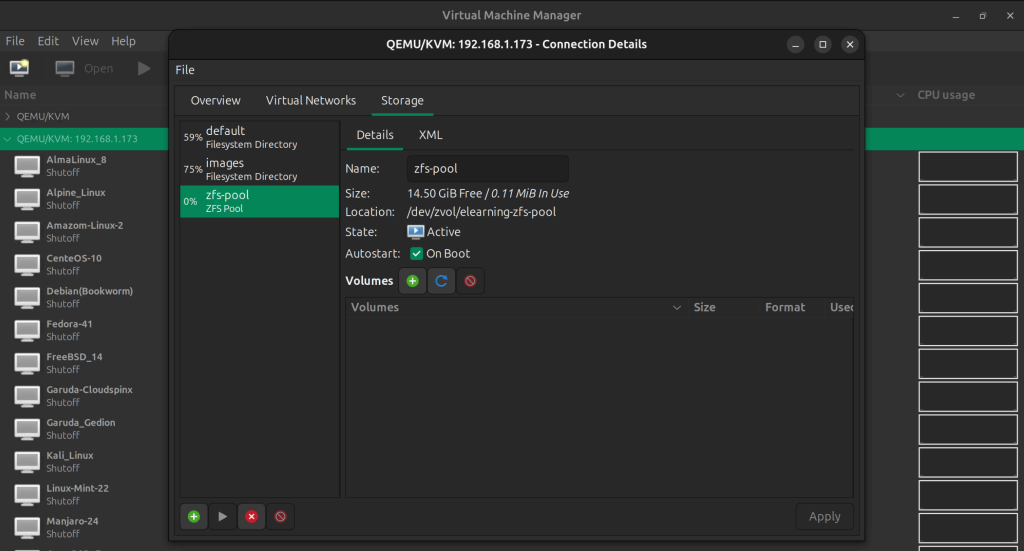
Use the command virsh pool-info to check that the storage pool is in running state. This command also displays all the information related to the storage pool, such as UUID and capacity.
$ virsh pool-info zfs-pool
Name:           zfs-pool
UUID:           c6fa62df-e34e-4c80-a997-f6e966b0ad6c
State:          running
Persistent:     yes
Autostart:      yes
Capacity:       14.50 GiB
Allocation:     111.00 KiB
Available:      14.50 GiB
Using Virt-Manager
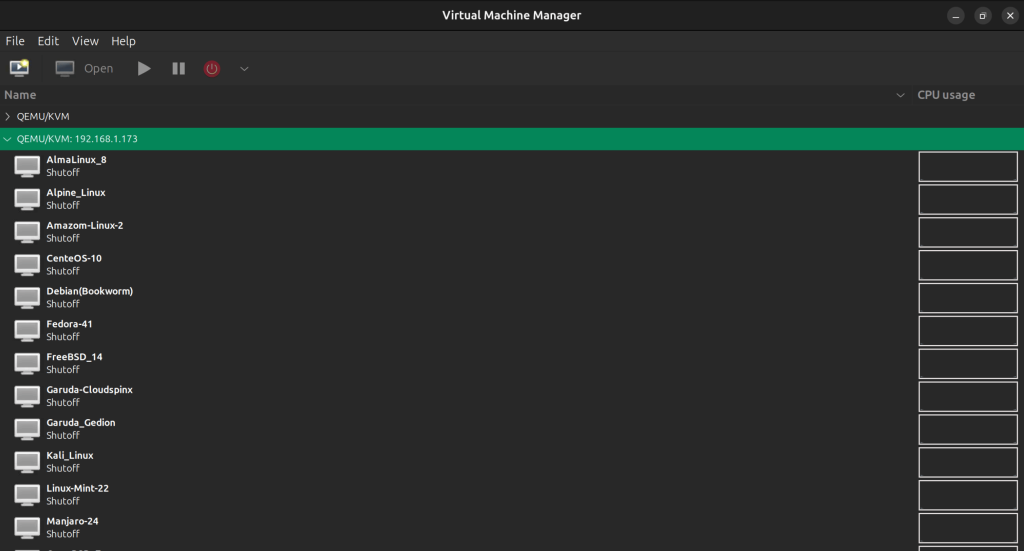
Launch Virt-Manager and ensure that you are connected to the host machine where you want to configure the ZFS storage pool.
From Virt-Manager main window, navigate to the storage tab. (Edit→Connection Details→Storage)
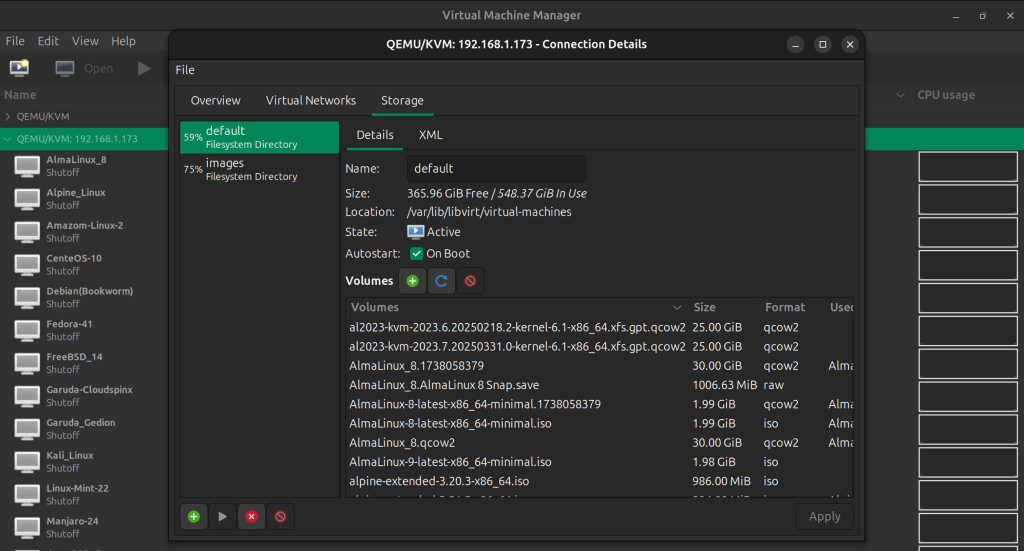
Click Add Pool to launch the Storage Pool creation wizard.
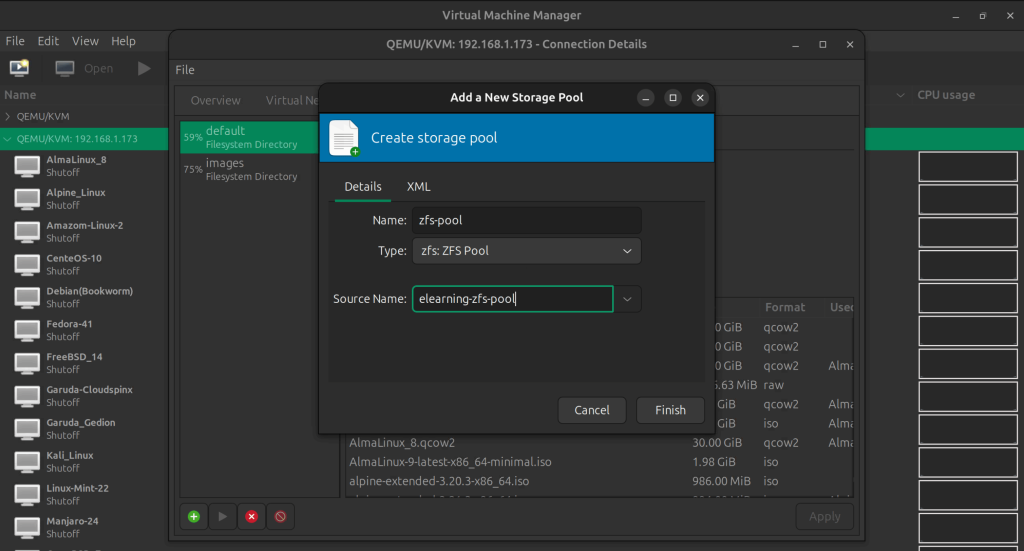
In the wizards, select ZFS as the storage pool type, then enter the name of the zpool we created in step one. Then click Finish to complete the setup and create the storage pool. The ZFS pool should be created and listed in the storage pool list.
Note that to create a ZFS pool either using virsh CLI or Virt-Manager, the pool first needs to be created using zpool.
Deleting Storage Pools
Deletion of a storage pool in KVM is an operation that involves un-defining the pool from the configuration of libvirt, optionally deleting the physical backend storage. With the use of libvirt for managing the storage pools in KVM, disk structures lying beneath them, either directories, LVM volumes, iSCSI targets, or filesystems, are abstracted away for facilitating the management of the virtual disk images centrally.
To remove a storage pool from your host system, you must stop the pool and remove its XML definition.
Using Virsh
Using Virsh CLI, you can delete a storage pool from your host system. To do this, you must stop the storage pool first and then delete it’s xml definition.
First, list all the storage pools and fetch the name of the pool you want to delete:
virsh pool-list --allThen stop the target storage pool using the virsh pool-destroy command:
virsh pool-destroy vmsAs an extra option, you can also remove the directory where the storage pool is mounted, using the virsh pool-delete command. The directory must be empty to be able to use the command successfully.
virsh pool-delete vmsFinally, delete the pool definition using virsh pool-undefine:
virsh pool-undefine vmsVerify that the pool has been deleted using virsh pool-list --all:
virsh pool-list --allUsing Cockpit Web Console
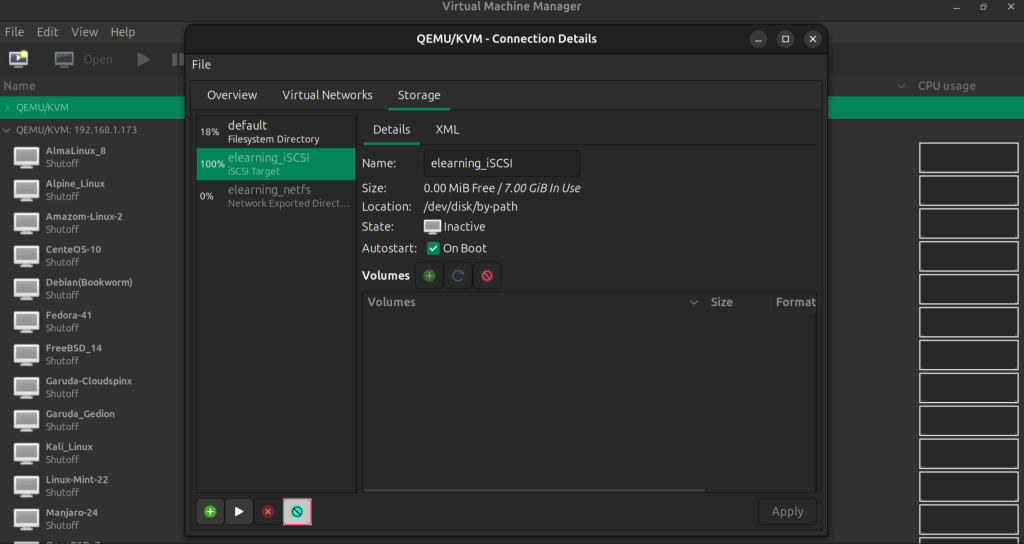
Using cockpit, navigate to the storage pools tab, then deactivate the target pool.
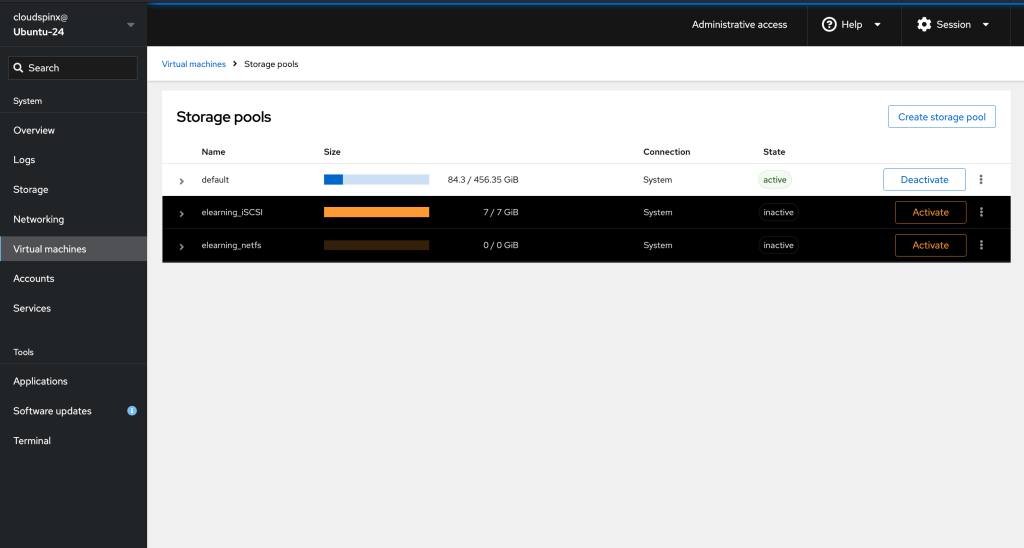
Once the storage pool is in the inactive state, click on the three dots and then click Delete.

Using Virt-Manager
With Virt-Manager, click on the storage pool you want to delete and it will be highlighted, then click on the Delete Pool button to delete the pool.
Then confirm that you wan to delete the pool, and the pool will be deleted.
🌍 Our KVM eBook covers all this in details and more. In the book you will learn:
- Supported Storage Pool Types
- Storage Management Using Virsh CLI
- Storage Management using Cockpit UI
- Storage Management using Virt-Manager
Watch out for more guides from our team:


