
Amazon Linux 2023 (AL2023) is the newest version of Amazon Linux distribution designed to provide a secure and stable high-performance environment to run cloud and on-premises workloads. While AL2023 is intended to be used with Amazon EC2, Amazon provides release-ready QCOW2 images so that you can download and install AL2023 on local virtualization environments like Proxmox. In this tutorial, we will walk through an install of Amazon Linux 2023 on the Proxmox VE from downloading the image to installing and booting your virtual machine.
Prerequisites
- A running Proxmox VE node
- SSH access to the Proxmox host
- Internet access to download the QCOW2 image
Step 1: Download the Amazon Linux 2023 QCOW2 Image
Amazon provides a QCOW2 image. Get the download link to the latest AL2023 QCOW2 image from Amazon’s download page, then pull the image into your PVE storage:
wget https://cdn.amazonlinux.com/al2023/os-images/2023.9.20251117.1/kvm/al2023-kvm-2023.9.20251117.1-kernel-6.1-x86_64.xfs.gpt.qcow2Step 2: Create new VM without disk
Use the following command to create a new Amazon Linux VM but without a disk:
qm create 152 \
  --name "amazon-linux-2023" \
  --memory 4096 \
  --machine q35 \
  --cores 2 \
  --cpu host \
  --net0 virtio,bridge=vmbr0 \
  --boot c \
  --bootdisk scsi0 \
  --scsihw virtio-scsi-pci \
  --serial0 socket \
  --vga serial0
Step 3: Import and Attach Disk
Then import the downloaded disk to the local-lvm storage, attaching it to the VM as a SCSI drive
qm set 152 --scsi0 local-lvm:0,import-from=/path/to/al2023-kvm-2023.9.20251117.1-kernel-6.1-x86_64.xfs.gpt.qcow2After you have imported and attached the disk, you might want to increase it’s size:
qm resize 152 scsi0 +25GStep 4: Add a Cloud-Init Drive
Now, add a cloud-init drive for VM configuration:
qm set 152 --ide2 local-lvm:cloudinitAnd set the cloud-init parameters:
qm set 152 --ciuser cloudspinx
qm set 152 --cipassword 'your-password-here'
qm set 152 --sshkey ~/.ssh/id_rsa.pub
## For Dyamic IP address
qm set 152 --ipconfig0 ip=dhcp
## For Static IP address
qm set 152 --ipconfig0 ip=192.168.1.220/24,gw=192.168.1.1
Optional: Booting with UEFI (OVMF)
If you want to use UEFI boot instead of the default SeaBIOS, configure your VM as follows:
qm set 152 --bios ovmf
qm set 152 --machine q35
qm set 152 --efidisk0 local-lvm:1
Step 5: Start Amazon Linux 2023
When everything is set, start the VM:
qm start 152Then access the console via Proxmox Web UI:
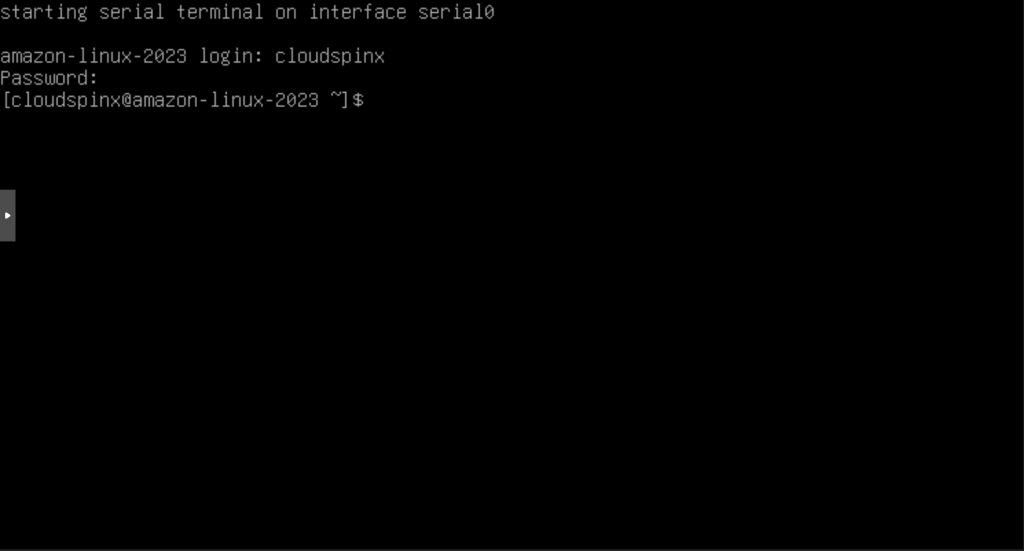
You can also access the VM via SSH since we added our SSH public key using cloud-init:
ssh [email protected]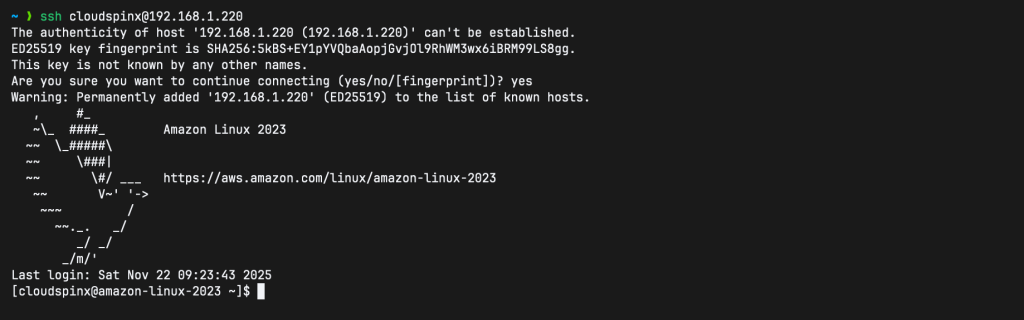
That’s all for today, Adios!
Related guides:


