
PHP 8.3 is a major update of the PHP language. PHP is a crucial language is very popular in server scripting because of a bunch of reasons. PHP is extremely easy to use especially if you have a background in web development. The thing that makes this language most popular is it’s flexibility and integration. PHP can be embedded directly into HTML, which makes it possible to mix back-end code and front-end code. It can also integrates quite well with the common technologies used in web development such as, databases(e.g, MySQL, PostreSQL), web servers(e.g, Apache, Nginx), and major frameworks.
Let’s have a look at some new features for PHP 8.3:
- Typed Class Constants: Support for declaring class, interface, trait, as well as enum constant types (collectively called “class constants” from now on for the sake of simplicity.
- New
#[Override]Attribute: By adding the#[\Override]attribute to a method, PHP will ensure that a method with the same name exists in a parent class or in an implemented interface. - Deep-cloning of readonly properties:
readonlyproperties may now be modified once within the magic__clonemethod to enable deep-cloning of readonly properties. - New
json_validate()function:json_validate()allows to check if a string is syntactically valid JSON, while being more efficient thanjson_decode(). - New
Randomizer::getBytesFromString()method: The Random Extension method is extended by a new method to generate random strings consisting of specific bytes only. This method allows the developer to easily generate random identifiers, such as domain names, and numeric strings of arbitrary length.
In this guide, we shall cover all the necessary steps of installing and using PHP 8.3 on FreeBSD 14. For most web applications, PHP is used alongside database system and a web server such as Nginx and Apache as mentioned earlier.
Step 1. Update the FreeBSD repository
It’s always a good habit to ensure that your system packages are up to date to avoid any missing packages.
$ su - root
pkg update && pkg upgrade
freebsd-update fetch
freebsd-update install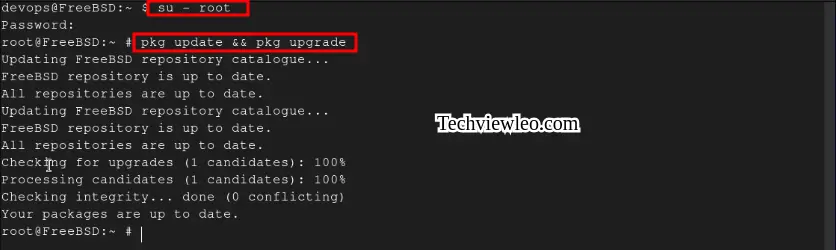
Step 2. Install PHP 8.3 on FreeBSD
All PHP 8.3 packages are available on FreeBSD binary distribution repositories and a number of modules. Run the commands below to install PHP 8.3 on FreeBSD 14 / 13:
# pkg install php83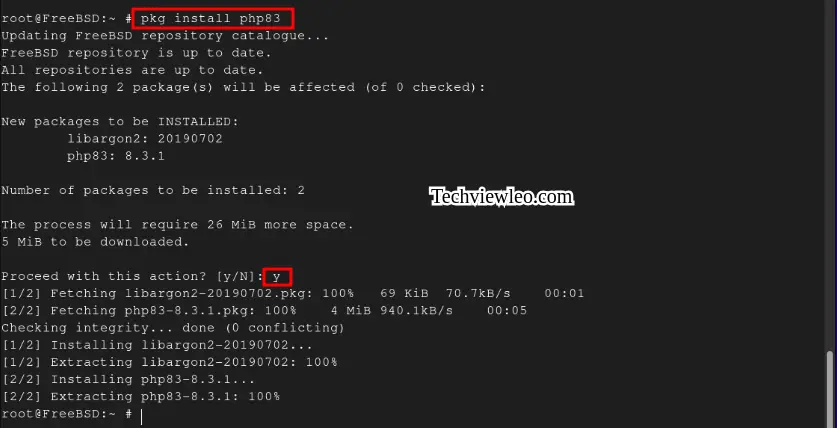
Step 3. Install PHP 8.3 Extensions
Make sure to install PHP extensions and all the necessary dependencies:
# pkg install vim nano php83-xml mod_php83 php83-zip php83-mbstring php83-zlib php83-curl php83-mysqli php83-gd 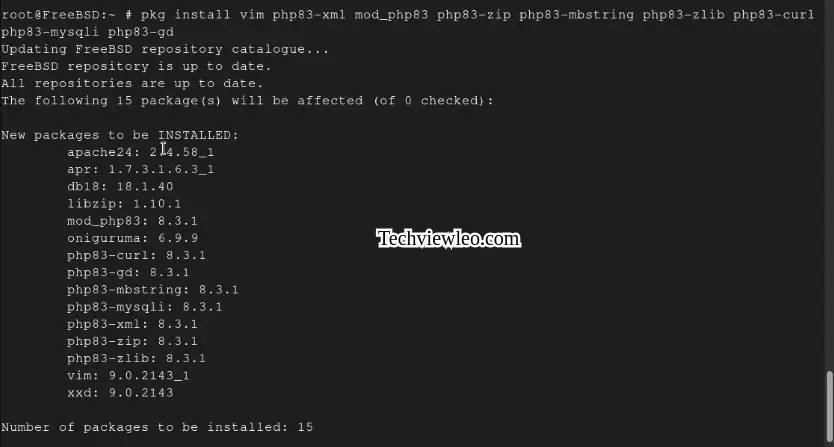
The extension config files will be located in the /usr/local/etc/php directory.
Step 4. Install Apache Web Server
Run the command below to install Apache Web Server since we will need it to serve web pages to users.
# pkg install apache24You can check the installation using the command below:
# pkg info apache24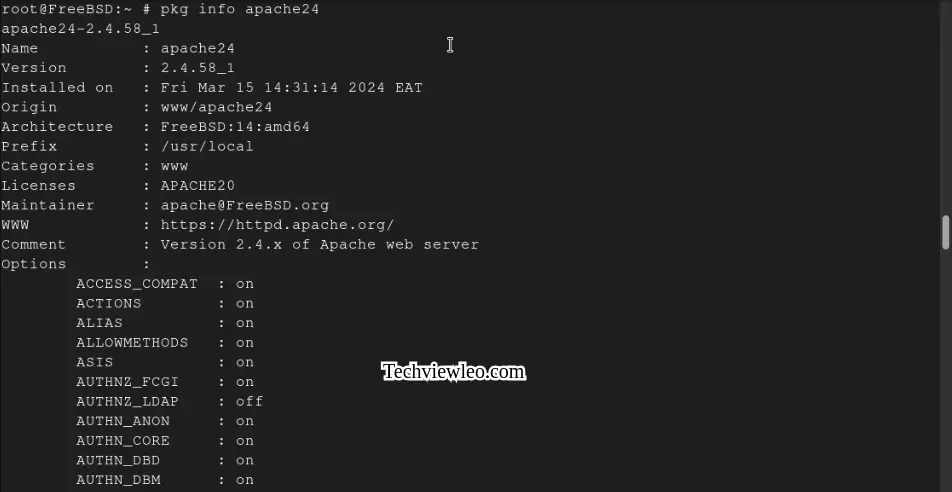
Enable and start Apache service after the installation.
# sudo sysrc apache24_enable=YES
# service apache24 start
# service apache24 status
Step 5. Test PHP 8.3 Installation
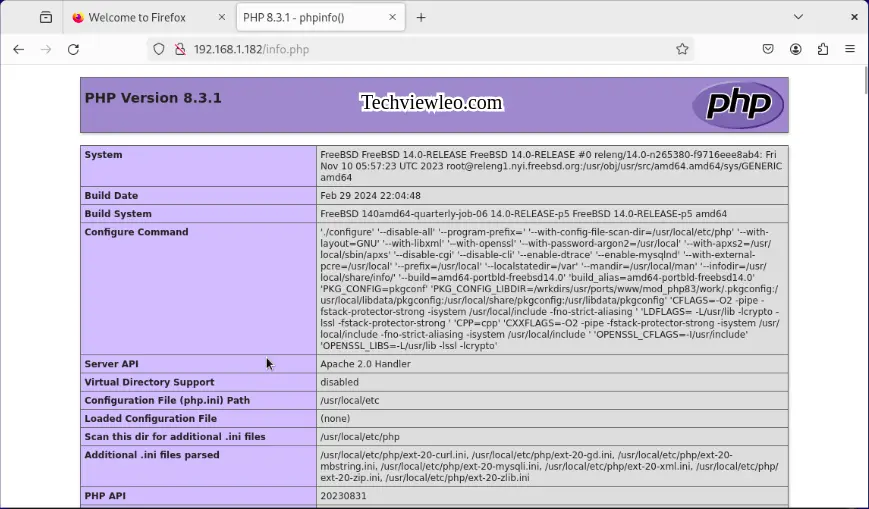
You can verify the installation by creating a PHP file (e.g., info.php) in your web server’s root directory (e.g., /usr/local/www/nginx for Nginx or /usr/local/www/apache24/data for Apache) with the following content:
<?php
         phpinfo();
?>
Now, configure a handler for PHP pages. Make sure that index.php is part of your DirectoryIndex. You should add the following to your Apache configuration file:
# nano /usr/local/etc/apache24/Includes/php.conf
<IfModule dir_module>
         DirectoryIndex index.php index.html

         <FilesMatch "\.php$">
                  SetHandler application/x-httpd-php
         </FilesMatch>

         <FilesMatch "\.phps$">
                  SetHandler application/x-httpd-php-source
         </FilesMatch>
</IfModule>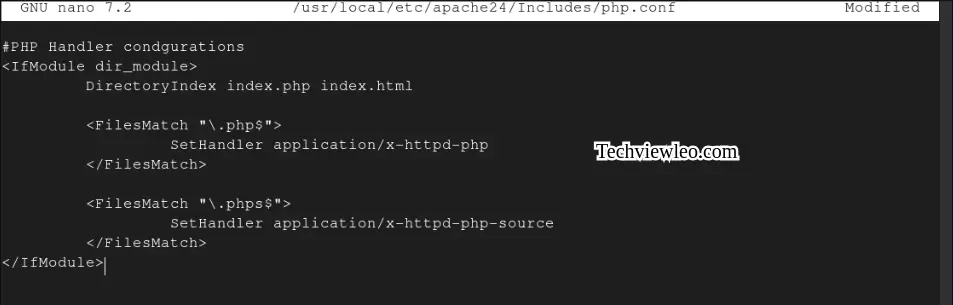
Save and close the file then restart Apache service.
# service apache24 restartTo access the PHP application, open a web browser and navigate to http://localhost/info.php. You should see a page with detailed PHP information, confirming that PHP is working correctly.
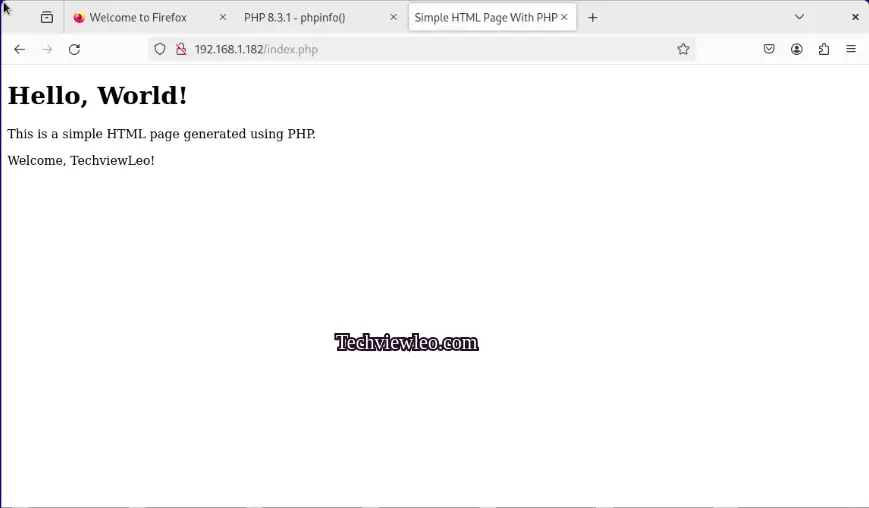
PHP is now working perfectly, you can go ahead and try running a sample PHP page. Create a simple HTML document and save it as index.php in your servers root directory. For instance, you can use the following code:
<!DOCTYPE html>
<html lang="en">
<head>
    <meta charset="UTF-8">
    <meta name="viewport" content="width=device-width, initial-scale=1.0">
    <title>Simple HTML Page with PHP</title>
</head>
<body>
    <h1>Hello, World!</h1>
    <p>This is a simple HTML page generated using PHP.</p>

    <?php
    // You can include PHP code within the HTML content
    $name = "John";
    echo "<p>Welcome, $name!</p>";
    ?>

</body>
</html>
Save it under /usr/local/www/apache24/data/index.php.
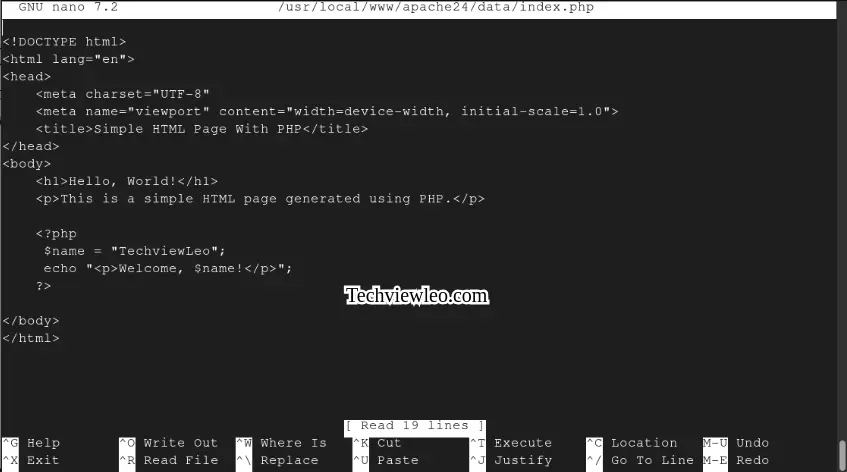
Now open your browser and open http://localhost/index.php. You should be able to see a page with a Hello World.
Conclusion
Finally, you now have a working installation of PHP 8.3 on your FreeBS 14 / 13 system. You can also host other PHP applications on your system, all it takes is a couple of commands. Enjoy!


