
Oracle VM VirtualBox is an exceptionally formidable and extremely handy open-source Type 2 hypervisor that gives users the capability of easily operating a plethora of guest operating systems, all under a single Linux host environment. It should be mentioned, however, that although Red Hat Enterprise Linux (RHEL) 10 and its upstream equivalent CentOS Stream 10 do not have VirtualBox as part of their default standard repository offerings, it is perfectly feasible for you to install Oracle’s specially appointed repository dedicated to your system without much trouble. By installing such a setup, you would be able to install the latest release of VirtualBox, enable the requisite relevant kernel module necessary for it to function correctly, and be up and running with the whole setup in no more than a short matter of minutes.
🧠 Don’t just learn KVM – master it with the best-selling eBook trusted by thousands.
Prerequisites
- RHEL 10 / CentOS Stream 10 installed and up to date.
- A non-root user with
sudoprivileges. - Hardware virtualization (VT-x or AMD-V) enabled in BIOS/UEFI.
- At least 2 GB RAM (4 GB+ recommended) and sufficient disk for your VMs (20 GB+).
Step 1: Check that Virtualization is enabled
Run either of the following commands to check whether virtualization is enabled on your system:
grep -E --color 'vmx|svm' /proc/cpuinfo
## OR ##
lscpu | grep Virtualization
Any occurrences of of vmx (Intel) or svm (AMD) shows that virtualization is enabled. The lscpu command should also return something like this to signify that virtualization is enabled:
Virtualization: VT-x
Step 2: Install build tools and kernel headers
Update your system and install build tools and kernel headers:
sudo dnf update
sudo dnf groupinstall "Development Tools" -y
sudo dnf install kernel-devel kernel-headers -y
Step 3: Install EPEL repository
Extra Packages for Enterprise Linux (EPEL) is a repository maintained by Fedora for use with CentOS Stream and RHEL. Run the following commands to enable the CRB repository:
## RHEL 10
sudo subscription-manager repos --enable codeready-builder-for-rhel-10-$(arch)-rpms
## CentOS Stream 10
sudo dnf config-manager --set-enabled crb
Then install the EPEL RPM:
## RHEL 10
sudo dnf install \
https://dl.fedoraproject.org/pub/epel/epel-release-latest-10.noarch.rpm
## CentOS Stream 10
sudo dnf install epel-release epel-next-release
Step 4: Add the Oracle VirtualBox repository
Run the command below to add the VirtualBox repository:
sudo wget https://download.virtualbox.org/virtualbox/rpm/rhel/virtualbox.repo \
  -O /etc/yum.repos.d/virtualbox.repo
Then refresh metadata:
sudo dnf makecacheStep 5: Install VirtualBox on CentOS Stream | RHEL 10
After adding the VirtualBox repo, install the latest release of Oracle VirtualBox:
sudo dnf install VirtualBox-7.1 -yVerify the module:
sudo systemctl status vboxdrv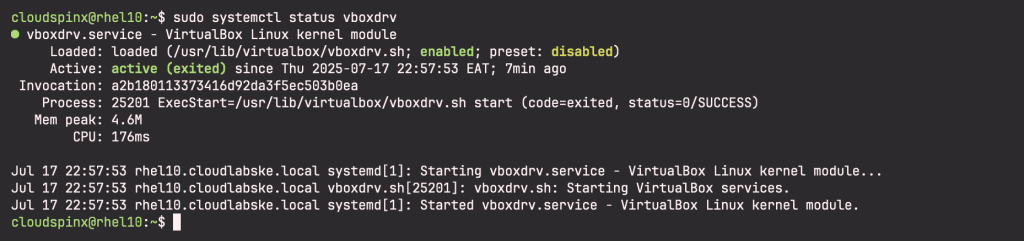
Step 6: Post-Installation Configurations
Add your user to the vboxusers group for USB, shared-folder, and other hardware access:
sudo usermod -aG vboxusers $USER
newgrp vboxusers
You might also want to install the VirtualBox extension pack for USB 2.0/3.0, RDP, and encryption:
wget https://download.virtualbox.org/virtualbox/7.1.10/Oracle_VirtualBox_Extension_Pack-7.1.10.vbox-extpack
sudo VBoxManage extpack install Oracle_VirtualBox_Extension_Pack-7.1.10.vbox-extpack
Launch VirtualBox GUI:
VirtualBox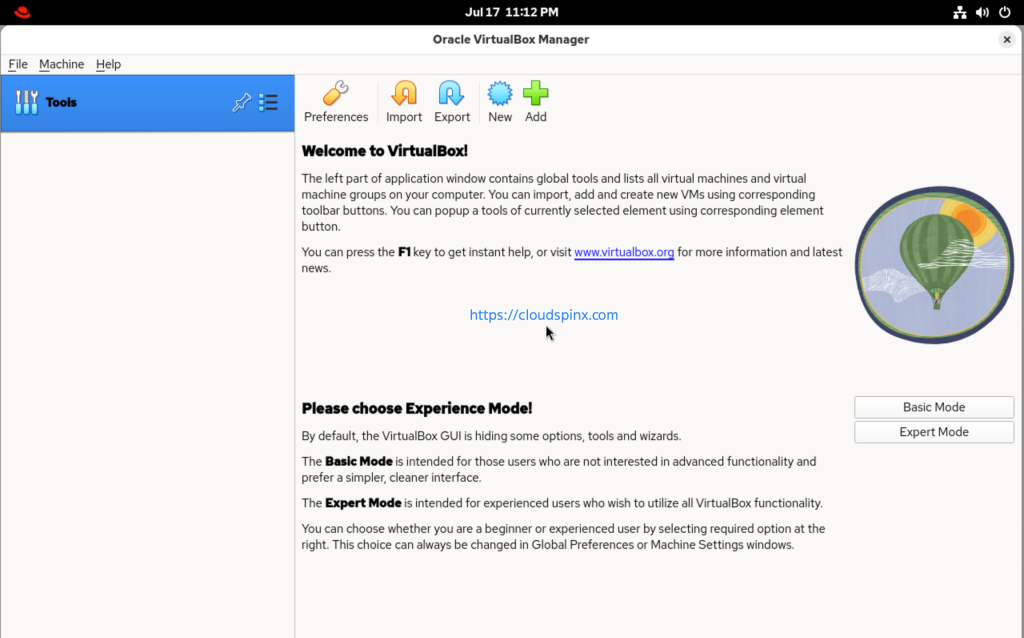
Step 7: Using VirtualBox on RHEL 10 | CentOS Stream 10
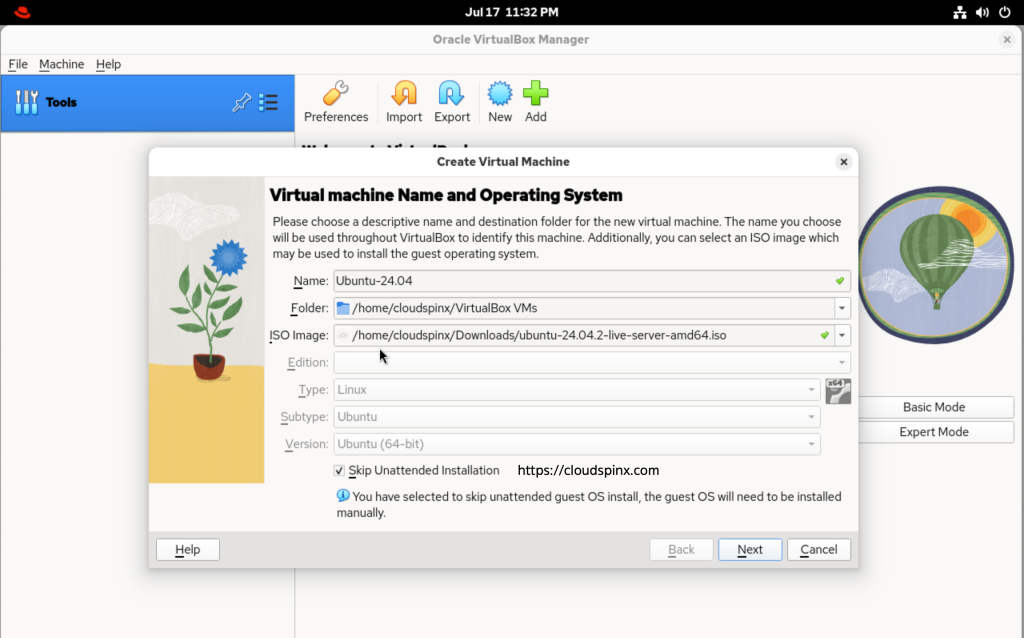
With VirtualBox installed, you can now create a new VM via the GUI. Here’s how you can do that:
Click New → name your VM (e.g. “Ubuntu”) → Browse to the ISO file and select it:
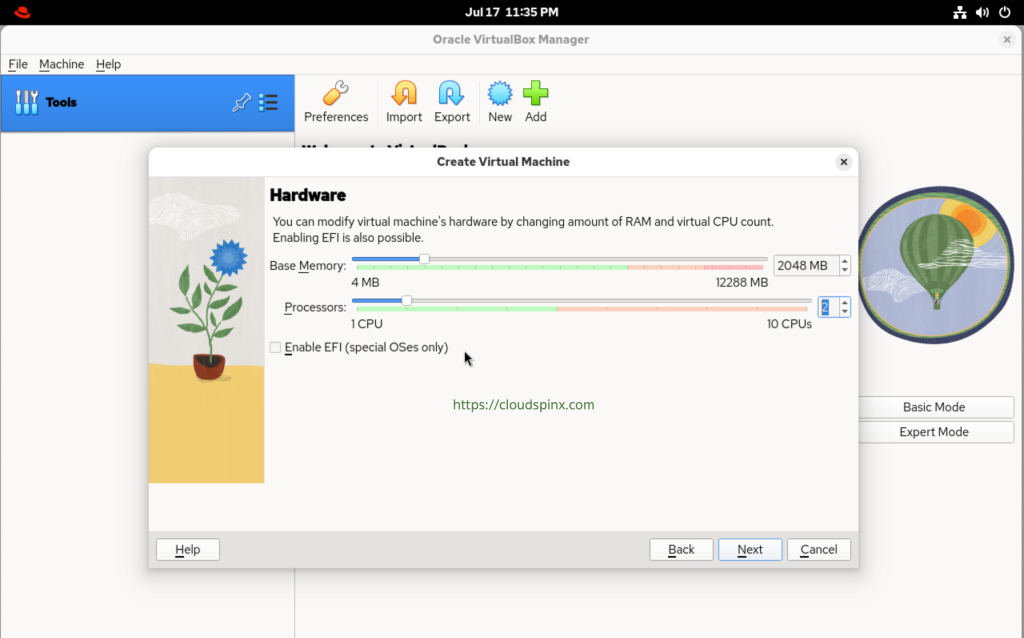
Click Next, then allocate RAM, and vCPUs for your Virtual MAchines:
Then add a virtual hard disk to the new machine:

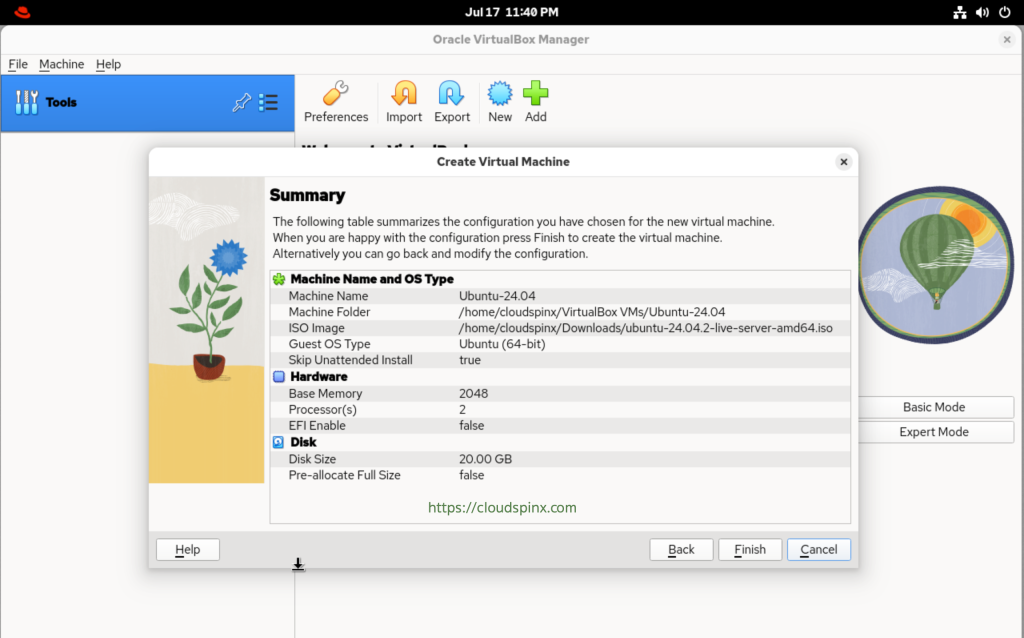
Ensure that everything is set as you want, then click Finish:
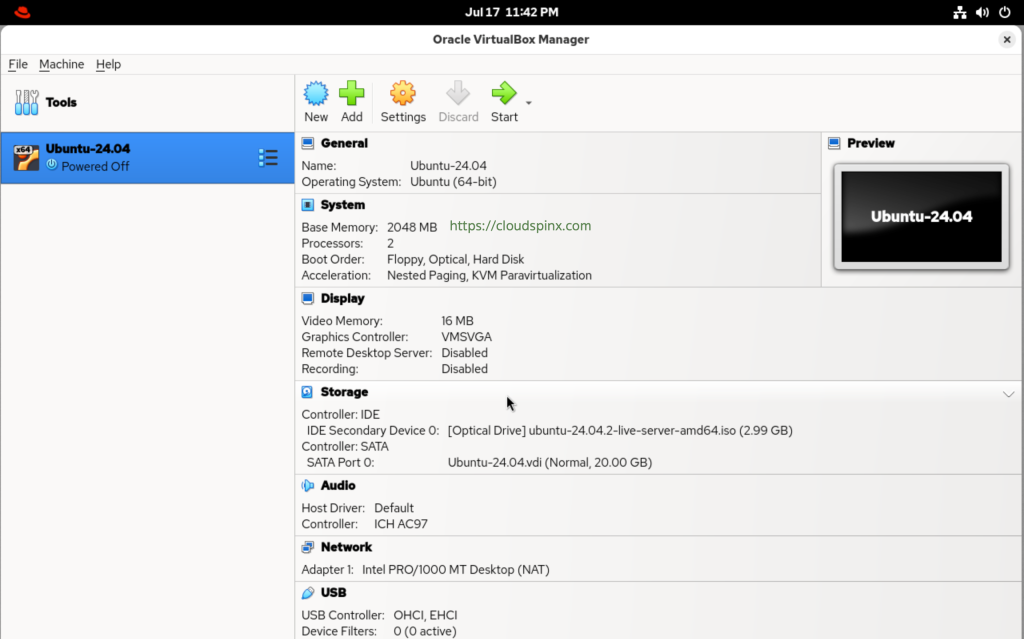
On the VM Overview page, click on Start:
If you encounter the following error message, it is because another hypervisor, like KVM, is in use:
There was an error while executing `VBoxManage`, a CLI used by Vagrant for controlling VirtualBox. The command and stderr is shown below.

Command: ["startvm", <ID of the VM>, "--type", "headless"]

Stderr: VBoxManage: error: VT-x is being used by another hypervisor (VERR_VMX_IN_VMX_ROOT_MODE).
VBoxManage: error: VirtualBox can't operate in VMX root mode. Please disable the KVM kernel extension, recompile your kernel and reboot
(VERR_VMX_IN_VMX_ROOT_MODE)
VBoxManage: error: Details: code NS_ERROR_FAILURE (0x80004005), component ConsoleWrap, interface IConsole
You must add the additional hypervisors to the deny list in order for VirtualBox to run correctly., Tof if it, find out the name of the hypervisor using the command below:
$ lsmod | grep kvm
kvm_intel             446464  0
kvm                  1404928  1 kvm_intel
Then use the blacklist command to add the hypervisor to your denylist:
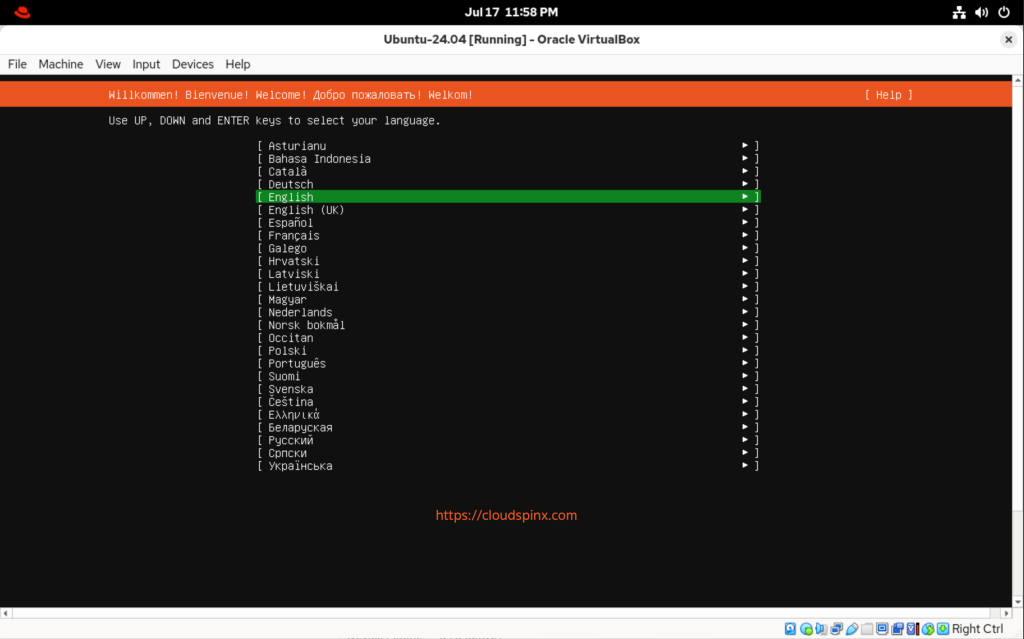
echo 'blacklist kvm-intel' >> /etc/modprobe.d/blacklist.confThen retry starting your VM again. The VM should start and you should see the GRUB Menu for Ubuntu Server:
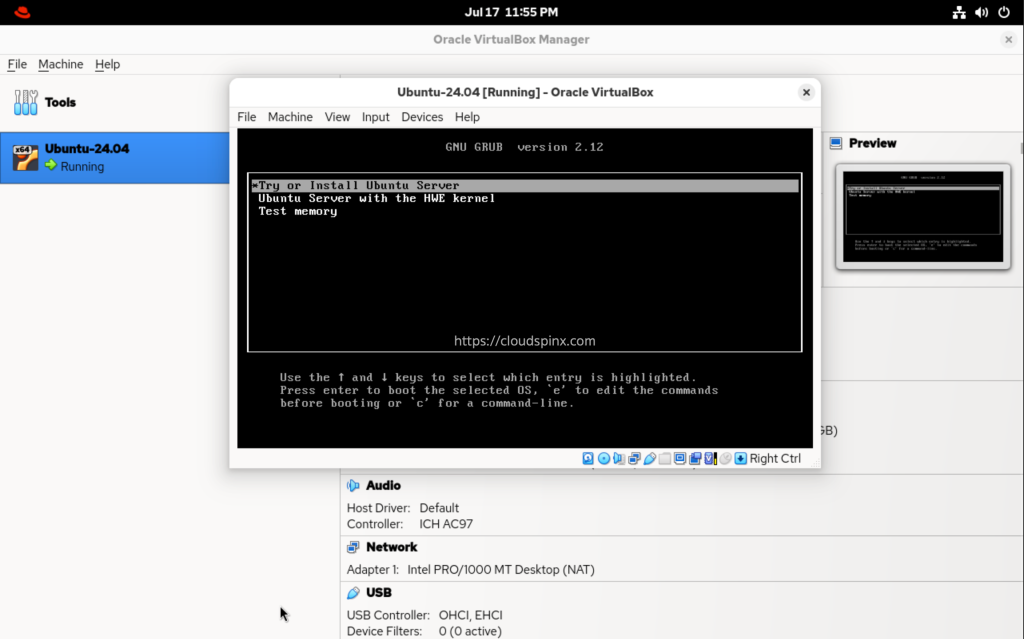
Proceed with your installation, since we had already installed the VirtualBox extension pack, the VM window will automatically switch to fullscreen:
That’s all for this guide folks, enjoy running VMs with VirtualBox on your new RHEL \ CentOS Stream machine.
More articles from our team:


