

In this guide, we are looking at how to install Asterisk 22 LTS on CentOS Stream 10 | RHEL 10. Asterisk is an open-source framework for building communications applications. Additionally, Asterisk transforms the ordinary computer into a communications server, and it runs IP PBX systems and VoIP gateways and conference servers and other custom applications. Small and large business companies, call centers, carriers and government agencies worldwide utilize it.
Keep in mind that this is a guide that asks the administrator to do quite a bit of legwork on his or her own. It is not that hard to install a communications server, but it is somewhat complex to maintain one. While this guide will put your server into operation, it will not be in a condition that you’re ready to put it into production with at the completion of the steps.
Some of the cool features of Asterisk PBX system are listed below:
- Conference calling
- Call Monitoring
- Call Recording
- Distributed Universal Number Discovery
- SMS Messaging
- Trunking
- Transcoding
- Voicemail
- Caller ID on Call Waiting
- Direct Inward System Access
- Call Parking
Follow the below steps to install Asterisk 22 LTS on CentOS Stream 10 | RHEL 10.
Step 1: Update System packages
Ensure that your system packages are up to date before beginning installations. Run the below command:
sudo yum -y updateReboot the system once upgraded:
sudo rebootStep 2: Set SELinux in Permissive
I am going to set SElinux in Permissive mode so as not to prevent any installations.
sudo setenforce 0
sudo sed -i 's/^SELINUX=.*/SELINUX=permissive/g' /etc/selinux/config
You can confirm using the commands:
getenforceStep 3: Install EPEL Repository and Dependencies
To install the EPEL repository, refer to our guide:
There are a number of packages that Asterisk requires to be installed. Run the below command to install them:
sudo yum install -y dmidecode gcc-c++ ncurses-devel libxml2-devel \
                    make wget openssl-devel newt-devel kernel-devel \
                    sqlite-devel libuuid-devel gtk2-devel jansson-devel \
                    binutils-devel libedit libedit-devel chkconfig wget
Also install Development Tools group packages with the below command:
sudo yum -y groupinstall "Development Tools"Step 4: Install Jansson
Jansson is a C library for encoding, decoding, and manipulating JSON data. Clone the jansson repository from Github and install as below:
cd /usr/src/
sudo git clone https://github.com/akheron/jansson.git
cd jansson
sudo autoreconf  -i
sudo ./configure --prefix=/usr/
sudo make
sudo make install
Step 5: Install PJSIP
PJSIP is a free and open-source multimedia communication library. It implements standard based protocols such as SIP, SDP, RTP, STUN, TURN, and ICE. Download the latest version from the official website using wget, extract and install as below:
cd ~
git clone https://github.com/pjsip/pjproject.git
cd pjproject
./configure CFLAGS="-DNDEBUG -DPJ_HAS_IPV6=1" --prefix=/usr --libdir=/usr/lib64 --enable-shared --disable-video --disable-sound --disable-opencore-amr
make dep
make
sudo make install
sudo ldconfig
Check that all libraries have been installed.git clone https://github.com/pjsip/pjproject.git
ldconfig -p | grep pj 
Step 6: Install Asterisk 22 LTS
Visit Asterisk official website and download the latest version or use wget to get it directly to your terminal and extract it.
cd /usr/src
sudo wget https://downloads.asterisk.org/pub/telephony/asterisk/asterisk-22-current.tar.gz
sudo tar xvf asterisk-22-current.tar.gz
cd asterisk-22*/
To enable mp3 music to play when on hold, run the following commands to install the required dependencies.
sudo yum install svn
sudo ./contrib/scripts/get_mp3_source.sh
Now run configure script to prepare package for compiling
sudo contrib/scripts/install_prereq install
sudo ./configure --libdir=/usr/lib64 --with-jansson-bundled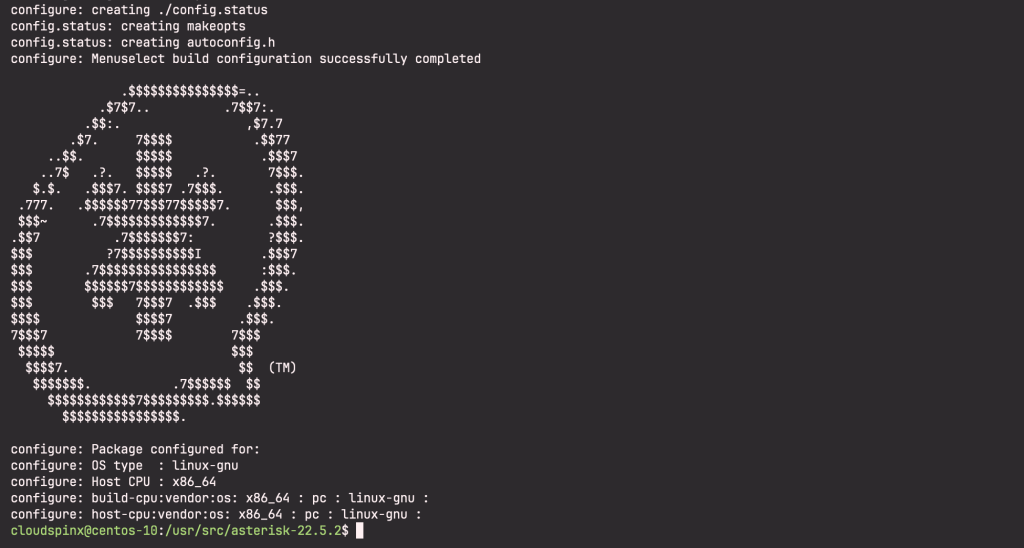
Let’s now start build process
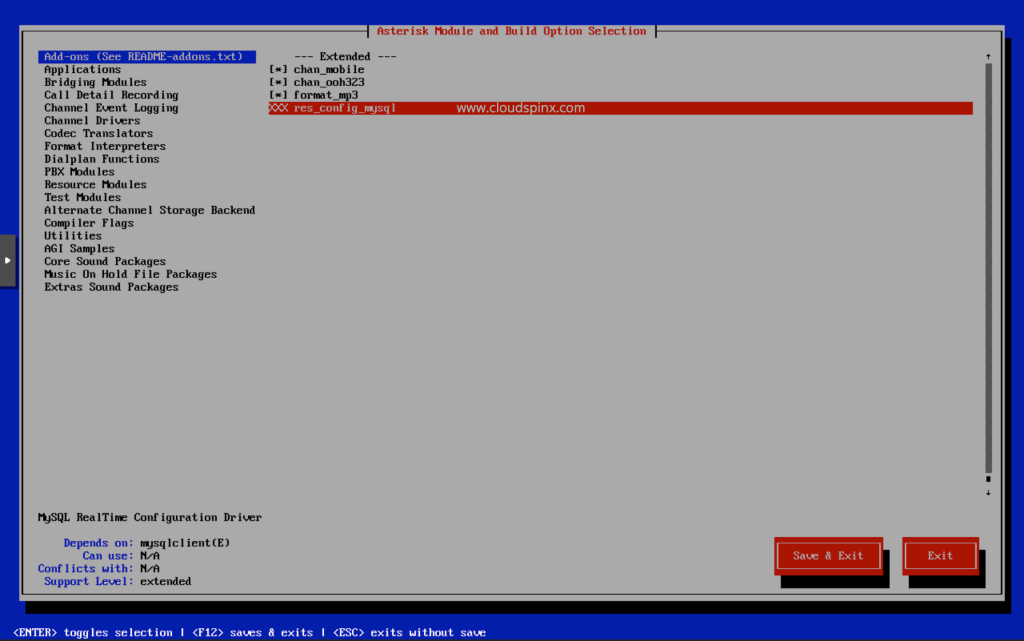
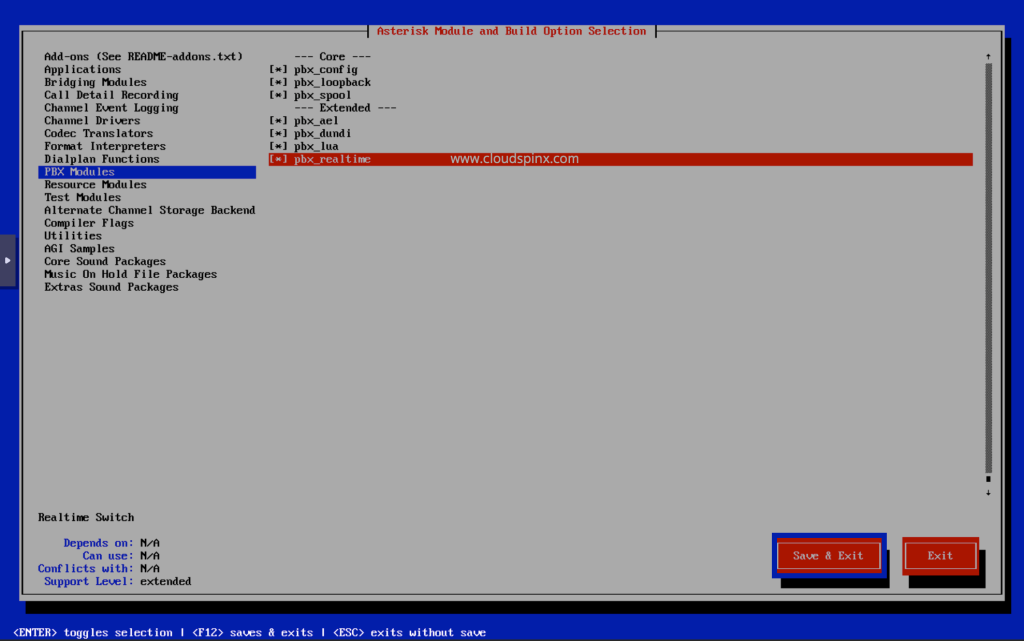
sudo make menuselectYou should get a list of features to enable. Use arrow keys to navigate and ‘ENTER’ key to select On Add-ons select chan_ooh323 and format_mp3 as shown below:
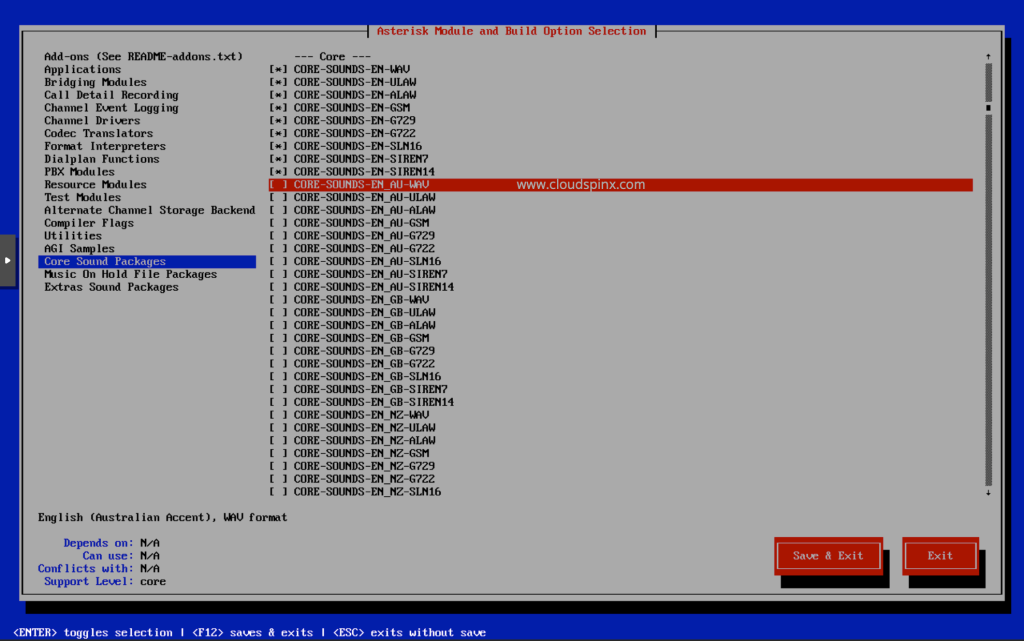
On Core Sound Packages, select the formats of Audio packets like below:
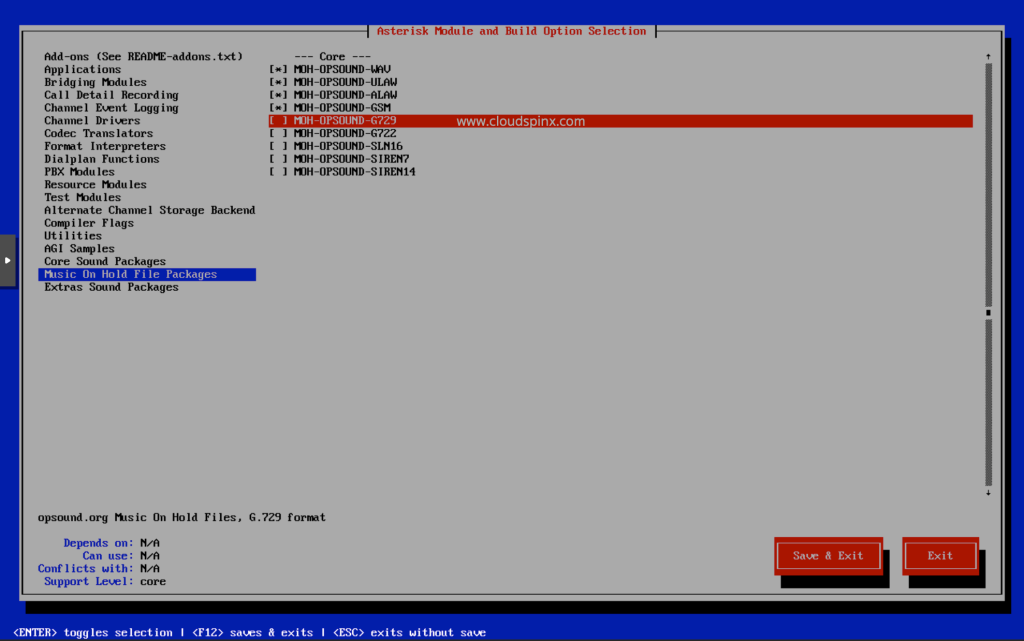
For Music on Hold,select the shown packages.
On Extra Sound Packages select as shown below.
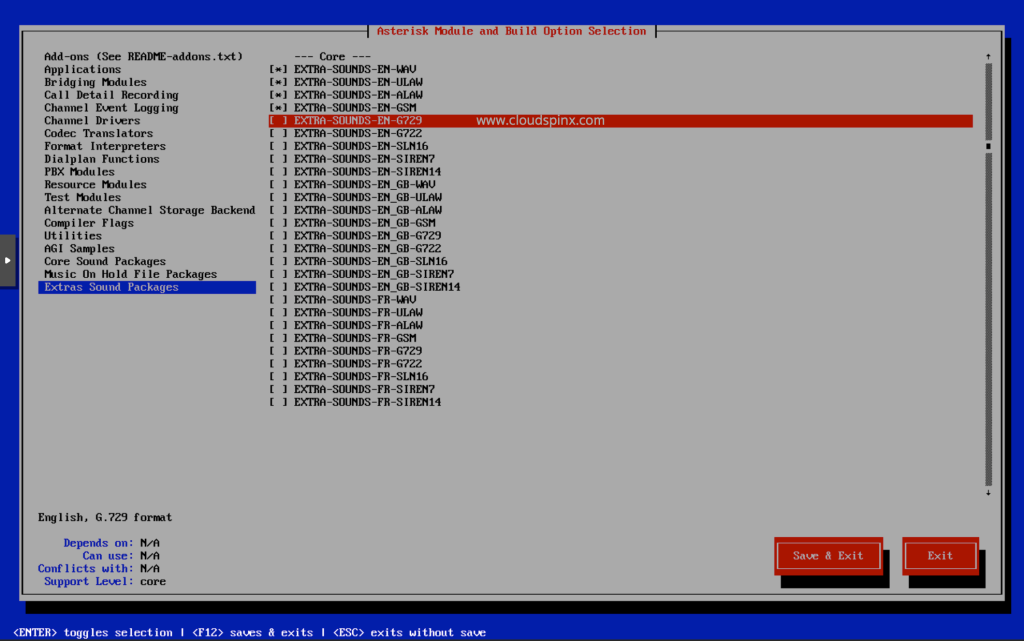
Once done, navigate to ‘Save & Exit’ then hit Enter.
Then build and install Asterisk with the following commands.
sudo make
sudo make install
Install sample configuration files.
sudo make samples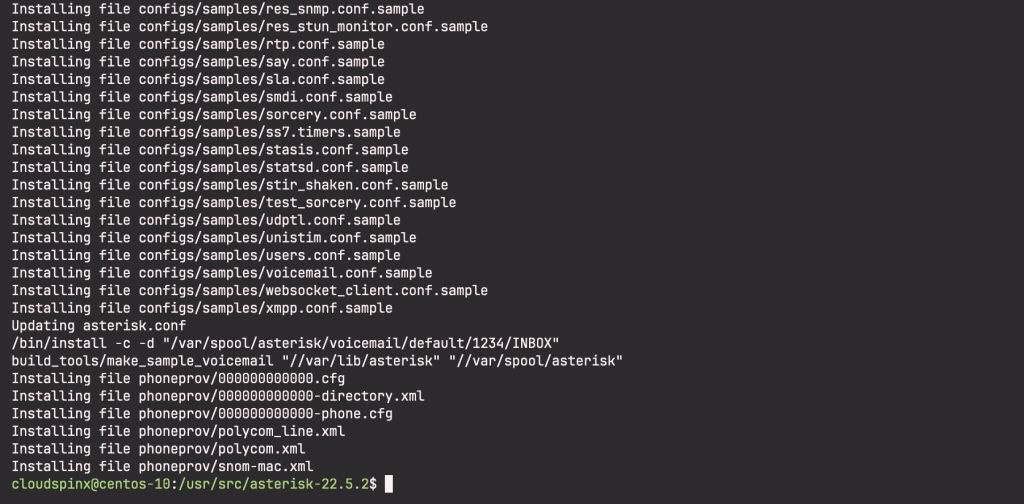
To start Asterisk on boot:
sudo make configNow create a separate user to run Asterisk services and update ownership of directories
sudo groupadd asterisk
sudo useradd -r -d /var/lib/asterisk -g asterisk asterisk
sudo chown -R asterisk:asterisk /etc/asterisk /var/{lib,log,spool}/asterisk /usr/lib64/asterisk
sudo restorecon -vr {/etc/asterisk,/var/lib/asterisk,/var/log/asterisk,/var/spool/asterisk}
Set Asterisk default user to asterisk:
$ sudo vim /etc/sysconfig/asterisk
###Uncomment these lines
AST_USER="asterisk"
AST_GROUP="asterisk"

$ sudo vim /etc/asterisk/asterisk.conf
###Uncomment these lines
runuser = asterisk ; The user to run as.
rungroup = asterisk ; The group to run as.
Configure Asterisk Systemd Service
Now, the Asterisk make install command drops in an old SysV init script, (/etc/rc.d/init.d/asterisk). Keep in mind that Oracle/Alma/Rocky 10 are systemd-only, and they no longer ship with /etc/rc.d/init.d/functions. That being said, if you try running the asterisk service, you will run into errors.
To solve this, you need to replace the legacy init script with a native systemd service unit (/etc/systemd/system/asterisk.service) as follows:
sudo tee /etc/systemd/system/asterisk.service > /dev/null <<'EOF'
[Unit]
Description=Asterisk PBX and telephony daemon.
After=network.target

[Service]
Type=simple
Environment=HOME=/var/lib/asterisk
#if systemd do not provide hostname and you need to use ${ENV(HOSTNAME)}
#Environment=HOSTNAME=%H
WorkingDirectory=/var/lib/asterisk
User=asterisk
Group=asterisk
ExecStart=/usr/sbin/asterisk -f -C /etc/asterisk/asterisk.conf
ExecStop=/usr/sbin/asterisk -rx 'core stop now'
ExecReload=/usr/sbin/asterisk -rx 'core reload'
#if /var/run is a tmpfs, this will create /var/run/asterisk on start
RuntimeDirectory=asterisk

#Nice=0
#UMask=0002
LimitCORE=infinity
#LimitNOFILE=
Restart=always
RestartSec=4

# Prevent duplication of logs with color codes to /var/log/messages
StandardOutput=null
PrivateTmp=false

[Install]
WantedBy=multi-user.target
EOF
Then reload the system to pick up the new unit and disable the old SysV wrapper.
# Reload systemd to pick up the new unit
sudo systemctl daemon-reexec
sudo systemctl daemon-reload

# Disable the old SysV wrapper
sudo systemctl disable asterisk
Enable & start the new service.
sudo systemctl enable --now asterisk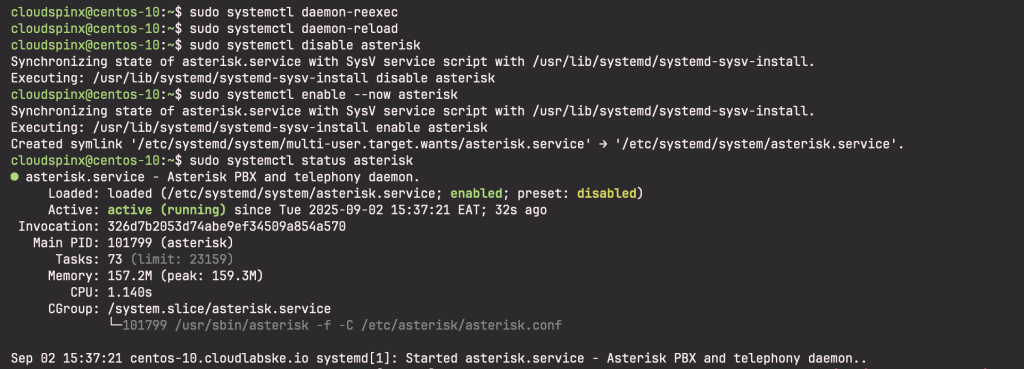
Test if you can connect to Asterisk CLI
sudo asterisk -rvv 
We have successfully installed Asterisk 22 LTS on CentOS Stream 10 | RHEL 10. I hope the guide has been useful. Watch out for more PBX system installation guides in our coming tutorials.
We have more interesting articles you can read on our website:


2 thoughts on “How To Install Asterisk 22 LTS on CentOS Stream 10 | RHEL 10”
missing this: dnf install chkconfig -y
Hi Joe, the package is in the dependency list and is installed along with the rest of the dependencies. Thanks for reaching out though.