In our last article we were able to install Chatwoot using Docker Container. This article will cover the alternative method of installing Chatwoot on Ubuntu 24.04 without using Docker Container. Chatwoot is a powerful open source software application used to manage customer interactions in a company across various communication channels like WhatsApp, Live Chat, Email, Social Media platforms.
With Chatwoot you will access all communications from a unified inbox and respond to customer queries with ease and efficiently. For live chat, you get embedded widget to use in your website for real-time customer support. Workflows enables you to automate repetitive tasks and measure support performance across teams using Chatwoot detailed reporting and analytics.
Install Chatwoot on Ubuntu 24.04
We will use an installer script that automates the setting up of Chatwoot on Ubuntu 24.04.
1) Prerequisites
For this deployment to succeed you will need:
- An Ubuntu 24.04 Linux Machine
- User with sudo or root login
- Create an A record if you plan to use a domain with chatwoot
For my server an A record exists in DNS 95.67.14.38 pointing to livechat.cloudspinx.com. See table below for adding a record on popular domain DNS providers.
| DNS Provider/Tool | Steps to Add A Record |
|---|---|
| BIND (Self-Hosted DNS Server) | Edit the zone file (/etc/bind/<zone>) and add:livechat IN A YOURIPThen restart BIND: systemctl restart bind9 |
| Cloudflare | Go to DNS > Click “Add Record” > Choose A Record > Name: livechat > IPv4: |
| AWS Route 53 | Navigate to Hosted Zones > Select cloudspinx.com > Click Create Record > Choose A Record > Name: livechat > Value: |
| Google Cloud DNS | Go to Cloud DNS > Select your zone (cloudspinx.com) > Click Add Record Set > Type: A > Name: livechat > IPv4 Address: |
| GoDaddy | Go to My Products > Manage DNS for cloudspinx.com > Click Add > Type: A > Host: livechat > Points to: |
| Namecheap | Go to Domain List > Click Manage on cloudspinx.com > Go to Advanced DNS > Click Add Record > Type: A Record > Host: livechat > Value: |
2) Download Installer Script
Update your OS package list index and install wget tool.
sudo apt update && sudo apt install wget vim nano -yUse wget to download Chatwoot deployment script.
wget https://get.chatwoot.app/linux/install.shMake the script downloaded executable.
chmod +x install.sh3) Install Chatwoot on Ubuntu 24.04
Execute the script which will handle the initial setup of Chatwoot.
- Fresh Installation
sudo ./install.sh --install- Upgrade already installed version
sudo ./install.sh --upgradeDuring upgrade if you encounter the error “PG::FeatureNotSupported: ERROR: extension ‘vector’ is not available” , see our guide on enabling pgvector extension on PostgreSQL.
The installation script will ask if you want to configure domain and SSL. If you are on a Cloud Instance with A record mapped to your DNS name, then agree to this.
***************************************************************************
              Chatwoot Installation (v4.0.3)
***************************************************************************

For more verbose logs, open up a second terminal and follow along using,
'tail -f /var/log/chatwoot-setup.log'.

Would you like to configure a domain and SSL for Chatwoot?(yes or no): yes
Next provide your domain or sub-domain for Chatwoot installation.
Enter the domain/subdomain for Chatwoot (e.g., chatwoot.domain.com): livechat.cloudspinx.comFor Let’s Encrypt expiry reminders you are required to provide your email address.
Enter an email address for LetsEncrypt to send reminders when your SSL certificate is up for renewal: [email protected]The script will help you with the generation of SSL certificates using Let’s Encrypt.
This script will generate SSL certificates via LetsEncrypt and
serve Chatwoot at https://livechat.example.com.
Proceed further once you have pointed your DNS to the IP of the instance.

Do you wish to proceed? (yes or no): yes
Accept installation of Postgres and Redis on the Ubuntu server.
Would you like to install Postgres and Redis? (Answer no if you plan to use external services)(yes or no): yesWait for a few minutes as the downloading and configuration of Chatwoot services proceeds.
➥ 1/9 Installing dependencies. This takes a while.
➥ 2/9 Installing databases.
➥ 3/9 Installing webserver.
➥ 4/9 Setting up Ruby
➥ 5/9 Setting up the database.
➥ 6/9 Installing Chatwoot. This takes a long while.
➥ 7/9 Running database migrations.
➥ 8/9 Setting up systemd services.
➥ 9/9 Setting up SSL/TLS.
If all goes well you will get a success message similar to the one shown below.
***************************************************************************
Woot! Woot!! Chatwoot server installation is complete.
The server will be accessible at https://livechat.example.com

Join the community at https://chatwoot.com/community?utm_source=cwctl
***************************************************************************

🚀 Try out the all new Chatwoot CLI tool to manage your installation.
🚀 Type "cwctl --help" to learn more.
Access Chatwoot web application over https – https://yourdomain
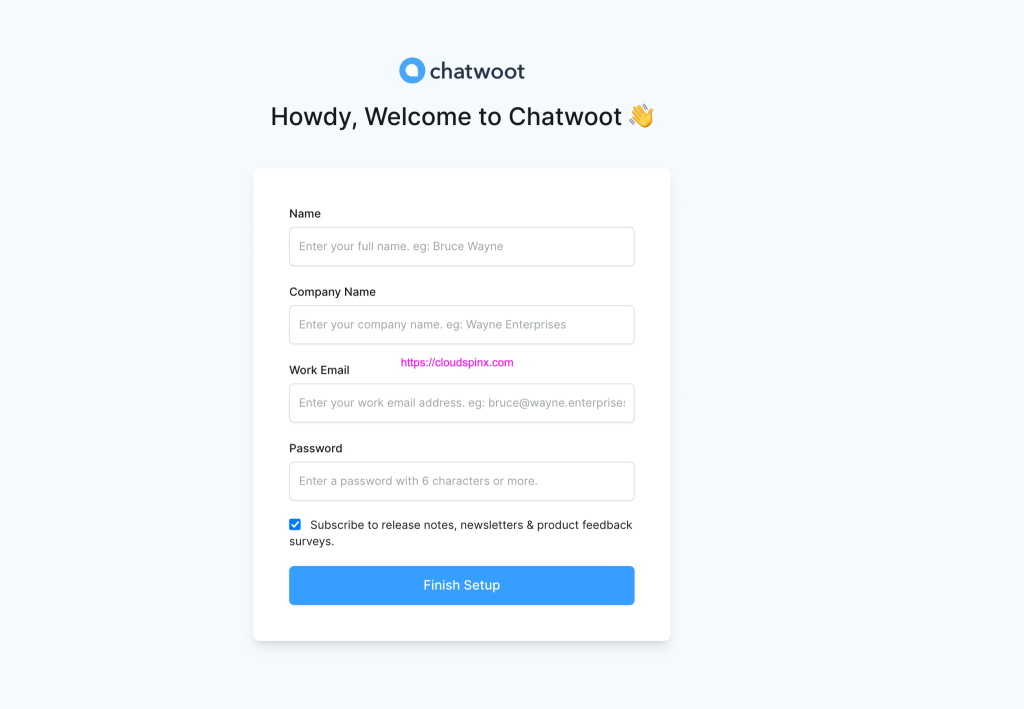
After account creation and login you will see dashboard like below.
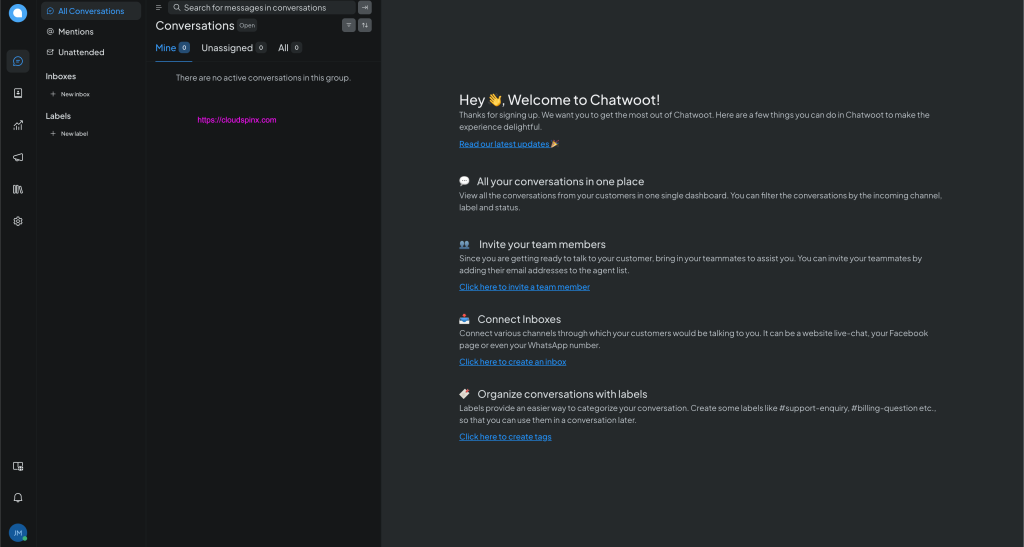
4) Configure Chatwoot Environment
Here we will perform the bare minimum, for more explanations refer to the official Environment variables list.
Switch to chatwoot user account.
sudo -i -u chatwootThen open .env file for editing.
cd chatwoot
vim .env || nano .env
Update required variables in .env file by referring to Environment variables. Save the file when done and restart chatwoot.target.
exit
sudo systemctl restart chatwoot.target
The service can also be restarted by running the commands sudo cwctl -r.
$ sudo cwctl -r
● chatwoot.target
     Loaded: loaded (/etc/systemd/system/chatwoot.target; enabled; preset: enabled)
     Active: active since Fri 2025-03-07 11:23:00 EAT; 15ms ago

Mar 07 11:23:00 livechat.cloudspinx.com systemd[1]: Reached target chatwoot.target.
To check logs from the rails server, run:
journalctl -u chatwoot-web.1.service -fViewing sidekiq logs.
journalctl -u chatwoot-worker.1.service -f5) Enabling IP Logging
Chatwoot allows you to identify your user’s location by geocoding the IP address. Th service used for this is MaxmindDB. Follow below steps to configure your Chatwoot instance with the geocoding.
Step 1: Sign up for a MaxmindDB account and create an API key.

After it’s generated copy or download config file.
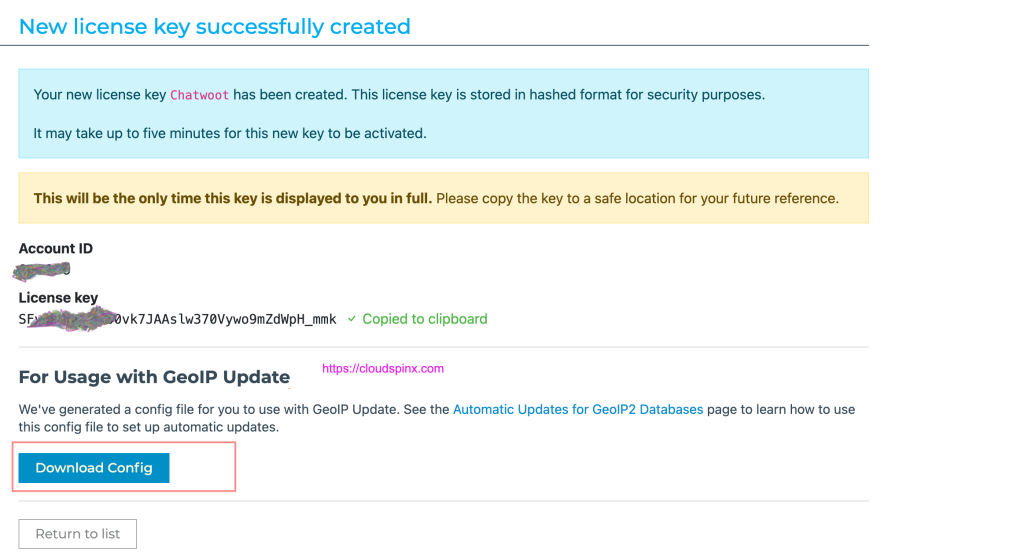
Step 2: Open .env file and add the following environment variables.
$ su - chatwoot
$ vim chatwoot/.env||nano chatwoot/.env
IP_LOOKUP_API_KEY=paste-your-api-key
Chatwoot would automatically download the MaxmindDB downloadable databases and cache it locally.
Restart service.
sudo cwctl -r
#OR
sudo systemctl restart chatwoot.target
Step 3: Enable IP Lookup on your account.
Login to your Chatwoot dashboard access “Super Admin Console“.
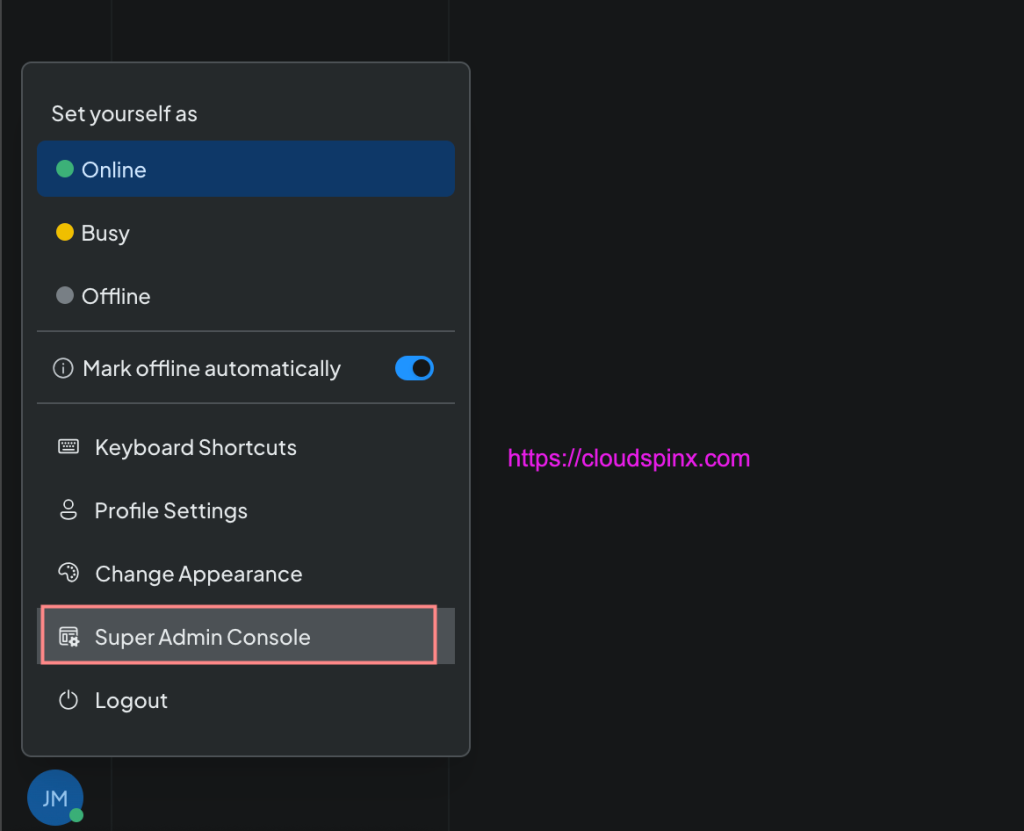
Select your account and click “edit“

Toggle the ip_lookup feature.
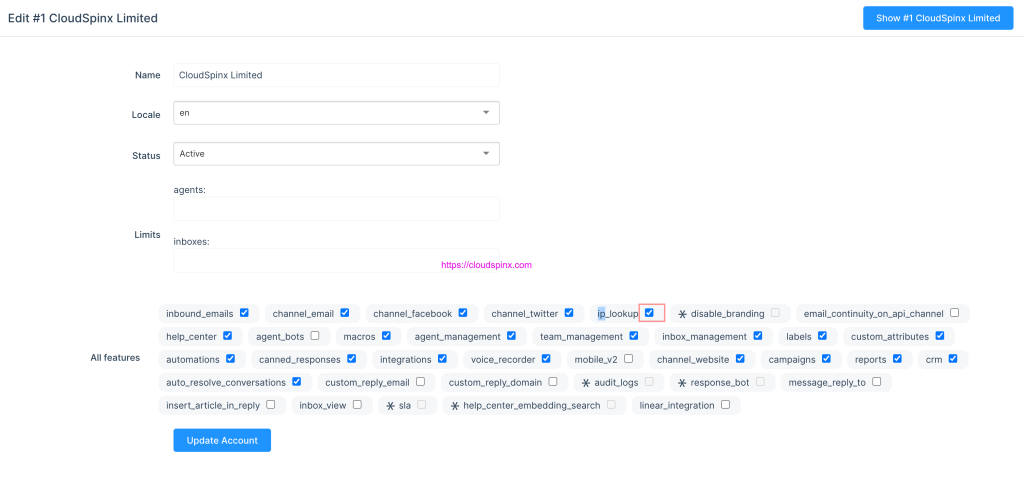
Option 2 is to use Rails Console.
sudo su - chatwoot
cd chatwoot
RAILS_ENV=production bundle exec rails console

account_id = 1 // Please fill your account id instead of 1
account = Account.find(account_id)
account.enable_features('ip_lookup')
account.save!
References and more reading:
- Chatwoot Linux VM install guide.
- Using Environment Variables
- Configure Help Center
Contact us for support with the installation, configurations and usage of Chatwoot on Ubuntu or any other Linux distribution. We are available to help ASAP.


2 thoughts on “How To Install Chatwoot Live Chat on Ubuntu 24.04”
you did not specify how you created the A record for the domain. I’m Behind a router using DHCP for all my machine installations. so, how will I configure the domain to point to that server?
Also i have a static public IP too