
Cockpit is a lightweight, web-based graphical interface for administering Linux machines. Rather than relying exclusively on the command line, Cockpit allows administrators to keep track of performance, control services, set up storage, administrate networks, and manage virtual machines, all in a modern web browser. It works with tools within the system. For example, if you make a change in the UI, the command line will adjust. Cockpit is particularly useful for new Linux users who prefer the GUI way of approaching things, as well as experienced administrators looking for centralized management.
Features
- Web-based Interface: Manage VMs via a browser.
- User-Friendly: Simplifies system administration.
- Remote Management: Access and control remote servers.
- Integration with Libvirt: Manage KVM virtual machines.
- Live Resource Monitoring: View CPU, memory, and disk usage.
Installation of Cockpit on Linux systems
This tutorial will show you how to install Cockpit on a Linux system and set it up for secure remote access. Follow the next steps to install Cockpit into your Linux operating system.
1 – RHEL-based Linux Distributions
Cockpit is included in RHEL-based distributions by default. Install it using:
sudo dnf install -y cockpit cockpit-machines
Enable and start the Cockpit service:
sudo systemctl enable --now cockpit.socket
Allow Cockpit through the firewall:
sudo firewall-cmd --permanent --add-service=cockpit
sudo firewall-cmd --reload
2 – Fedora Linux
Cockpit is included in Fedora by default. Install it using:
sudo dnf install -y cockpit cockpit-machines cockpit-podman
Start the service:
sudo systemctl enable --now cockpit.socket
Open the required firewall port:
sudo firewall-cmd --permanent --add-service=cockpit
sudo firewall-cmd --reload
3 – Ubuntu & Debian based Linux Distributions
sudo apt update && sudo apt install -y cockpit cockpit-machines
Start the service:
sudo systemctl enable --now cockpit.socket
If UFW is enabled, allow Cockpit through the firewall:
sudo ufw allow 9090/tcp
4 – Arch Linux & Arch based Linux Distributions
sudo pacman -S cockpit cockpit-machines
Start and enable the service:
sudo systemctl enable --now cockpit.socket
5 – OpenSUSE (Leap & Tumbleweed)
sudo zypper install -y cockpit cockpit-machines
Start and enable the service:
sudo systemctl enable --now cockpit.socket
Allow Cockpit through the firewall:
sudo firewall-cmd --permanent --add-service=cockpitsudo firewall-cmd --reload
Access Cockpit at: https://your-server-ip:9090
Accessing Cockpit Web Dashboard
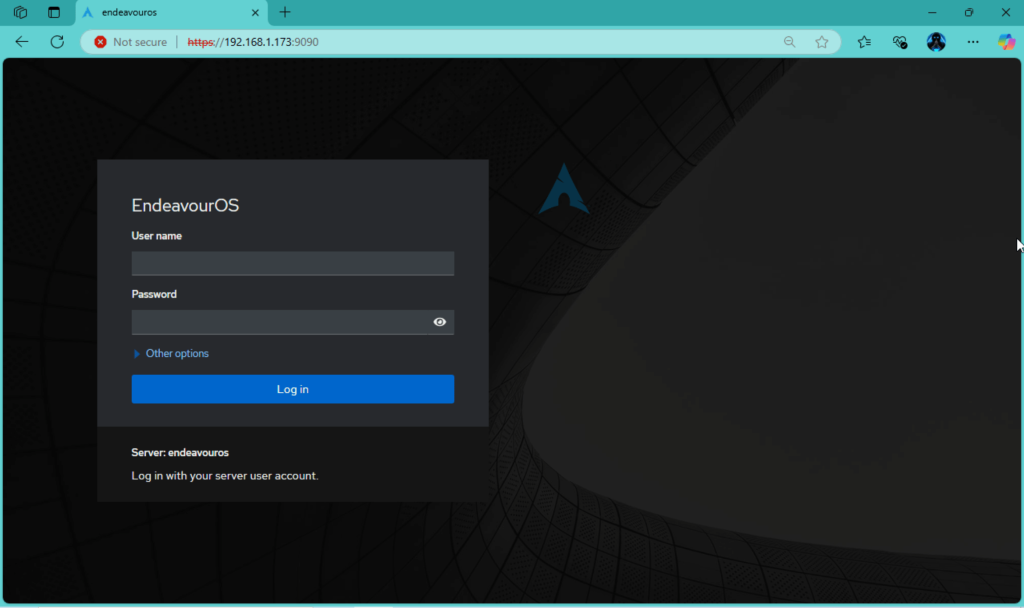
Cockpit provides a web-based graphical interface for managing virtual machines and other system settings. After you enable cockpit, open a browser and point to http://SERVER_IP:9090. By default cockpit listens on port 9090.
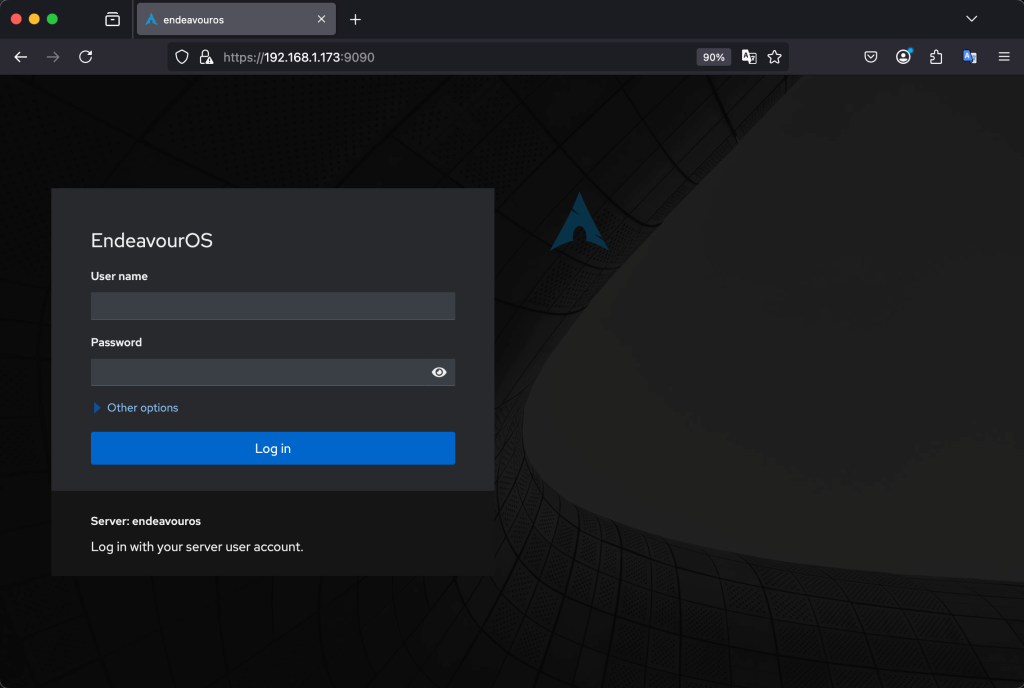
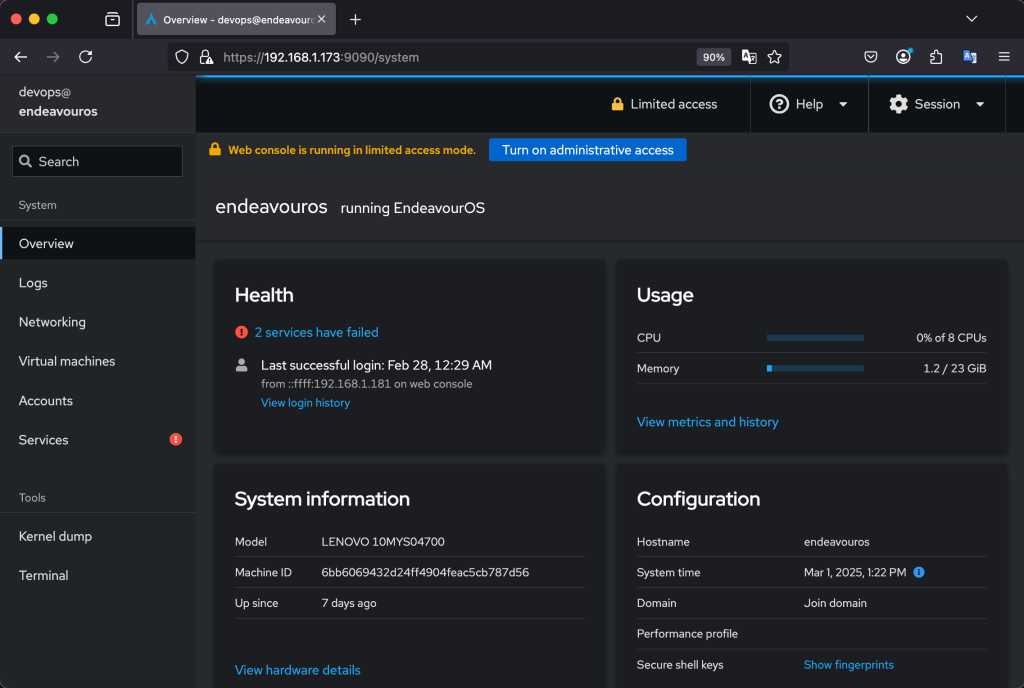
Enter your system login credentials to sign in, and you should see the cockpit dashboard:
Managing User Access
By default, Cockpit allows administrative access to users in the wheel or sudo group. If a user needs permission to manage VMs without full root access, add them to the libvirt group:
sudo usermod -aG libvirt <username>
Then, log out and log back in for the changes to take effect.
Firewall Considerations
If Cockpit is inaccessible, ensure that firewall rules allow traffic on port 9090. To allow Cockpit through the firewall, run:
sudo ufw allow 9090/tcp
sudo ufw reload
Remote Access
To enable remote access to Cockpit, ensure that SSH is configured correctly and that Cockpit’s web service is accessible from remote hosts. You can connect remotely by navigating to http://SERVER_IP:9090.
🌍 Our KVM eBook covers all this in details and more. In the book you will learn:
- Cockpit installation
- Configure and Access Cockpit dashboard
- Creating Virtual Machines using Cockpit
- Managing Virtual Machines using Cockpit
- Network Configurations and Management
- Managing Storage Pools
- Snapshot Management
- VM Backup and Migration


