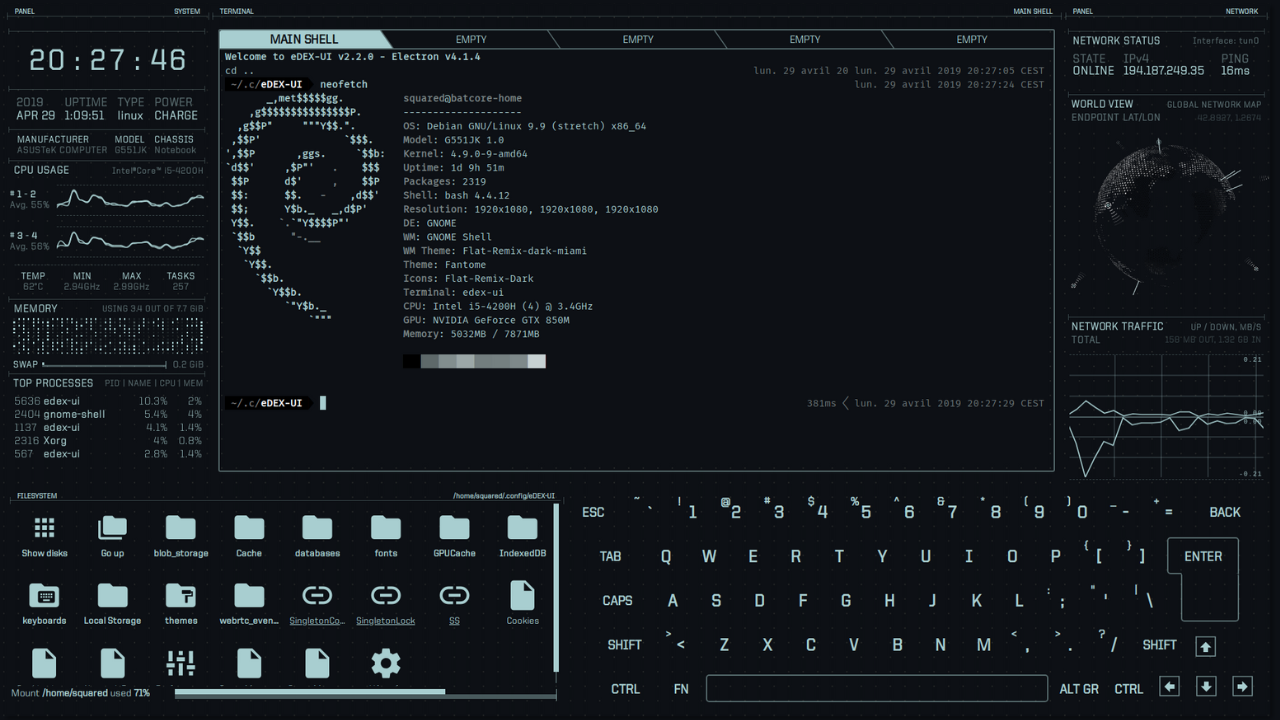
On this tutorial, we will look at how to install and configure eDEX-UI terminal emulator on Linux Mint. eDex-UI is a full-screen terminal emulator that is cross-platform, highly configurable. It resembles science-fiction computer interface. It creates an illusion of desktop environment when running. Runs on Windows, Linux and MacOS. It is highly utilized in real life with the aim of bringing science-fiction UXs to the mainstream.
Features of eDEX-UI Terminal Emulator
- It is touch-screen enabled. Can run and be operated in a touchscreen deice such as tablet and laptop that is touch-screen enabled. Comes with own-screen keyboard installed.
- Multi-Terminal enabled. Allows user to open more than one terminal for multiprocessing.
- Real-time system and network monitoring. Has an interface that displays CPU, RAM, swap and processes information. Capability to scan your location via GeoIP, show active connections and transfer rates.
- Advanced customization with embedded themes, own-screen layouts and CSS injections.
Installing and Configuring eDEX-UI terminal Emulator
In this article, we are going to do our installation on Linux mint. Before installation, we are going to download eDEX-UI from github repository.
64-bit system:
VER=$(curl -s https://api.github.com/repos/GitSquared/edex-ui/releases/latest | grep tag_name | cut -d '"' -f 4 | sed 's/v//')
wget https://github.com/GitSquared/edex-ui/releases/download/v${VER}/eDEX-UI-Linux-x86_64.AppImage
Sample output:
$ wget https://github.com/GitSquared/edex-ui/releases/download/v${VER}/eDEX-UI-Linux-x86_64.AppImage
--2022-09-28 08:31:49--  https://github.com/GitSquared/edex-ui/releases/download/v2.2.8/eDEX-UI-Linux-x86_64.AppImage
Resolving github.com (github.com)... 140.82.121.3
Connecting to github.com (github.com)|140.82.121.3|:443... connected.
HTTP request sent, awaiting response... 302 Found
Location: https://objects.githubusercontent.com/github-production-release-asset-2e65be/80276391/504c8f6e-bf91-48a5-968b-5aafba84d707?X-Amz-Algorithm=AWS4-HMAC-SHA256&X-Amz-Credential=AKIAIWNJYAX4CSVEH53A%2F20220928%2Fus-east-1%2Fs3%2Faws4_request&X-Amz-Date=20220928T053149Z&X-Amz-Expires=300&X-Amz-Signature=b355f52b056a565b6c8ebef9d4c3c1f7bc1e67c71b61432945380dd272d2b9f2&X-Amz-SignedHeaders=host&actor_id=0&key_id=0&repo_id=80276391&response-content-disposition=attachment%3B%20filename%3DeDEX-UI-Linux-x86_64.AppImage&response-content-type=application%2Foctet-stream [following]
--2022-09-28 08:31:49--  https://objects.githubusercontent.com/github-production-release-asset-2e65be/80276391/504c8f6e-bf91-48a5-968b-5aafba84d707?X-Amz-Algorithm=AWS4-HMAC-SHA256&X-Amz-Credential=AKIAIWNJYAX4CSVEH53A%2F20220928%2Fus-east-1%2Fs3%2Faws4_request&X-Amz-Date=20220928T053149Z&X-Amz-Expires=300&X-Amz-Signature=b355f52b056a565b6c8ebef9d4c3c1f7bc1e67c71b61432945380dd272d2b9f2&X-Amz-SignedHeaders=host&actor_id=0&key_id=0&repo_id=80276391&response-content-disposition=attachment%3B%20filename%3DeDEX-UI-Linux-x86_64.AppImage&response-content-type=application%2Foctet-stream
Resolving objects.githubusercontent.com (objects.githubusercontent.com)... 185.199.109.133, 185.199.110.133, 185.199.111.133, ...
Connecting to objects.githubusercontent.com (objects.githubusercontent.com)|185.199.109.133|:443... connected.
HTTP request sent, awaiting response... 200 OK
Length: 96624316 (92M) [application/octet-stream]
Saving to: ‘eDEX-UI-Linux-x86_64.AppImage’

eDEX-UI-Linux-x86_6 100%[===================>]  92.15M  11.3MB/s    in 6.1s

2022-09-28 08:31:55 (15.2 MB/s) - ‘eDEX-UI-Linux-x86_64.AppImage’ saved [96624316/96624316]
32-bit system:
wget https://github.com/GitSquared/edex-ui/releases/download/v${VER}/eDEX-UI.Linux.i386.AppImageTo start eDEX-UI, first you need to make the downloaded file executable, then proceed to run the following command in your terminal:
sudo chmod +x eDEX-UI-Linux-x86_64.AppImageOnce it is executable, you can run the file in the following order:
./<downloaded-file>For our case the file to run looks as follows:
./eDEX-UI-Linux-x86_64.AppImageThis is the output is as follows:
$ sudo chmod +x eDEX-UI-Linux-x86_64.AppImage
$ ./eDEX-UI-Linux-x86_64.AppImage --no-sandbox
▶  start     Starting eDEX-UI v2.2.8
ℹ  info      With Node 14.16.0 and Electron 12.2.2
ℹ  info      Renderer is Chrome 89.0.4389.128
▶  Startup   Initialized timer...
ℹ  info      Base config dir is /home/cloudspinx/.config/eDEX-UI
ℹ  info      Default settings written to /home/cloudspinx/.config/eDEX-UI/settings.json
ℹ  info      Default keymap written to /home/cloudspinx/.config/eDEX-UI/shortcuts.json
ℹ  info      Default last window state written to /home/cloudspinx/.config/eDEX-UI/lastWindowState.json
☐  pending   Mirroring internal assets...
☐  pending   Loading settings file...
☐  pending   Resolving shell path...
ℹ  info      Shell found at /usr/bin/bash
✔  success   Settings loaded!
☐  pending   Creating new terminal process on port 3000
✔  success   Terminal back-end initialized!
☐  pending   Starting multithreaded calls controller...
libva error: vaGetDriverNames() failed with unknown libva error
✔  success   Multithreaded controller ready
ℹ  info      Creating window...
☒  complete  Frontend window created!
…  watching  Waiting for frontend connection...
ℹ  info      Multithread worker started at 4019
ℹ  info      Multithread worker started at 4016
ℹ  info      Multithread worker started at 4023
✔  success   Connected to frontend!
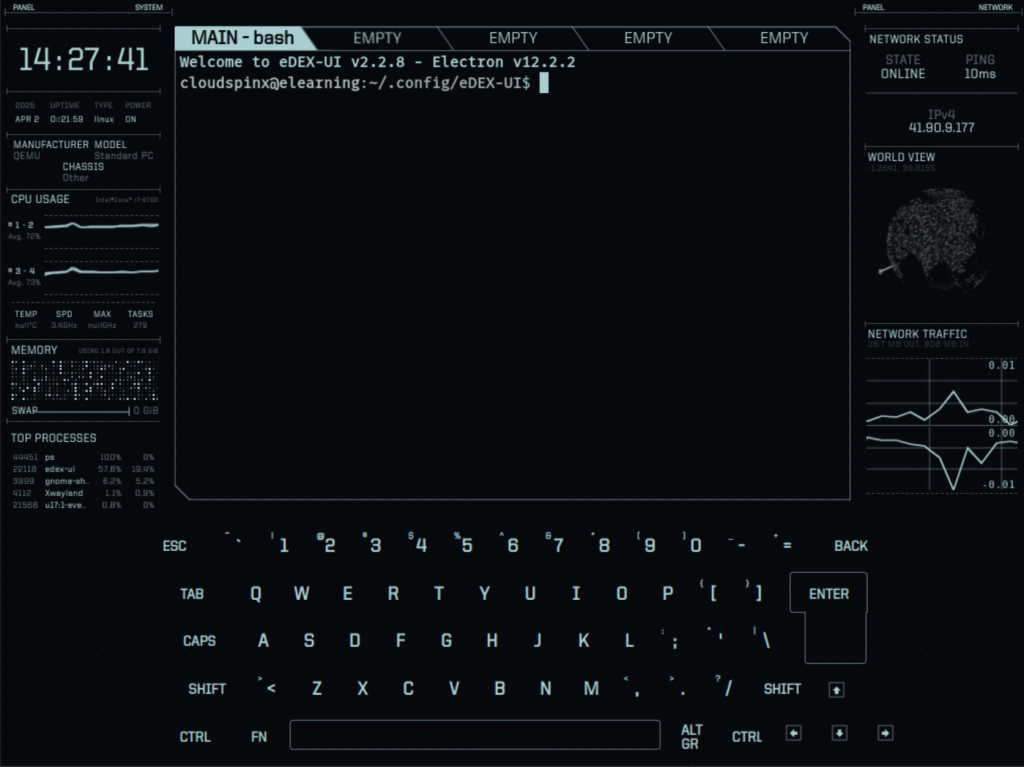
Information below will appear in your terminal indicating that application is starting and now running. Application will start automatically after clicking Enter key on the keyboard. Will launch with a default them a shown below.
Settings
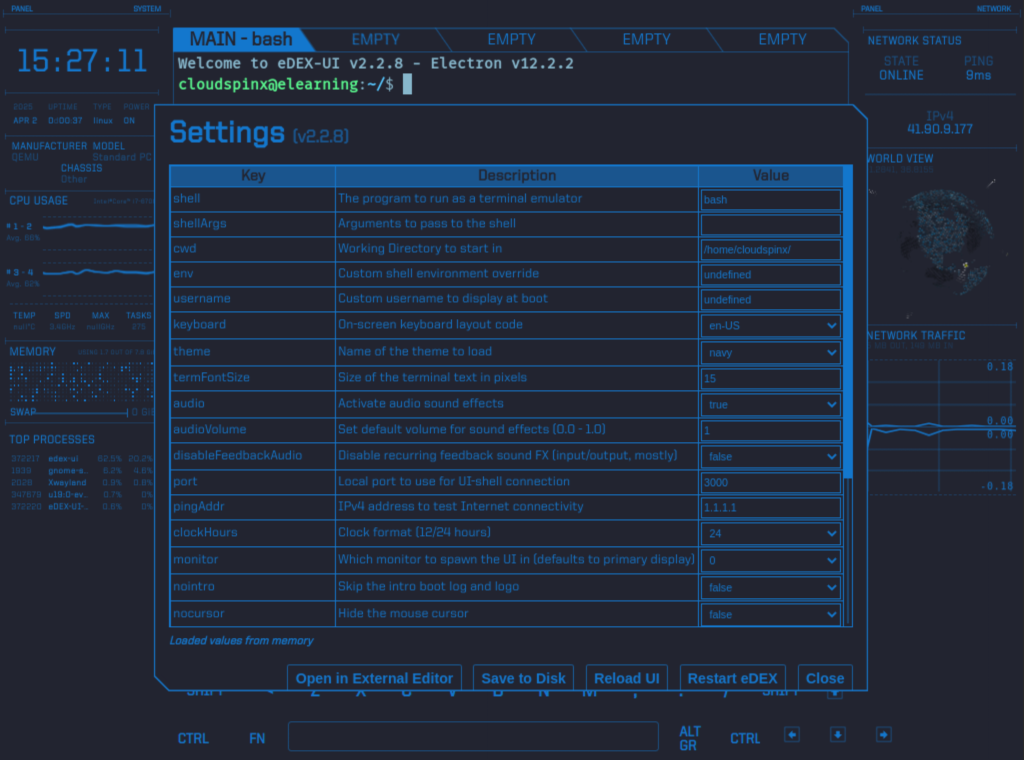
This application comes with integrated settings.json file that stores all your parameters. The file is located in ~/.config/eDEX-UI/settings.json.
From version 2.0.0 +, you can comfortably edit settings option without manually editing the file. Use Ctrl+Shift+S keyboard shortcut to access the .json file or go to userData folder in the file system display and select settings.json file.
The Settings UI:
Changing Themes eDEX-UI terminal Emulator
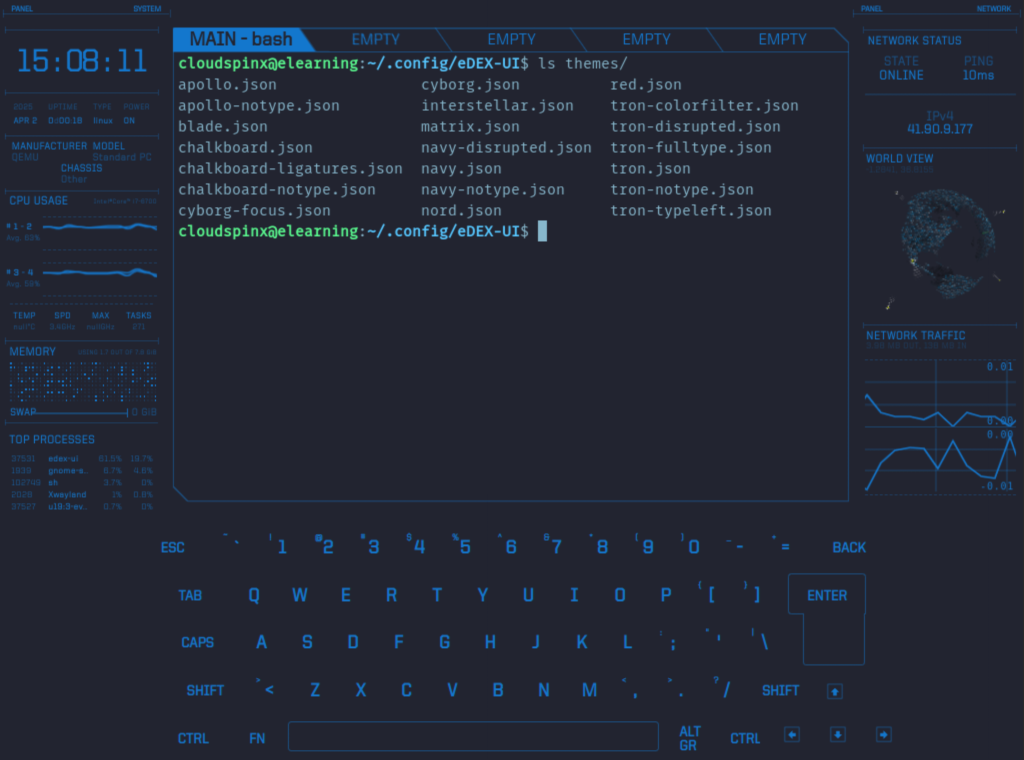
Application comes with variety of themes embedded thus user is not limited to default theme. You can play around with available ones to choose one that suits your interest in interface appearance. To change your theme, simply open settings window using ctrl+shift+s and then pick a theme, save changes to disk and Reload UI.
The available themes are:
cloudspinx@elearning:~/.config/eDEX-UI$ ls themes
apollo-notype.json  chalkboard-ligatures.json  cyborg-focus.json  matrix.json          navy.json  tron-colorfilter.json  tron-notype.json
apollo.json         chalkboard-notype.json     cyborg.json        navy-disrupted.json  nord.json  tron-disrupted.json    tron-typeleft.json
blade.json          chalkboard.json            interstellar.json  navy-notype.json     red.json   tron-fulltype.json     tron.json
Navy Theme:
Nord Theme:
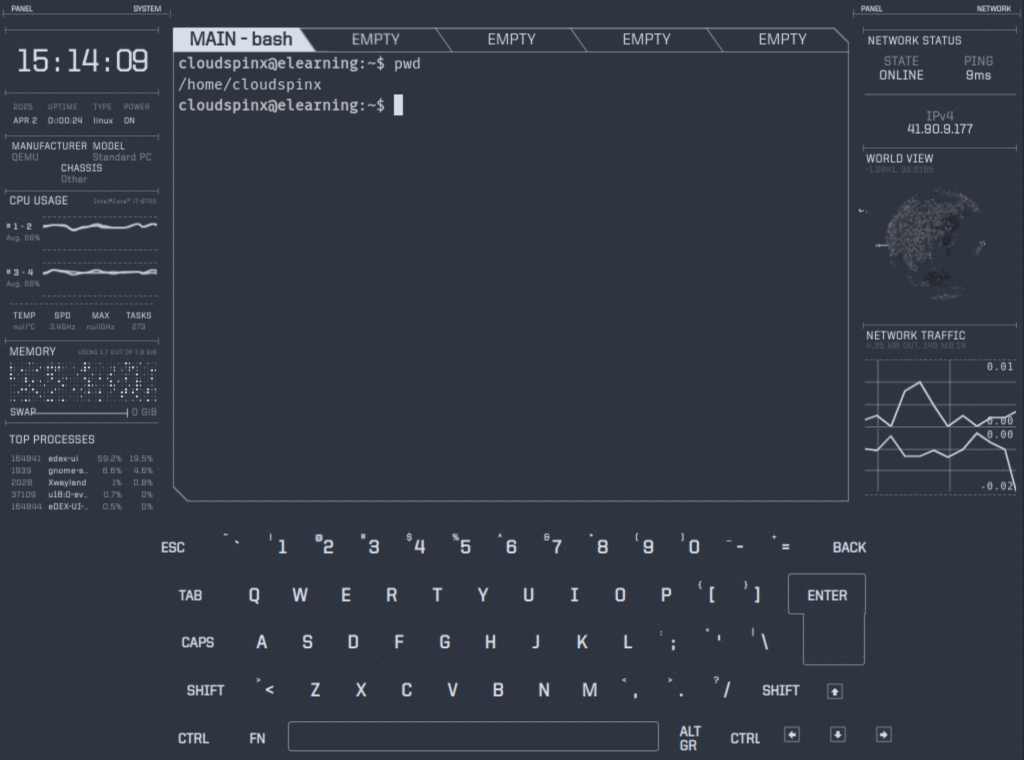
Matrix Theme:
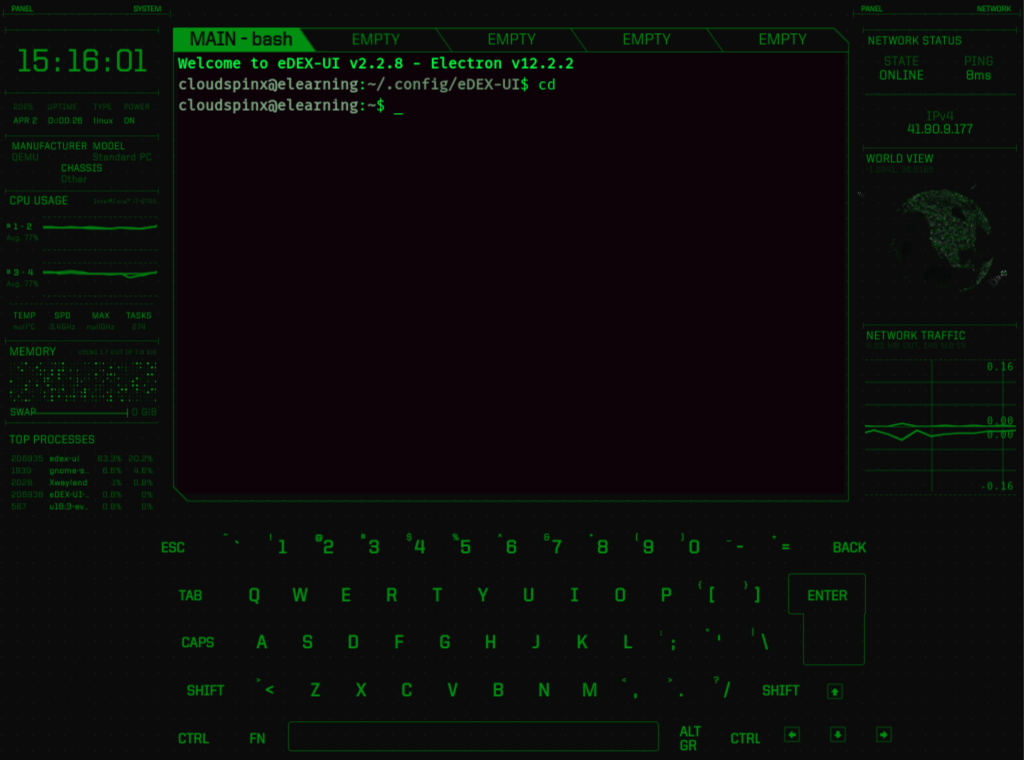
Interstellar Theme:
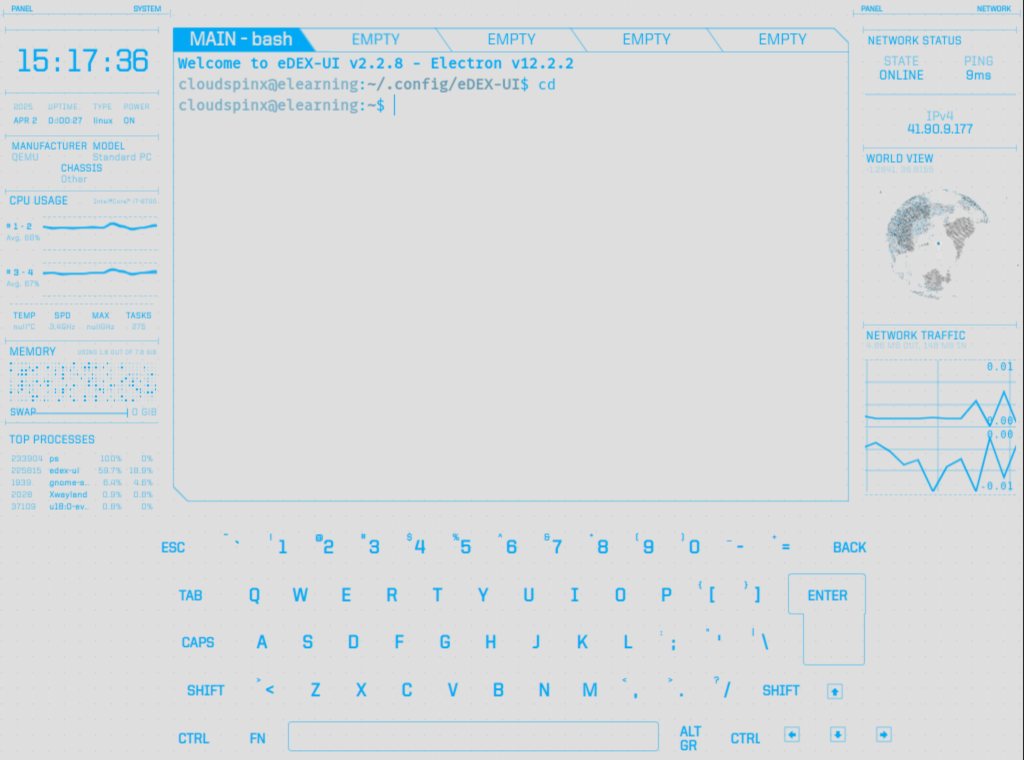
NOTE: Incorrect filling of the file may lead to crushing of eDEX on start. But you can solve this by deleting the file. A new file can be created next time you start the application.
Keyboard Layout for eDEX-UI terminal Emulator
The application comes with own screen embedded keyboard that creates flexibility to user with touch-screen devices such as Tablets, iPads and Laptops. By default, installed and active keyboard is QWERTY. You can still modify it to meet your requirements. Layout is arranged systematically in rows. Each row contains an array of keys that will be parsed in order by keyboard.class.js, from left to right.
{
    "row_numbers": [],
    "row_1": [],
    "row_2": [],
    "row_3": [],
    "row_space": []
}
Each key contains name and cmd properties and sometimes prefixed name and cmd properties. To initiate this, navigate to icon labeled Keyboard to change the layout basing on your requirements.
Some of the key shortcuts include:
| Trigger | Action |
|---|---|
Ctrl+Shift+K | Show available keyboard shortcuts and edit them. |
Ctrl+Shift+C | Copy selected buffer from the terminal. |
Command+C | Copy shortcut for macOS. |
Ctrl+Shift+V | Paste system clipboard to the terminal. |
Command+V | Paste shortcut for macOS. |
Ctrl+Tab | Switch to the next opened terminal tab (left to right order). |
Ctrl+Shift+Tab | Switch to the previous opened terminal tab (right to left order). |
Ctrl+1 | Switch to tab #1 (Main shell). |
Ctrl+2 | Switch to tab #2. |
Ctrl+3 | Switch to tab #3. |
Ctrl+4 | Switch to tab #4. |
Ctrl+5 | Switch to tab #5. |
Ctrl+Shift+S | Open in-UI settings editor. |
Ctrl+Shift+H | Toggle hidden files and directories in the file browser. |
Ctrl+Shift+L | Toggle between list and grid view in the file browser. |
Ctrl+Shift+P | Toggle the on-screen keyboard’s “Password Mode”, that allows you to safely type sensitive information even if your screen might be recorded (disables visual input feedback). |
Ctrl+Shift+F | Open the “Fuzzy Finder”, which helps you quickly find a file in the current directory. |
Ctrl+Shift+I | Open Chromium Dev Tools (for debugging purposes). |
You can use the above combination whether on your physical keyboard or virtual one on the screen.
This guide has been about installing eDEX-UI terminal emulator on Linux Mint 22, an amazing cross-platform emulator, that doubles up as a terminal and monitor for Linux processes. It contains plenty on interesting themes and occupies the whole screen with sidebars for Linux stats. Enjoy!

