Let’s talk a bit about FreeBSD. We could just say that it’s a Unix-like operating system and be done with it, but that would be an understatement. FreeBSD was first developed in the University of California. It’s design architecture and development is entirely based on Berkeley Software Distribution(BSD) Unix. Because of the large community behind it, FreeBSD has developed into a powerful open-source operating system. Today, FreeBSD is used to power modern server, desktops, and embedded systems. Due to its advanced networking, security, and storage features, FreeBSD has become the platform of choice for many of the web sites and most embedded networking and storage devices.
FreeBSD is compatible with the Kernel-based Virtual Machine (KVM) platform; a full virtualization solution for Linux on x86 hardware. With this support for virtualization, you can install and run multiple systems on one single physical machine. This also makes it much easier to manage your Virtual Machines and users can take advantage of FreeBSD’s high performance even in a virtualized environment.
In this guide, we’ll focus on the process of installing FreeBSD 14 on KVM or Proxmox virtualization platform. We’ll go through all the necessary pre-installation steps to set up your KVM environment and then go ahead with the installation
🧠 Don’t just learn KVM – master it with the best-selling eBook trusted by thousands..
Install FreeBSD 14 on KVM and Proxmox VE
In the next steps we perform the installation of FreeBSD 14 on KVM and also Proxmox VE.
Download FreeBSD 14 Image
You can download a copy of FreeBSD 14 image from FreeBSD releases page or get it right from your terminal by running one of the following commands.
# DVD iso
wget https://download.freebsd.org/ftp/releases/ISO-IMAGES/14.3/FreeBSD-14.3-RELEASE-amd64-dvd1.iso

# Bootonly iso -- Recommended for server editions
wget https://download.freebsd.org/releases/amd64/amd64/ISO-IMAGES/14.3/FreeBSD-14.3-RELEASE-amd64-bootonly.iso
KVM VM Set Up
Log in to your KVM and navigate to the Virtual Machines tab and click on ‘Create VM’, then fill in the following details:
- Name: The name of your new VM
- Installation Type: Choose Local installation media since you are installing from a locally available ISO image
- Installation Source: The absolute path to your FreeBSD 14 ISO
- Operating System: From the available list, pick the closest (FreeBSD 14.2) if FreeBSD 14.3 is not available
- Storage: Select ‘Create new qcow2 volume‘
- Storage Limit: Allocate space to the new qcow2 volume that will be created
- Memory: Allocate sufficient RAM to your VM
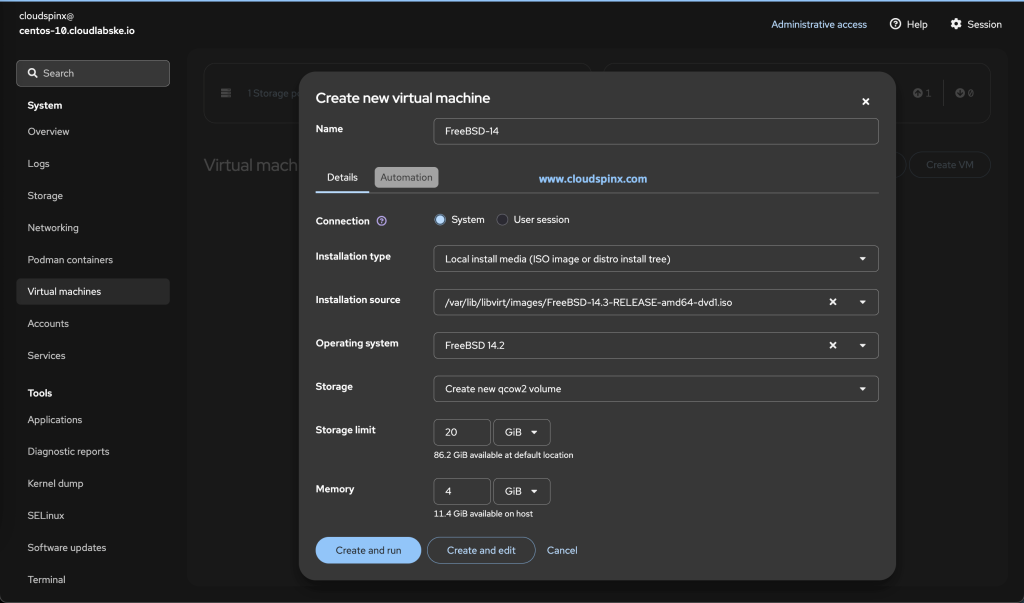
Click ‘Create and Edit’ and proceed to edit the specs further, such as the number of allocated vCPUs. You can edit any of the resources such as RAM by clicking the edit button next to it:
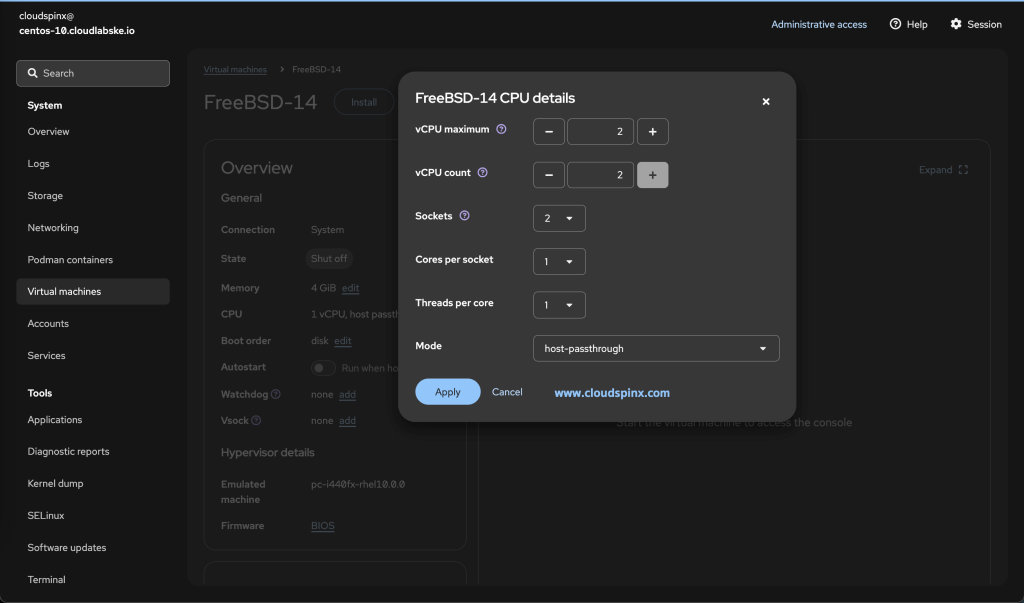
Click Apply to apply any new changes that you make to the VM configurations.
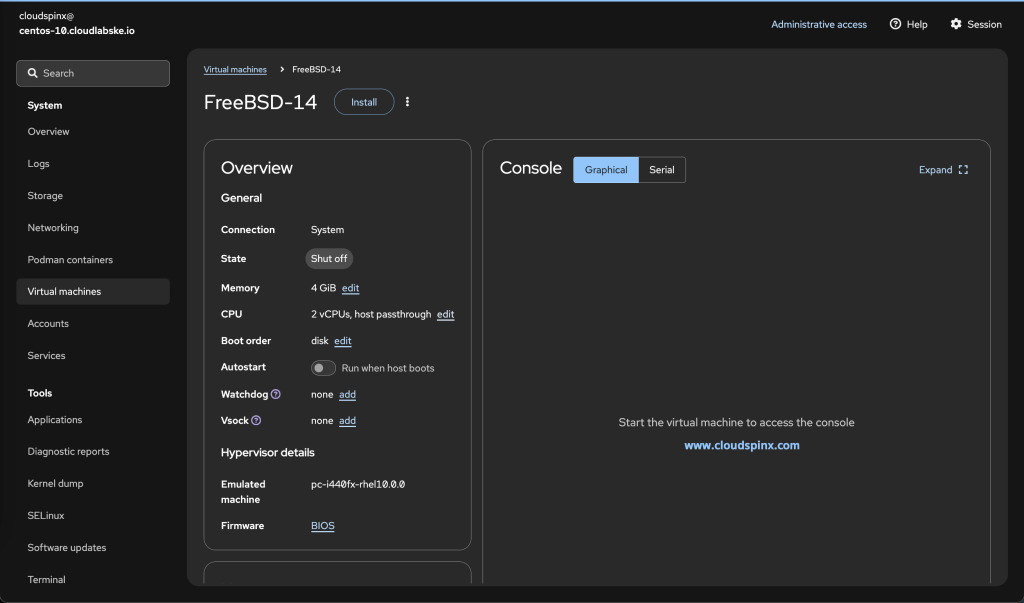
Proxmox VE VM Set Up
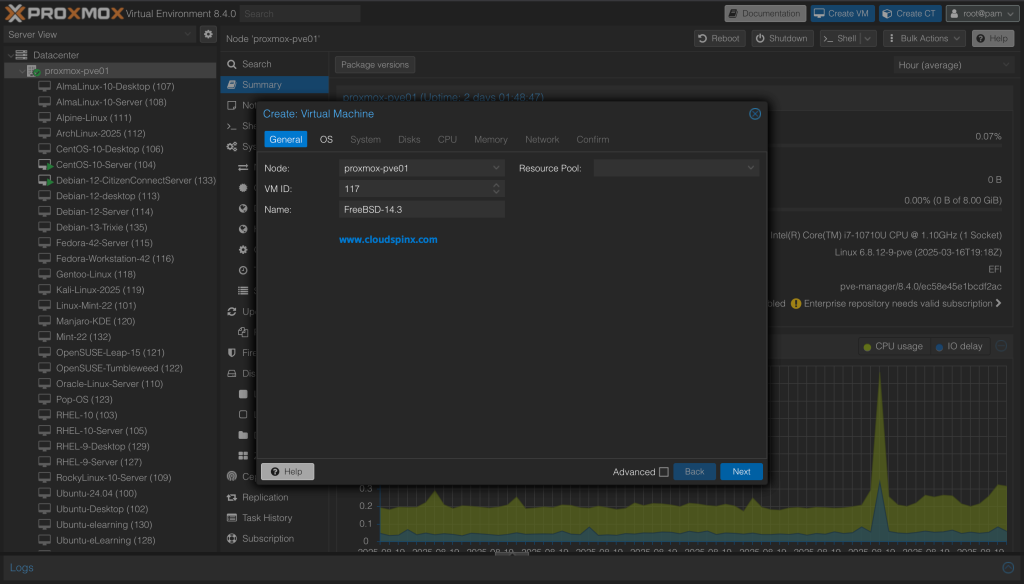
Log in to your Proxmox VE console and click ‘Create VM‘, and provide a name for your VM:
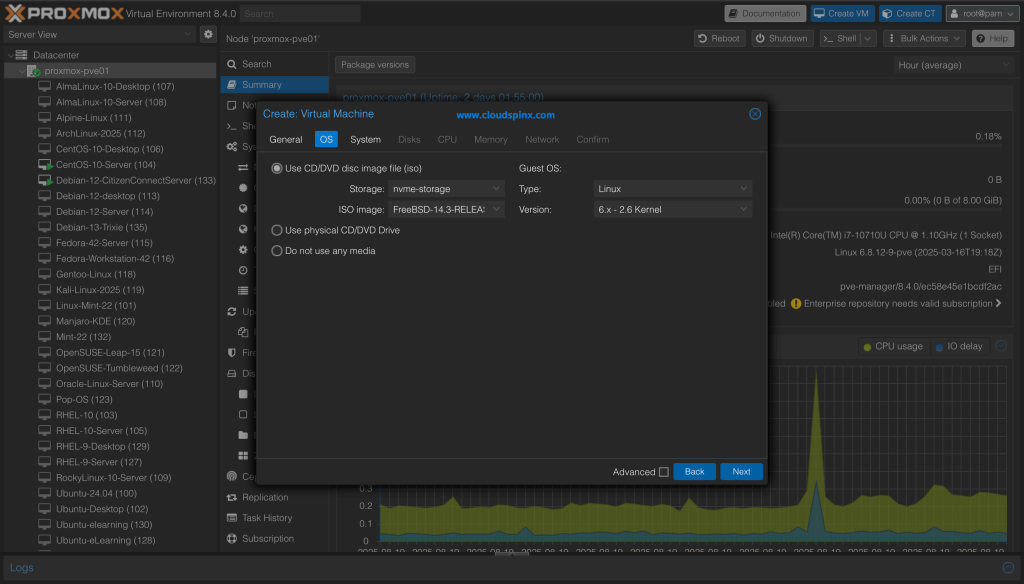
In the ‘Next‘ step, select the storage pool that contains the FreeBSD ISO downloaded earlier. Then select the ISO image as it will be listed among available ISO images in the selected storage pool:
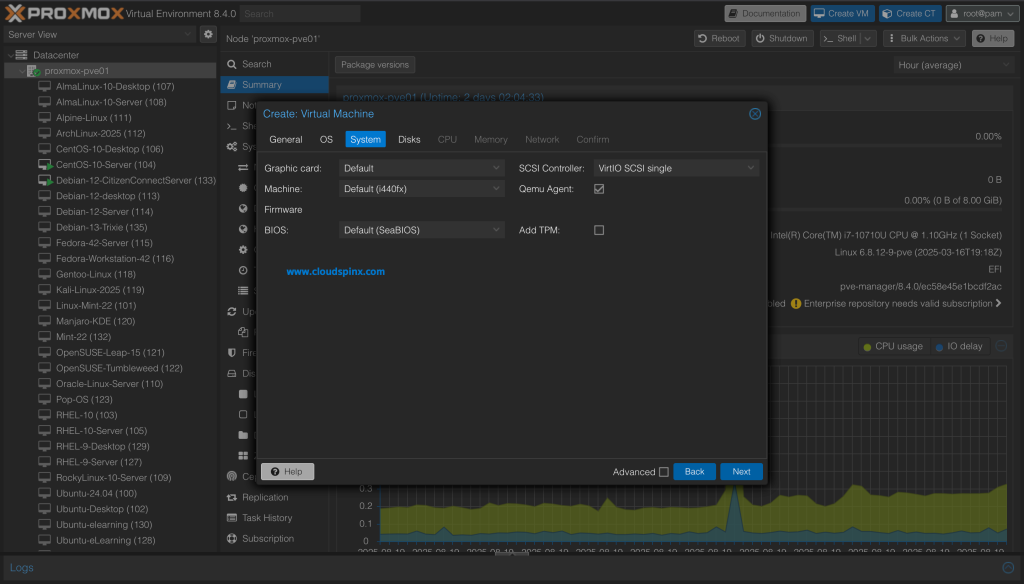
Next, configure the system settings. You can leave everything as default, but check the QEMU Agent box. Installing the QEMU Guest Agent allows for more efficient and reliable operations like graceful shutdowns, consistent snapshots, and accurate resource reporting by enabling communication between the host and guest operating systems.
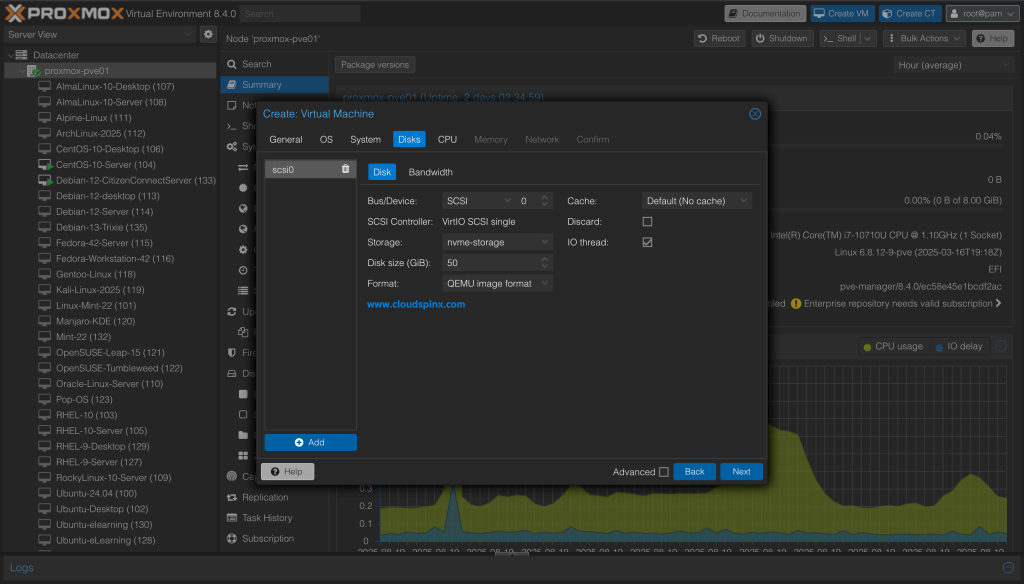
In the ‘Next‘ step, configure the VM’s storage settings. Choose the disk storage pool, and the disk size, then proceed:
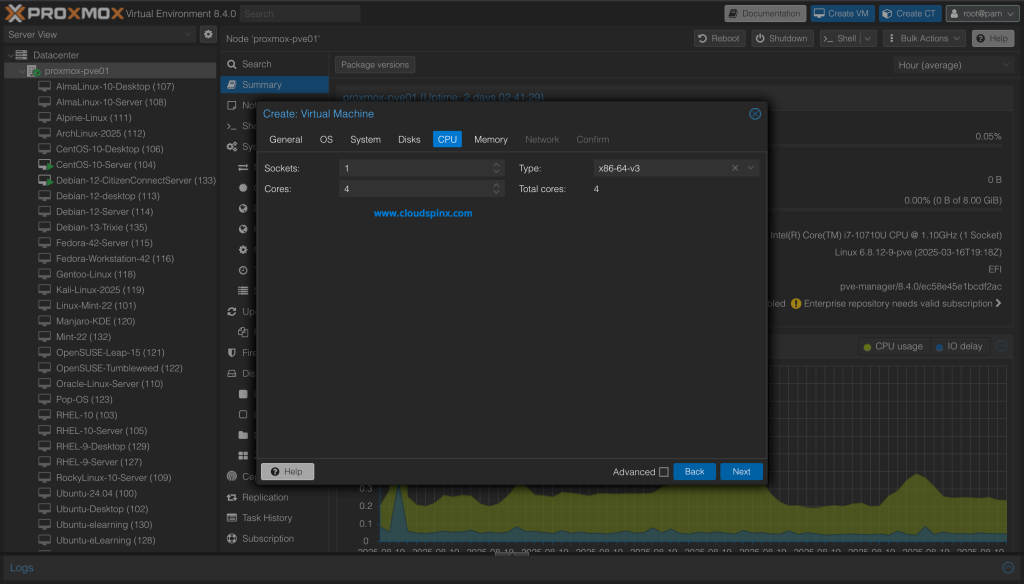
Now, configure the number of CPU Cores, sockets and CPU type for your FreeBSD VM. The default CPU type in Proxmox VE 8.x is x86-64-v2-AES, but you can pick between x86-64-v2, x86-64-v3, and x86-64-v4 CPU models as they offer better performance and compatibility for modern operating systems.
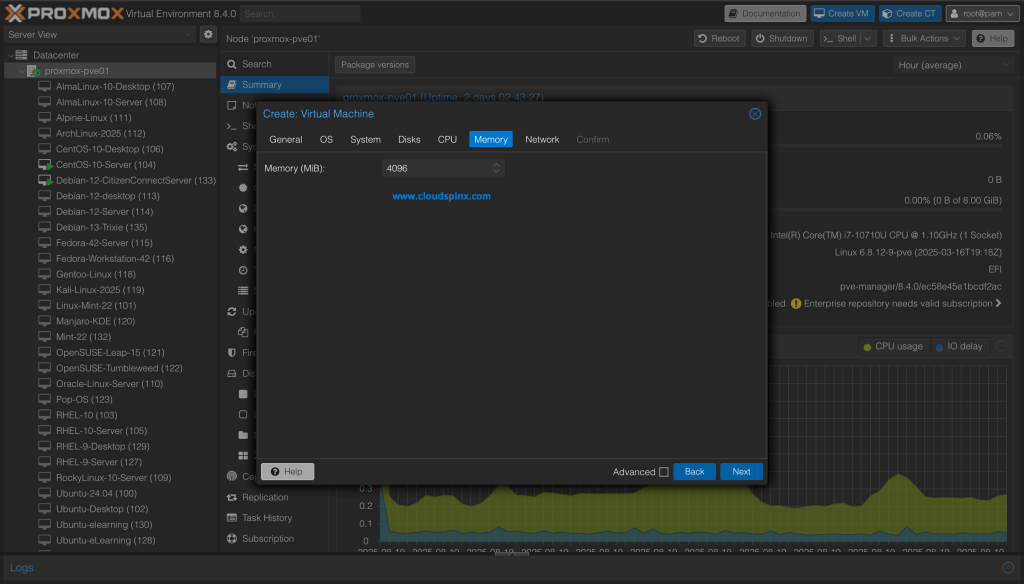
For memory allocation, do so according to the hosts resource availability and the purpose of the VM, 4096MiB is a sufficient amount for my demo VM:
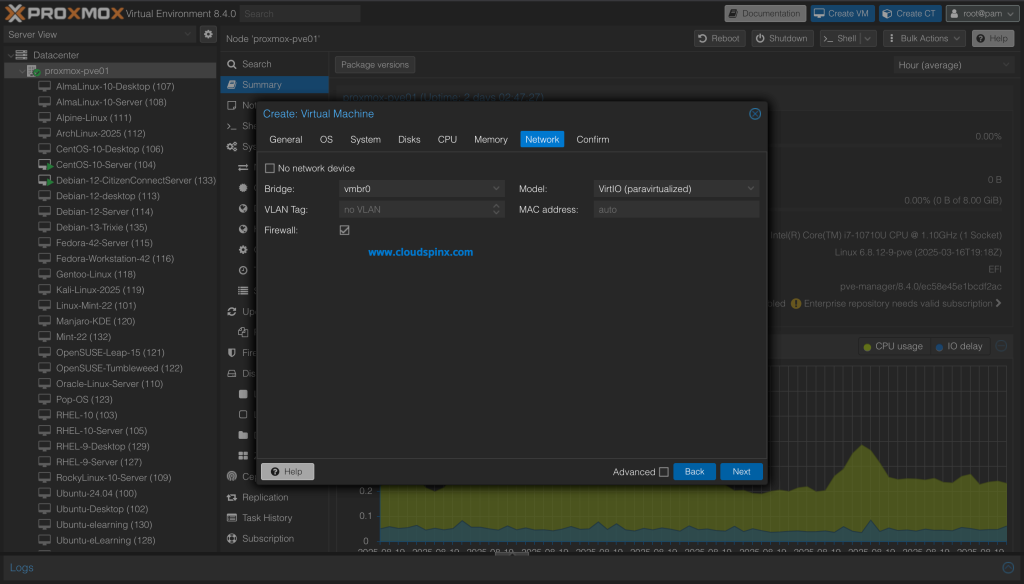
Then configure the VM’s network. Select the interface attached to your Proxmox VE host:
Finally, check out the summary of every setting you choose. If you are satisfied with every configuration, check the box that says ‘Start after created‘:
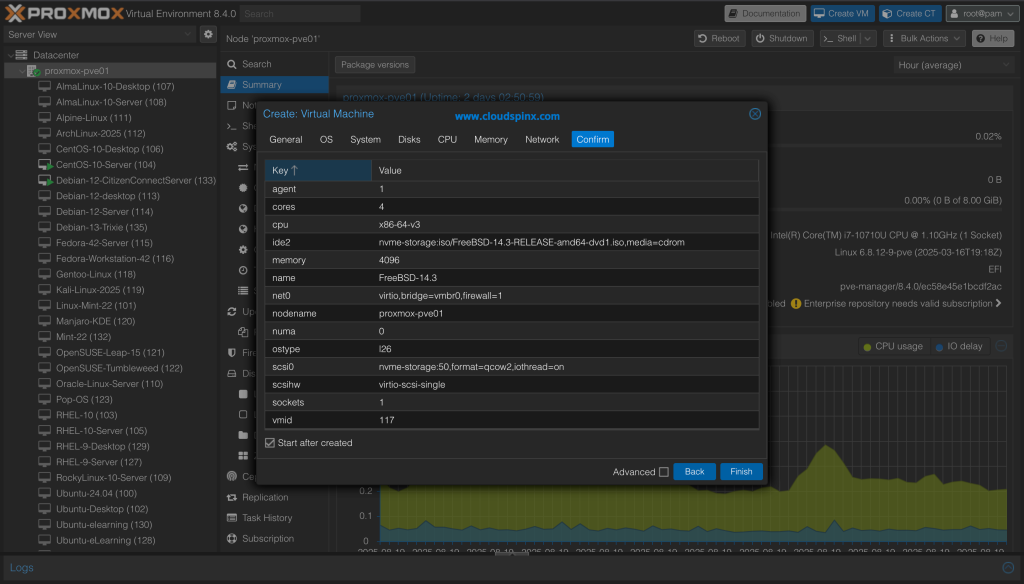
When you click Finish, your VM should start if you had check the ‘Start After Created‘ checkbox.
Start the Installation Process
When everything is all set, click the ‘Install‘(KVM) or “Start“(Promox VE) button, to initiate the boot up of the image.
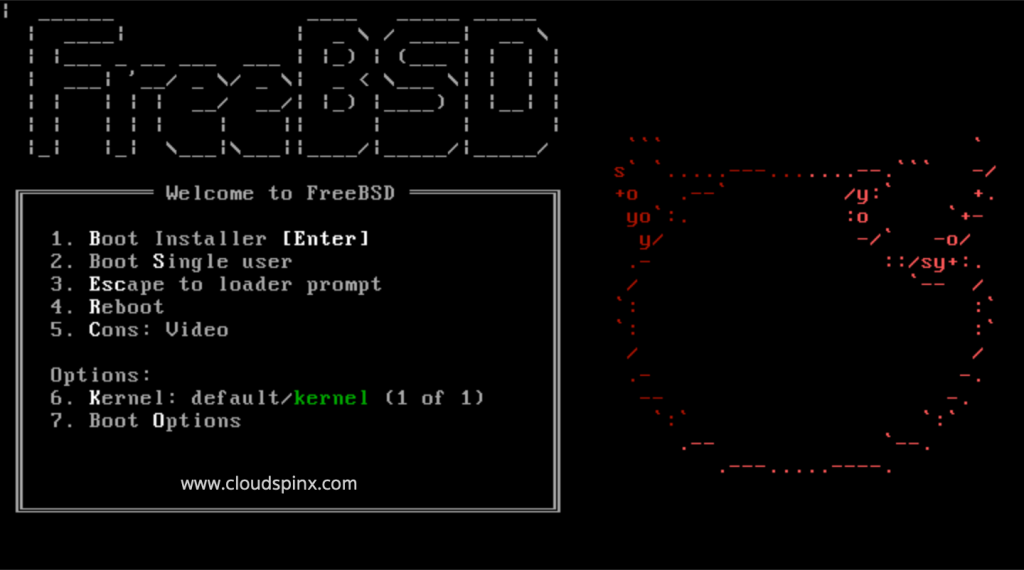
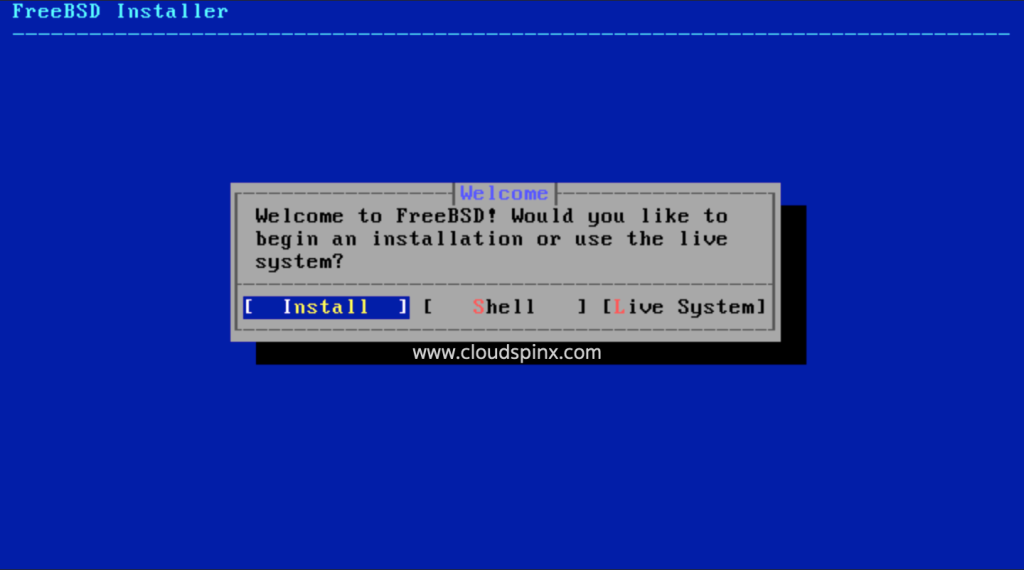
The image will automatically boot into the installer so that you can begin the installation process. Start the installation by pressing Enter after selecting the Install option.
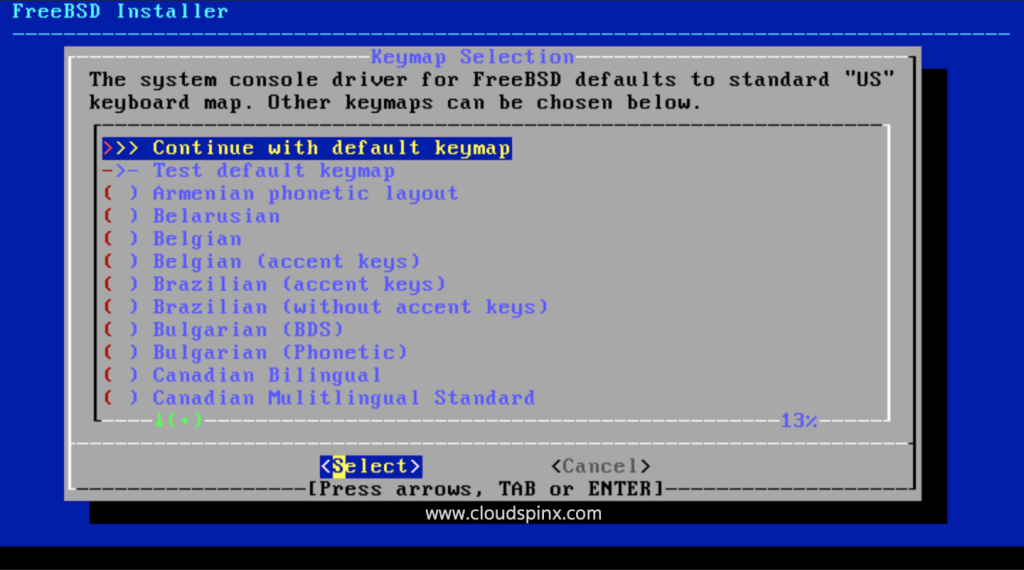
Choose your preferred keyboard map. The system console driver for FreeeBSD defaults to the standard ‘US’ keyboard map, but you can choose other maps from the provided list.
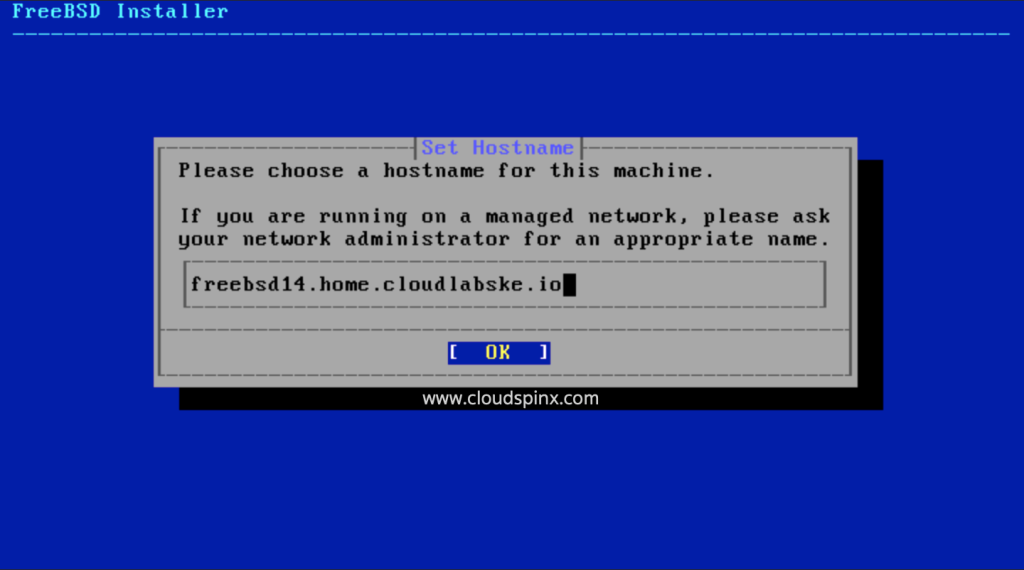
Choose a hostname for your virtual machine.
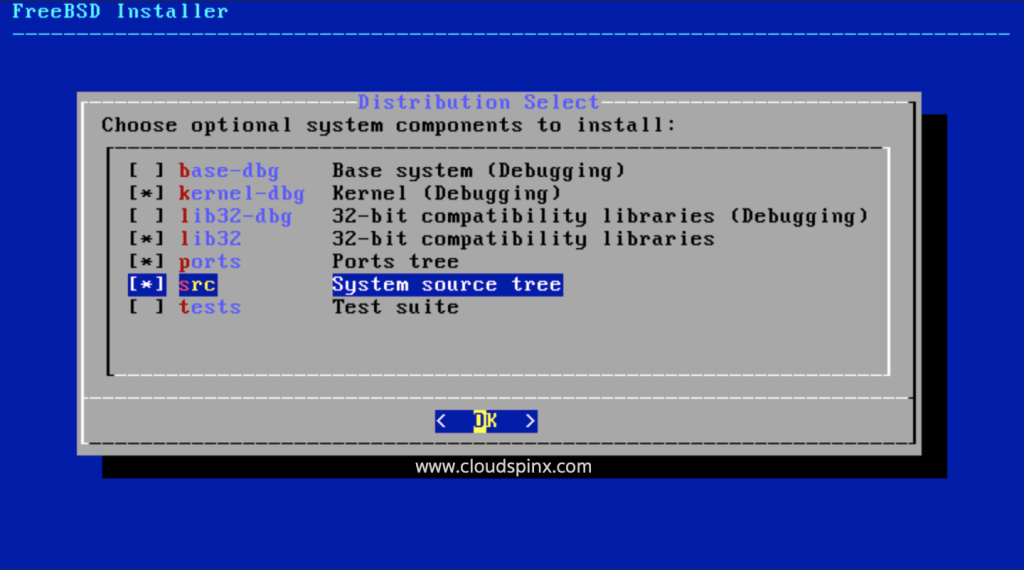
Next, choose the optional components you’d like to install during the installation process. Press the SPACEBAR to select, then press ENTER to continue.
Choose the method you’d like to use in partitioning your disk.
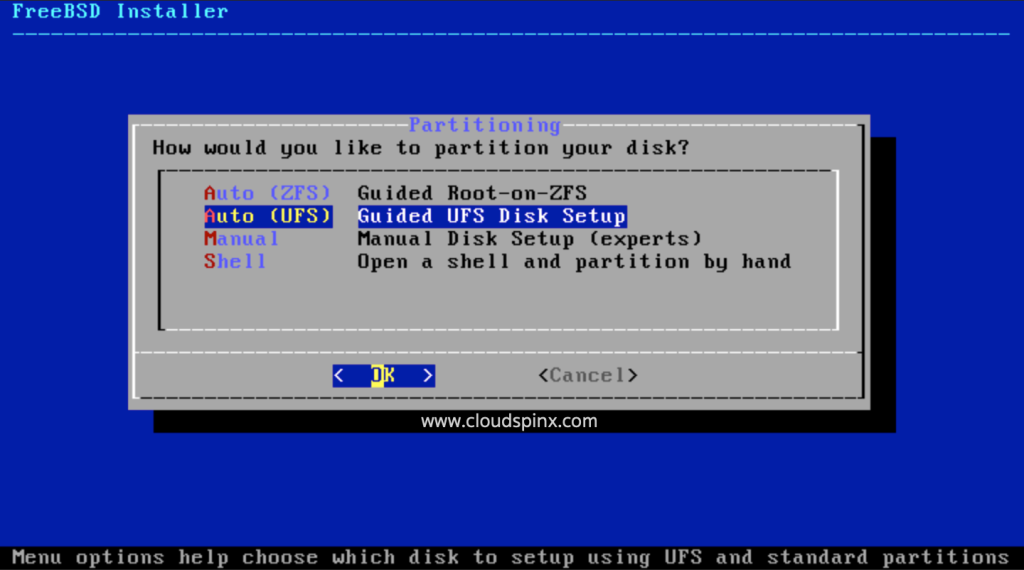
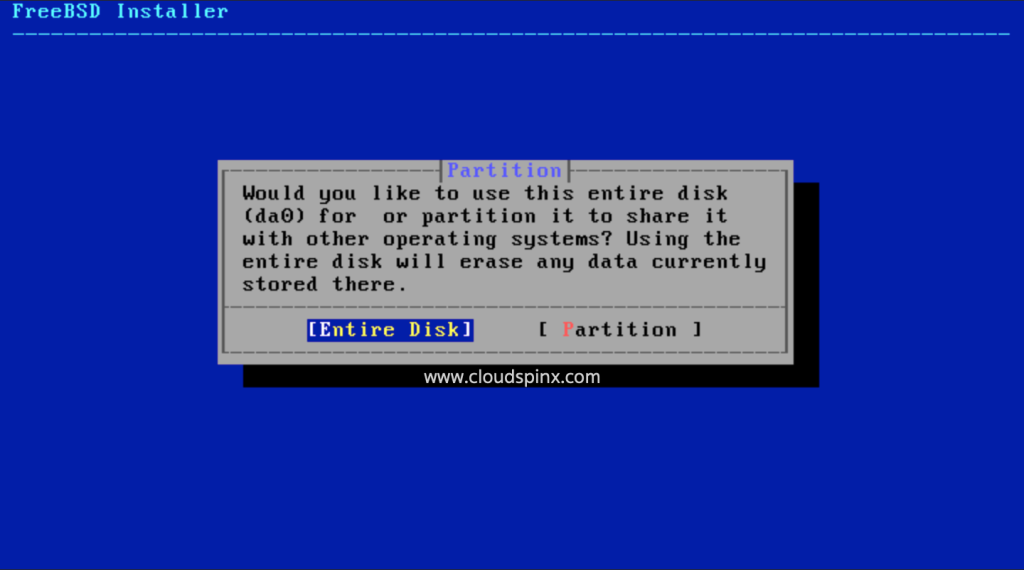
Confirm this choice in the next window and proceed.
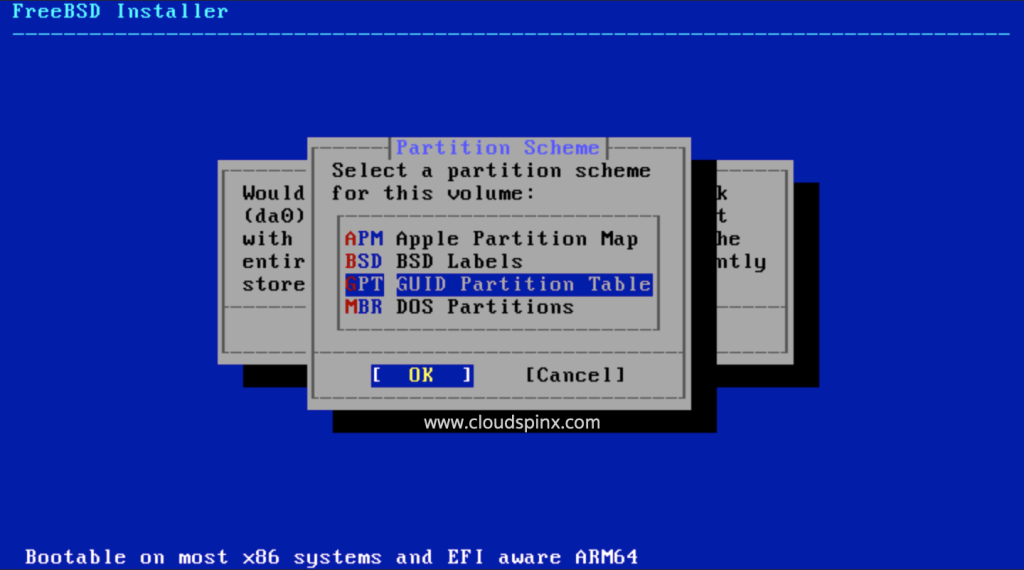
Select a partition scheme for the selected volume.
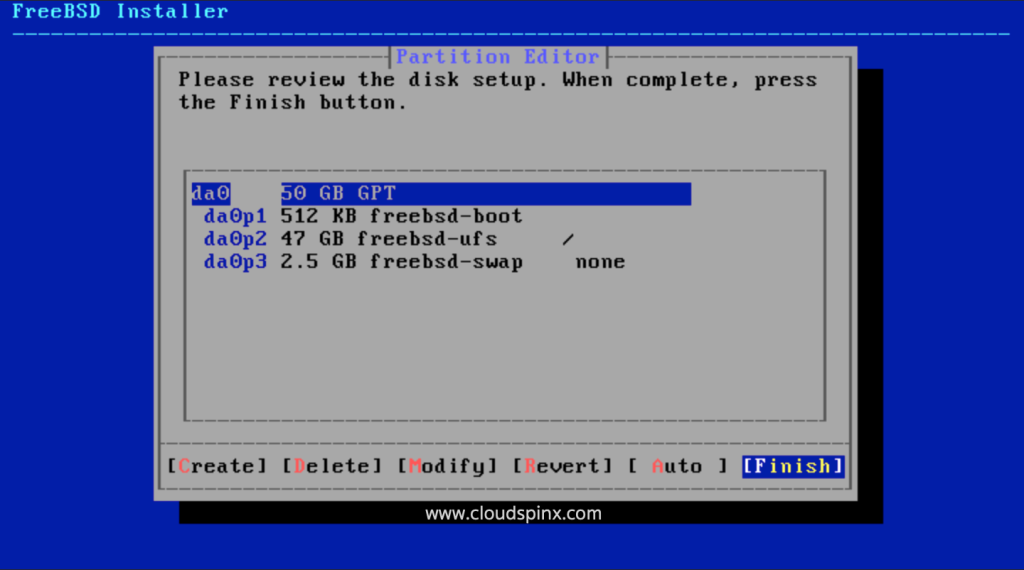
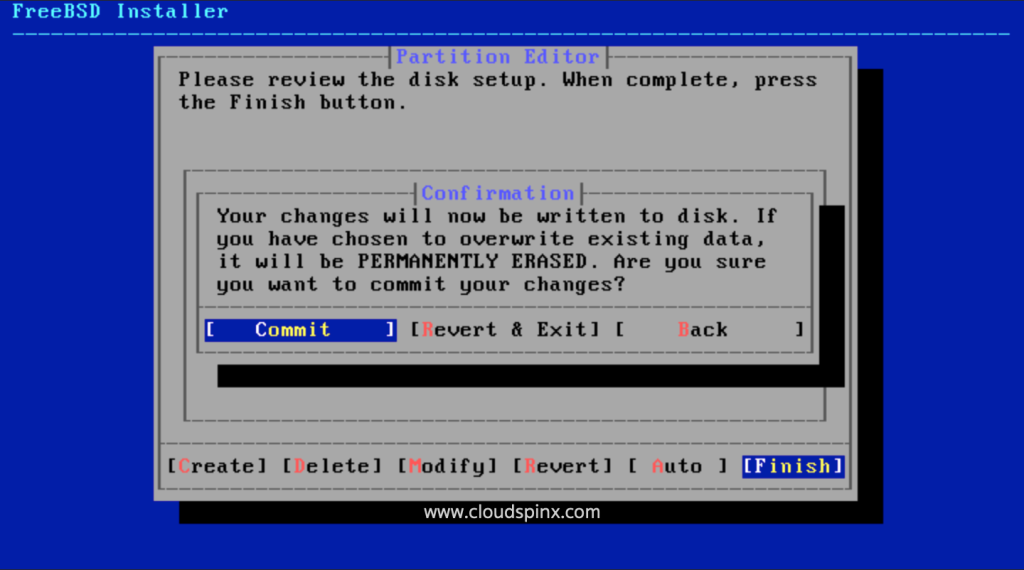
Review the disk set up and when done, press the Finish button.
Then confirm the changes to be written to the disk. If you’d like to make some more changes, you can go back using the Back button.
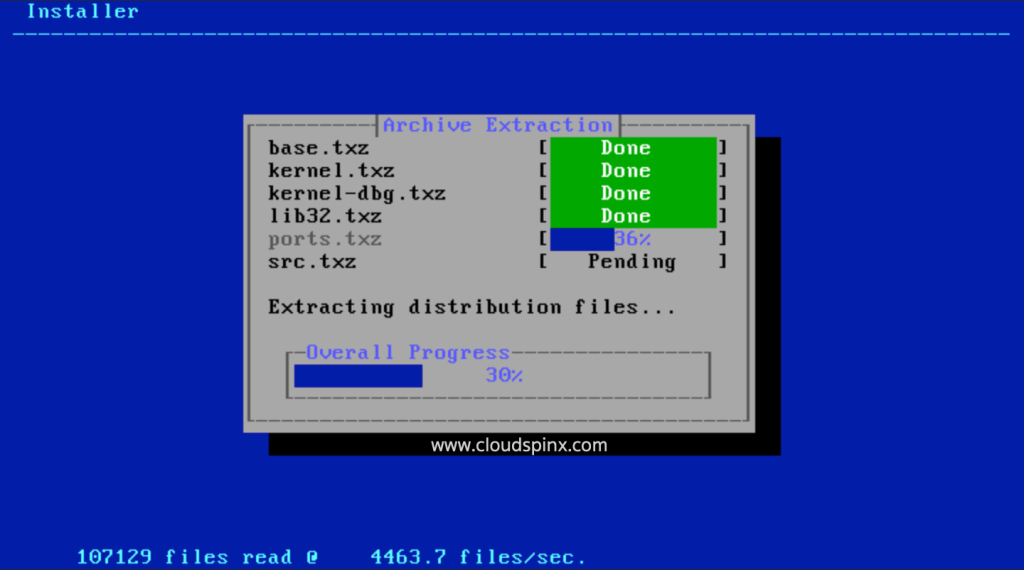
Wait for the system to finish installing the base system and selected packages.
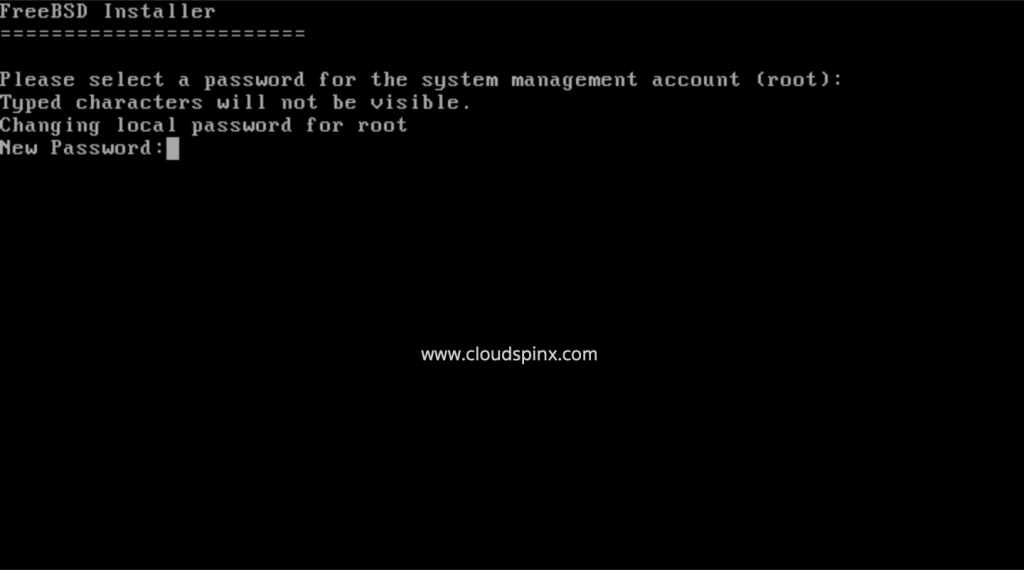
Then set a password for the system management account (root).
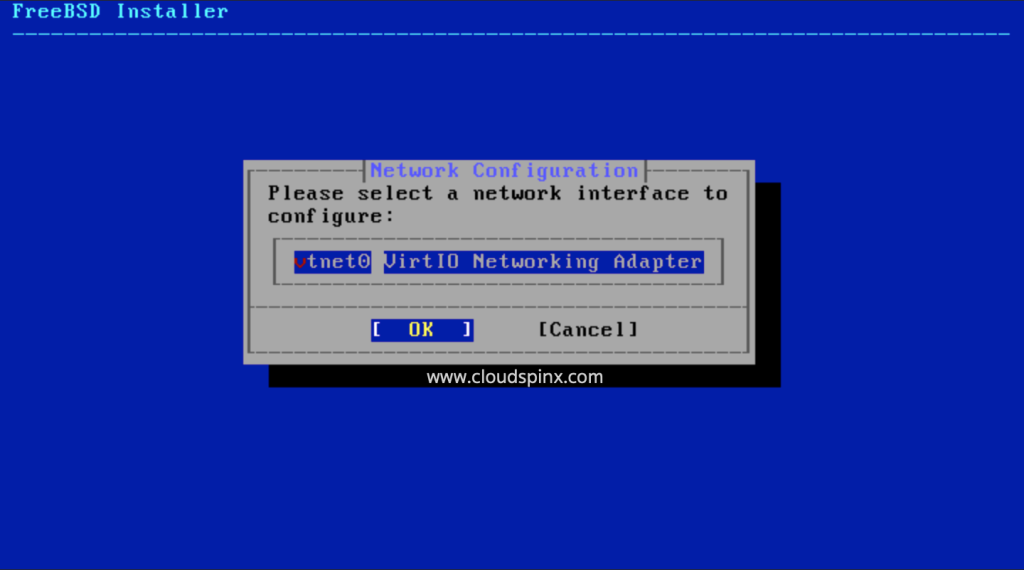
Select a network interface to configure.
Agree to configure if you are using IPv4.
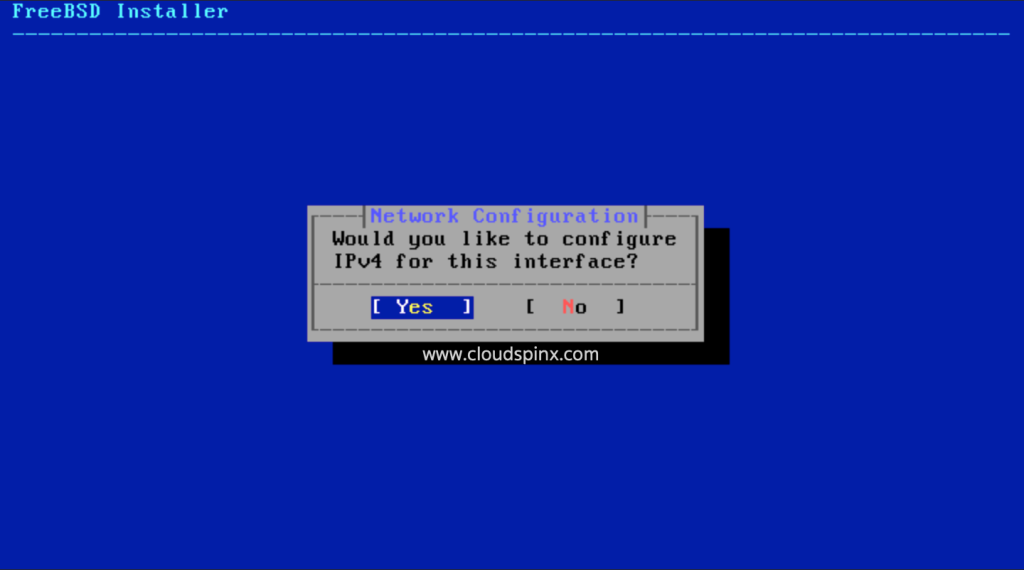
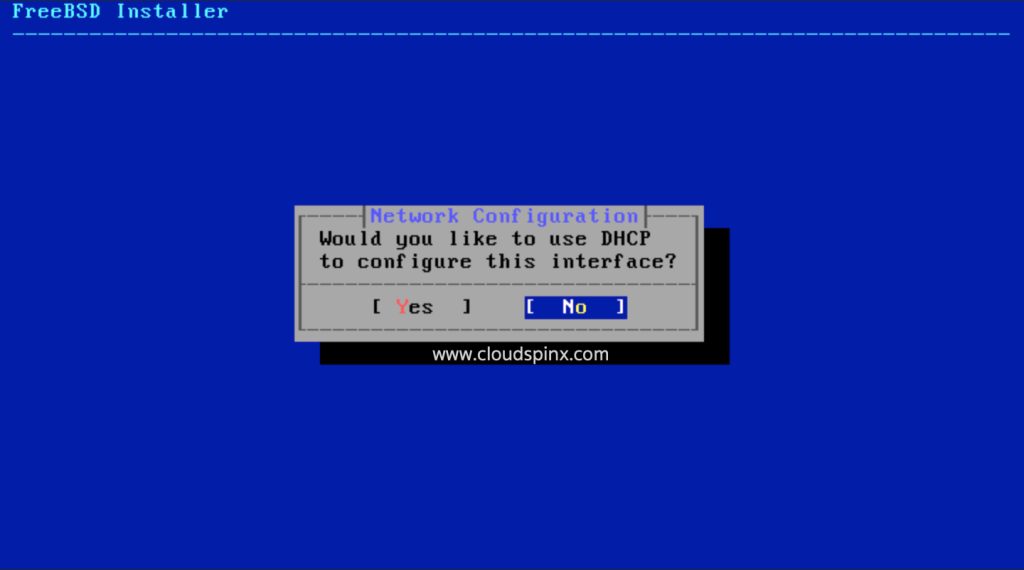
Choose to use DHCP to configure IPv4 but if you are using Static IP on your network, choose otherwise.
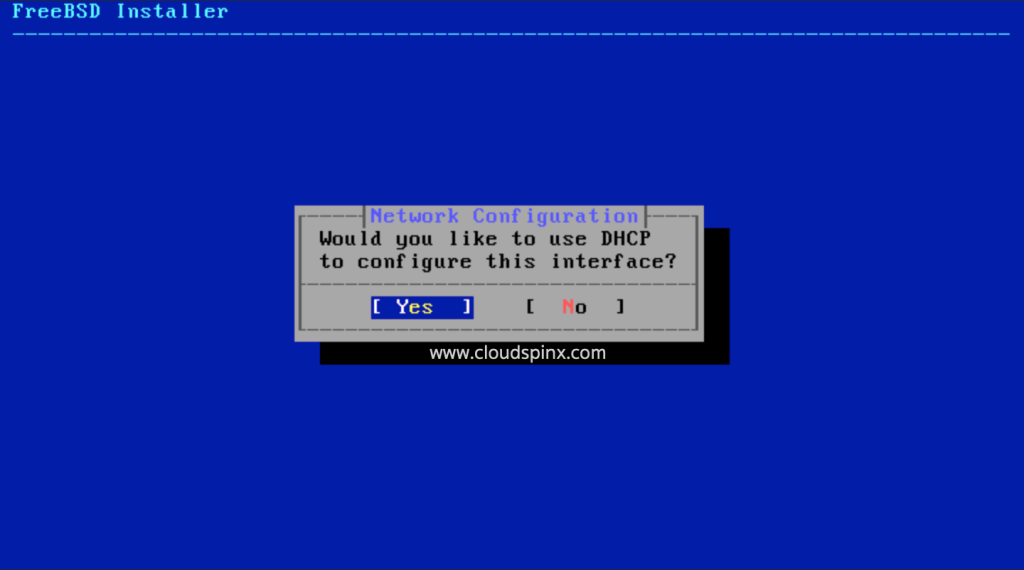
If you are using IPv6, configure it, otherwise select ‘NO’.
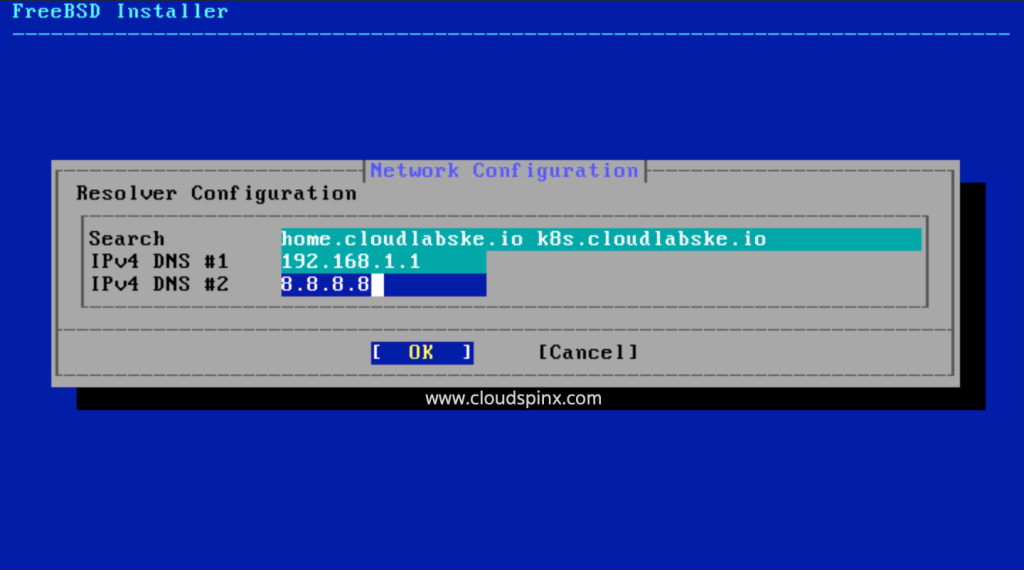
Configure the DNS. The system will automatically detect the DNS in your network but you can specify otherwise.
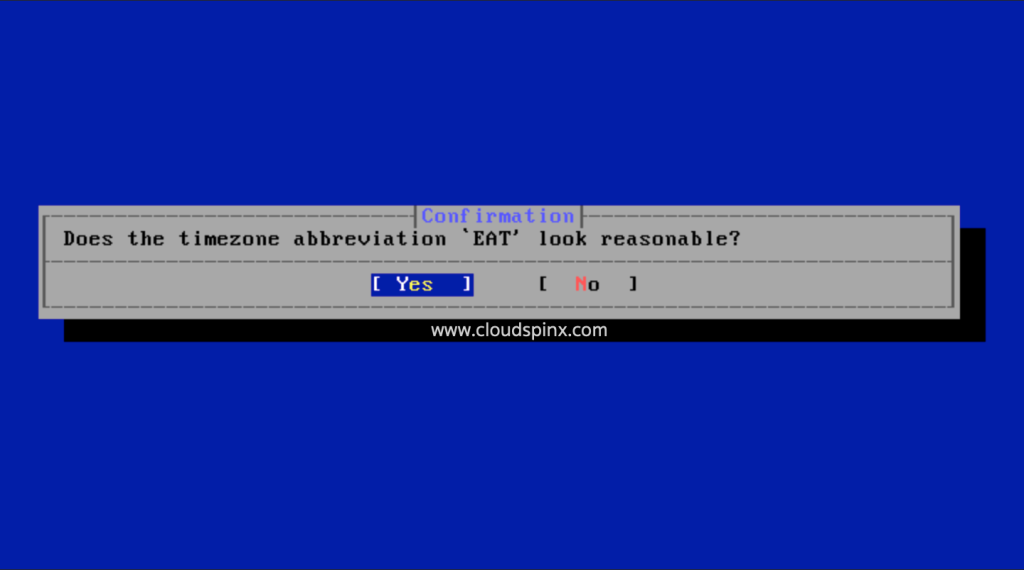
Choose a region for your time zone. Select your Continent, then your Country an you’ll be prompted with the most likely Time Zone depending on the continent and country you chose.
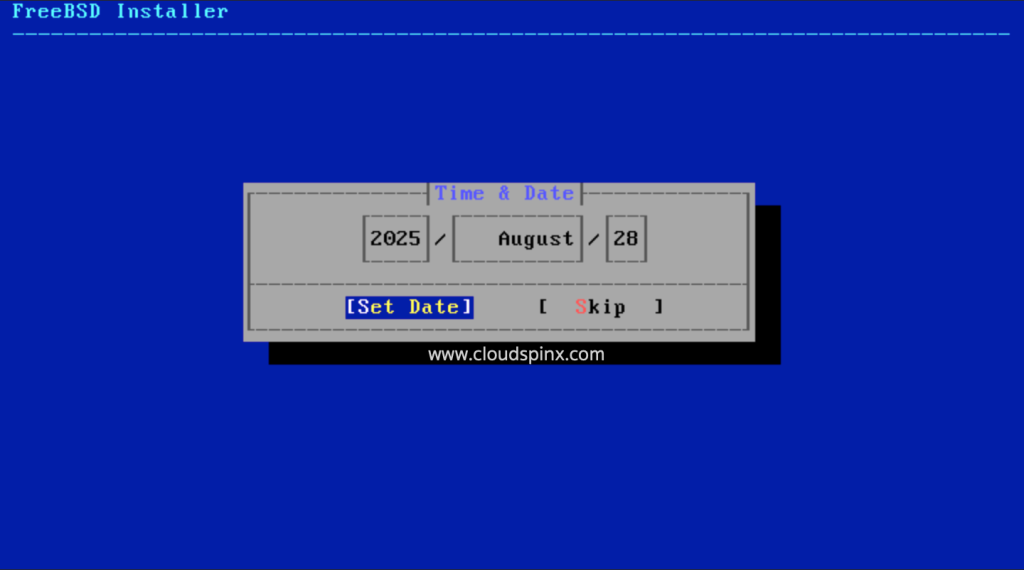
Set the date and time.
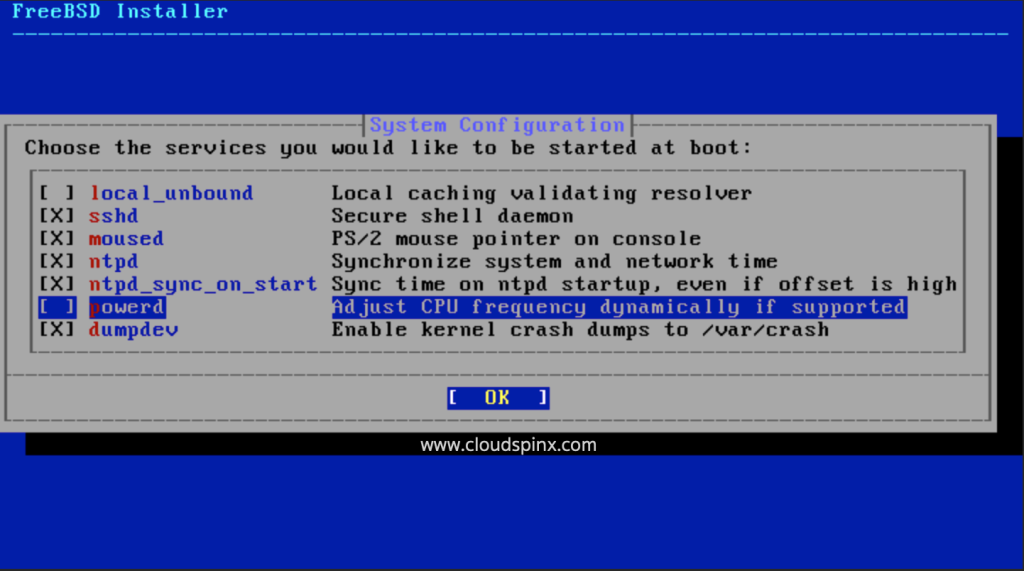
Select the system services you’d like to be started at boot up. Use the SPACEBAR to select them, then press enter to proceed.
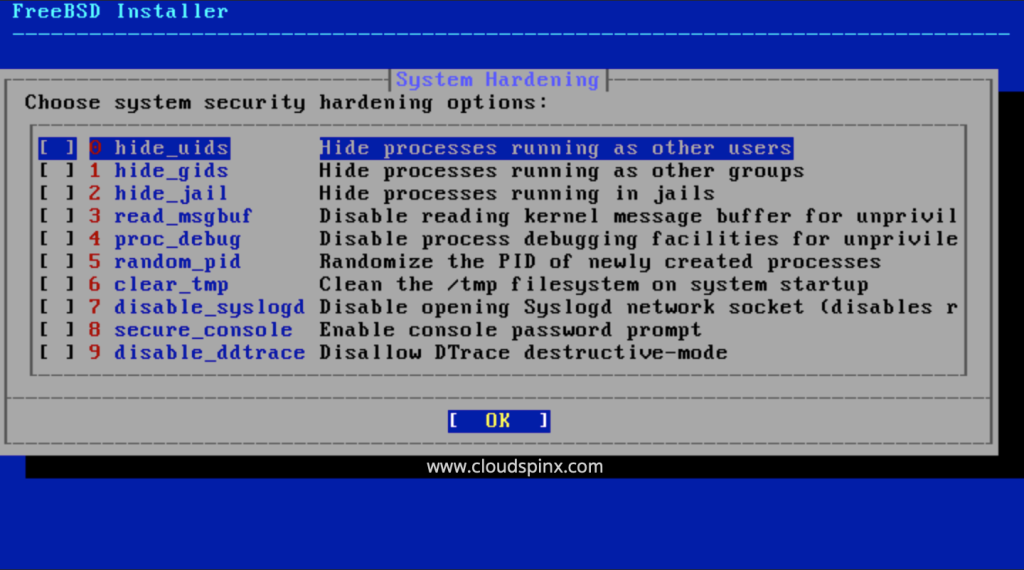
You can also choose the system security hardening options.
When prompted to add users to the system, select ‘Yes‘.
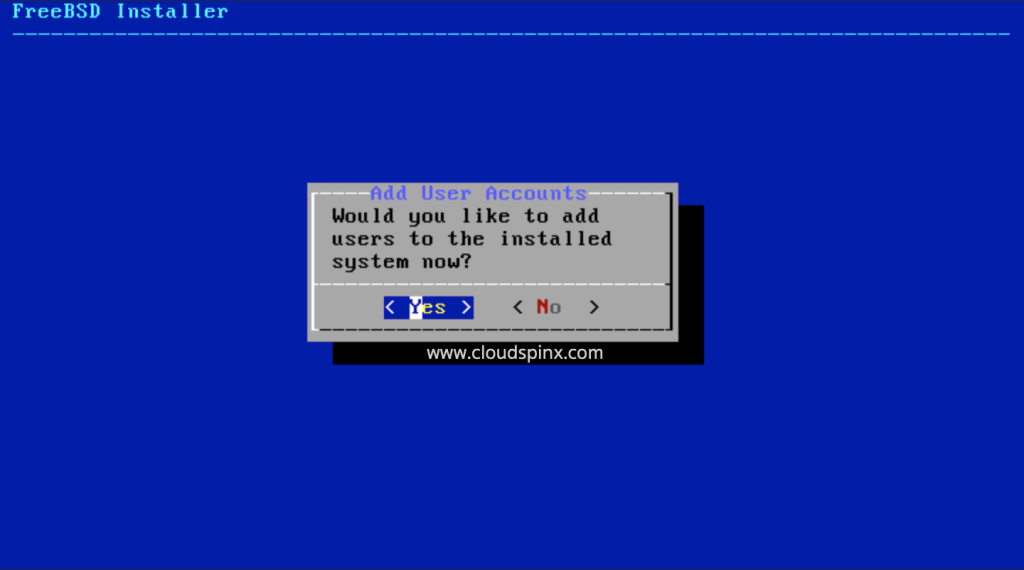
Then add users to the new system and set the necessary credentials and passwords.
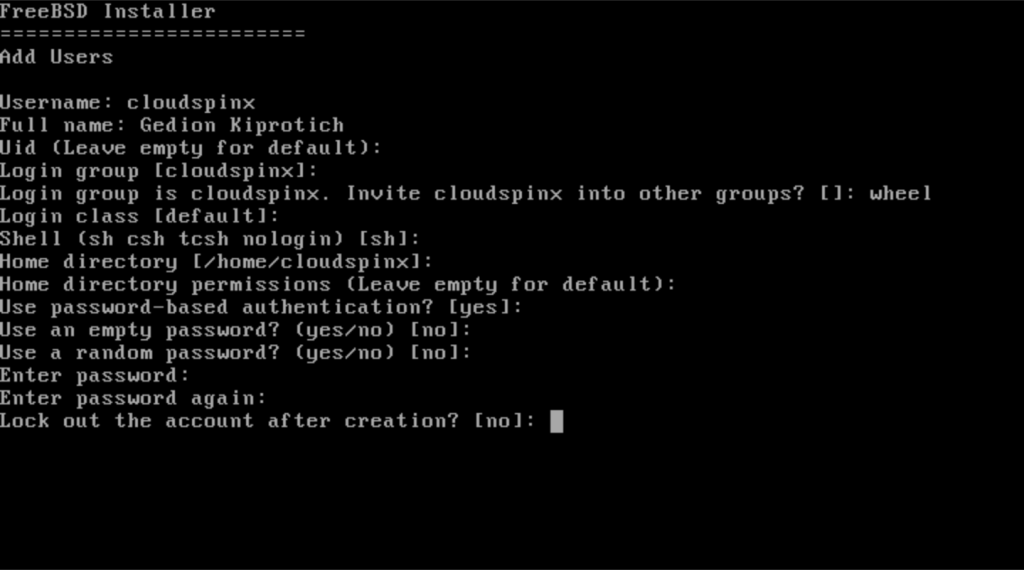
Your user should be successfully added to the system database as below.

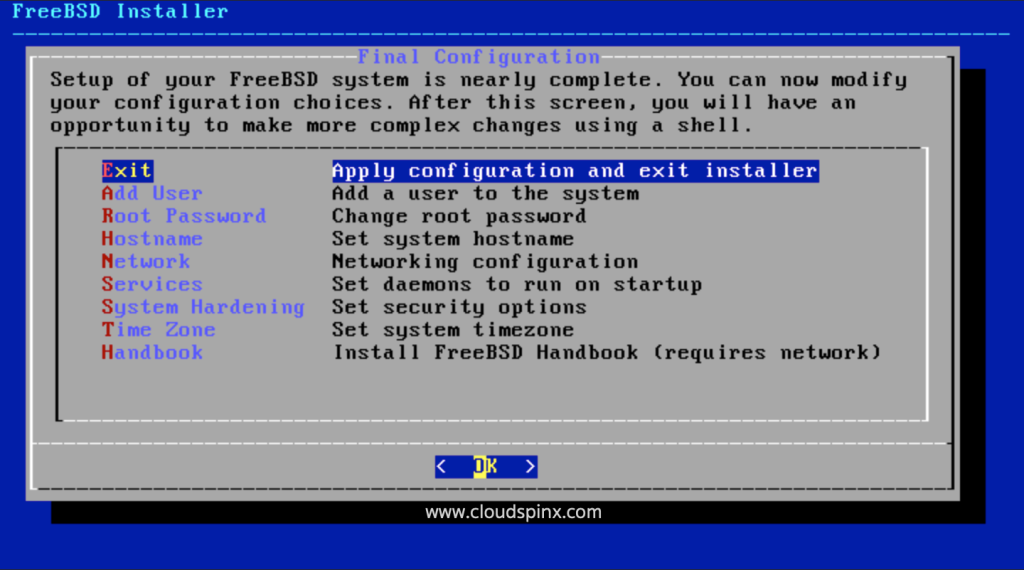
The set up of your FreeBSD 14 is nearly complete. All that is left is to apply the configurations and exit the installer. To change any configurations, select it and hit enter, otherwise, if everything is ready, exit to apply the configurations.
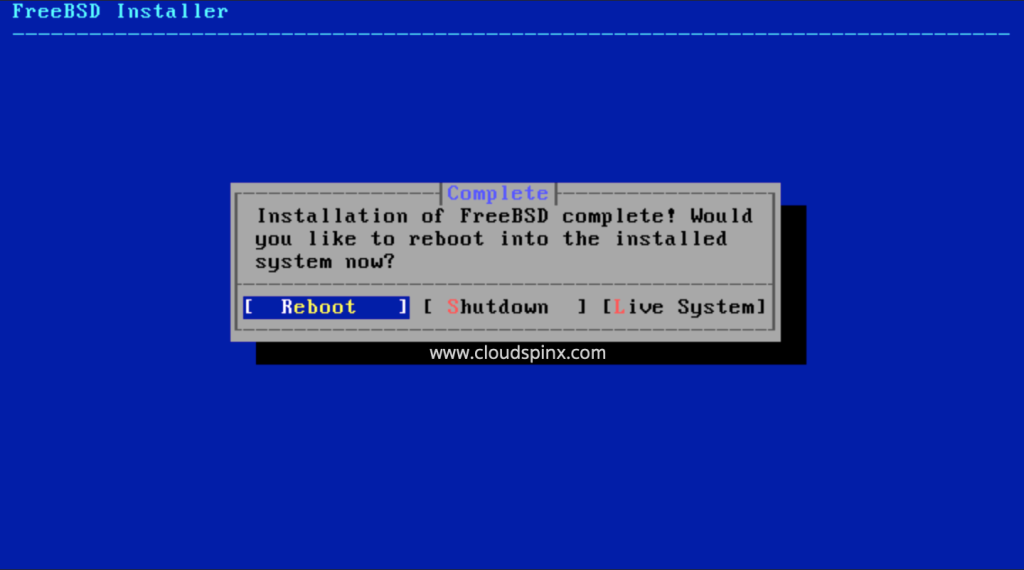
You have completed the installation of FreeBSD 14.
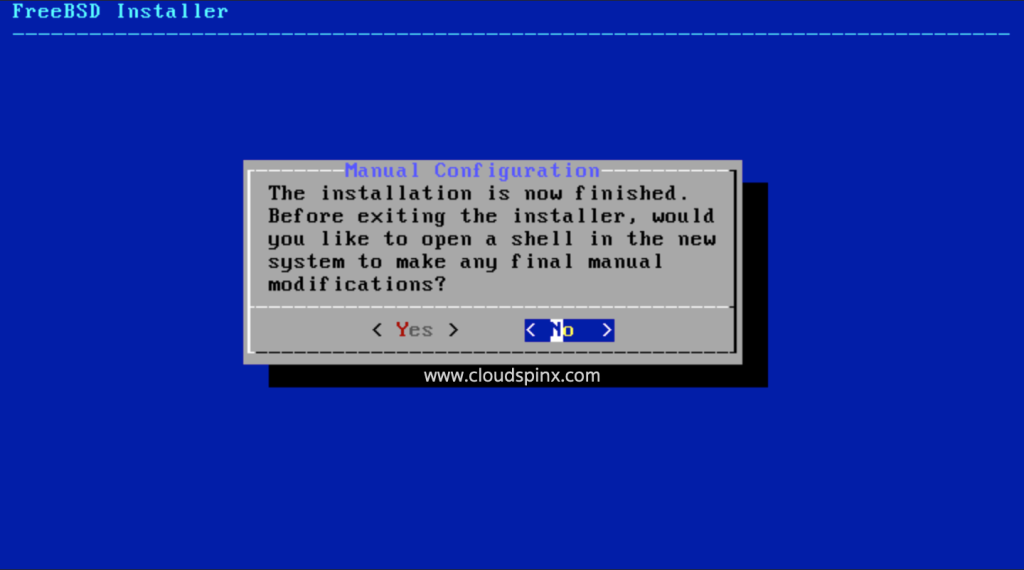
Reboot the system to login.
Login with the root user first and install the pkg package manager, then add yout user to the sudoers file.
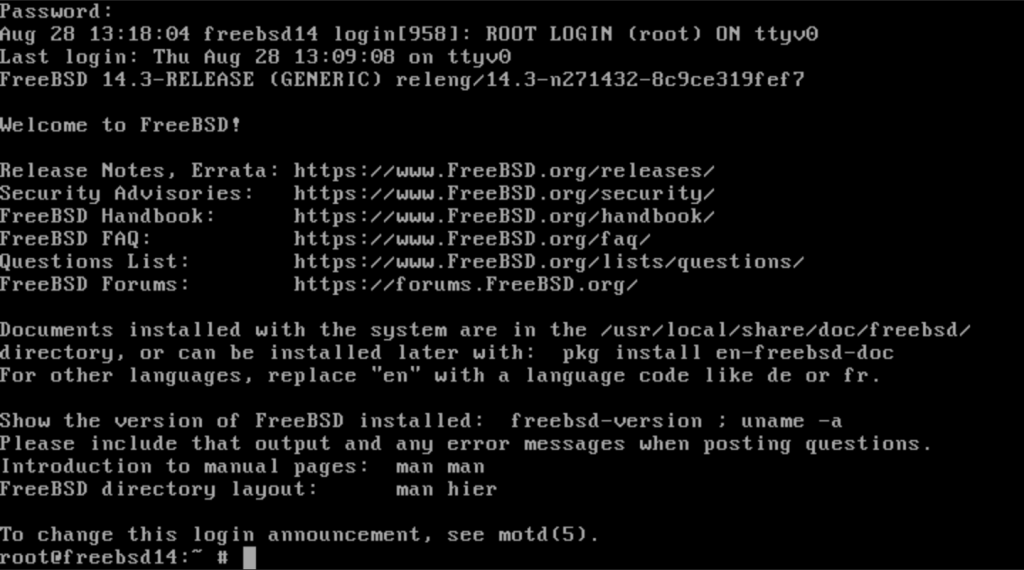
Run these commands to install the sudo pkg.
pkg install sudoThen edit the sudoers file to allow the wheel group to run commands with sudo privileges.
sudo visudo
## Ucomments the following line
%wheel ALL=(ALL:ALL) ALL
## Passwordless SUDO privileges
%wheel ALL=(ALL:ALL) NOPASSWD: ALL
You can now logout and log back in with your user and run commands with sudo successfully.
Conclusion
To wrap up, FreeBSD has a large community behind it that has continually developed it for the past thirty years. This has led to it’s advancement in networking, security and storage features, which make it the number one choice for most companies.



1 thought on “How To Install FreeBSD 14 on KVM or Proxmox VE”
On Proxmox, and with MATE and KDE over FreeBSD 14.1, the keyborad and Mouse are freeze. The same with GhostBSD last versión. All hapens on Proxmox, not over qemu-kvm