Gitea is the fastest and most painless way of setting up a self-hosted Git service on premise, or in a cloud infrastructure. The Gitea program is written in Go, to be fast, stable and reliable. The software package is distributed in binary format and it is easy to install and configure. Gitea is a cross-platform solution and can be installed on Linux, Windows, Unix, as well and ARM and PowerPC based systems.
We will be performing an installation of Gitea Git service in an Amazon Linux 2023 server. The server can sit in any infrastructure provided there is network connectivity. A user performing the installation is expected to have a console or SSH access to the system.
Step 1: Update System
Before you start any installation we recommend updating the system and all installed packages to the latest releases.
sudo yum -y update
sudo yum -y install git
Then you can do a reboot
sudo rebootIn the installation steps we’ll perform the following actions:
- Set up MariaDB database server.
- Install Gitea git service on Amazon Linux 2023.
- Configure and Access Gitea dashboard.
Step 2: Set up MariaDB database server
Add RHEL 9 MariaDB repositories to AL2023 as follows:
cat << EOF | sudo tee /etc/yum.repos.d/MariaDB.repo
# MariaDB 11.4 RedHatEnterpriseLinux repository list - created 2024-08-13 06:05 UTC
# https://mariadb.org/download/
[mariadb]
name = MariaDB
# rpm.mariadb.org is a dynamic mirror if your preferred mirror goes offline. See https://mariadb.org/mirrorbits/ for details.
# baseurl = https://rpm.mariadb.org/12.0/rhel/$releasever/$basearch
baseurl = https://mirrors.gigenet.com/mariadb/yum/12.0/rhel9-amd64
# For aarch architecture, use baseurl = https://mirrors.gigenet.com/mariadb/yum/12.0/rhel9-aarch64
# gpgkey = https://rpm.mariadb.org/RPM-GPG-KEY-MariaDB
gpgkey = https://mirrors.gigenet.com/mariadb/yum/RPM-GPG-KEY-MariaDB
gpgcheck = 1
EOF
The added repository is for MariaDB 11.4 and can be installed as follows:
sudo dnf install -y MariaDB-server MariaDB-client MariaDB-develStart and enable mariadb service after installation:
sudo systemctl enable --now mariadbConfirm service is started:

Secure your database server:
sudo mariadb-secure-installation Create a database for Gitea.
$ mariadb -u root -p
CREATE DATABASE gitea;
GRANT ALL PRIVILEGES ON gitea.* TO 'gitea'@'localhost' IDENTIFIED BY "StrongGitPassword";
FLUSH PRIVILEGES;
QUIT;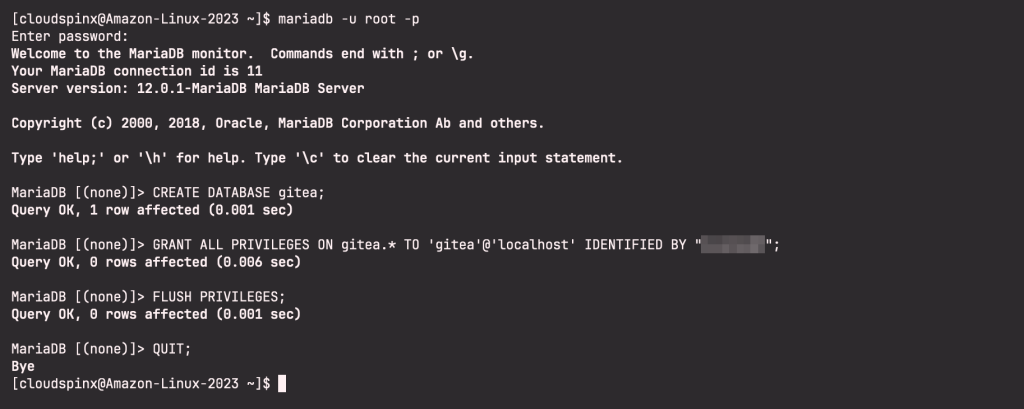
Test database connectivity as created user and its password:
mariadb -u gitea -p'StrongGitPassword'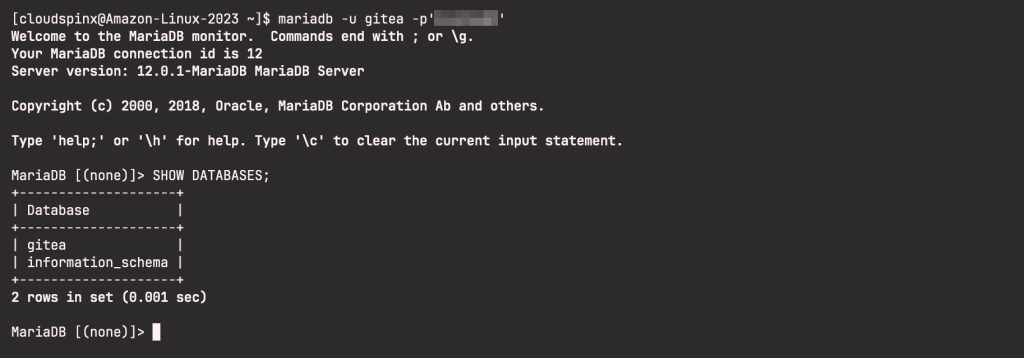
Step 3: Install Gitea on Amazon Linux 2023
Add a user git to manage Gitea on your system:
sudo useradd \
   --shell /bin/bash \
   --comment 'Git Admin' \
   git
You can set password for the user:
$ sudo passwd git
Changing password for user git.
New password:
Retype new password:
passwd: all authentication tokens updated successfully.
Download gitea binary from the Downloads page. An easy way is downloading latest release using curl.
VER=$(curl -s https://api.github.com/repos/go-gitea/gitea/releases/latest|grep tag_name|cut -d '"' -f 4|sed 's/v//')
wget https://github.com/go-gitea/gitea/releases/download/v${VER}/gitea-${VER}-linux-amd64
Move the downloaded binary file to the /usr/local/bin directory
mv gitea-* gitea
chmod a+x ./gitea
sudo mv ./gitea /usr/local/bin/
Confirm installation by checking the software version:
$ gitea --version
Gitea version 1.24.0 built with GNU Make 4.3, go1.24.4 : bindata, sqlite, sqlite_unlock_notify
Create all the directories required to run Gitea on Amazon Linux 2023:
sudo mkdir -p /etc/gitea /var/lib/gitea/{custom,data,indexers,public,log}
sudo chown  -R git:git /var/lib/gitea/
sudo chmod -R 770 /var/lib/gitea/
sudo chown root:git /etc/gitea
sudo chmod -R 770 /etc/gitea
Create systemd unit file for Gitea:
sudo tee /etc/systemd/system/gitea.service<<EOF
[Unit]
Description=Gitea (Git with a cup of tea)
After=syslog.target
After=network.target
After=mariadb.service

[Service]
LimitMEMLOCK=infinity
LimitNOFILE=65535
RestartSec=2s
Type=simple
User=git
Group=git
WorkingDirectory=/var/lib/gitea/
ExecStart=/usr/local/bin/gitea web -c /etc/gitea/app.ini
Restart=always
Environment=USER=git HOME=/home/git GITEA_WORK_DIR=/var/lib/gitea

[Install]
WantedBy=multi-user.target
EOF
Reload systemd units:
sudo systemctl daemon-reloadStart Gitea service:
sudo systemctl start giteaConfirm service status:
sudo chown  -R git:git /var/lib/gitea/
sudo chmod -R 770 /var/lib/gitea/
sudo systemctl restart gitea
Also enable the service to start on boot
sudo systemctl enable giteaExpected service status:
sudo systemctl status gitea -l
Step 4: Configure Nginx Proxy
Install nginx web server:
sudo yum -y install nginx vimCreate gitea virtualhost file using the command below:
sudo tee /etc/nginx/conf.d/gitea.conf > /dev/null <<EOF
server {
    listen 80;
    server_name git.example.com;

    location / {
        proxy_pass http://localhost:3000;
    }
}
EOF
Set correct domain name and restart nginx service.
sudo systemctl restart nginxStep 5: Access Gitea Web Dashboard
Visit the configured domain once you’ve updated DNS settings:
https://git.example.comConfigure database connectivity in the first page:
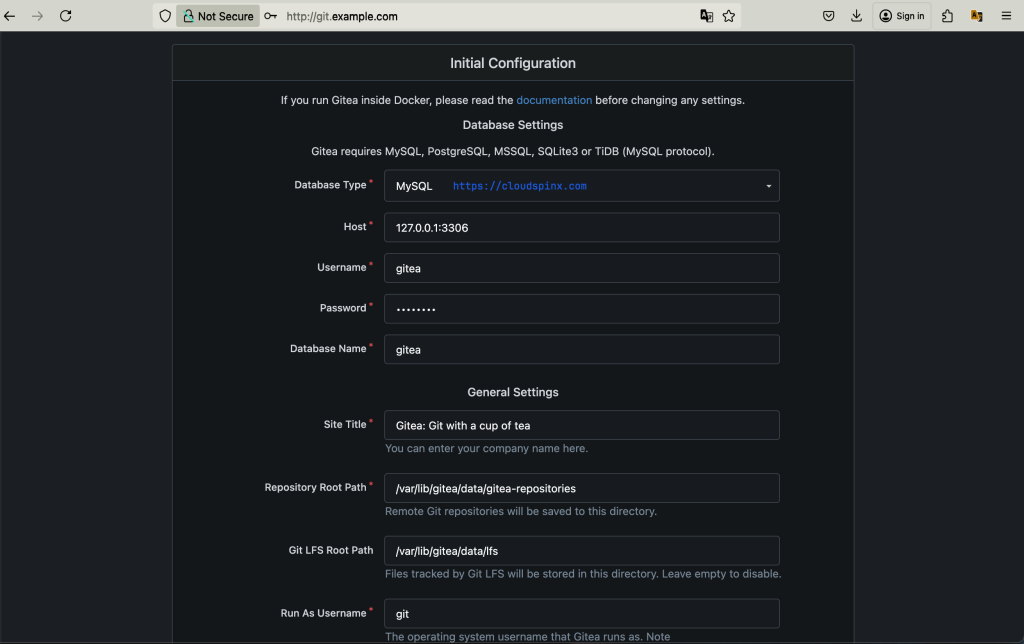
In the optional settings section, choose options to enable or disable, such as disabling the self registration feature:
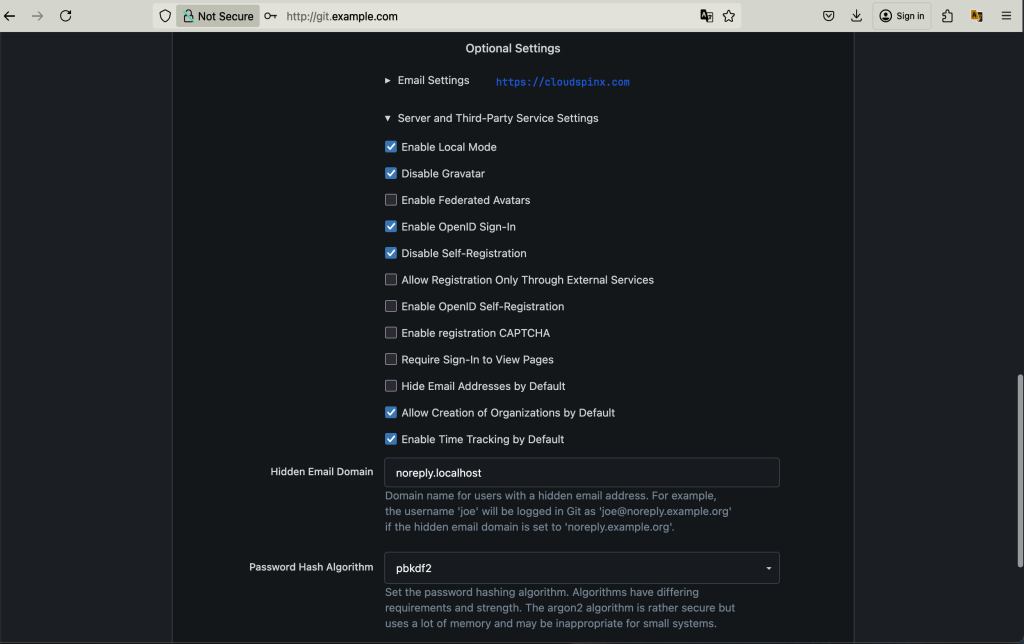
Create admin user you’ll use for administration purposes.
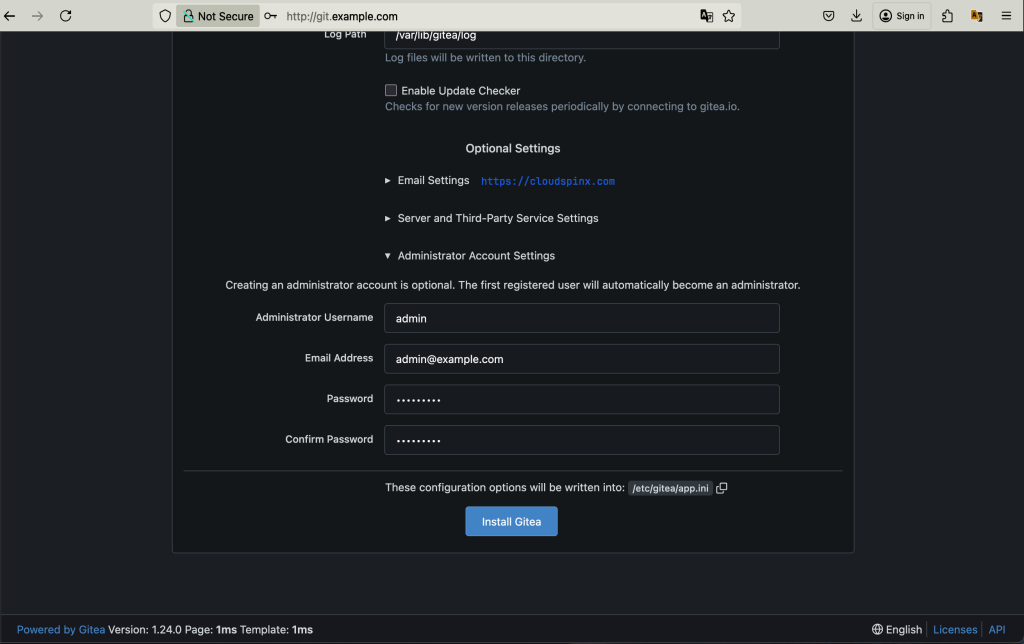
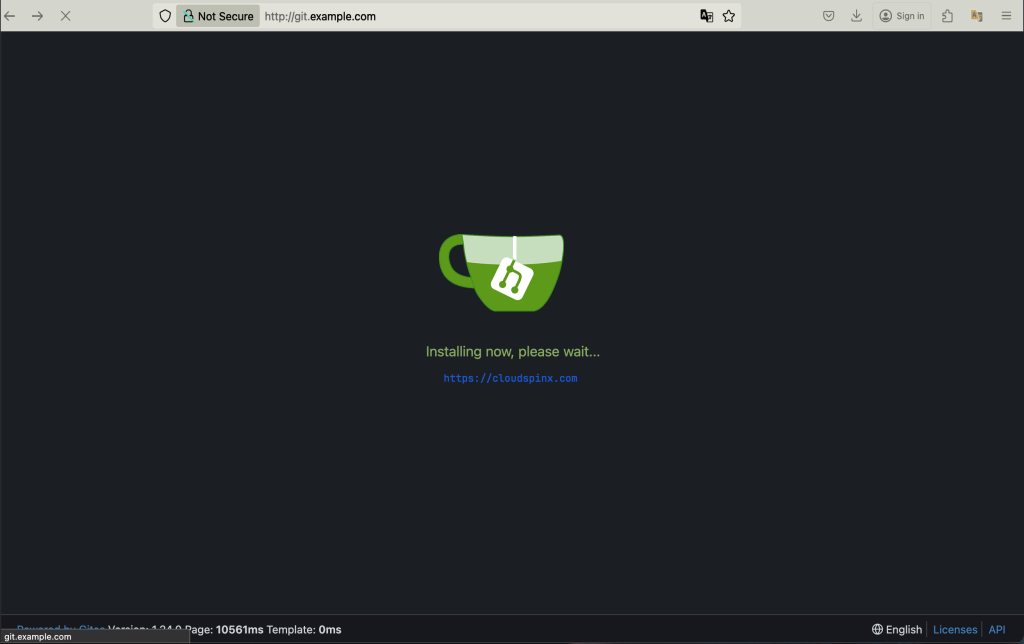
Click Install to start the Installation:
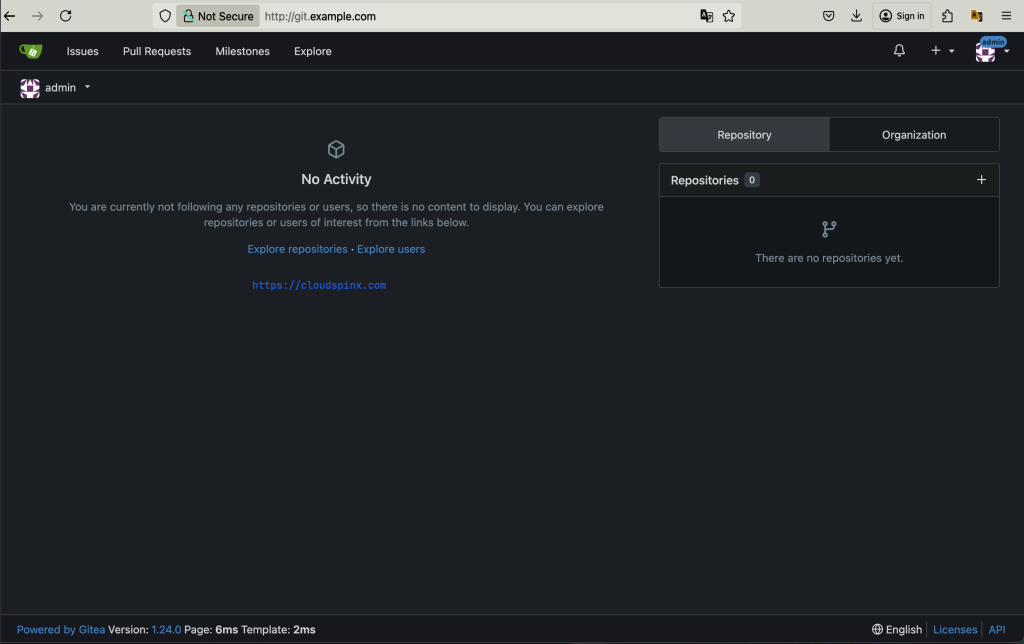
And you have successfully installed and configured Gitea git service on Amazon Linux 2023, you will be signed in as admin to start managing users and git repositories.
More articles on Amazon Linux:


