

We’ll go through how to install Google Chrome on Ubuntu in this post. Google Chrome is a web browser for Linux, Windows, Android, and iOS that was created by Google. With Google’s smarts built-in, the Chrome browser is designed to be simple, safe, and quicker than its alternatives.
🚀 Ready to master Ubuntu? This content is an extract from The Ultimate Ubuntu Desktop Handbook. Discover the complete guide today.
Here are the cool features provided by Google Chrome:
- In Chrome, instead of having distinct input boxes for the search and address bars, Google has combined them. Google also threw in some historical context.
- Chrome comes with its own Task Manager, which displays how much memory and CPU each tab and plug-in consumes. From within Chrome, press Shift-Esc to access it.
- Chrome has an Incognito mode that allows users to visit websites without saving anything from their session, such as history, form fields, or cookies.
- You can move a tab into its own window and back to the main window in Chrome.
- Google Docs, Salesforce.com, and Outlook Web Access are some of the current Web applications. Chrome makes it simpler to make those apps feel more like desktop applications.
Installing Google Chrome on Ubuntu 24.04 (Noble Numbat)
The steps below will guide on how to install Google Chrome on Ubuntu.
Step 1: Perform System Updates
Before starting any installation, Linux users must update their system repository. Run the following command to do so:
sudo apt update -yStep 2: Download Google Chrome .deb package
We will use wget command to download latest Google Chrome .deb binary package.
Install wget utility
sudo apt install wget -yDownload latest Google Chrome DEB binary package from the Google Chrome page and install on your Ubuntu 24.04|22.04 computer.
wget https://dl.google.com/linux/direct/google-chrome-stable_current_amd64.debStep 3: Begin Google Chrome Installation on Ubuntu
Once you obtain .deb binary package, we can begin installation using the apt install command with superuser privileges (sudo) .
sudo apt install ./google-chrome-stable_current_amd64.debThis program will install Google Chrome and its dependencies on Ubuntu Linux system. It will also install the Google repository to your machine, allowing for automatic Google Chrome updates.
$ cat /etc/apt/sources.list.d/google-chrome.list
### THIS FILE IS AUTOMATICALLY CONFIGURED ###
# You may comment out this entry, but any other modifications may be lost.
deb [arch=amd64] https://dl.google.com/linux/chrome/deb/ stable main
Step 4: Launching Google Chrome on Ubuntu
We were able to successfully install Google Chrome on an Ubuntu system. Use the command line to start it:
$ google-chromeor search for Chrome Browser from your Desktop Environment to launch it:
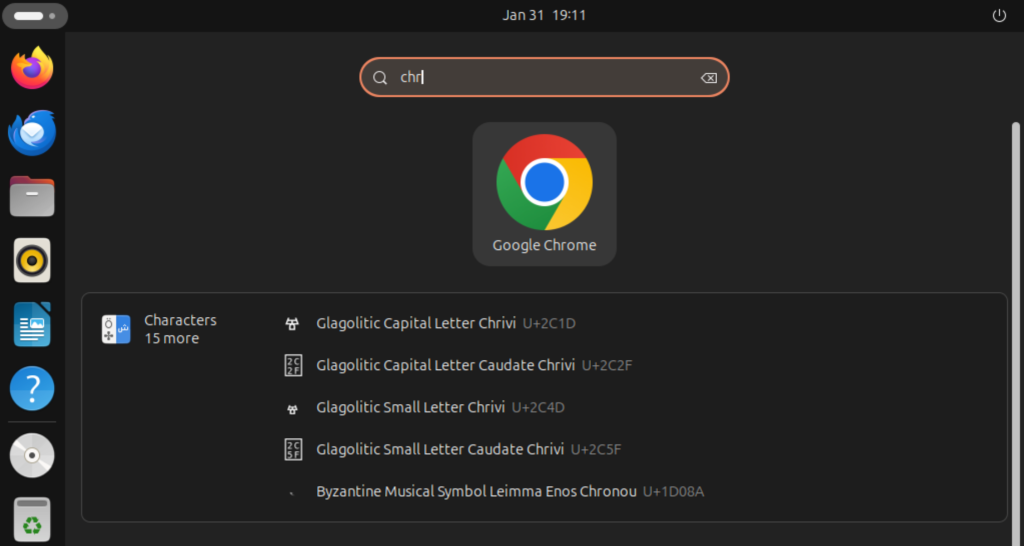
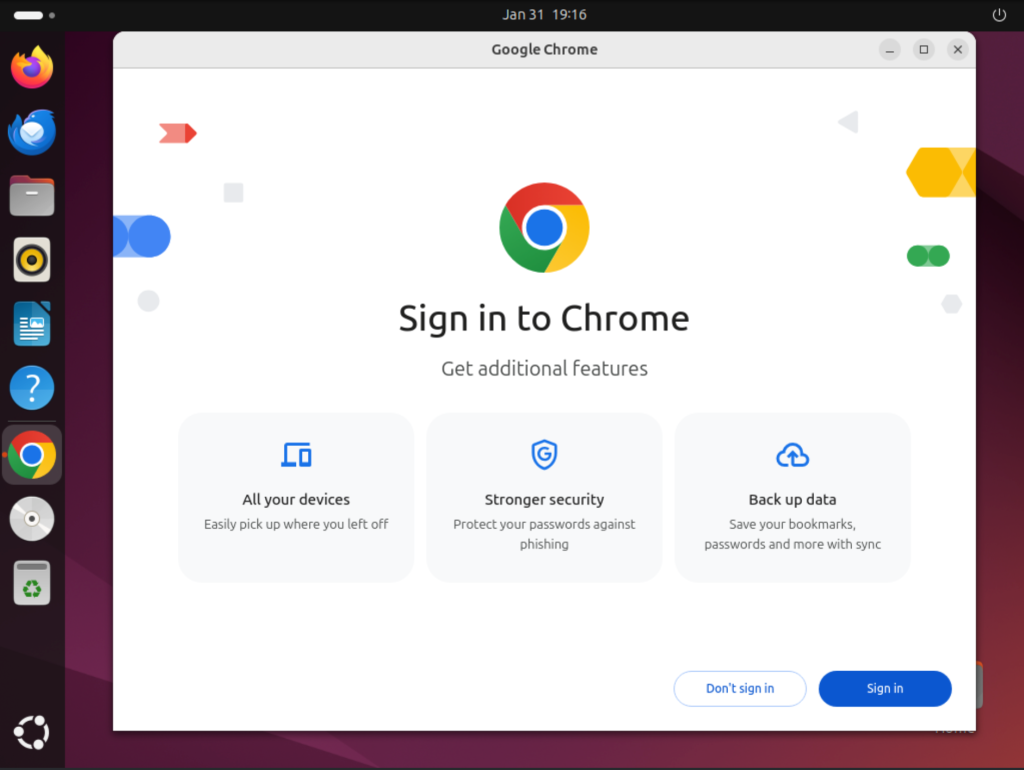
To begin using Google Chrome, complete the required setup.

At the very end, a welcome message should appear. Login and have fun.
Step 5: Updating Google Chrome on Ubuntu
The package can be updated by performing the instructions below because the apt repository was configured by the installer.
sudo apt update
sudo apt upgrade
Useful Google Chrome Keyboard shortcuts
There are a number of common Keyboard Shortcuts that can help you become more productive when using Google Chrome on Ubuntu.
| Keyboard Shortcut | Function |
| Ctrl + tab | Switch tabs to the right |
| Ctrl + shift + tab | Switch tabs from right to left |
| Ctrl + n | Open a new Chrome Window |
| Ctrl + w | Close and exit a tab |
| Ctrl + Shift + t | Reopen all previous tabs if you close the browser. |
| Cctrl + Shift + w | Exit a window |
| Ctrl + shift + n | Create a new incognito window |
Conclusion
Congratulations! We were able to successfully install Google Chrome on Ubuntu 24.04|22.04|20.04 Linux Desktop system. We hope you like your Google Chrome surfing experience on your Ubuntu machine.
Similar Guides:
- Install and Use aaPanel on Ubuntu
- Installing Alacritty Terminal on Ubuntu
- How To Manage Ubuntu / Debian Networking using Netplan


