

IntelliJ IDEA is a powerful Java development environment created by JetBrains and made available in two editions; the Ultimate Edition and the Community Edition. In this guide, we are going to look at how to install IntelliJ IDEA community edition on Linux Mint 22.
What are the features of IntelliJ IDEA?
The following are some of the notable features of IntelliJ LDEA.
- Supports major automation tools which include Gradle, Maven and Ant.
- Supports version control systems such as SVN and Git.
- Has built in terminal, inline debugger, code completion and database tools.
- Supports connecting to docker as well as application servers such as Tomcat.
IntelliJ IDEA installation Prerequisites
To be able to install IntelliJ IDEA on Linx Mint 22, ensure to have the following already in place:
- Java installed – Oracle JDK or OpenJDK
- Working Linux Mint Desktop machine
- A user with sudo privileges
- Internet connectivity for downloading and installing IntelliJ IDEA on Linux Mint 20
Method 1: Install IntelliJ IDEA on Linux Mint 22 Using Install Script
Let’s have a look at how we can install IntelliJ IDEA manually using an installation script:
Step 1: Download IntelliJ IDEA
Update your system and install Java using the following commands.
sudo apt update
sudo apt install -y default-jdk default-jre
Confirm if Java has been installed properly by checking installed version
$ java --versionSample Output:

Visit JetBrains official website. Go to Developer Tools > IntelliJ IDEA .

Click Download and then switch to the Linux tab and scroll down for the Community Edition:

Alternatively, you can download it directly from your terminal, using the command below:
cd Downloads/
wget https://download.jetbrains.com/idea/ideaIC-2025.1.4.1.tar.gz
Step 2: Install IntelliJ IDEA on Linux Mint 22
Once downloaded, change to the directory of your download to extract the file and begin installation. For me the archive file is in Downloads.
cd Downloads
tar xvf ideaIC-2025.1.4.1.tar.gz
Once fully extracted it will add another directory that contains Intellij IDEA installation file. Move this directory to /opt directory and go ahead to launch IntelliJ IDEA.
sudo mv idea-IC-251.27812.49 /opt/idea
/opt/idea/bin/idea.sh
Welcome to IntelliJ IDEA:

At this pint you can customize your IntelliJ UI, choosing the settings that you would prefer:

Now, create a Desktop Entry. Click on the settings icon at the bottom-left corner of the window, then clik Create Desktop Entry:

Step 3: Install IntelliJ IDEA Plugins
To install plugins, go to the plugins tab and install any plugin you want by clicking Install:

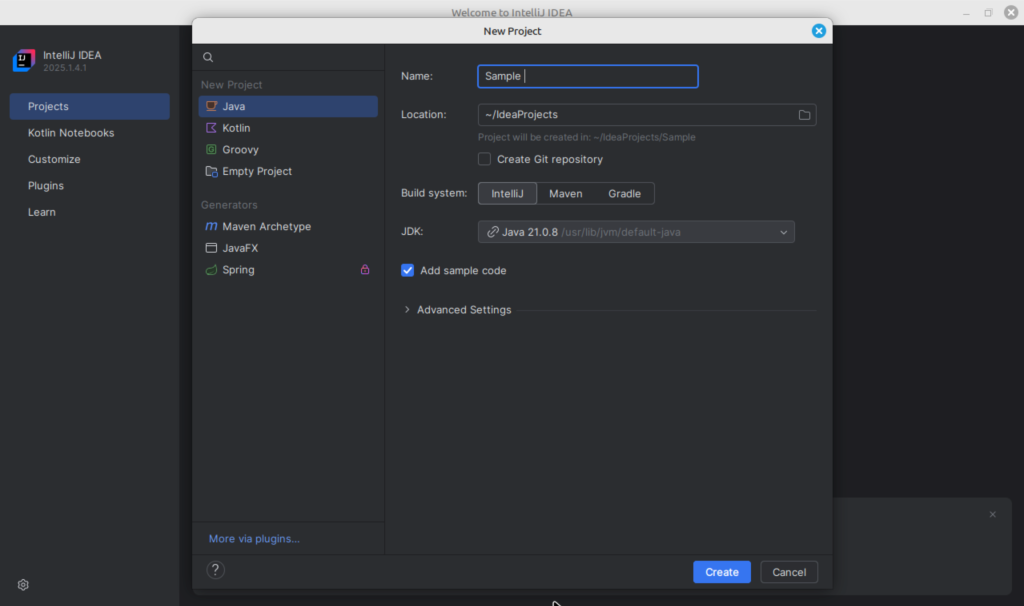
At this point, IntelliJ is ready to use. Click on Create New Project:
Enjoy your Java coding!

Method 2: Install IntelliJ IDEA on Linux Mint 22 using Snap
IntelliJ IDEA can also be installed on your Linux Mint using snap packages. To do so, run the following command:
sudo snap install intellij-idea-community --classicThis will install IntelliJ IDEA and you can launch it from the application menu.
This has been a step-by-step guide on how to install IntelliJ IDEA on Linux Mint 22. Below are more interesting guides for your developments.


