

Jellyfin is an interesting media server for home users. It enables you to keep your media content organized, whether Movies, TV Series, Photos or any kind of Video content for streaming on web browser, mobile device, or on your smart TV. Jellyfin server is where the contents are stored, and this can be a Linux box, Windows, Container, macOS or TrueNAS storage server.
🔑 Unlock the complete Ubuntu Desktop learning journey by purchasing our best selling ebook: The Ultimate Ubuntu Desktop Handbook.
In this tutorial we’ll be installing Jellyfin Media Server on an Ubuntu Linux server. But this can be used for any Debian Linux derivatives. To get started login to your Ubuntu system – this can be SSH session, VNC console, or serial connection to the server.
After login, update apt package index and install curl or wget.
sudo apt update && sudo apt install curl wget -yAfter the update, install Jellyfin on Ubuntu using one of the following methods.
Method 1: Install Jellyfin on Ubuntu using bash script
The quickest installation method of Jellyfin on an Ubuntu system is from a BASH script. The script will handle repository configurations, and the entire process of installing and configuring Jellyfin.
curl https://repo.jellyfin.org/install-debuntu.sh | sudo bashThe Jellyfin service should be started automatically after installation.
> Waiting 15 seconds for Jellyfin to fully start up.

-------------------------------------------------------------------------------
● jellyfin.service - Jellyfin Media Server
     Loaded: loaded (/usr/lib/systemd/system/jellyfin.service; enabled; preset: enabled)
    Drop-In: /etc/systemd/system/jellyfin.service.d
             └─jellyfin.service.conf
     Active: active (running) since Fri 2025-04-04 23:37:17 EAT; 17s ago
   Main PID: 3441 (jellyfin)
      Tasks: 18 (limit: 9486)
     Memory: 130.8M (peak: 138.2M)
        CPU: 15.871s
     CGroup: /system.slice/jellyfin.service
             └─3441 /usr/bin/jellyfin --webdir=/usr/share/jellyfin/web --ffmpeg=/usr/lib/jellyfin-ffmpeg/ffmpeg

Apr 04 23:37:21 Jellyfin jellyfin[3441]: [23:37:21] [INF] Available encoders: ["libsvtav1", "av1_nvenc", "av1_qsv", "av1_amf", "av1_vaapi", "libx264",…
Apr 04 23:37:21 Jellyfin jellyfin[3441]: [23:37:21] [INF] Available filters: ["bwdif_cuda", "deinterlace_qsv", "deinterlace_vaapi", "flip_vulkan", "hw…
Apr 04 23:37:21 Jellyfin jellyfin[3441]: [23:37:21] [INF] Available hwaccel types: ["cuda", "vaapi", "qsv", "drm", "opencl", "vulkan"]
Apr 04 23:37:24 Jellyfin jellyfin[3441]: [23:37:24] [INF] Clean Transcode Directory Completed after 0 minute(s) and 0 seconds
Apr 04 23:37:24 Jellyfin jellyfin[3441]: [23:37:24] [INF] Clean up collections and playlists Completed after 0 minute(s) and 0 seconds
Apr 04 23:37:26 Jellyfin jellyfin[3441]: [23:37:26] [INF] Update Plugins Completed after 0 minute(s) and 2 seconds
Apr 04 23:37:28 Jellyfin jellyfin[3441]: [23:37:28] [INF] FFmpeg: /usr/lib/jellyfin-ffmpeg/ffmpeg
Apr 04 23:37:28 Jellyfin jellyfin[3441]: [23:37:28] [INF] ServerId: d1e69c740a4e4cc6ab4acf50af1e0d73
Apr 04 23:37:28 Jellyfin jellyfin[3441]: [23:37:28] [INF] Core startup complete
Apr 04 23:37:28 Jellyfin jellyfin[3441]: [23:37:28] [INF] Startup complete 0:00:10.5676506
Hint: Some lines were ellipsized, use -l to show in full.
-------------------------------------------------------------------------------

You should see the service as 'active (running)' above. If not, use https://jellyfin.org/contact to find us for troubleshooting.

You can access your new instance now at http://192.168.1.8:8096 in your web browser to finish setting up Jellyfin.

Thank you for installing Jellyfin, and happy watching!
Method 2: Install Jellyfin on Ubuntu by manual repo configurations
If you want to configure everything manually. Start by installing curl and gnupg if you haven’t already:
sudo apt install curl gnupgYou will need to enable the Universe repository from where all the FFmpeg dependency packages will be downloaded.
sudo add-apt-repository universeNext download GPG key used in package signing:
sudo mkdir -p /etc/apt/keyrings
curl -fsSL https://repo.jellyfin.org/jellyfin_team.gpg.key | sudo gpg --dearmor -o /etc/apt/keyrings/jellyfin.gpg
Add Jellyfin repository configuration into the file /etc/apt/sources.list.d/jellyfin.sources:
export VERSION_OS="$( awk -F'=' '/^ID=/{ print $NF }' /etc/os-release )"
export VERSION_CODENAME="$( awk -F'=' '/^VERSION_CODENAME=/{ print $NF }' /etc/os-release )"
export DPKG_ARCHITECTURE="$( dpkg --print-architecture )"
cat <<EOF | sudo tee /etc/apt/sources.list.d/jellyfin.sources
Types: deb
URIs: https://repo.jellyfin.org/${VERSION_OS}
Suites: ${VERSION_CODENAME}
Components: main
Architectures: ${DPKG_ARCHITECTURE}
Signed-By: /etc/apt/keyrings/jellyfin.gpg
EOF
Finally install Jellyfin with all required dependencies:
sudo apt update
sudo apt install jellyfin
Ensure the service is started.
sudo systemctl enable --now jellyfinPrepare storage directories for Jellyfin
It’s good to have dedicated disk or volume to store your media content. In the example below, we will setup /dev/vdb
$ lsblk
NAME    MAJ:MIN RM  SIZE RO TYPE MOUNTPOINTS
sr0      11:0    1    4M  0 rom
vda     253:0    0   50G  0 disk
├─vda1  253:1    0   49G  0 part /
├─vda14 253:14   0    4M  0 part
├─vda15 253:15   0  106M  0 part /boot/efi
└─vda16 259:0    0  913M  0 part /boot
vdb     253:16   0  500G  0 disk
We will partition /dev/vdb and mount it to /data/jellyfin. Set disk as variable.
DISK=/dev/vdXPartition the disk:
sudo partprobe
sudo parted -s -a optimal -- $DISK mklabel gpt
sudo parted -s -a optimal -- $DISK mkpart primary 0% 100%
sudo parted -s -- $DISK align-check optimal 1
sudo mkfs.ext4 $DISK1
Create a mount point for the disk parition.
sudo mkdir -p /data/jellyfinConfigure /etc/fstab and add disk and mount point with valid options.
$ sudo nano /etc/fstab
/dev/vdb1 /data/jellyfin ext4 defaults 0 0
Test that it works by running mount command:
sudo mount -aYou should see configured storage disk mounted in the path provided.
$ df -hT
Filesystem     Type  Size  Used Avail Use% Mounted on
/dev/vda1      ext4   48G  2.8G   45G   6% /
You can create sub-directories in the mount point and set permissions to jellyfin user:
sudo mkdir -p /data/jellyfin/{movies,shows,music}
sudo chown -R jellyfin:jellyfin /data/jellyfin/{movies,shows,music}
Access Jellyfin Web Console
Open your web browser and access http://ServerIP:8096
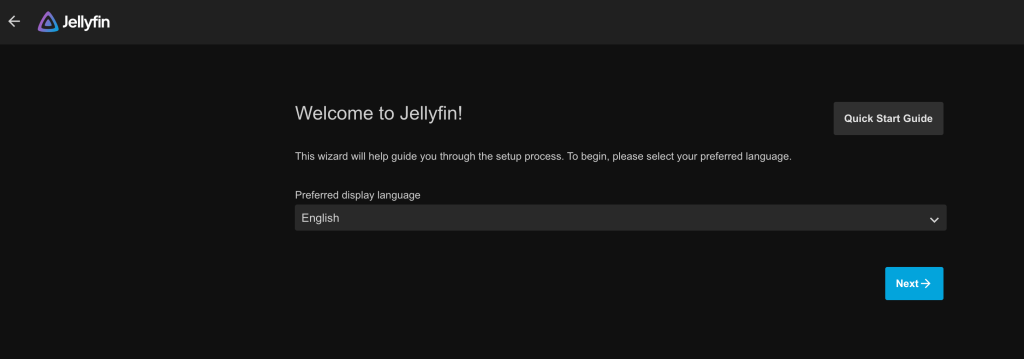
Create user that will manage Jellyfin and all the contents.

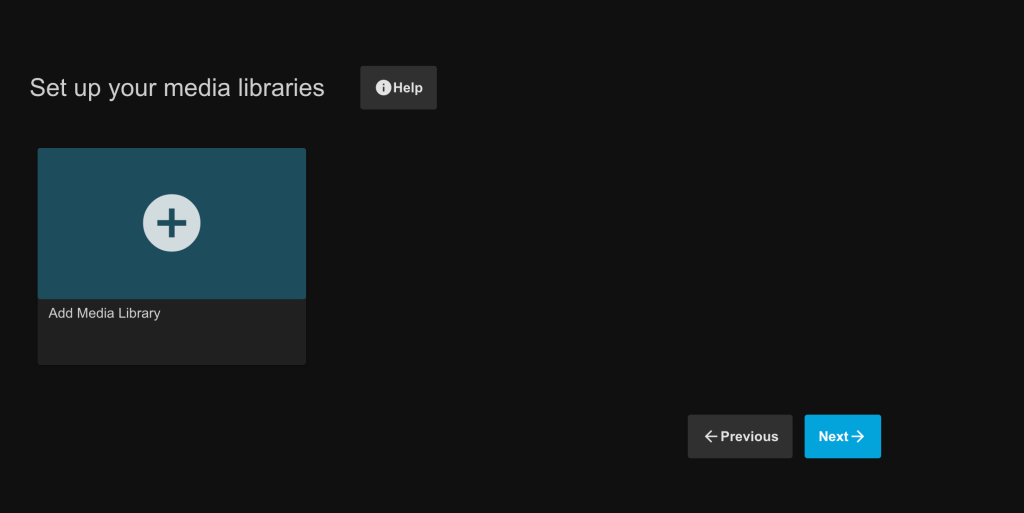
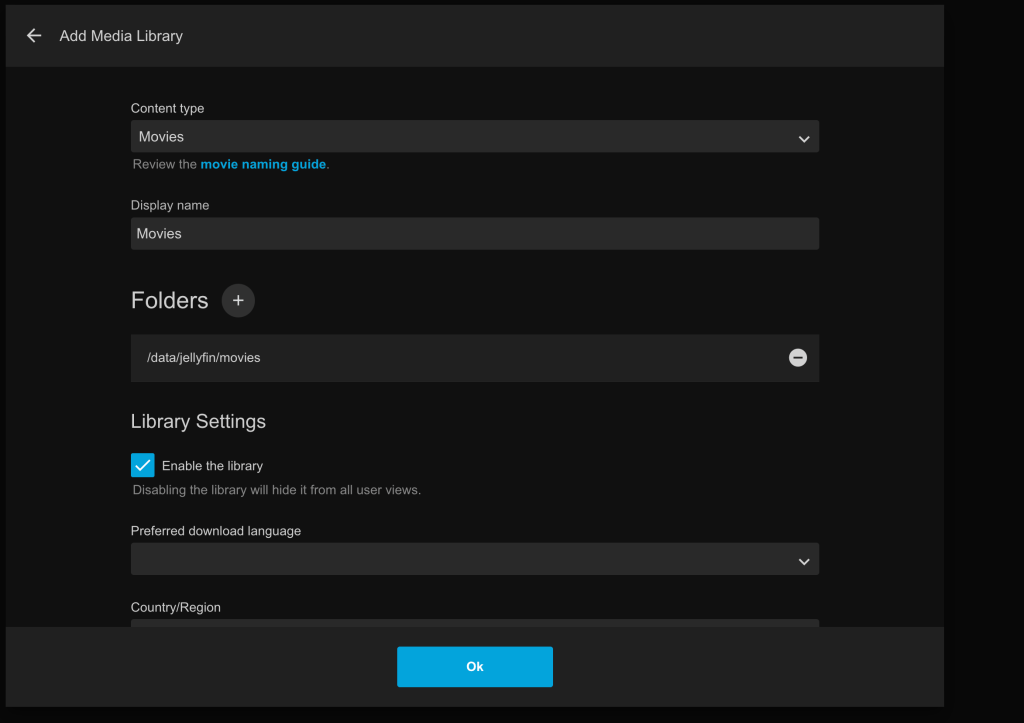
Begin to add media libraries by clicking on the + sign.
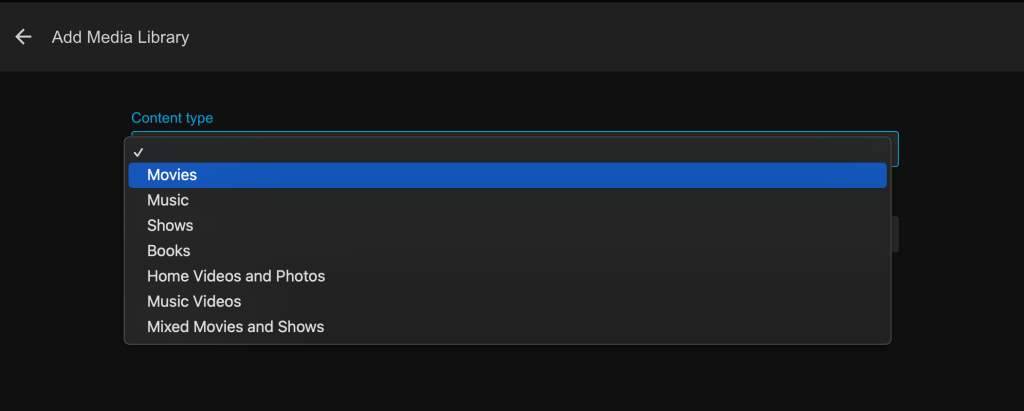
Choose content type
Click “Folders +” to add a new folder.
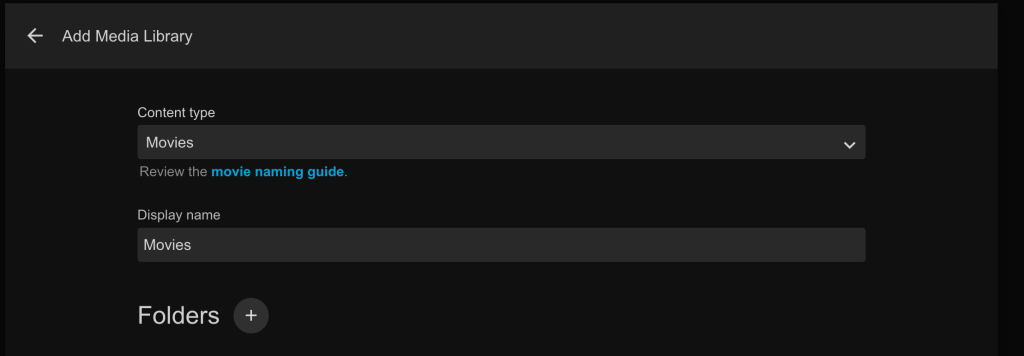
Select data path for the media type choose. This can be repeated for all other content types.
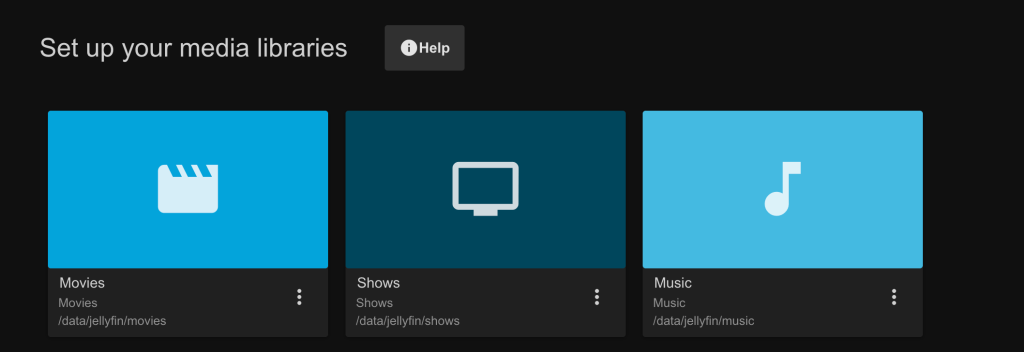
Display after adding three media types and folders to Jellyfin.
Once done, click “Finish”
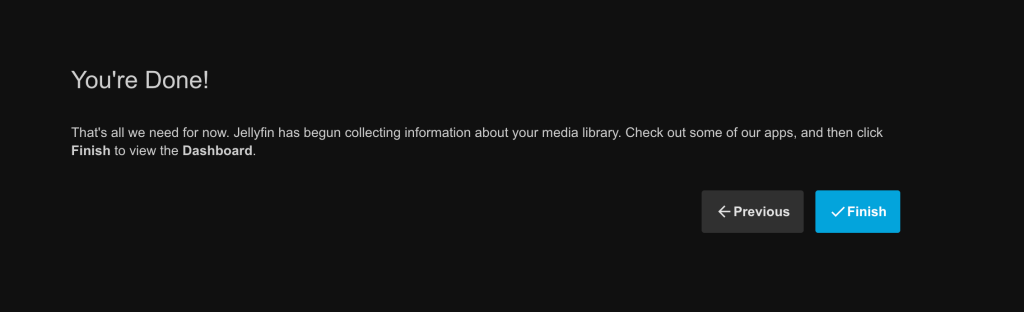
Login with username/password configured earlier, to start uploading data to the relevant Jellyfin.


