
Jenkins is a free to use and open source automation server written in Java. It is created to enable developers around the world to reliably build, test, and deploy their software of any kind. Jenkins is designed to be modular and you can easily extend its functionality by developing your own Jenkins plugins.
This guide will cover all the steps required to install and run Jenkins Server on Amazon Linux 2023 and secure it with Let’s Encrypt SSL certificate. By the end of this article you should have a working Jenkins server and ready to automate all sorts of tasks related to building, testing, and delivering or deploying software.
As there are many ways of installing Jenkins, mainly native system packages, Docker, or running is a standalone on any machine with a Java Runtime Environment (JRE) installed. We will be focusing on the package installation method as it is the easiest and most convenient method.
These are the minimum hardware requirements for installing Jenkins on Amazon Linux 2023 server.
- 256 MB of RAM, 1 GB+ recommended
- 1 CPU core at minimum
- 1 GB of drive space (although 10 GB is a recommended minimum if running Jenkins as a Docker container)
Step 1: Update Amazon Linux 2023 server
Start an SSH session to your Amazon Linux 2023 server.
~ ❯ ssh [email protected]                                                                                                                                                                                  32m 45s
   ,     #_
   ~\_  ####_        Amazon Linux 2023
  ~~  \_#####\
  ~~     \###|
  ~~       \#/ ___   https://aws.amazon.com/linux/amazon-linux-2023
   ~~       V~' '->
    ~~~         /
      ~~._.   _/
         _/ _/
       _/m/'
Last login: Fri Nov 28 20:16:57 2025 from 192.168.1.3
[cloudspinx@al-2023 ~]$
Let’s make sure our Amazon Linux 2023 server is up-to-date.
sudo yum -y updatePerform a system reboot after the upgrade is done.
sudo systemctl rebootStep 2: Install Java on Amazon Linux 2023
Jenkins main requirement is Java runtime environment. Java packages are available to Amazon Linux through correto. Check the available Java versions:
$ sudo yum search java-*-amazon-corretto
Last metadata expiration check: 0:41:16 ago on Fri Nov 28 19:42:27 2025.
========================================================================================== Name Matched: java-*-amazon-corretto ==========================================================================================
java-1.8.0-amazon-corretto.x86_64 : Amazon Corretto runtime environment
java-11-amazon-corretto.x86_64 : Amazon Corretto development environment
java-17-amazon-corretto.x86_64 : Amazon Corretto development environment
java-21-amazon-corretto.x86_64 : Amazon Corretto development environment
java-22-amazon-corretto.x86_64 : Amazon Corretto development environment
java-23-amazon-corretto.x86_64 : Amazon Corretto development environment
java-24-amazon-corretto.x86_64 : Amazon Corretto development environment
java-25-amazon-corretto.x86_64 : Amazon Corretto development environment
We will install OpenJDK 21 in the server. You can install either Java 17, 21 or 25, as they are the supported versions:
sudo yum install -y java-21-amazon-correttoHit the y key in your keyboard when asked before installation commences.
Confirm installation by checking the Java version.
$ java --version
openjdk 21.0.9 2025-10-21 LTS
OpenJDK Runtime Environment Corretto-21.0.9.10.1 (build 21.0.9+10-LTS)
OpenJDK 64-Bit Server VM Corretto-21.0.9.10.1 (build 21.0.9+10-LTS, mixed mode, sharing)
Step 3: Add Jenkins repository
I had stated earlier that we’ll use the package installation method. In this method a package repository is required which can be added by running the following command in the terminal.
sudo tee /etc/yum.repos.d/jenkins.repo > /dev/null <<'EOF'
[jenkins]
name=Jenkins
baseurl=http://pkg.jenkins.io/redhat
gpgcheck=0
EOF
Import GPG repository key.
sudo rpm --import https://jenkins-ci.org/redhat/jenkins-ci.org.keyUpdate the list of repositories to confirm it is working.
$ sudo yum repolist
repo id                                                                                        repo name
amazonlinux                                                                                    Amazon Linux 2023 repository
jenkins                                                                                        Jenkins
kernel-livepatch                                                                               Amazon Linux 2023 Kernel Livepatch repository
Step 4: Install Jenkins Server on Amazon Linux 2023
The final step is the actual installation of Jenkins Server in Amazon Linux 2023 system.
sudo yum install -y jenkinsAccept to start the installation of Jenkins on Amazon Linux 2023 server.

Start and enable the jenkins service to start at the OS boot.
sudo systemctl enable --now jenkinsConfirm the service is running and set to autostart.
sudo systemctl status jenkins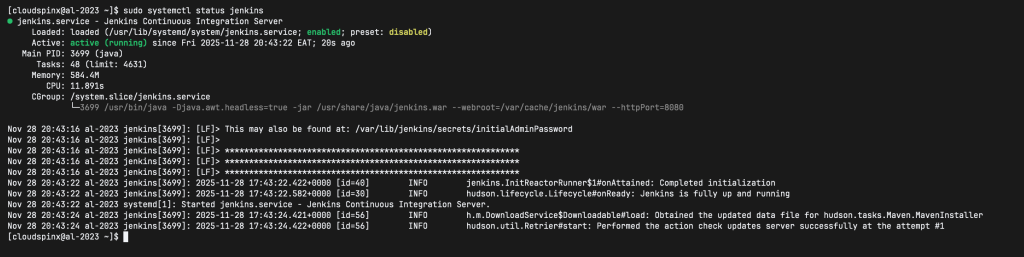
The Jenkins service will bind to port 8080 by default.
$ sudo ss -tunelp | grep 8080
tcp   LISTEN 0      50                 *:8080            *:*    users:(("java",pid=12798,fd=8)) uid:996 ino:35960 sk:d v6only:0 <->
Step 5: Access Jenkins Server on Amazon Linux 2023
If the service was started successfully the Web console can be accessed on:
http://[serverip_ip_or_hostname]:8080The default login password is store in this file:
$ sudo cat /var/lib/jenkins/secrets/initialAdminPassword
7c893b9829dd4ba08244ad77fae9fe4f
Copy the password from the said location and paste it in the box:
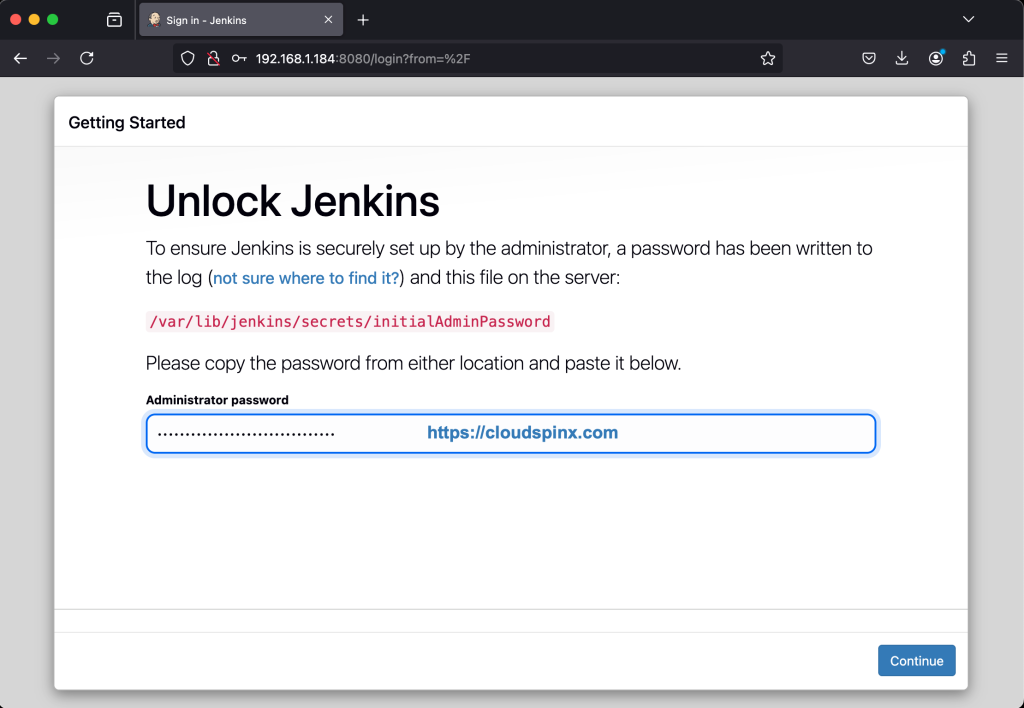
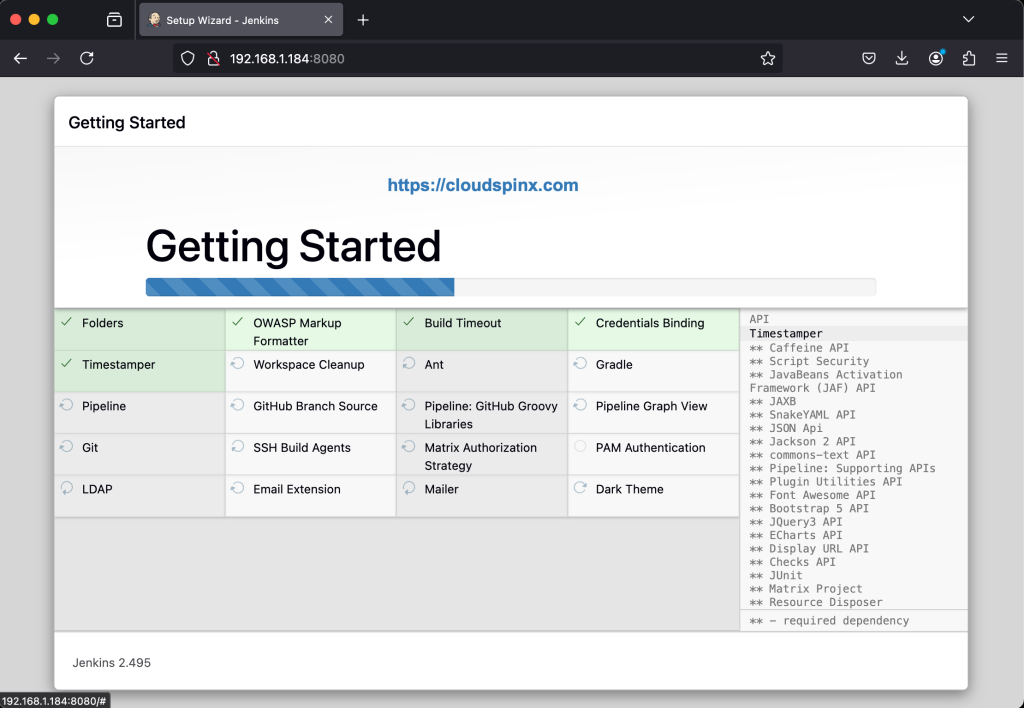
Agree to install suggested Plugins which extends Jenkins with additional features to support many different needs:
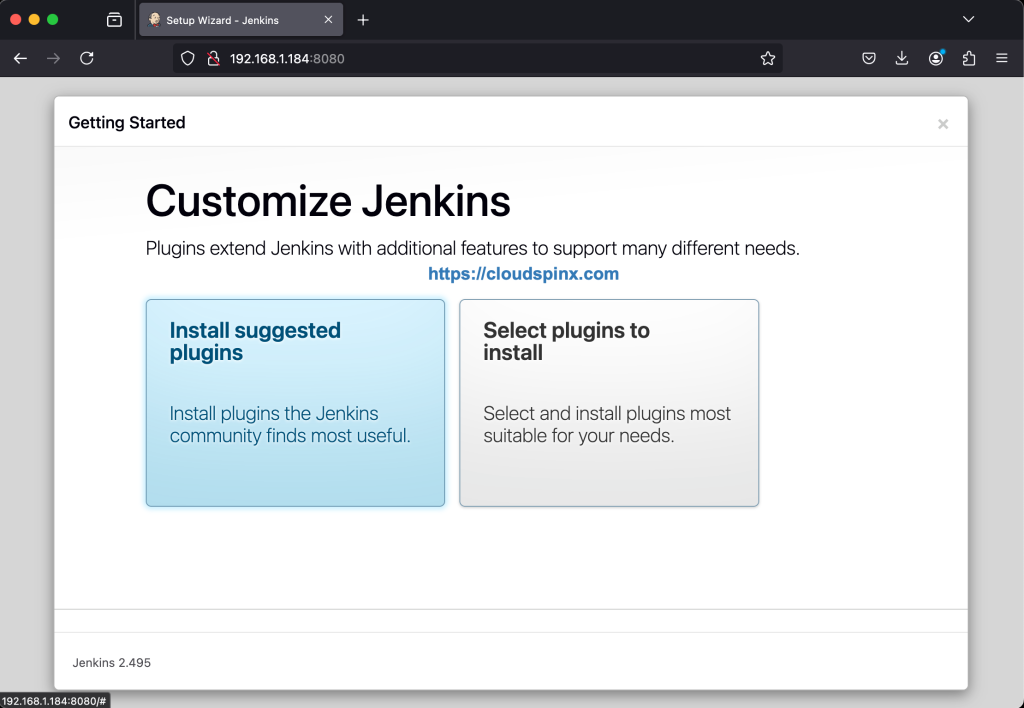
Wait for the plugins to be installed:
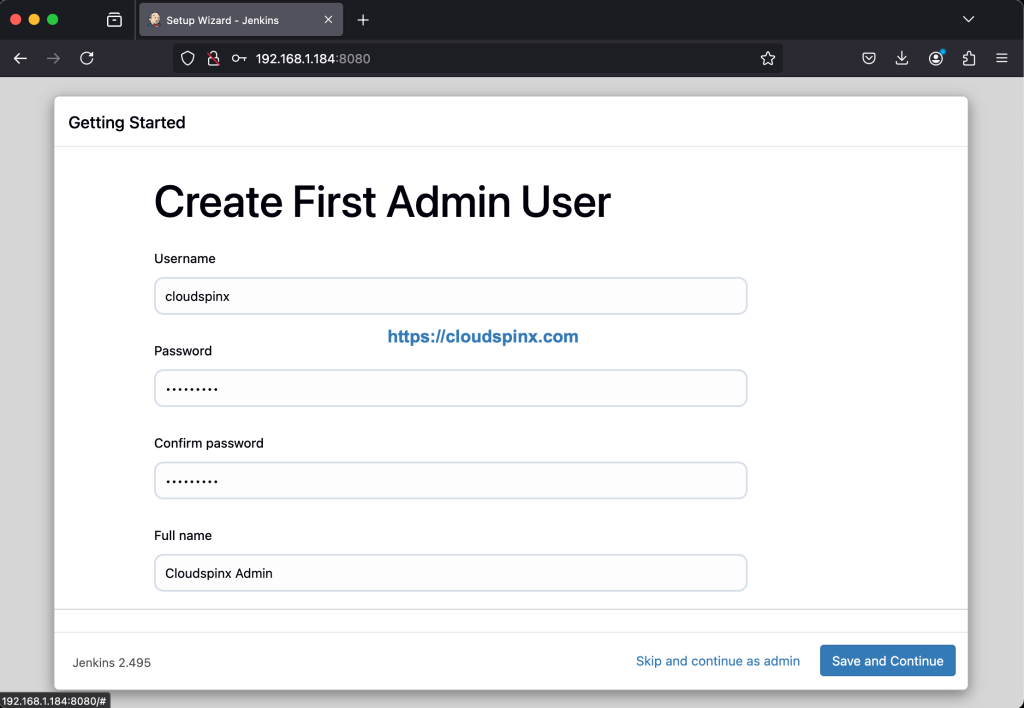
Once the plugins are installed create first admin user.
Jenkins Instance access URL will be printed in the screen that follows. This can be changed with a valid DNS name.
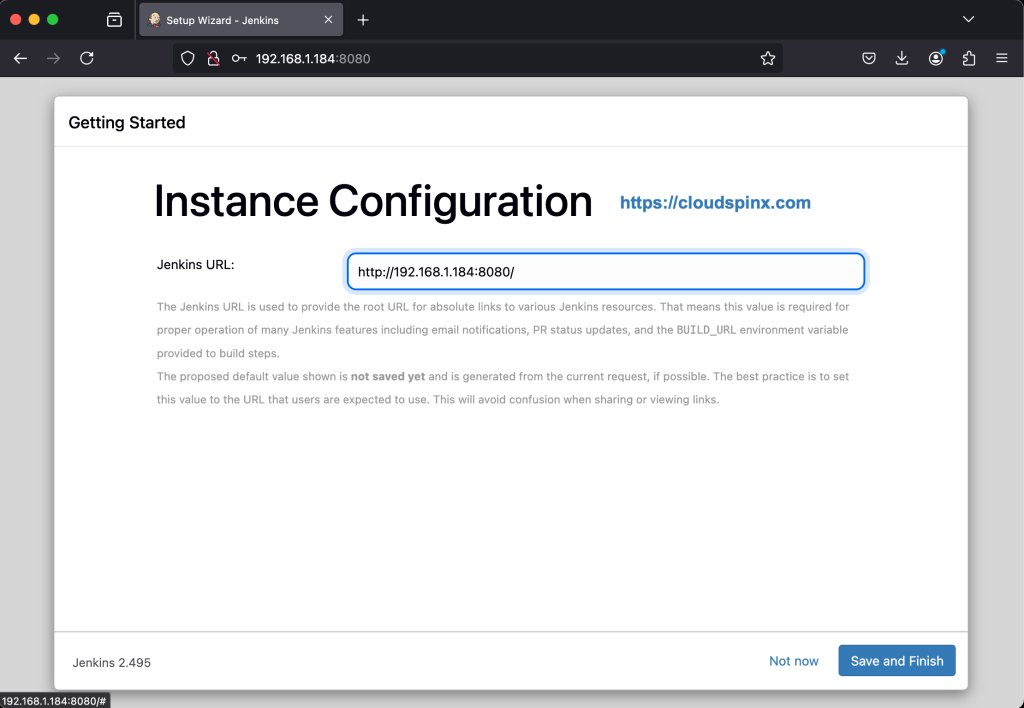
Finish the setup to start using Jenkins. For more reading on configurations refer to official Jenkins Documentation.
More articles on Amazon Linux 2023.


