

This guide takes us through how to install and configure LibreNMS on Oracle Linux 9. LibreNMS is a powerful open-source monitoring tool based on PHP. It monitors a wide range of network devices and and depending on your settings you can get various graphs for bandwidth and system resource utilization.
LibreNMS feature set includes automatic discovery, customizable alerts, API access, billing system for ports on the network, automatic updates among others. It also has multiple authentication methods like MySQL, HTTP, LDAP, Radius, Active Directory.
Installing LibreNMS on Oracle Linux 9 | AlmaLinux 9
Ensure your system packages are up to date before beginning installations.
sudo dnf -y update
sudo dnf -y install vim bash-completion git wget curl
I also opted to disable Selinux so as not to restrict any installation. Update the SELINUX line to ‘SELINUX=disabled’ or put it in permissive mode.
sudo setenforce 0
sudo sed -i 's/^SELINUX=.*/SELINUX=permissive/g' /etc/selinux/config
Reboot your system:
sudo rebootSet Timezone
It is important to ensure that your LibreNMS server is running the correct timezone for proper polling:
sudo timedatectl set-timezone Africa/NairobiInstall Epel and Repo Repositories
We are going to install Epel and Remi repositorieson our Oracle Linux 9 to enable us install the necessary dependencies. Run the following commands:
sudo dnf -y install https://dl.fedoraproject.org/pub/epel/epel-release-latest-9.noarch.rpm
sudo dnf -y install https://rpms.remirepo.net/enterprise/remi-release-9.rpm
Install Required Dependencies
In the next command we are going to install php and its modules, nginx, mariadb and other dependencies. By default, Oracle Linux 9 comes with php 8.0. We need to disable this version and enable php 8.3. Run the following commands:
sudo dnf module reset php -y
sudo dnf module install php:remi-8.3
sudo dnf update
sudo dnf -y install bash-completion cronie fping git ImageMagick mariadb-server mtr net-snmp net-snmp-utils nginx nmap php-fpm php-cli php-common php-curl php-gd php-json php-mbstring php-process php-snmp php-xml php-zip php-mysqlnd python3 python3-PyMySQL python3-redis python3-memcached python3-pip rrdtool unzip
Create LibreNMS user
We are going to create librenms user and add to nginx group:
sudo useradd librenms -d /opt/librenms -M -r
sudo usermod -a -G librenms nginx
Clone LibreNMS
Clone Librenms software from Githhub with the following command:
cd /opt
sudo git clone https://github.com/librenms/librenms.git
Create a new directory for LibreNMS logs and rrd files:
sudo mkdir -p /opt/librenms/logs/
sudo mkdir -p /opt/librenms/rrd/
sudo chmod 775 /opt/librenms/rrd/
Now change the ownership of all files and directories under ‘/opt/librenms’ directory to the ‘librenms’ user and group and set the right permissions.
sudo chmod 771 /opt/librenms
sudo chown -R librenms:librenms '/opt/librenms'
sudo setfacl -d -m g::rwx /opt/librenms/bootstrap/cache /opt/librenms/storage /opt/librenms/logs /opt/librenms/rrd
sudo chmod -R ug=rwX /opt/librenms/bootstrap/cache /opt/librenms/storage /opt/librenms/logs /opt/librenms/rrd
Install composer dependencies
Run the PHP script to install the composer using the below commands.
sudo su -
su - librenms
./scripts/composer_wrapper.php install --no-dev
exit
Set up Database
We have already installed MariaDB. Go ahead to start and enable it.
sudo systemctl start mariadb
sudo systemctl enable mariadb
Secure mariadb:
$ sudo mysql_secure_installation
Enter current password for root (enter for none): Just press Enter
Set root password? [Y/n] Y
New password:  New-root-password
Re-enter new password: Re-enter New-root-password
Remove anonymous users? [Y/n] Y
Disallow root login remotely? [Y/n] Y
Remove test database and access to it? [Y/n] Y
Reload privilege tables now? [Y/n] Y
Thanks for using MariaDB!
Connect to MariaDB and set up a database and a user:
mysql -u root -pLogin with the password set above and run the following commands to create a database and a user:
CREATE DATABASE librenms CHARACTER SET utf8 COLLATE utf8_unicode_ci;
CREATE USER 'librenms'@'localhost' IDENTIFIED BY 'mypassword';
GRANT ALL PRIVILEGES ON librenms.* TO 'librenms'@'localhost';
FLUSH PRIVILEGES;
EXIT
We need to add the following lines in the MariaDB configuration file under [mysqld]:
sudo vim /etc/my.cnf.d/mariadb-server.cnfAdd the following lines under [mysqld]:
innodb_file_per_table=1
lower_case_table_names=0
Restart MariaDB after making the changes
sudo systemctl restart mariadb
sudo systemctl status mariadb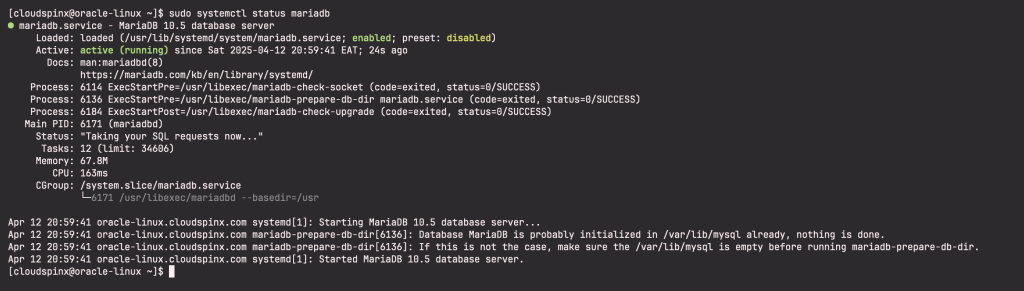
PHP-FPM and Nginx Set up
For PHP-FPM to work with Nginx, we are required to make changes to the config file:
sudo vim /etc/php-fpm.d/www.conf Configure nginx user and group. Also change listening path as shown:
;user = apache
user = nginx
group = nginx

;listen = 127.0.0.1:9000
listen = /var/run/php-fpm/php-fpm.sock

listen.owner = nginx
listen.group = nginx
listen.mode = 0660
Save and close the file then enable php-fpm:
sudo systemctl enable php-fpm
sudo systemctl restart php-fpm
Create librenms.conf configuration file under nginx path.
sudo vim /etc/nginx/conf.d/librenms.confAdd the following content replacing server_name with your system name.
server {
    # Add your own domain name
    listen      80;
    server_name nms.example.com;

    # LibreNMS Webroot directory
    root        /opt/librenms/html;
    index       index.php;

    # LibreNMS logs
    access_log  /opt/librenms/logs/access_log;
    error_log   /opt/librenms/logs/error_log;

    # Enabling Gzip compression on Nginx
    charset utf-8;
    gzip on;
    gzip_types text/css application/javascript text/javascript application/x-javascript image/svg+xml text/plain text/xsd text/xsl text/xml image/x-icon;

    location / {
        try_files $uri $uri/ /index.php?$query_string;
    }

    location /api/v0 {
        try_files $uri $uri/ /api_v0.php?$query_string;
    }

    # PHP-FPM handle all .php files requests
    location ~ \.php$ {
        include fastcgi.conf;
        fastcgi_split_path_info ^(.+\.php)(/.+)$;
        fastcgi_pass unix:/var/run/php-fpm/php-fpm.sock;
    }

    location ~ /\.ht {
        deny all;
    }
}
Save the file and enable nginx:
sudo systemctl enable nginx
sudo systemctl start nginx
sudo systemctl status nginx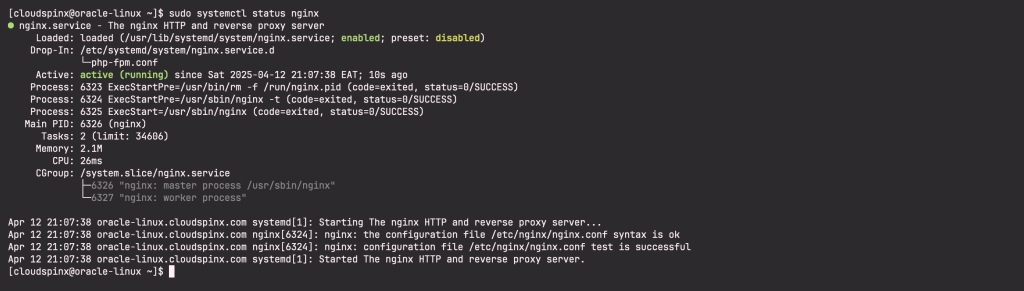
SNMPD Configuration
Copy snmp.example.conf file in librenms path to snmp.conf:
sudo cp /opt/librenms/snmpd.conf.example /etc/snmp/snmpd.confNow we will run the following commands to get it set up and started:
sudo curl -o /usr/bin/distro https://raw.githubusercontent.com/librenms/librenms-agent/master/snmp/distro
sudo chmod +x /usr/bin/distro
sudo systemctl enable snmpd
sudo systemctl restart snmpd
sudo systemctl status snmpd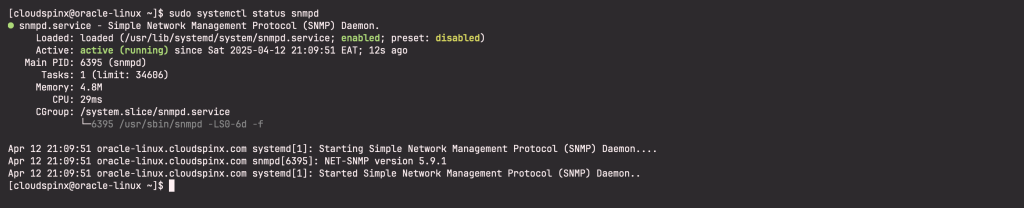
CronJob and Logrotate
Copy the files as shown:
sudo cp /opt/librenms/librenms.nonroot.cron /etc/cron.d/librenms
sudo cp /opt/librenms/misc/librenms.logrotate /etc/logrotate.d/librenms
Configure php.ini
We need to set the right time zone here.
sudo vim /etc/php.iniMake the following changes:
date.timezone = Africa/Nairobi
cgi.fix_pathinfo=0
Restart php-fpm:
sudo systemctl restart php-fpmFirewalld Access
If you have an active firewall, ensure to allow http, https and snmp through it. Run the commands below:
sudo firewall-cmd --permanent --zone public --add-service=http
sudo firewall-cmd --permanent --zone public --add-service=https
sudo firewall-cmd --permanent --zone=public --add-port=161/udp
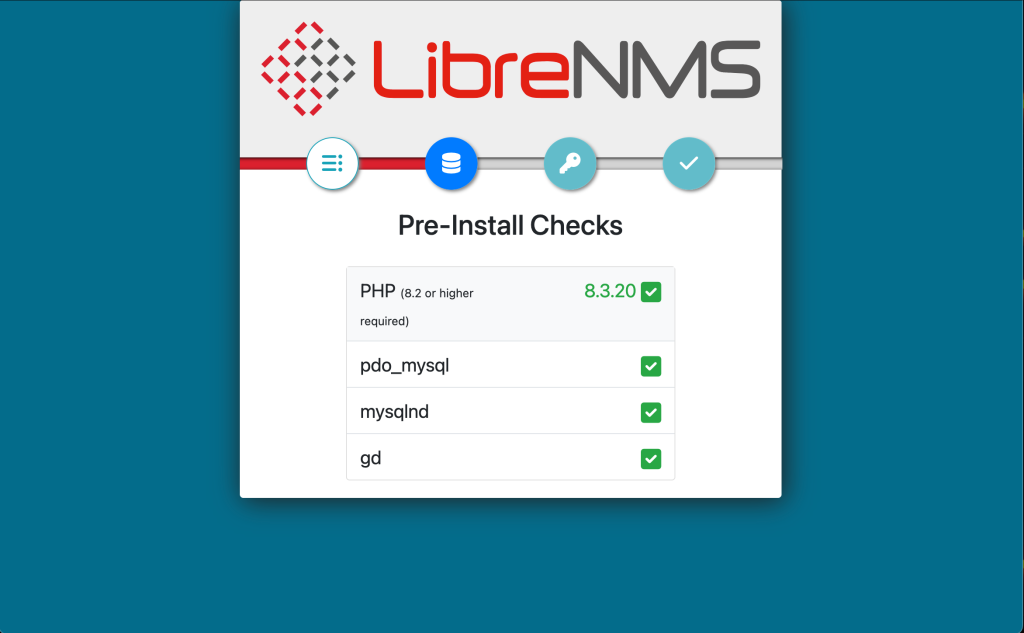
sudo firewall-cmd --reloadLibreNMS Web interface configurations
Now access your LibreNMS with your server IP/ hostname. For example, http://nms.example.com/. You should get a page as shown:
Click on the database icon to input your database credentials:
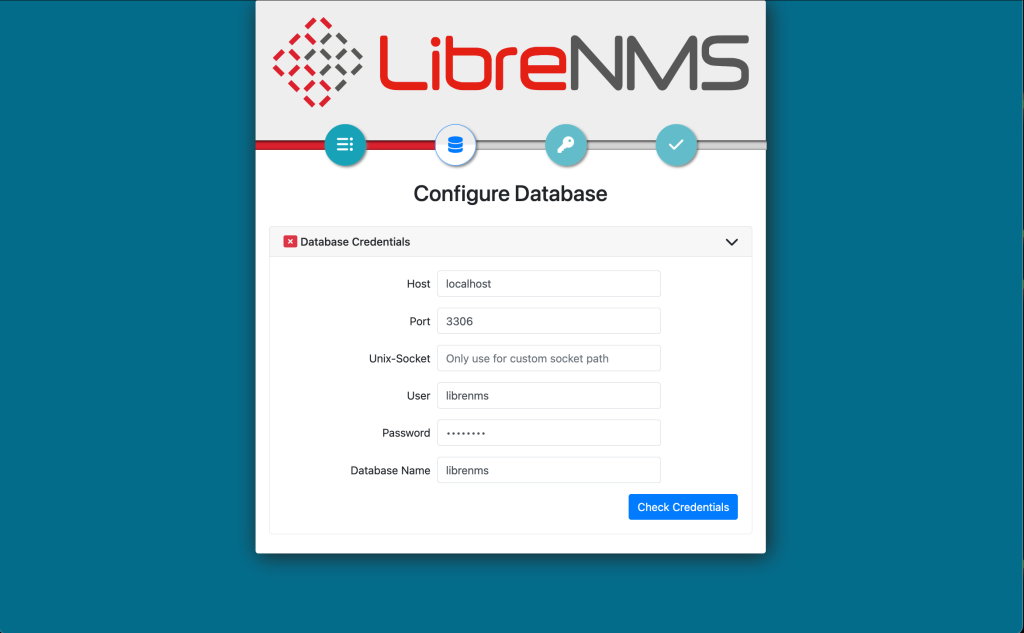
Click Build Database to build Librenms DB. Then wait for the build to complete:

When the build is complete, switch to the keys tab to create admin user:

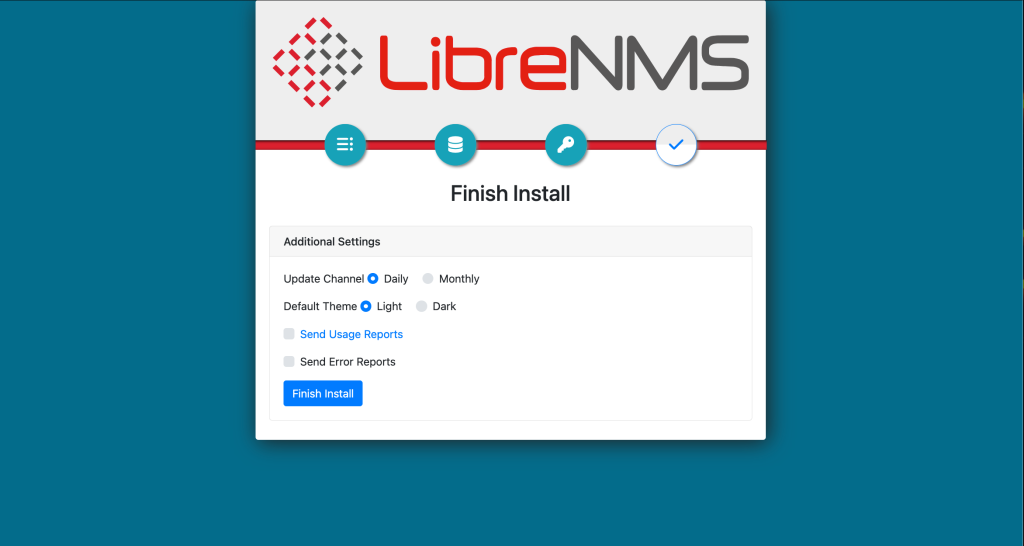
Switch to the last page and click Finish Install.
If you get the error of /opt/librenms/.env file not generated, open the file manually on your server and add the provided content then click retry and everything should be fine.
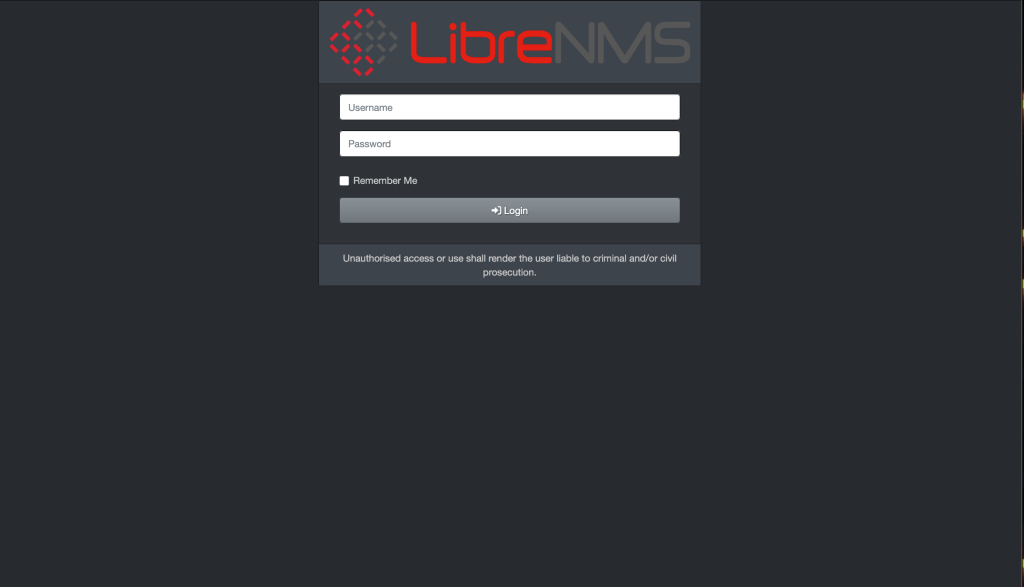
Next, login with the username and password you just created and you should see the page to start adding your devices to monitor:
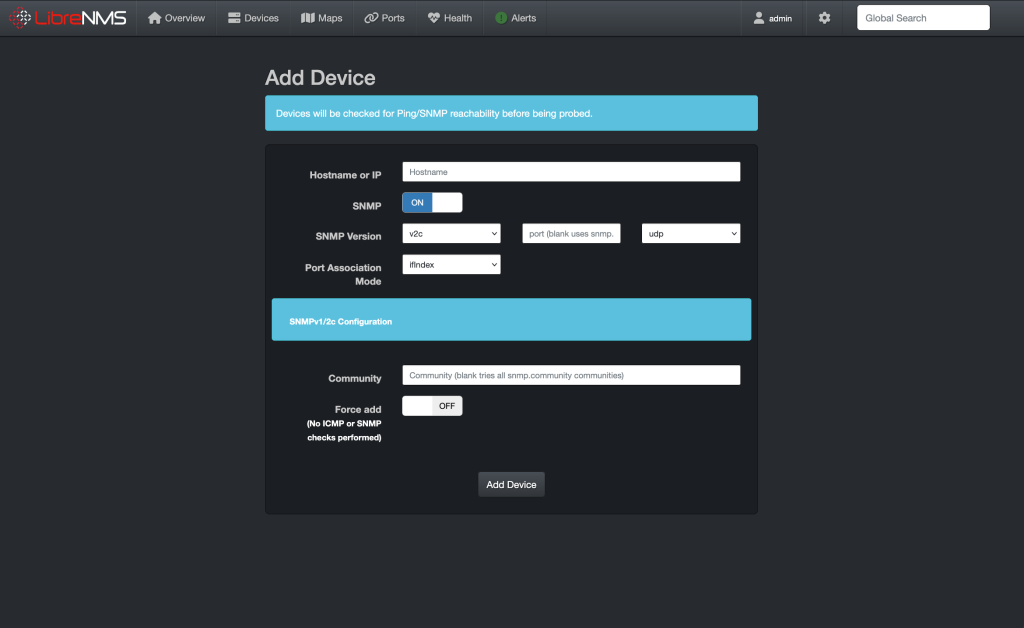
That’s it. Add devices and set graphs and enjoy monitoring with LibreNMS.


