

Memcached is a free to use and open source in-memory, high-performance and distributed key-value store for small chunks of arbitrary data (objects, strings) from results of database calls, API calls, or page rendering. Memcached is intended for use in speeding up dynamic web applications by alleviating database load. Memcached API is available for most popular programming languages.
In this short post we will be covering the installation of Memcached on Amazon Linux 2023 server. There is a Memcached package available in the default Amazon Linux 2023 repositories but the version is a bit old. In this guide we will download the latest release of Memcached source, extract and build the binary from it.
Install Memcached on Amazon Linux 2023
We will be doing the manual installation of Memcached on Amazon Linux 2023. We start by ensuring all dependencies are installed, then perform the actual building and installation of latest Memcached Server on Amazon Linux 2023.
Step 1: Install Build Dependencies
Install build dependencies using yum commands below.
sudo yum -y install '@Development Tools' openssl-devel libevent-develStep 2: Install Memcached on Amazon Linux 2023
Download the latest Memcached release source code.
wget https://memcached.org/latest -O memcached-latest.tar.gzOnce the file is downloaded extract it with tar command line tool.
tar xvf memcached-latest.tar.gzExtract the downloaded archive file.
cd memcached-*/Run configuration command:
./configureMake and install.
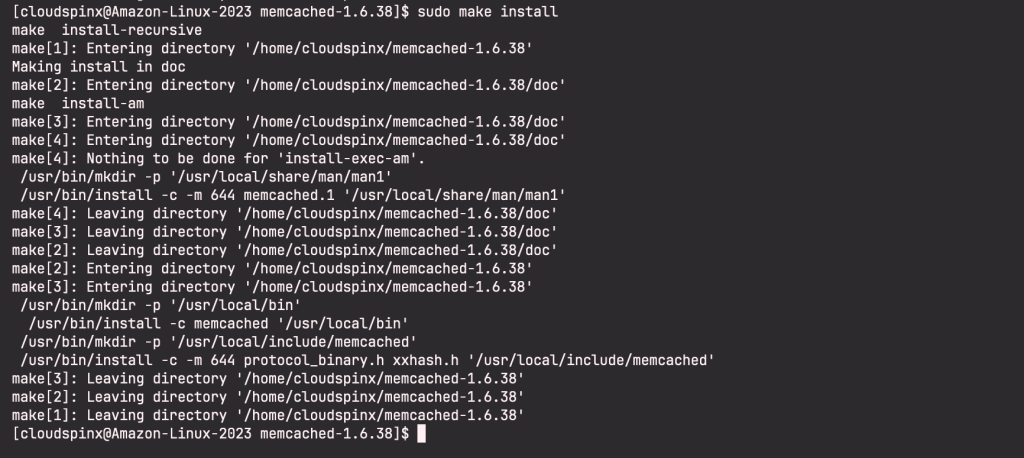
make
sudo make install
Sample Output:
Step 3: Configure Systemd service file
Create Memcached systemd environment configuration file:
sudo tee /etc/sysconfig/memcached > /dev/null <<EOF
# These defaults will be used by every memcached instance, unless overridden
# by values in /etc/sysconfig/memcached.<port>
USER="nobody"
MAXCONN="1024"
CACHESIZE="64"
OPTIONS=""

# The PORT variable will only be used by memcached.service, not by
# memcached@xxxxx services, which will use the xxxxx
PORT="11211"
EOF
Create new Memcached Systemd unit file.
sudo vim /etc/systemd/system/memcached.serviceAnd paste the following content:
[Unit]
Description=memcached daemon
After=network.target

[Service]
EnvironmentFile=/etc/sysconfig/memcached
ExecStart=/usr/local/bin/memcached -p ${PORT} -u ${USER} -m ${CACHESIZE} -c ${MAXCONN} $OPTIONS
PrivateTmp=true
ProtectSystem=full
NoNewPrivileges=true
PrivateDevices=true
CapabilityBoundingSet=CAP_SETGID CAP_SETUID CAP_SYS_RESOURCE
RestrictAddressFamilies=AF_INET AF_INET6 AF_UNIX

[Install]
WantedBy=multi-user.target
Reload Systemd.
sudo systemctl daemon-reloadStart Systemd service.
sudo systemctl enable --now memcachedChecking service status:
sudo systemctl status memcached -l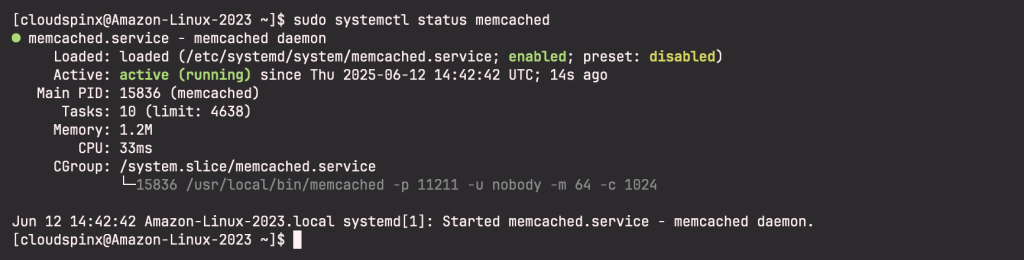
Step 4: PHP and Python usage
A Client specific to your programming language is required when connecting to Memcached server from your application.
For PHP
PHP Module installation:
sudo yum install php8.4
sudo yum install php-pear php-devel
Download the latest php-memcache release from PECL repository.
pecl download memcacheThen extract and compile the memcache package using the commands below:
sudo tar -xzf memcache-8.2.tgz
cd memcache-8.2
sudo phpize
sudo ./configure
sudo make
sudo make install
Then edit php.ini and add extension=memcache.so
sudo vim /etc/php.iniConfirm that the extension is loaded properly by running php --modules:
[PHP Modules]
bz2
calendar
Core
ctype
curl
date
dom
exif
fileinfo
filter
ftp
gettext
hash
iconv
json
libxml
mbstring
memcache
openssl
pcntl
pcre
PDO
pdo_sqlite
Phar
posix
random
readline
Reflection
session
shmop
SimpleXML
sockets
sodium
SPL
sqlite3
standard
sysvmsg
sysvsem
sysvshm
tokenizer
xml
xmlreader
xmlwriter
xsl
Zend OPcache
zlib

[Zend Modules]
Zend OPcache
For Python:
sudo yum -y install python3 python3-pipInstall Memcached Python module:
$ sudo pip3 install  python-memcached
Collecting python-memcached
  Downloading python_memcached-1.62-py2.py3-none-any.whl (15 kB)
Installing collected packages: python-memcached
Successfully installed python-memcached-1.62
More articles on Amazon Linux:


