
The most well-known Open Source SQL database management system is MySQL. Oracle Corporation makes it, sells it, and offers assistance for it.. A structured data collection is called a database. It might be anything, such as a straightforward grocery list, an image gallery, or the enormous volumes of data stored in a business network. A database management system, such as MySQL Server, is required in order to add, access, and process data that is stored in computer databases. Database management systems, whether used as stand-alone tools or as components of other applications, are essential to computing because computers are adept at processing massive volumes of data.
MySQL databases are very powerful and widely used, here is why:
- MySQL databases are relational: Instead of storing all the data in one large warehouse, a relational database keeps the data organized into distinct tables. The physical files containing the database structures are arranged to maximize speed. The logical model, with objects like as databases, tables, views, rows, and columns, offers a flexible programming environment.
- Open Source: Anybody can use and alter the software because it is open source. The MySQL software is available for free download from the Internet and can be used by everyone. You are free to study the source code and modify it to your specifications. The GPL (GNU General Public License) is used with MySQL software.
- Fast, reliable, scalable, and easy to use: MySQL Server can run smoothly on a desktop or laptop, alongside your other apps, web servers, and so on, requiring little or no attention. You may tweak the settings to make the most of all the RAM, CPU power, and I/O capacity if you dedicate a whole system to MySQL. Additionally, MySQL can scale to networked clusters of machines.
- Client/Server or embedded systems: It is a client/server system made up of a multithreaded SQL server that works with different back ends, a number of different client programs and libraries, management tools, and a lot of different application programming interfaces (APIs).
What’s New in 8.2 release?
So, let’s take a look at the new features that come with MySQL 8.2;
- MySQL native password: The
mysql_native_passwordplugin, which was previously deprecated, is no longer mandatory in MySQL Server 8.2 and can be disabled at server startup. - Pluggable Authentication: Added the ability to use smart cards, security keys, and fingerprint readers to log in to MySQL Server in a WebAuthn setting. The
authentication_webauthnplugin is used on the server, and theauthentication_webauthn_clientplugin is used on the client. - Hash table optimization: By utilizing a novel hash table optimization mechanism, MySQL 8.2 enhances the performance of statements that employ the set operations
EXCEPTandINTERSECT. This improvement is implemented automatically for such statements and can be managed by configuring thehash_set_operationsoptimizer switch. - MySQL Replication: The option
SQL_AFTER_GTIDSfor theSTART_REPLICAstatement can now be used with the multi-threaded applier. This means that a copy that needs to catch up on deals it missed can now do so without losing the speed boost that comes from using multiple threads. - MySQL Enterprise Audit. Added the
audit_log_filter_uninstall.sqlscript to simplify removing MySQL Enterprise Audit. - Additions to server startup and shutdown messages: Start and end messages for server initialization when the server is started with
--initializeor--initialize-insecure; these are in addition to and distinct from those shown during normal server startup and shutdown.
Installing MySQL on Windows 11/10
MySQL is available for Microsoft Windows 64-bit operating systems only. Installing MySQL on Microsoft Windows can be done in a few different ways: using the MSI method, the normal binary distribution (compressed file) that contains all the files you need to unpack, or using the source files to compile MySQL yourself.
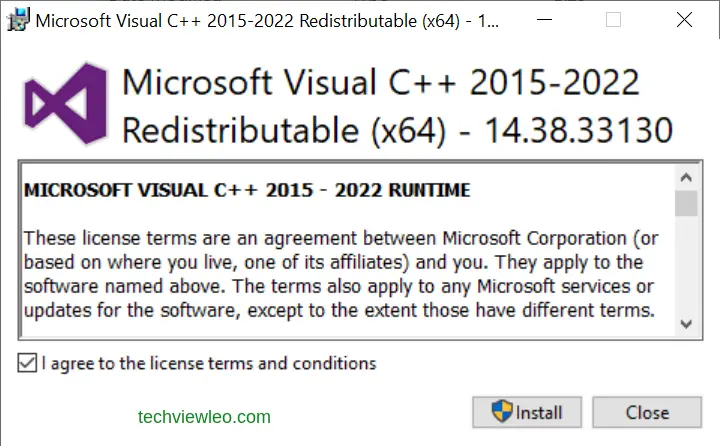
MySQL Server 8.2 requires the Microsoft Visual C++ Redistributable Package to run on Windows platforms. Users should make sure the package has been installed on the system before installing the server. The package is available at the Microsoft Download Center. Download the VC_redist.x64 file and run it.
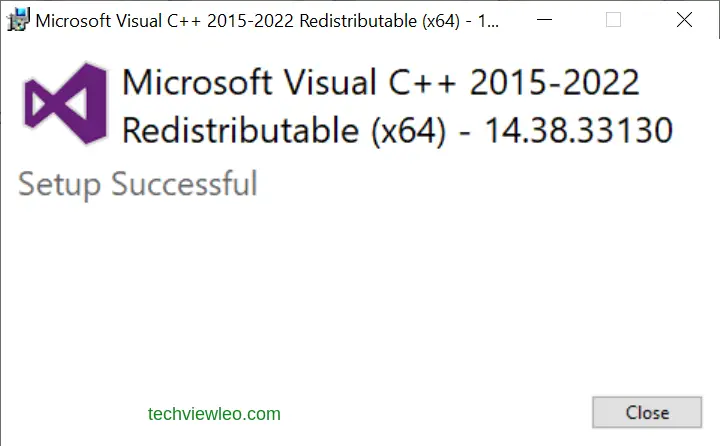
And we have successfully installed Microsoft Visual C++ Redistributable Package required for MySQL server installation.
The Recommended MSI Installation Method
The easiest and most advised way is to download the MSI, let it install MySQL Server, and then configure MySQL using the MySQL Configurator that is installed. But this method does not apply to MySQL server 8.1 and higher; MySQL 8.0 is the final series with MySQL Installer. As of MySQL 8.2, use a MySQL product’s MSI or Zip archive for installation. With MySQL Server 8.1 and up, you also get MySQL Configurator, a tool that helps you set up MySQL Server.
MySQL noinstall ZIP Archives
So, we are going to install MySQL using the MySQL noinstall ZIP Archives. Except for the GUI, all of the files included in the full MySQL Server installation package are contained in these packages. Although an automatic installer isn’t included in this format, MySQL Configurator is included for configuring MySQL server.
These “noinstall” ZIP archives are broken up into two different files. The name of the main file is mysql-VERSION-winx64.zip. This has everything you need to use MySQL on your computer. In a different compressed file called mysql-VERSION-winx64-debug-test.zip, you can find the optional MySQL test suite, MySQL benchmark suite, and debugging tools and information (including PDB files).
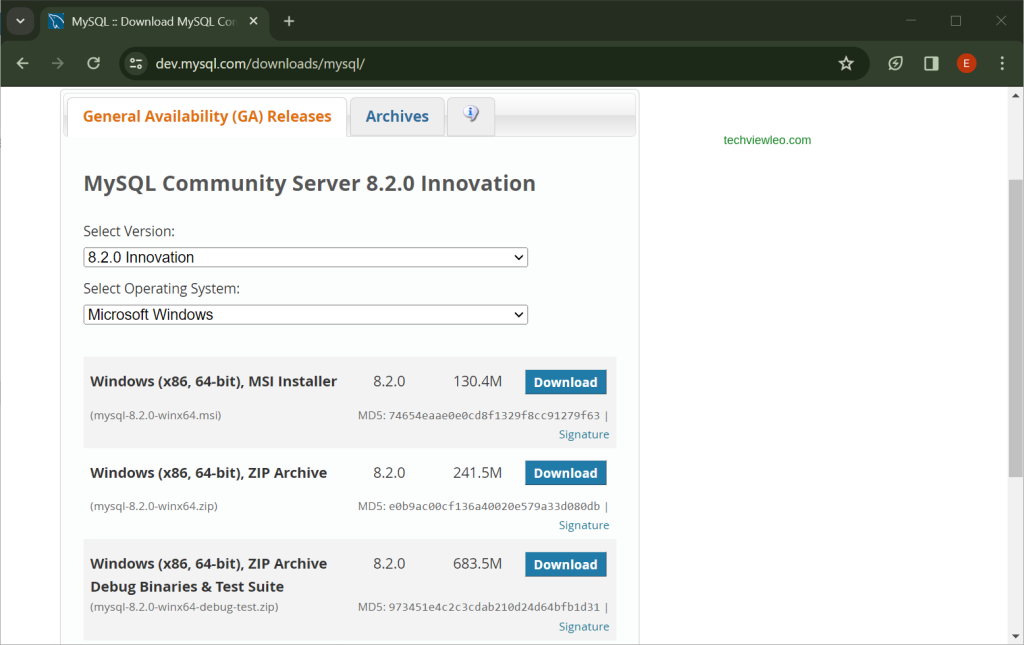
Step 1: Download the MySQL ZIP Archive
The first thing we need to do is to download the ZIP archive, visit the official MySQL site and go to the archives page. Under the “MySQL Community Server” category, find and download the “Windows (x86, 64-bit), ZIP Archive” version of MySQL 8.1.
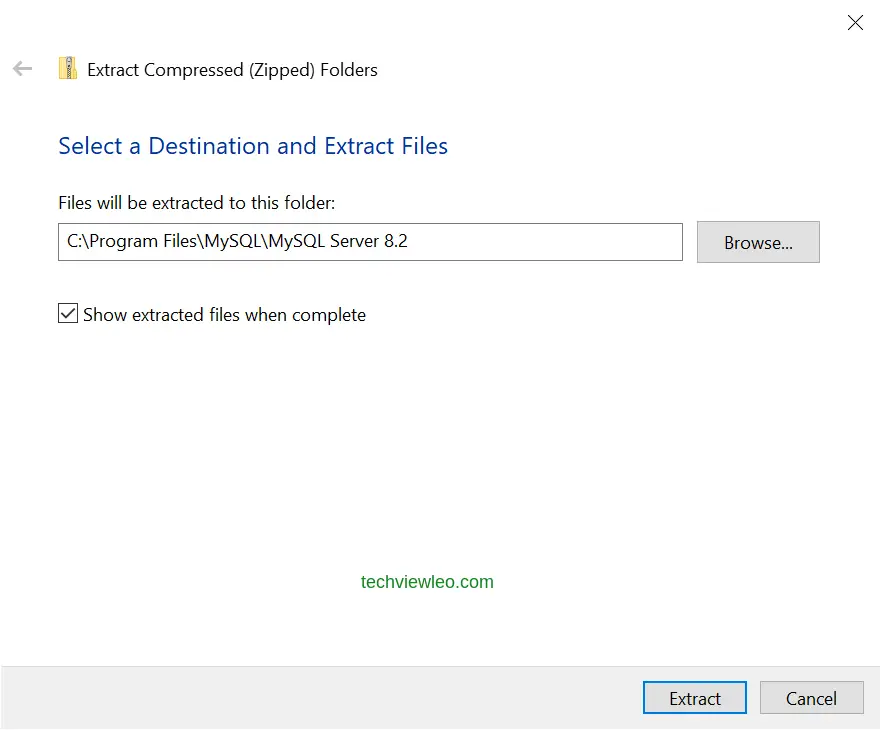
Step 2: Extract the Install Archive
Extract the install archive to the chosen installation location using your preferred file-compression tool. At this point, you have to choose the location where you want to install your MySQL server.
Step 3: Configuration using MySQL Configurator
MySQL Configurator is a stand-alone program that makes setting up a MySQL server so that MySQL can run on Microsoft Windows easier. It comes with the MySQL server and can also be downloaded as a separate Zip file.
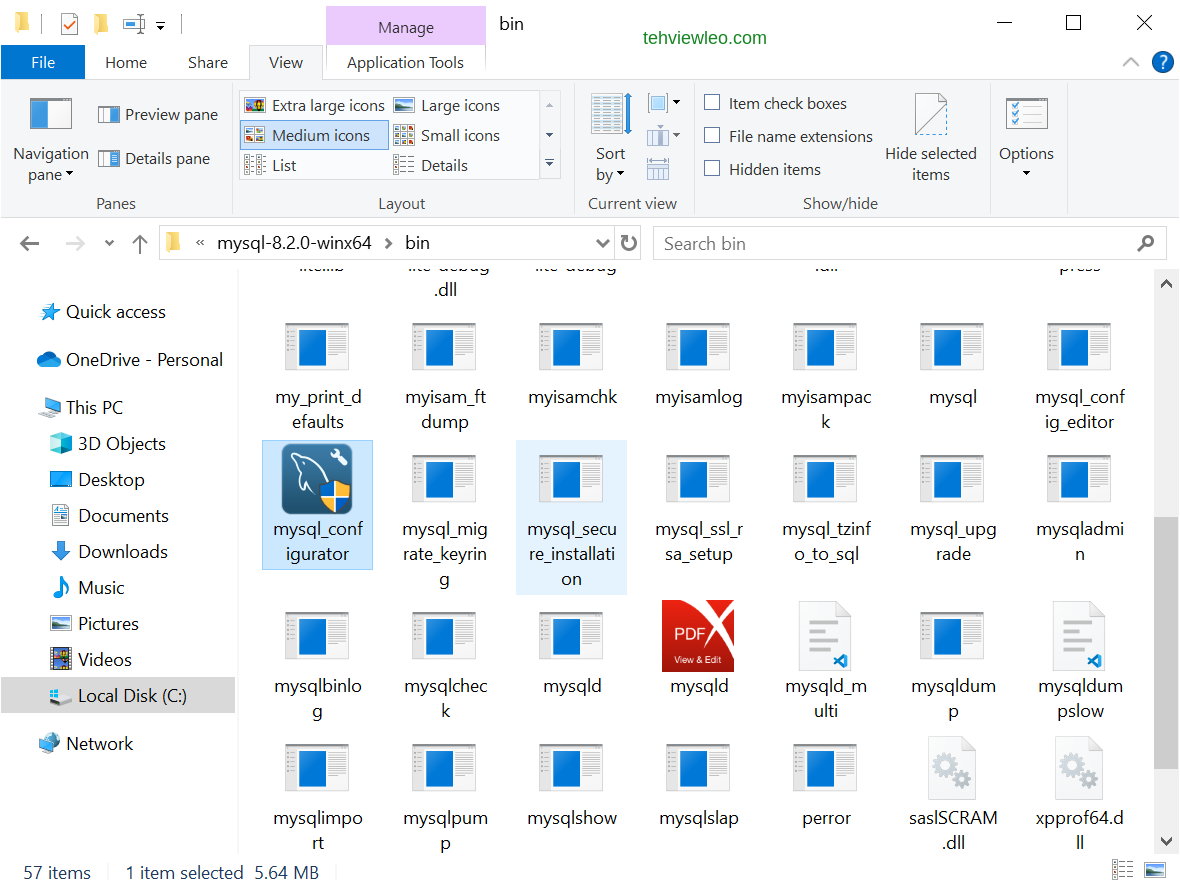
MySQL Configurator can both configure and reconfigure MySQL server. We can start it by running the executable file; mysql-configurator.exe located in the same directory as mysqld.exe and other MySQL binaries installed with the MySQL server. Typically, this location would be C:\Program Files\MySQL\MySQL Server X.Y\bin if it were installed via the MSI or your custom chosen location.
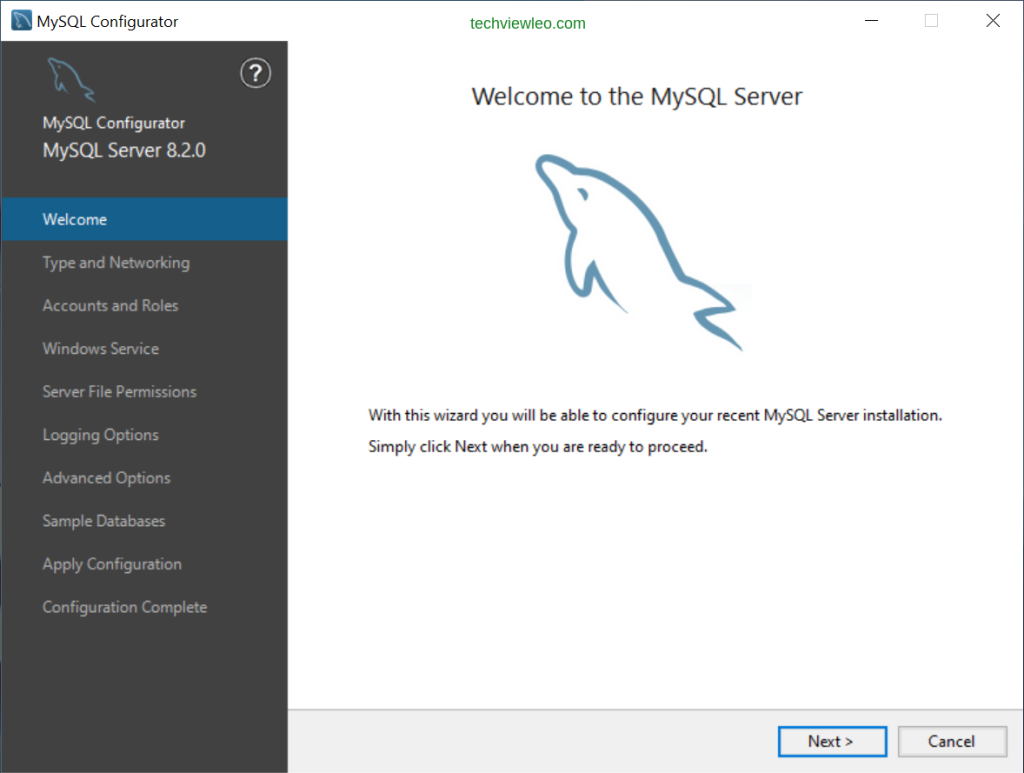
Navigate to the \bin directory and run the mysql_configurator to begin our configuration process. The configurator will start with the welcome page with a short welcome message of what to do next.
Click “Next” when ready to start the configuration process. The next page is for the configuration type and networking where we have to choose the correct server configuration type for this MySQL server installation; this setting will determine how much resources are assigned to the MySQL server instance.

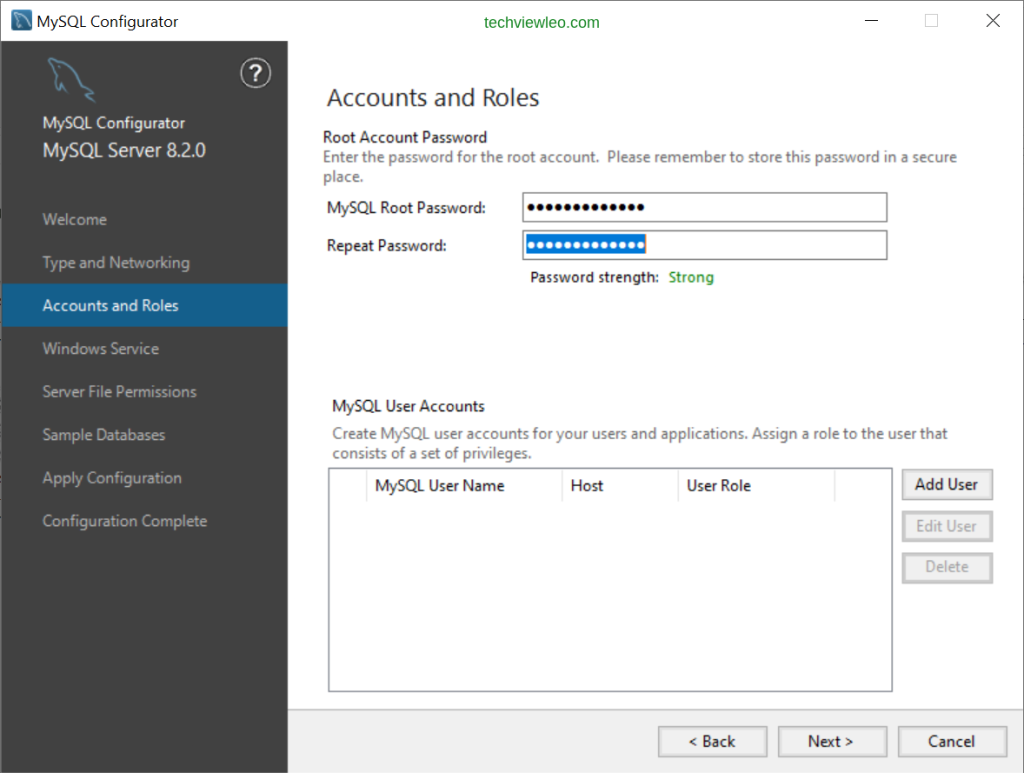
Click “Next” and you’ll then be prompted to set up a MySQL root password. This should be a secure password as it will be used to protect your MySQL server from unauthorized access and changes. You can also set up additional MySQL user accounts from this screen.
Click “Next” and you’ll then be presented with options to configure MySQL to run as a Windows Service, so that it automatically runs whenever Windows starts.
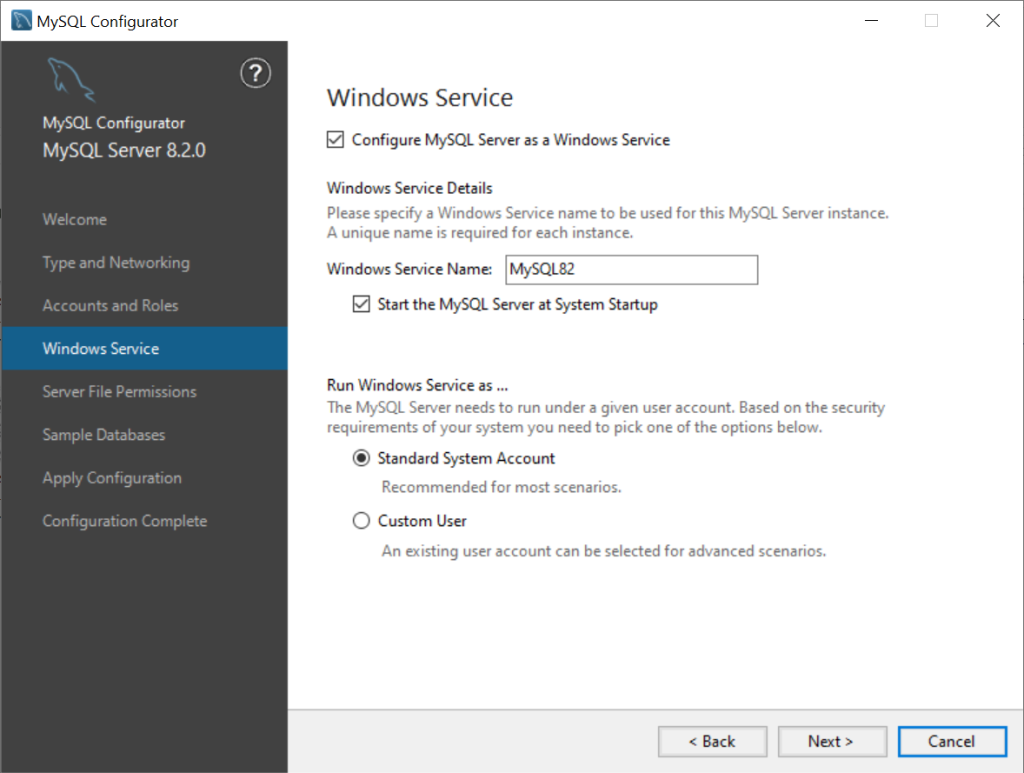
Set the Windows Service to run as a “Standard System Account” and make sure that “Start the MySQL Server at System Startup” and “Configure MySQL Server as a Windows Service” options are both selected.
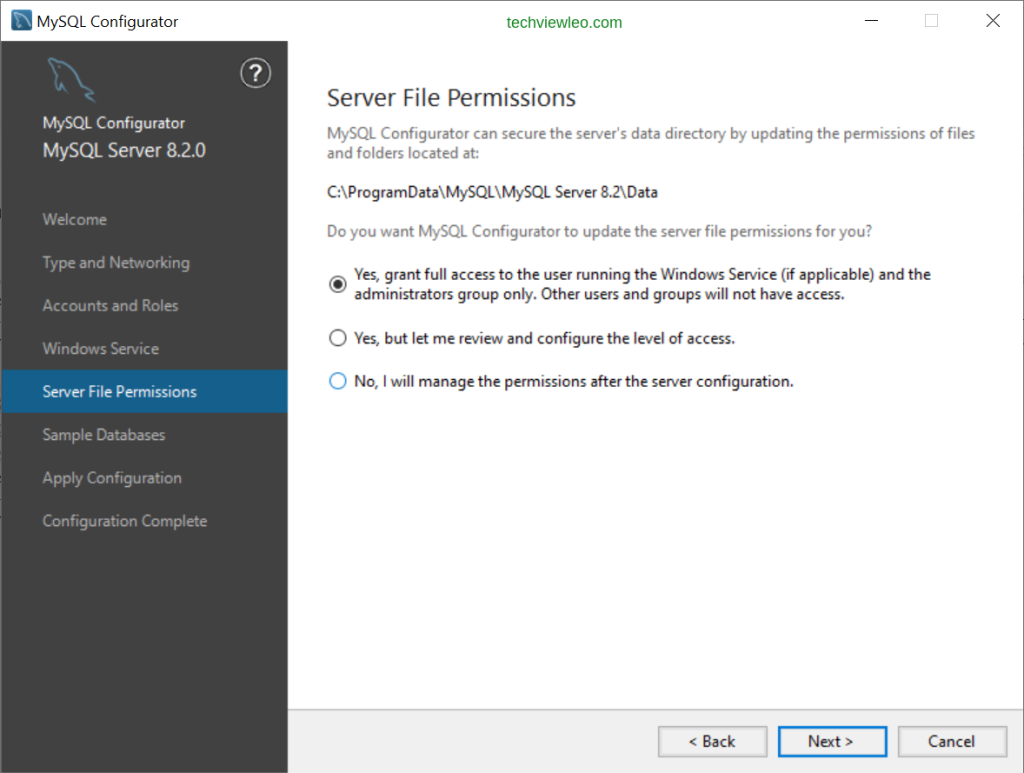
Hit the “Next” button to proceed. MySQL configurator can secure the server’s data directory by updating the permissions of the files and folders located at C:\ProgramData\MySQL\MySQL Server 8.1\Data .
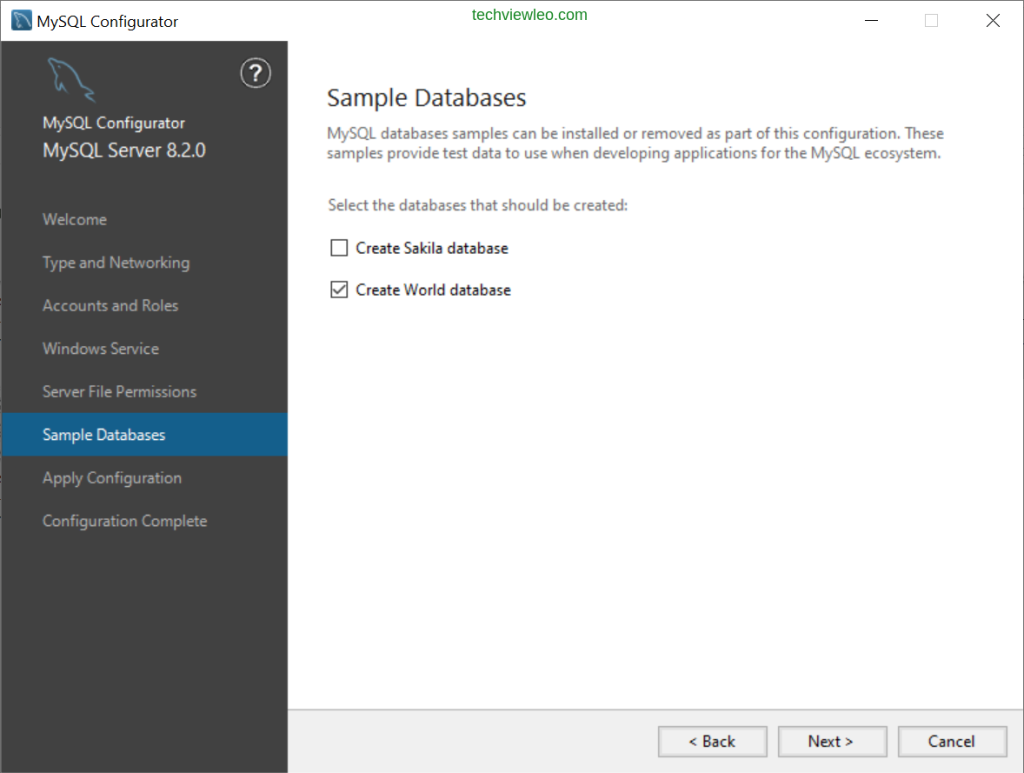
Next is choosing the sample databases to create; these samples provide test data to use when developing applications for the MySQL ecosystem.
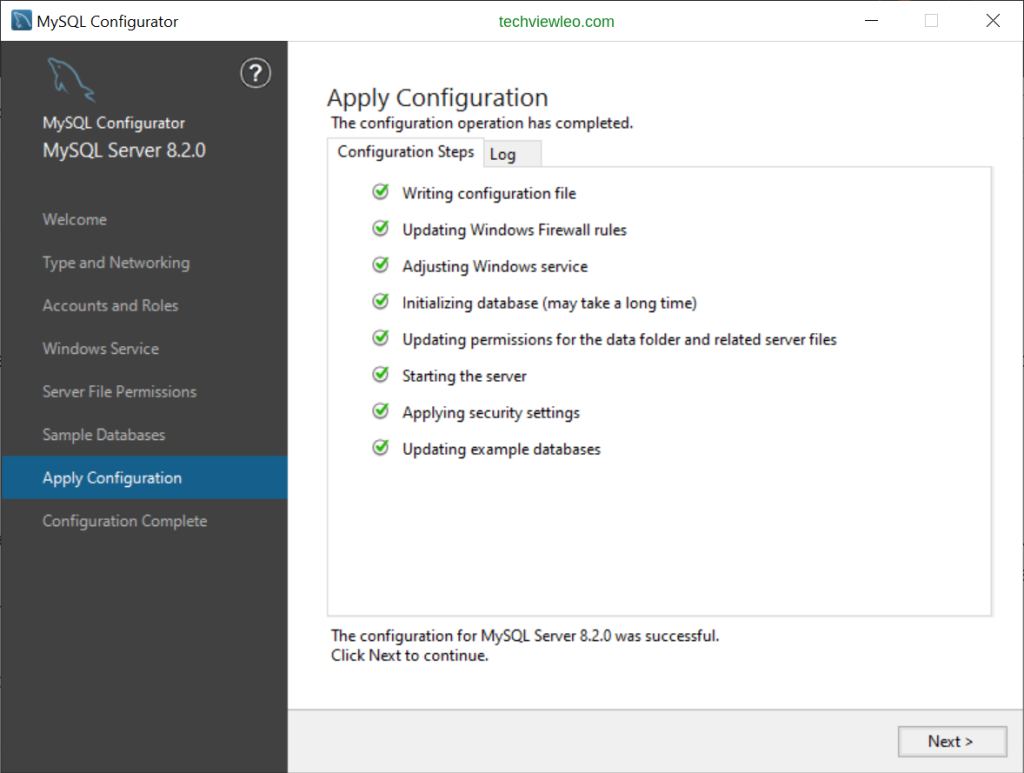
Click “Next” to proceed. All configuration settings are applied to the MySQL server when you click Execute. Use the Configuration Steps tab to follow the progress of each action; the icon for each toggles from white to green (with a check mark) on success. Otherwise, the process stops and displays an error message if an individual action times out. Click the Log tab to view the log.
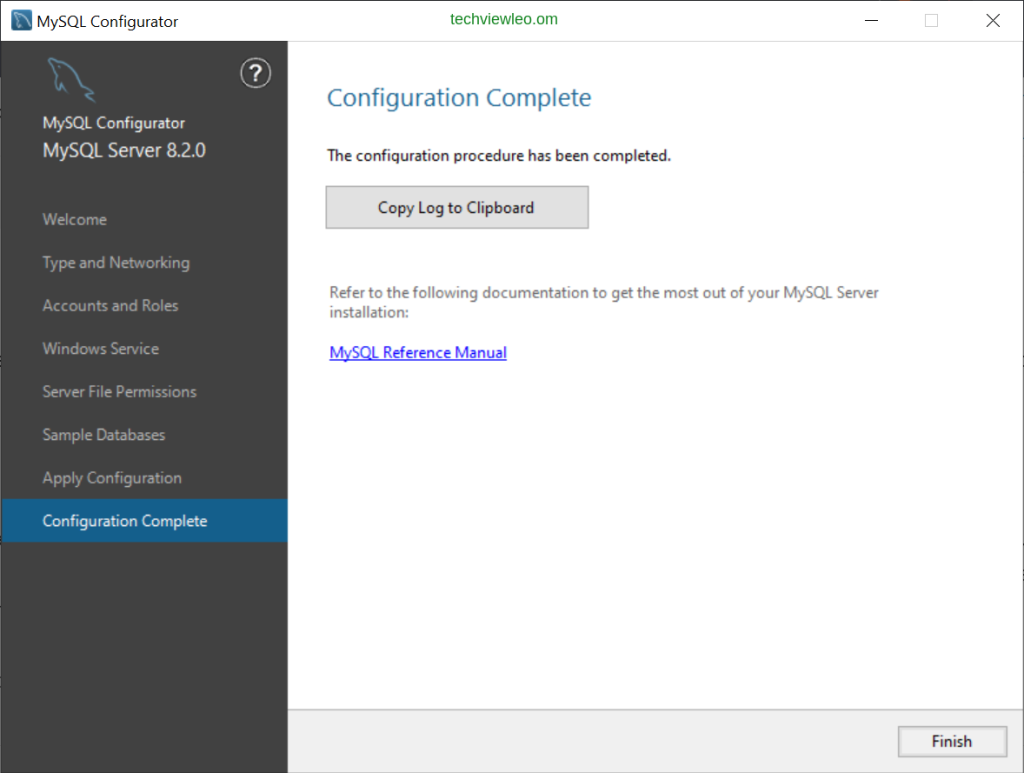
Configuration is now complete, click “Finish” in the next page to close the configurator.
Step 4: Testing The MySQL Installation
Now that we have successfully installed and configured MySQL Server 8.2, we have to test the installation. If you have set a password for the root account during installation, then to connect to the MySQL server you must use the appropriate -u and -p options with the following command.
C:\Program Files\MySQL\MySQL Server 8.2\mysql-8.2.0-winx64\bin>mysql -u root -pThis command will prompt you for the password. Enter the password you set during the MySQL installation.

Step 5: Usage Examples
After installing MySQL Server, let’s run some commands to create and manage databases. We’ll create a database called mydatabase using the sql commands below:
CREATE DATABASE mydatabase;
USE mydatabase;
Th USE command switches to the specified database for subsequent queries.

We can use the SHOW command to see what databases exist and drop a database using the DROP command:

Now let’s define a table named employees with columns id, name, and salary:
CREATE TABLE employees (
    id INT PRIMARY KEY,
    name VARCHAR(50),
    salary DECIMAL(10, 2)
);

Let’s input some data into the table and display the table by querying the data from it:
INSERT INTO employees (id, name, salary) VALUES (1, 'Brennan Johnson', 50000.00);

We can update the data by modifying the salary value for the record with id equal to 1 in the employees table:
UPDATE employees SET salary = 55000.00 WHERE id = 1;
UPDATE employees SET name = 'Billy Hale' WHERE id = 1;
Conclusion
Installing MySQL Server on Windows involves making use of the MySQL Installer wizard for versions 8.0 and older or MySQL Configurator for 8.1 and newer. This wizard simplifies the process by offering a graphical interface for customising and setting up the MySQL environment. By following the procedures that have been outlined, users will be able to ensure a flawless installation of MySQL Server, which will allow them to administer databases on the Windows platform in an effective manner.


