
What is Podman? Podman (short for ‘Pod Manager’) is a new daemonless container engine that works seamlessly with both containers and pods. It is used to develop, run and manage OCI containers. Since it does not depend on any daemon, Podman runs containers and pods as child processes. Therefore, the major difference between Podman and Docker is the fact that Podman does not use a daemon.
What are the Advantages of Using Podman?
- Images created with Podman work with other container runtime tools such as Docker. The images can thus be pushed to Docker hub to be used with Docker containers.
- Podman can be run with non-root user without requiring root privileges.
- Podman provides ability to manage pods. With Podman, and unlike other container management tools, a user can perform pod operations such create, list and inspect.
How is Podman Different from Docker?
- While Docker depends on a daemon process and runs a client-server architecture, Podman executes parent and child processes (no dependence on a daemon). With this, Podman containers inherit Cgroups and security constraints applied to the parent process
- Podman has identical command syntax as Docker, for example, ‘podman images’ as ‘docker images’. However, the local repositories for the two tools differ. Podman uses
/var/lib/containerswhile docker uses/var/lib/docker. As such, Podman cannot list images created with Docker. - Podman does not need root access to run commands whereas Docker requires a root user or a user to belong to docker group.
Install Podman on Oracle Linux 10 / RHEL 10?
Installing Podman in Oracle Linux is pretty easy. Simply run the command below on your command line as root user:
sudo dnf update
sudo dnf install -y podman
To be able to pull images from docker registry to use with Podman, edit the registries.conf file to include search for ‘docker.io’ if it is not already there. Open the file with your favorite editor. In my case i am using vim:
sudo vim /etc/containers/registries.confEdit the file to look as below:

One edited, save the file by pressing Esc, followed by : then type wq! to write, save and quit. Press Enter.
Podman Commands
Once Podman is installed, it is time to run commands to create containers. First check Podman version to verify installation:s
$ podman versionYou should get an output as below:

Run Docker Containers with Podman
Since we have enabled docker.io in registries, Podman will be able to pull images from Docker registry. The syntax for Podman commands is the same as that for Docker.
To pull and run images, the syntax is as shown below:
podman pull <image>
podman run -d --name <image-name>
To list all running containers:
podman ps -aPodman Starting Containers with Systemd
As mentioned earlier, Podman runs containers as Linux processes. As such, it is possible to use systemd initialization service to work with containers by starting containers with systemd.
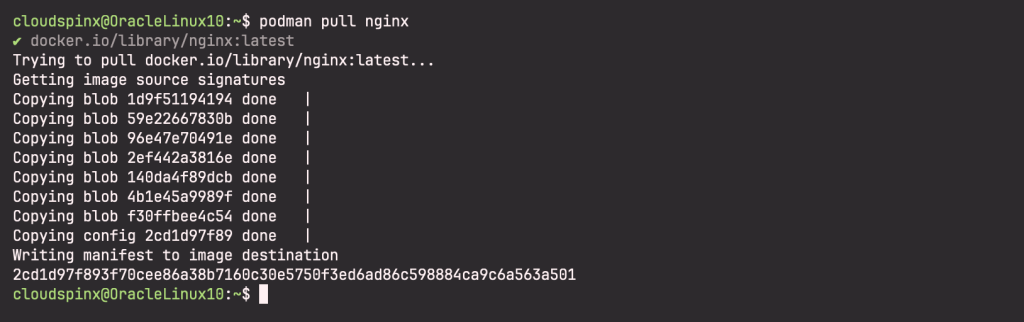
In our example, we are going to run nginx container with systemd. First, pull nginx image:
podman pull nginxSelect an image to pull:

Then download the image:
Next, run nginx image, giving it a name that you would use for systemd. Since podman is designed to run rootless, it cannot bind a container to a privileged port such as 80, it can only bind to ports above 1024.
To enable podman bind to a privileged port such as 80, (assuming you are running it as a non-root user), you need to run it with sudo:
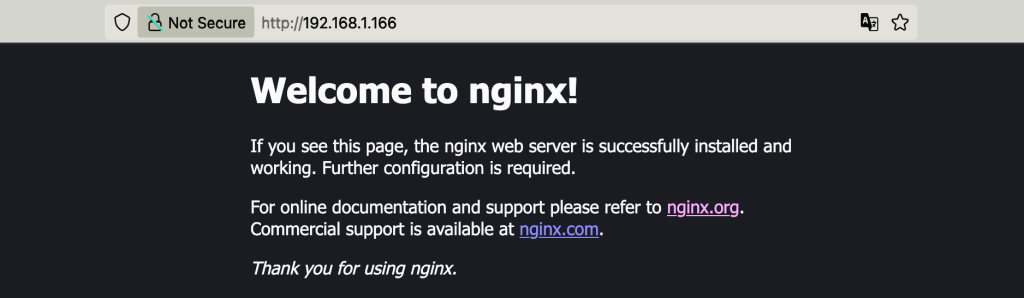
sudo podman run -d --name nginx_server -p 80:80 nginxAs I mentioned earlier, you can bind to ports above 1024 such as 8080, while running podman rootless:
podman run -d --name nginx_server -p 8080:80 nginxCheck all running containers:
podman ps -aSample output:

You can access nginx on port 80:
Next, you can configure a systemd service for the container. Navigate to the Linux systemd directory to create your systemd unit.
sudo vim /etc/systemd/system/nginx-container.servicePress i for insert the paste the following content to the file:
Description=Nginx Container

[Service]
Restart = always
ExecStart = /usr/bin/podman start -a nginx_server
ExecStop = /usr/bin/podman stop -t nginx_server

[Install]

WantedBy=local.target
Save the file and exit. To start the container automatically at boot, run the following command:
sudo systemctl enable nginx-container.serviceStart the service and check its status:
sudo systemctl start nginx-container.service
sudo systemctl status nginx-container.service
If your systemd file is well configured and running, the output should be as below:

You have successfully installed Podman on Oracle Linux 10 / RHEL 10 and have been able to run a container with systemd. I hope you have enjoyed. Check more interesting Linux guides below:


