

Red Hat Enterprise Linux (RHEL) 10 is the latest enterprise-grade Linux operating system developed and released by from Red Hat. RHEL 10 comes with advanced features such security, integrated AI-assisted for better system management. RHEL 10 provides a robust foundation for deploying servers in cloud, hybrid environments, and traditional data centers. This tutorial is will provide step-by-step guidance on how to install RHEL 10 on your Desktop, physical dedicated server, or as Virtual Machine in an hypervisor.
🧠 Don’t just learn KVM – master it with the best-selling eBook trusted by thousands.
#1. Installation Prerequisites
The following are the pre-requisites for the installation of RHEL 10 Linux distribution on any environment:
- RHEL 10 ISO image – you can download it from RedHat Customer, or Devoper Portal.
- A bootable USB/DVD or a virtual machine ready (e.g., Proxmox, VMware, VirtualBox, KVM)
- Minimum system requirements:
- At least 2 GB RAM
- 20 GB disk space
- 2 CPUs
- Internet access (for system registration and online package installations / updates)
- For physical server installation, you may need access to the system BIOS/UEFI for to change boot order
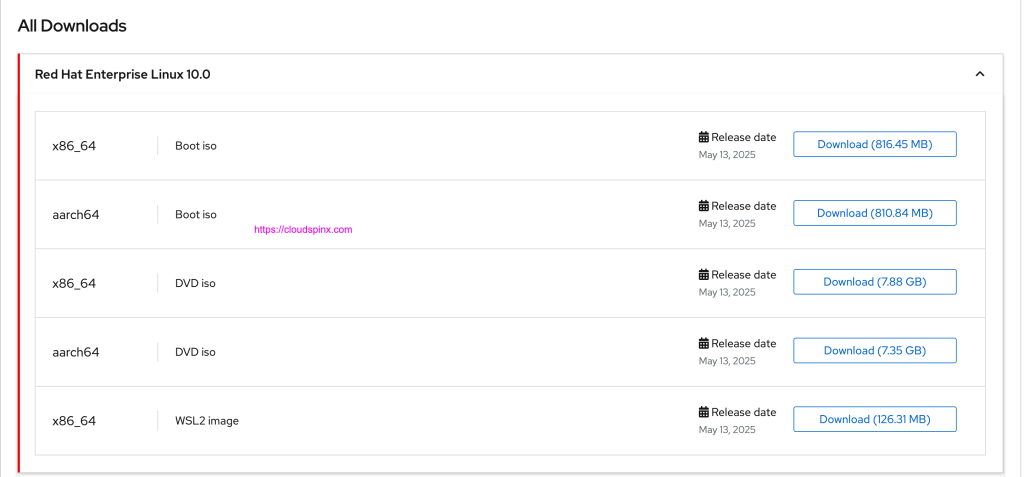
#2. Downloading RHEL 10 ISO
Log in to the Red Hat Customer Portal and navigate to the RHEL 10 section, where you will select the appropriate ISO (DVD ISO for full install).
#3. Creating Bootable Media
After you’ve downloaded the ISO and saved locally, proceed to create installation medium.
Using USB (Recommended)
- On Linux:
sudo dd if=~/Downloads/rhel-10.iso of=/dev/sdX bs=4M status=progressReplace /dev/sdX with your USB device.
- On Windows or macOS: Use Rufus or balenaEtcher.
Insert your bootable USB and start the system
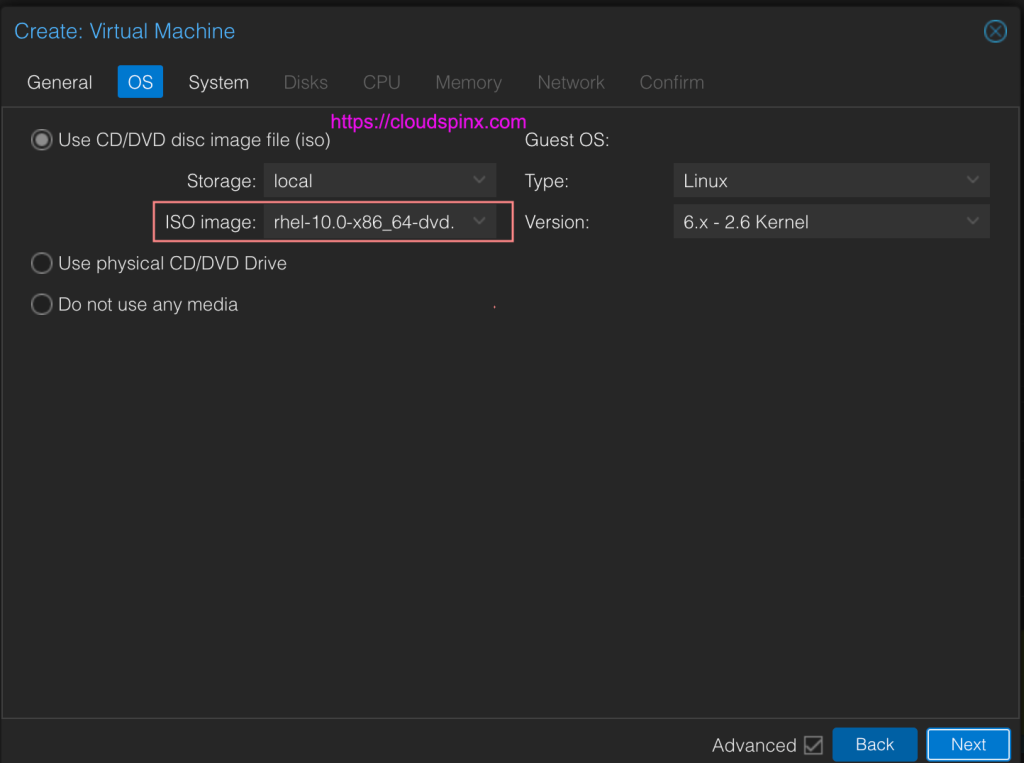
In Virtualized Environments
If you’re installing RHEL 10 on a virtualized server using a solution like VMware, VirtualBox, Proxmox, or KVM, make sure the ISO file is available in the ISO library or storage pool before you begin.

Then mount the ISO to a VM and start the system.
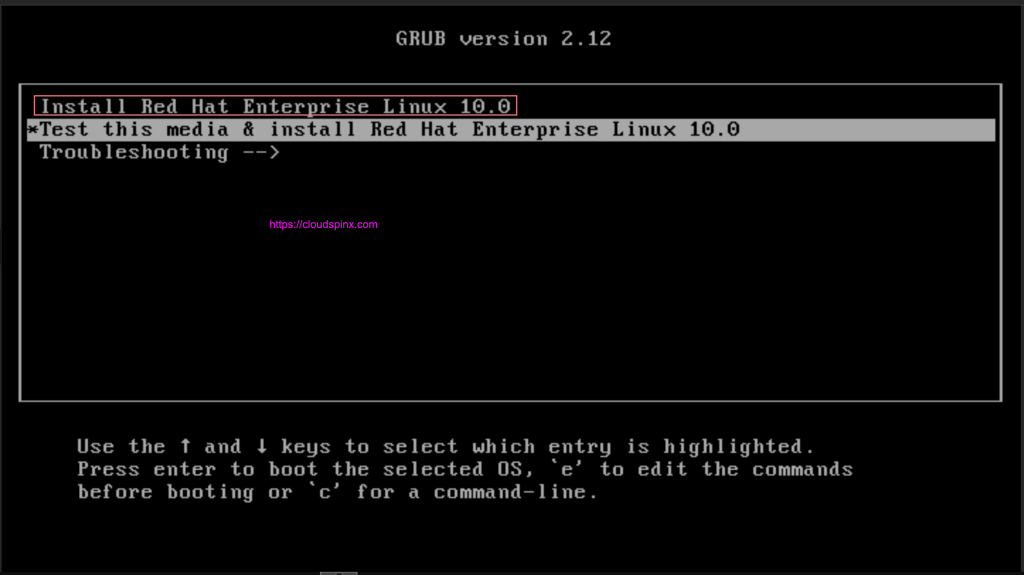
#4. Step-by-Step RHEL 10 Installation
Start the system and select “Install Red Hat Enterprise Linux 10.0“.
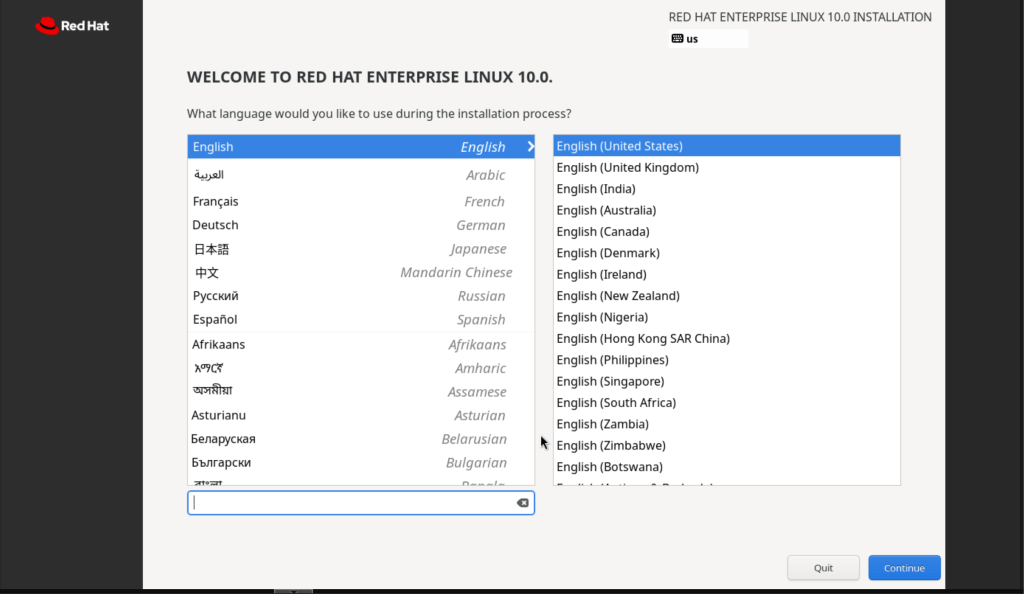
Once your system boots from the RHEL ISO, you’ll see the installation welcome screen. Select installation language to proceed.
Next you will see installation summary screen.
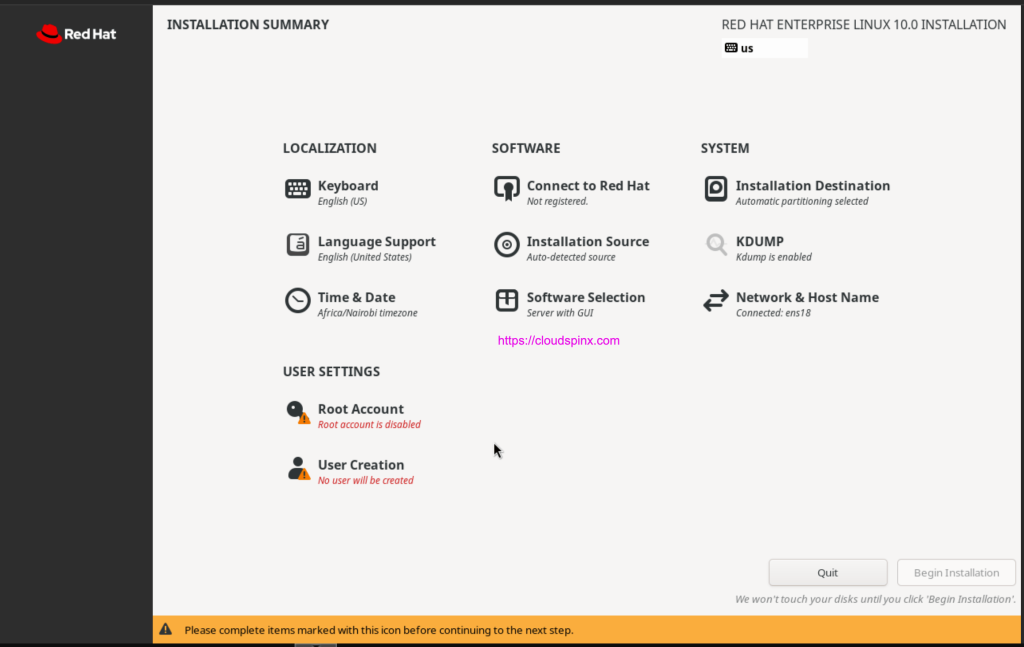
This screen allows you to configure:
- Set root user password, and optionally allow password ssh for the root user.

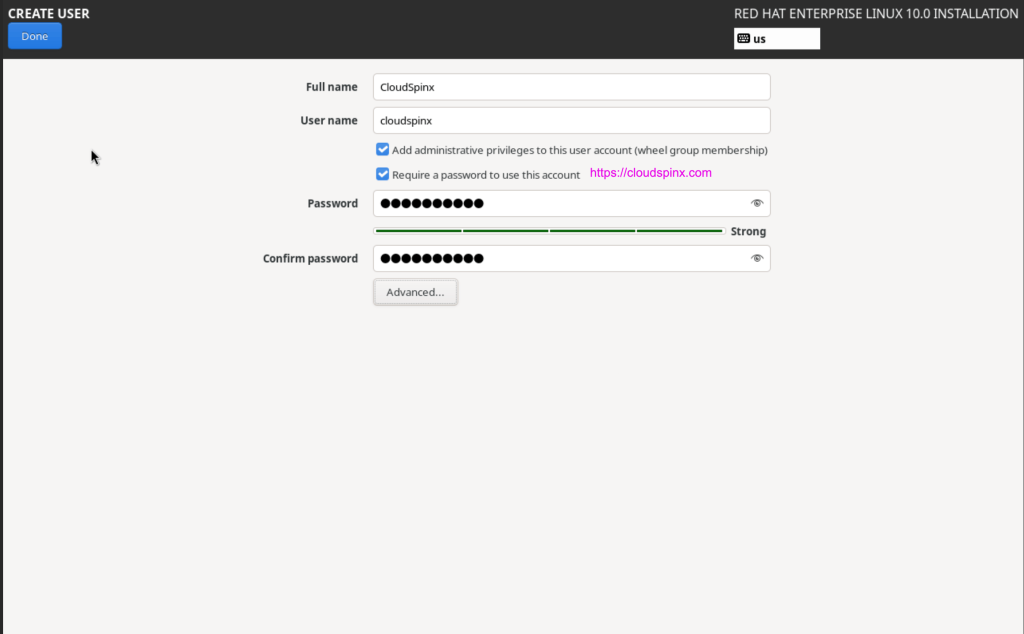
- Create the default standard user account. By default the user has sudo privileges
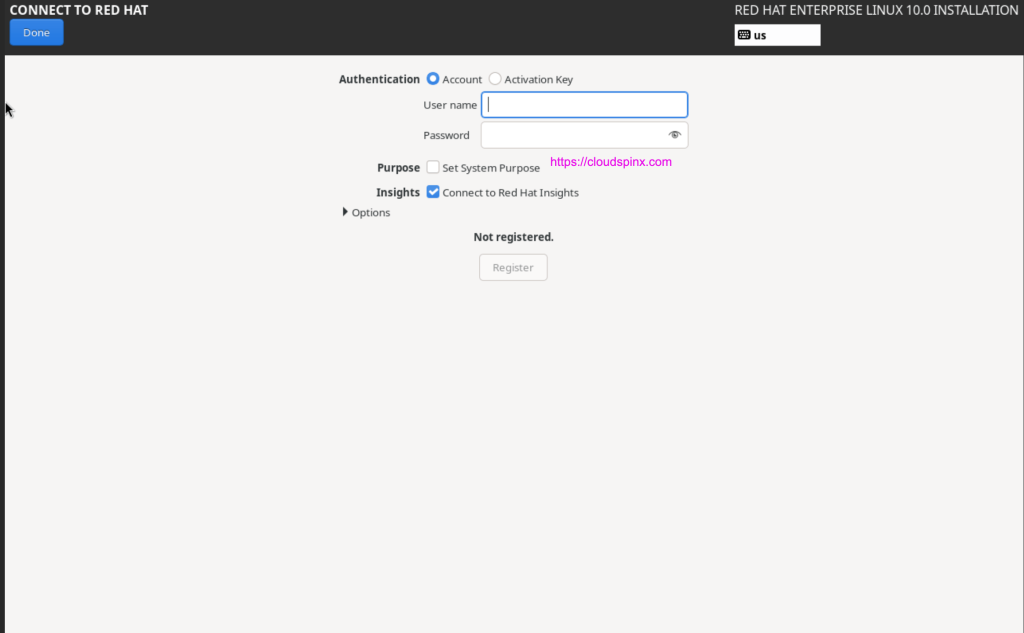
- You can also connect to Red Hat account to register the system during installation
- Configure installation destination partition layout and proceed with the installation of RHEL 10 Linux.
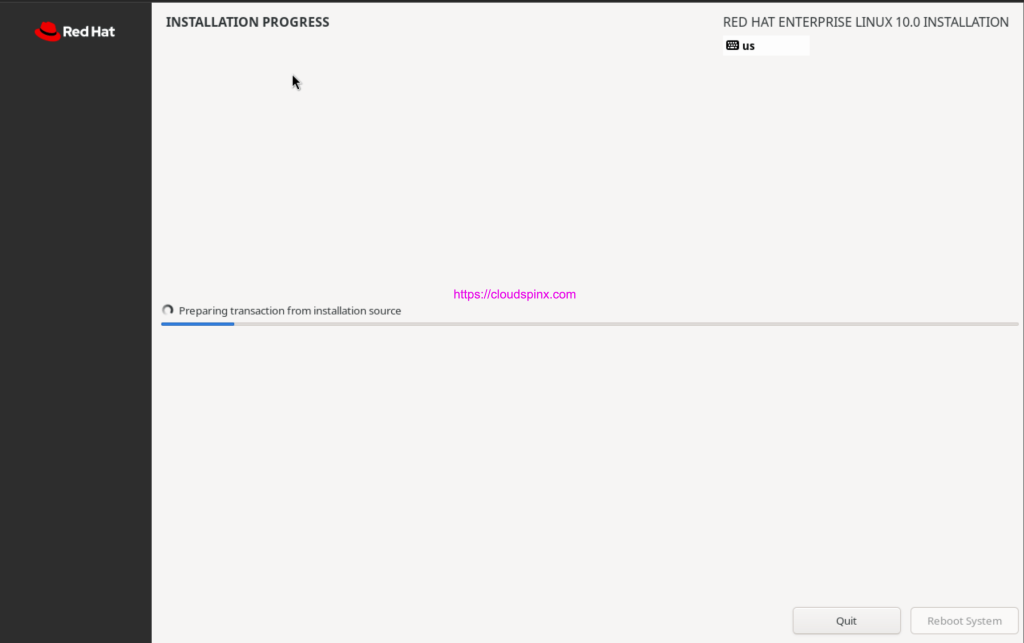
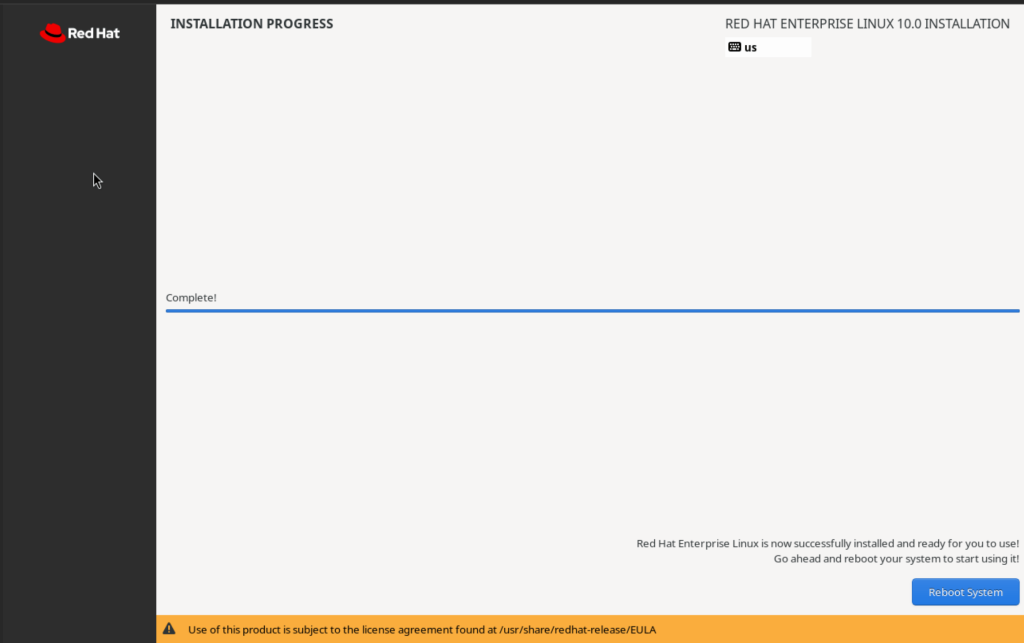
- Once it’s done you are required to reboot the system
- Log in using the user account you created earlier.

- You can also register the system from the GNOME desktop by navigating to Settings > System > Registration.

#5. Set system hostname (fqdn)
Having the correct hostname in your RHEL system is an essential for identifying the system on a network. A proper hostname helps with system administration, and registration when multiple servers exist in the Red Hat portal.
To set or change the hostname, use the command the following command: Setting a meaningful and consistent hostname is especially important in enterprise environments and when managing multiple servers.
sudo hostnamectl set-hostname rhel9.cloudspinx.com --staticReplace rhel9.cloudspinx.com with a meaningful and consistent hostname that reflects the server’s role or purpose within your infrastructure.
Confirm newly set hostname:
$ hostname -f
rhel9.cloudspinx.com
Check the server IP address:
$ ip ad
1: lo: <LOOPBACK,UP,LOWER_UP> mtu 65536 qdisc noqueue state UNKNOWN group default qlen 1000
    link/loopback 00:00:00:00:00:00 brd 00:00:00:00:00:00
    inet 127.0.0.1/8 scope host lo
       valid_lft forever preferred_lft forever
    inet6 ::1/128 scope host noprefixroute
       valid_lft forever preferred_lft forever
2: ens18: <BROADCAST,MULTICAST,UP,LOWER_UP> mtu 1500 qdisc fq_codel state UP group default qlen 1000
    link/ether bc:24:11:ce:57:4b brd ff:ff:ff:ff:ff:ff
    altname enp0s18
    altname enxbc2411ce574b
    inet 192.168.1.193/24 brd 192.168.1.255 scope global dynamic noprefixroute ens18
       valid_lft 5600sec preferred_lft 5600sec
    inet6 fe80::be24:11ff:fece:574b/64 scope link noprefixroute
       valid_lft forever preferred_lft forever
Edit the /etc/hosts file to map your configured hostname to the server’s primary IP address. This ensures local hostname resolution even without a DNS server.
192.168.1.193 rhel9.cloudspinx.com#6. Register RHEL 10 server
After the installation of RHEL 10, the next essential step is registering the system to access official Red Hat repositories, updates, and support.
What you need
- A valid Red Hat Customer Portal account
- Internet access on RHEL 10 system
- The
subscription-managercommand (available by default)
To register your RHEL 10 system, run the following command:
sudo subscription-manager registerEnter your Red Hat username and password when prompted.
Registering to: subscription.rhsm.redhat.com:443/subscription
Username: <your-rhsm-username>
Password: <your-rhsm-password>
The system has been registered with ID: 1de1c897-0348-48b2-895a-15e1296a8f46
The registered system name is: rhel9.cloudspinx.com
Check the current registration status of the system.
$ sudo subscription-manager status
+-------------------------------------------+
   System Status Details
+-------------------------------------------+
Overall Status: Registered
List subscription and product information for this system:
$ sudo subscription-manager list
+-------------------------------------------+
    Installed Product Status
+-------------------------------------------+
Product Name: Red Hat Enterprise Linux for x86_64
Product ID:   479
Version:      10.0
Arch:         x86_64
Unregistering the system
If you need to unregister the system:
$ sudo subscription-manager unregister
Unregistering from: subscription.rhsm.redhat.com:443/subscription
System has been unregistered.
#7. Update system
List repositories available on the system after registration.
$ sudo dnf repolist
Updating Subscription Management repositories.
repo id                                                                                                          repo name
rhel-10-for-x86_64-appstream-rpms                                                                                Red Hat Enterprise Linux 10 for x86_64 - AppStream (RPMs)
rhel-10-for-x86_64-baseos-rpms                                                                                   Red Hat Enterprise Linux 10 for x86_64 - BaseOS (RPMs)
Upgrade all packages installed on RHEL system
sudo dnf -y updatePerform system reboot after the upgrade is done.
sudo systemctl rebootEnjoy using RHEL 10, and stay tuned for more RHEL-related tutorials and articles on our website blog.


