VMware Workstation is a software installed on a desktop and it facilitates the creation of virtual machines. This enables one to have Virtual machines of different operating systems running off the host resources. In this guide we are going to see how to install VMware workstation on Linux Mint.
Prerequisites
Before starting, ensure you have the following:
- A 64-bit system.
- Linux Mint 22 installed with an internet connection.
- A non-root user with
sudoprivileges.
Step 1: Install Required Build Tools
Before installing VMware Player on Linux Mint, you first need to update your system and install the required packages using the commands below:
sudo apt update
sudo apt install wget gcc build-essential linux-headers-generic linux-headers-$(uname -r) -y
Step 2: Download VMware Workstation Pro Bundle
VMware can be downloaded from Broadcom, but you are required to register an account in order to acess the VMWare products. Proceed to create an account and then login the account.
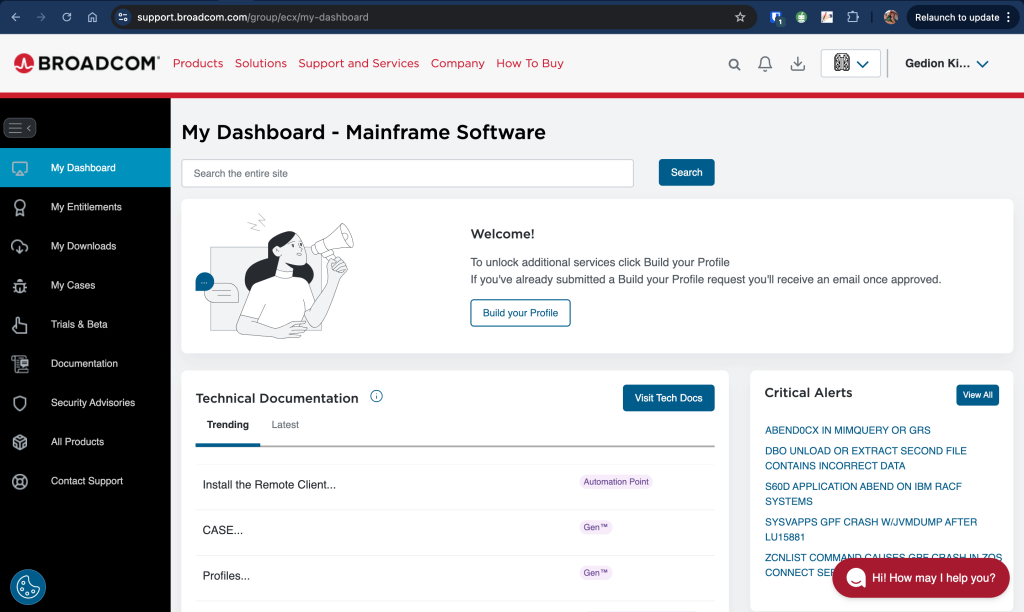
After a successfull login, visit this page and then click on Download VMWare Workstation Pro:
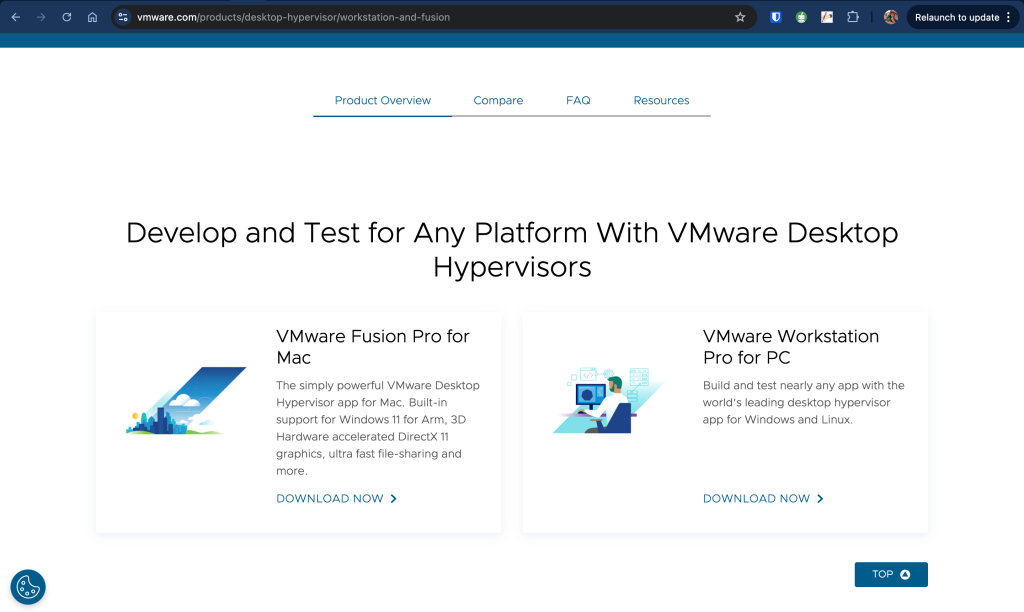
On the next page, click on the provided link:
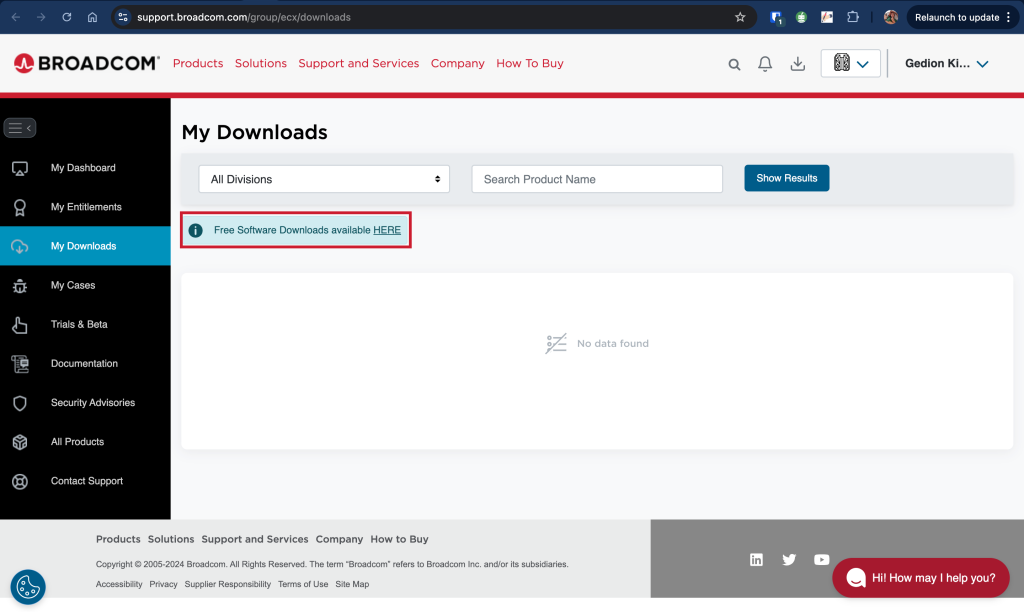
Then click on VMWare Workstation Pro:
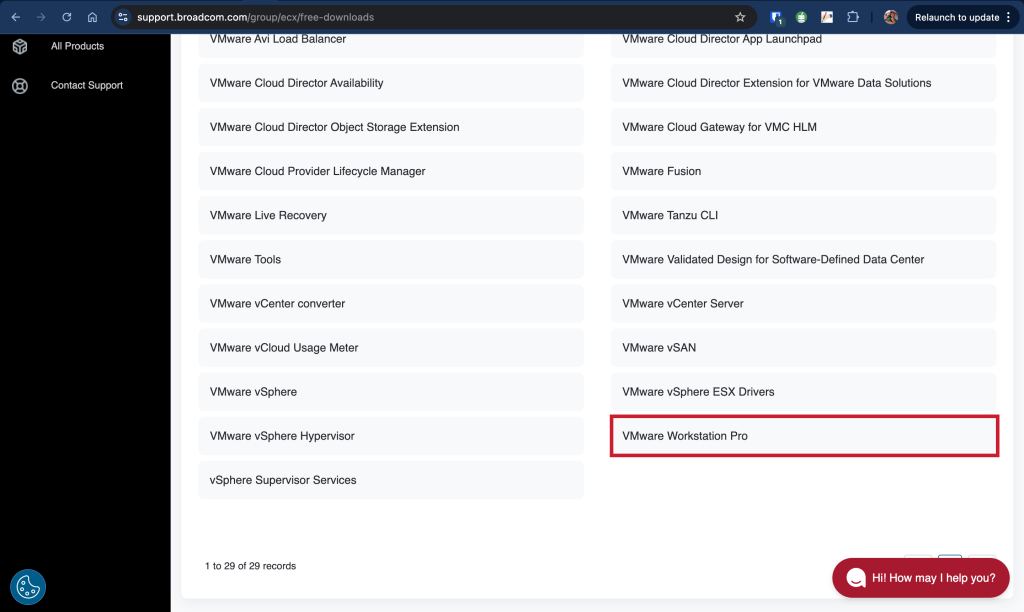
Now select VMWare Workstation Pro for Linux, and download the latest package:
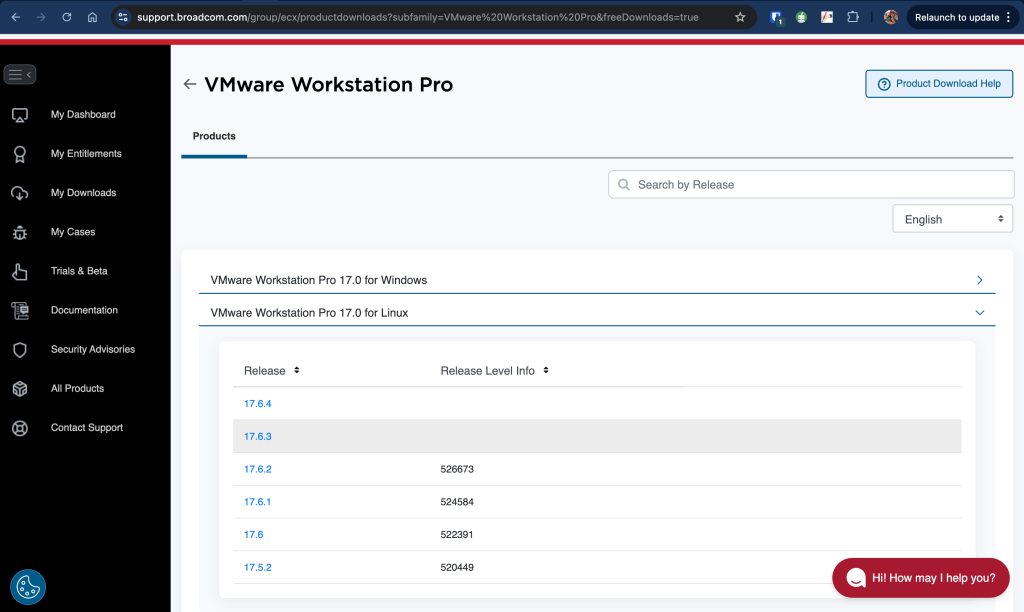
Step 3: Install VMware Workstation Pro on Linux Mint
After downloading VMware Workstation Pro bundle to your Linux Mint, run the below commands to install:
VMware Workstation:
chmod +x VMware-Workstation-Full-*.x86_64.bundle
sudo ./VMware-Workstation-Full-*.x86_64.bundle
Installation will run and you will see an output telling you the installation was successful.

Step 4: Launch and Use VMware Workstation Pro on Linux Mint
Once installation is complete, it will add VMware Workstation icon to your system applications.
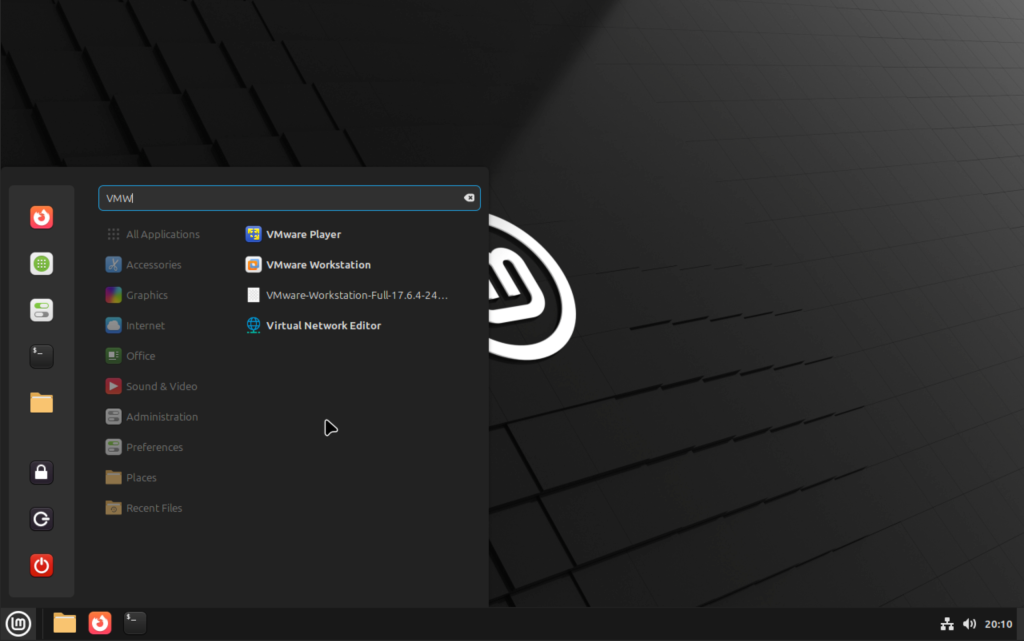
Click on it to launch your VMware Workstation. This will open an interactive wizard to complete VMware workstation set up. Accept the licence agreement and click next.
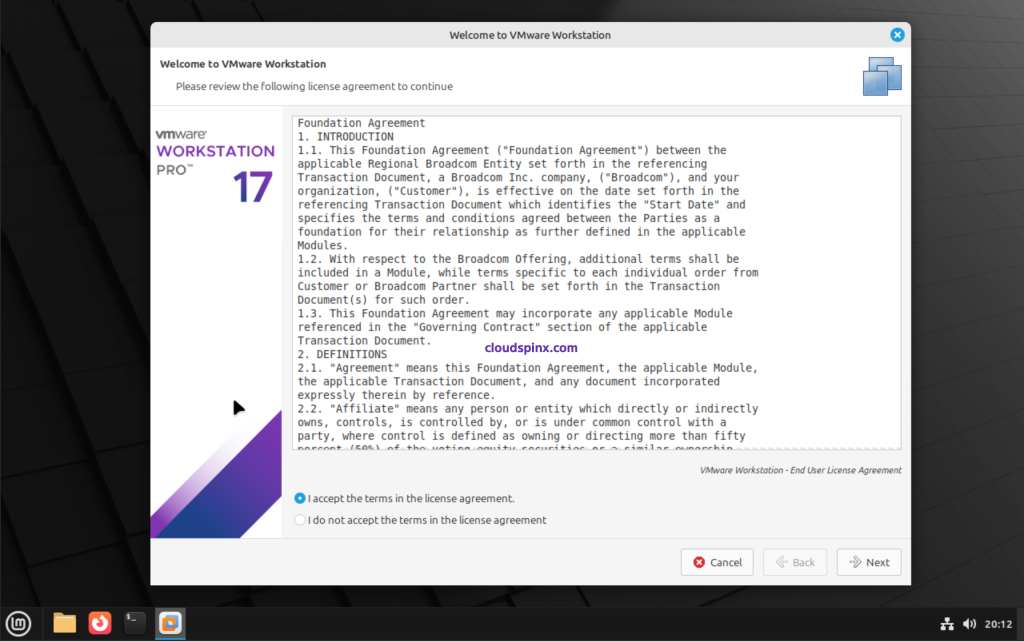
In the next page, accept to update and click Next:
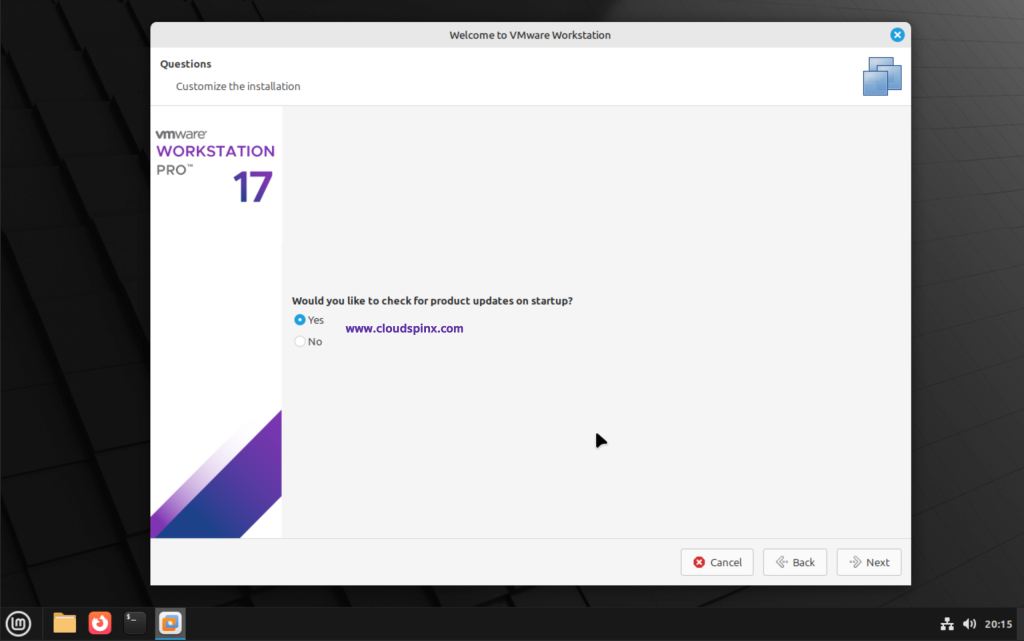
The next page will ask you if you would like to join participate in VMware Customer Experience Improvement, choose what you prefer then click Finish. When done, VMWare Workstation should now launch and land you on the home page:
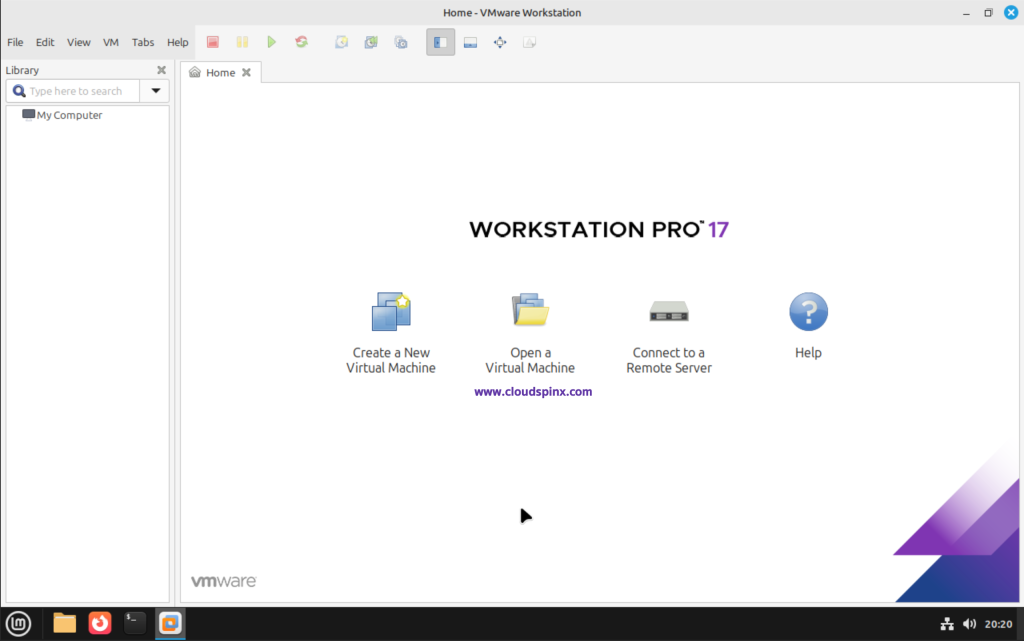
You are ready to proceed.
Step 5: Create a virtual machine on VMware Workstation
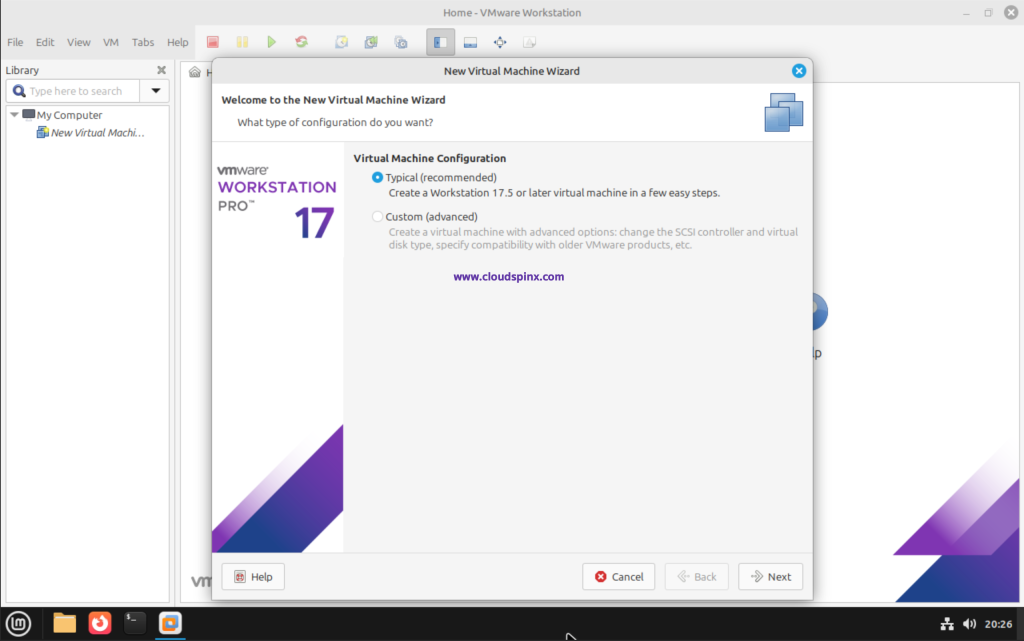
To create a virtual machine on VMware Workstation, click on Create a New Virtual Machine. For the type of VM configuration, select Typical then click Next:
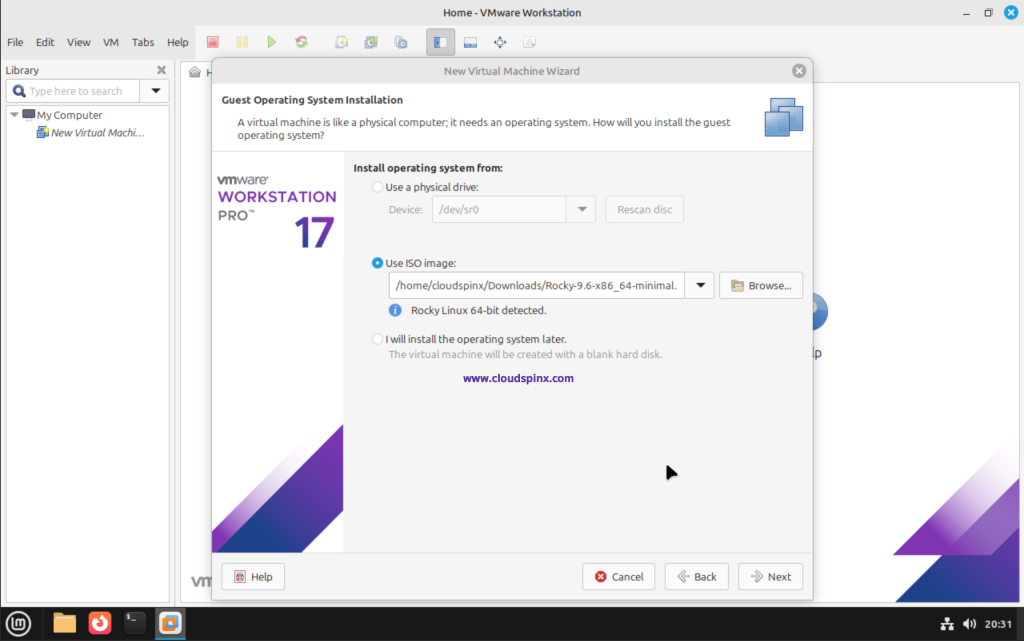
In my case,I have already downloaded a iso image for Rocky Linux 9, which I am going to use to create a virtual machine. So in this page, I’ll select Use ISO image and browse to the Rocky Linux ISO image:
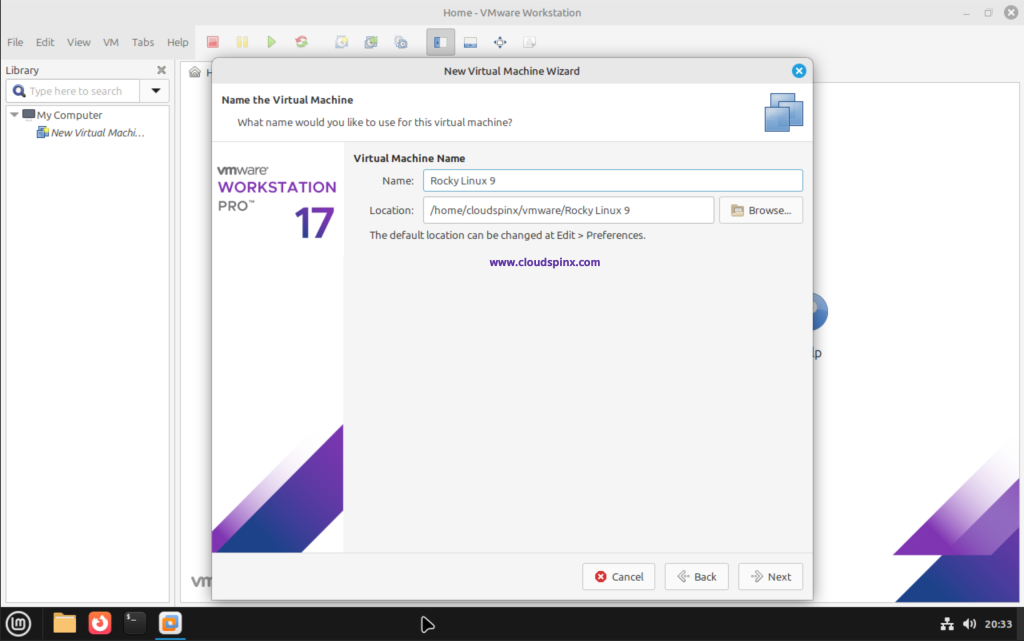
Next, configure the VM Name and the location to store the VM data then click Next:
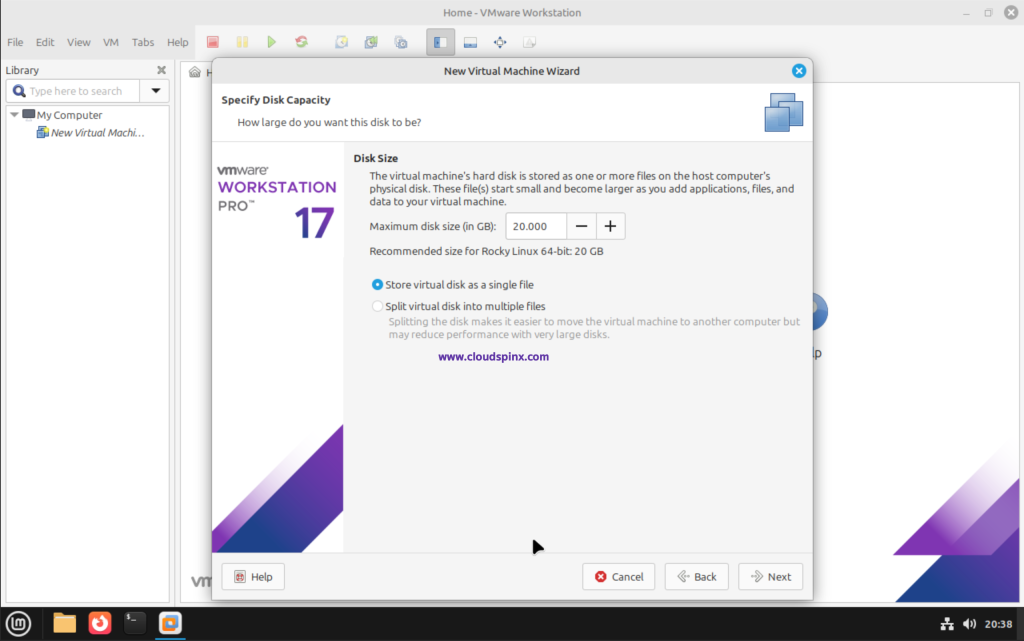
Next, configure the disk size for your Virtual Machine, the recommended size for Rocky is 20GB which is fine for me, but you can increase your according to the hosts resources. Click Next:
And Now you are ready to create your VM, all you need to do is click Finish. If you wish to customize the hardware resources allocated, click Customize Hardware:
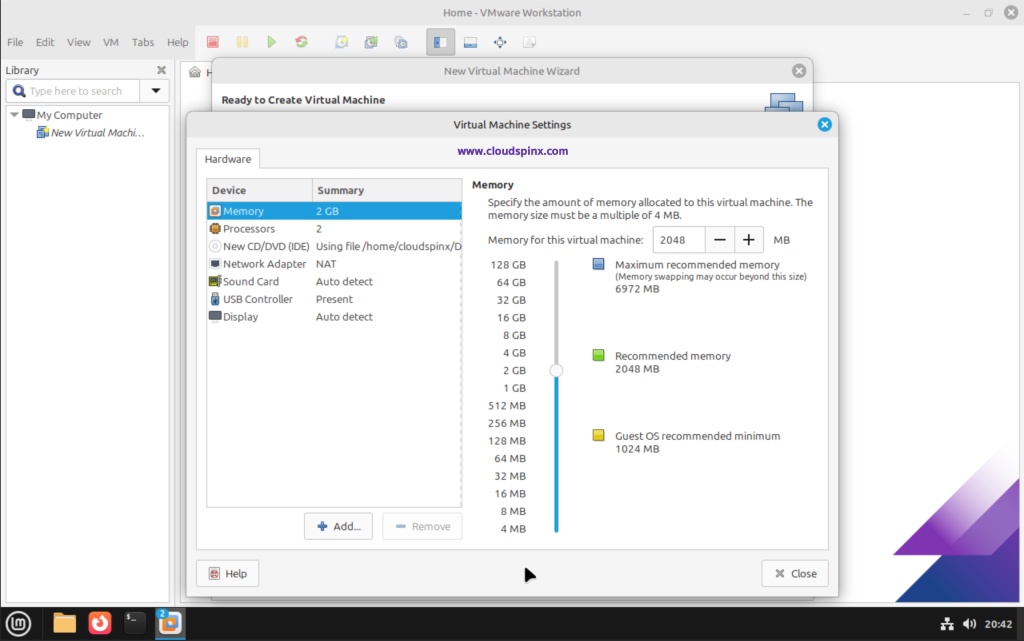
Adjust the resources to suit your needs then close the window and click on Finish to create and launch your VM. Click Close on the next window and your VM should boot up successfully:
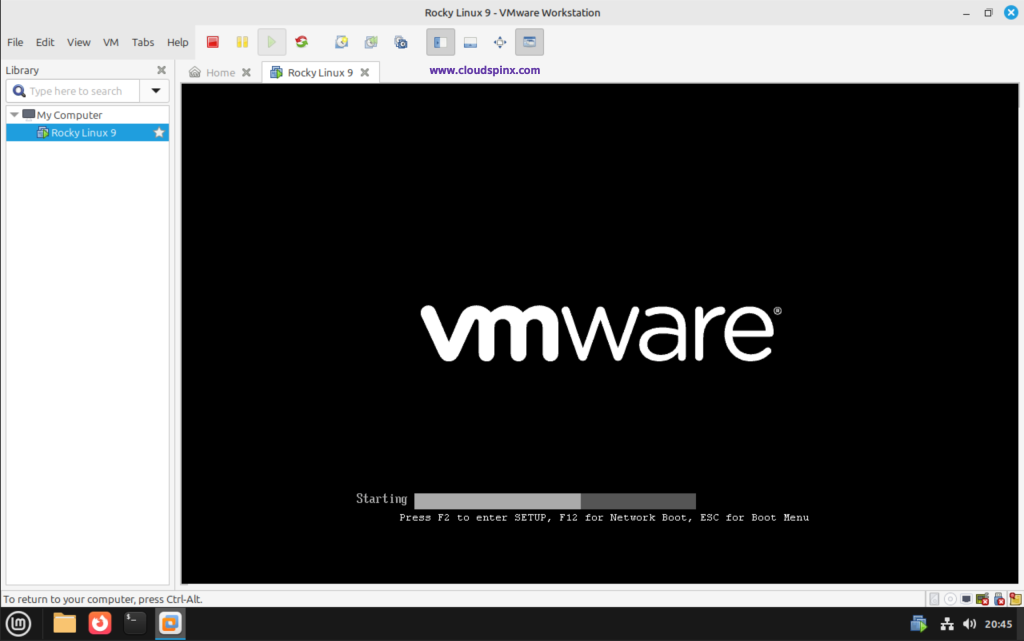
After, you should be able to see the GRUB Menu for Rocky Linux 9 as follows:
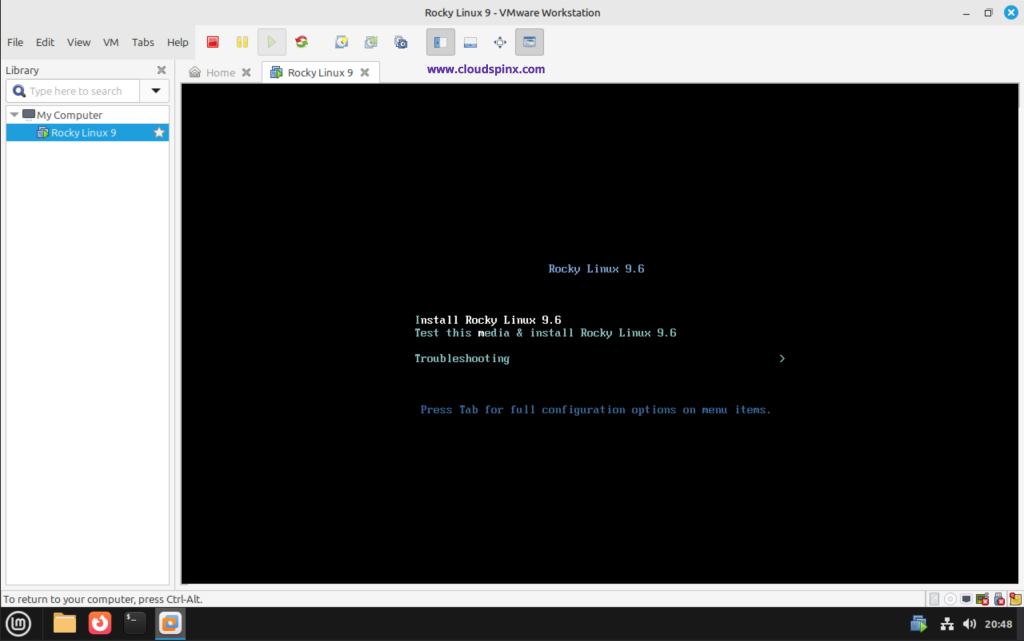
Proceed to the installer to complete installing your Virtual Machine. That’s all for this guide, Adios!
Check more captivating guides below:

