

In our previous article we talked about how you can install Nginx with PHP-FPM on Linux Mint. This article will continue the setup by demonstrating how a user can setup a WordPress website on Linux Mint 22 powered by Nginx, PHP and PHP-FPM. The database server that will be used in this setup is MariaDB. All the software pieces used in the stack are open source.
Before installing WordPress let us first install MariaDB database packages:
sudo apt update
sudo apt install vim mariadb-server mariadb-client
Once done enable and start the service:
sudo systemctl enable --now mariadb.serviceSecure MariaDB server and create a new root password by running the following commands
$ sudo mariadb-secure-installation

NOTE: RUNNING ALL PARTS OF THIS SCRIPT IS RECOMMENDED FOR ALL MariaDB
      SERVERS IN PRODUCTION USE!  PLEASE READ EACH STEP CAREFULLY!

In order to log into MariaDB to secure it, we'll need the current
password for the root user. If you've just installed MariaDB, and
haven't set the root password yet, you should just press enter here.

Enter current password for root (enter for none):
OK, successfully used password, moving on...

Setting the root password or using the unix_socket ensures that nobody
can log into the MariaDB root user without the proper authorisation.

You already have your root account protected, so you can safely answer 'n'.

Switch to unix_socket authentication [Y/n] n
 ... skipping.

You already have your root account protected, so you can safely answer 'n'.

Change the root password? [Y/n] Y
New password:
Re-enter new password:
Password updated successfully!
Reloading privilege tables..
 ... Success!


By default, a MariaDB installation has an anonymous user, allowing anyone
to log into MariaDB without having to have a user account created for
them.  This is intended only for testing, and to make the installation
go a bit smoother.  You should remove them before moving into a
production environment.

Remove anonymous users? [Y/n] Y
 ... Success!

Normally, root should only be allowed to connect from 'localhost'.  This
ensures that someone cannot guess at the root password from the network.

Disallow root login remotely? [Y/n] Y
 ... Success!

By default, MariaDB comes with a database named 'test' that anyone can
access.  This is also intended only for testing, and should be removed
before moving into a production environment.

Remove test database and access to it? [Y/n] Y
 - Dropping test database...
 ... Success!
 - Removing privileges on test database...
 ... Success!

Reloading the privilege tables will ensure that all changes made so far
will take effect immediately.

Reload privilege tables now? [Y/n] Y
 ... Success!

Cleaning up...

All done!  If you've completed all of the above steps, your MariaDB
installation should now be secure.

Thanks for using MariaDB!
Create a WordPress Database in MariaDB
We need to create a database that WordPress will use to store its content. Use the commands below commands to create a blank database.
sudo mariadb -u root -pYou will be prompted to enter the password. Type the MariaDB root password that you had created above. After entering the password you will have connected to MariaDB and you can now add your database:
CREATE DATABASE wp_website;
GRANT ALL PRIVILEGES ON wp_website.* TO 'wp_user'@'localhost' IDENTIFIED BY 'StrongDBPassword';
FLUSH PRIVILEGES;
EXIT
Install WordPress on Linux Mint 22
Use the following commands to install the latest WordPress.
cd /tmp
wget https://wordpress.org/latest.tar.gz
tar -zxvf latest.tar.gz
Set the name of your WordPress website as variable, this can be shorter name of your domain:
WEBSITE_NAME="wp_website"Move wordpress folder to path in /var/www/html
sudo apt install nginx -y
sudo mv wordpress /var/www/html/$WEBSITE_NAME
The commands below will enable you to set the right permissions for WordPress root directory.
sudo chown -R www-data:www-data /var/www/html/$WEBSITE_NAME
sudo chmod -R 755 /var/www/html/$WEBSITE_NAME/
Configuring WordPress on Linux Mint 22
The default WordPress configuration file is wp-config.php and you need to run the commands as shown to create this file.
sudo mv /var/www/html/$WEBSITE_NAME/wp-config-sample.php /var/www/html/$WEBSITE_NAME/wp-config.phpOpen the above created configuration file and edit database, user and password with what we created above. The file should have the shown lines depending on the database name, user and password that you configured above. You can leave the other settings default.
$ sudo vim /var/www/html/$WEBSITE_NAME/wp-config.php
define('DB_NAME', 'wp_website');
define('DB_USER', 'wp_user');
define('DB_PASSWORD', 'StrongDBPassword');
Also configure Authentication unique keys and salts. This can be generated here: https://api.wordpress.org/secret-key/1.1/salt/.
define('AUTH_KEY',         ' ANpXji2UQ<]9%EjC}zgF;xeKt `-R@,[*#do-VFXMR!vMu!/8*nOF6,F+Wy6[%-');
define('SECURE_AUTH_KEY',  'R|;[:C+LYV4}1UXz?0h +ItX_R2+K5v-%cKLBj(jnrB+w-[-KJsMCeB_J@EqehiN');
define('LOGGED_IN_KEY',    'CsN(pN_4wXT9TYi}MKHagO]bi=v`A)>tlv3X`eyMqB2(5ps&/VdQRRYU(CACQ`:N');
define('NONCE_KEY',        '}sHs4PU+T?ll4N<{~q_Z--oVK_d+j56y-]riW(:%@*o>o`Znvp=h-8>Jy{Ax%Z+,');
define('AUTH_SALT',        '`rDD:YP)Q?$v+qkNLgAL[N_R8+Q5r[[<?NvH@}3E9=qdAo0F-RW-`+L3AMT&ipxj');
define('SECURE_AUTH_SALT', 'bsD4nM.|J 66wNP<`4+l+[}#Tc2#Sy3c=fIj-!%f}XoP3S>mz.ekwD~6^;_yq&_Q');
define('LOGGED_IN_SALT',   '5*s_#/%IK$u(H|EkeNcS+q?R->g+I[zr$+ZJo,7:S|sBA{fBF,dcH(3Tv?vS+*OV');
define('NONCE_SALT',       'N+tP^+}#ZEa?98$d2;q-EPV@EmDU|~VdZg/s0i[@l]Wb4>V!RX#u<kWl+rm-UhX.');
Configure Nginx to work with WordPress and PHP-FPM
Install Nginx and required packages:
sudo apt remove apache2
sudo apt install nginx
Install PHP and install required extensions:
sudo apt install php php-cli php-fpm php-json php-pdo php-mysql php-zip php-gd php-mbstring php-curl php-xml php-pear php-bcmath -yProvide your WordPress Website Domain name:
WP_DOMAIN="app.example.com"Create an Nginx virtual host to run with PHP-FPM. In my case I have created a file called WordPress in Nginx directory. Use your favorite editor.
sudo tee /etc/nginx/sites-available/$WEBSITE_NAME.conf<<EOF
server {
	listen 80;
	listen [::]:80;
	server_name $WP_DOMAIN www.$WP_DOMAIN;
	root /var/www/html/$WEBSITE_NAME;
	index index.php index.html index.htm;

	location / {
		try_files \$uri \$uri/ index.php?\$args;
	}
	location ~ \.php\$ {
		include snippets/fastcgi-php.conf;
		fastcgi_pass unix:/run/php/php-fpm.sock;
		fastcgi_param	SCRIPT_FILENAME \$document_root\$fastcgi_script_name;
	}
}
EOF
Validate your WordPress nginx configuration file:
$ cat /etc/nginx/sites-available/$WEBSITE_NAME.conf
server {
	listen 80;
	listen [::]:80;
	server_name app.example.com www.app.example.com;
	root /var/www/html/wp_website;
	index index.php index.html index.htm;

	location / {
		try_files $uri $uri/ index.php?$args;
	}
	location ~ \.php$ {
		include snippets/fastcgi-php.conf;
		fastcgi_pass unix:/run/php/php-fpm.sock;
		fastcgi_param	SCRIPT_FILENAME $document_root$fastcgi_script_name;
	}
}
Test that syntax check is successful:
$ sudo nginx -t
nginx: the configuration file /etc/nginx/nginx.conf syntax is ok
nginx: configuration file /etc/nginx/nginx.conf test is successful
Enable WordPress site
Run the below command to enable the above created virtual host. After that restart Nginx and PHP-FPM services:
sudo ln -s /etc/nginx/sites-available/$WEBSITE_NAME.conf /etc/nginx/sites-enabled/
sudo systemctl restart nginx.service
sudo systemctl restart php*-fpm.service
Configure DNS and map your website domain name to IP address. If using this for local development you can edit hosts file:
#Example (Your Workstation)
$ sudo vim /etc/hosts
192.168.1.208 app.example.com
To verify your WordPress installation, open your browser your WordPress domain as configured, in our case this is http://app.example.com. If everything was properly installed, you should get a page as shown:
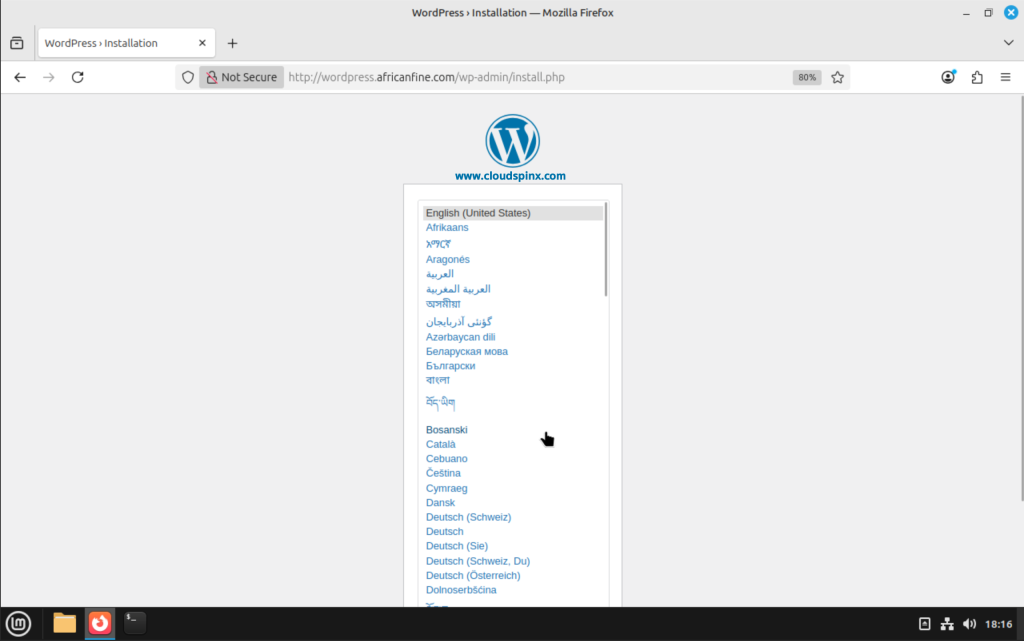
Click Continue after selecting your preferred language, then provide a site title, username, password, and an email address:
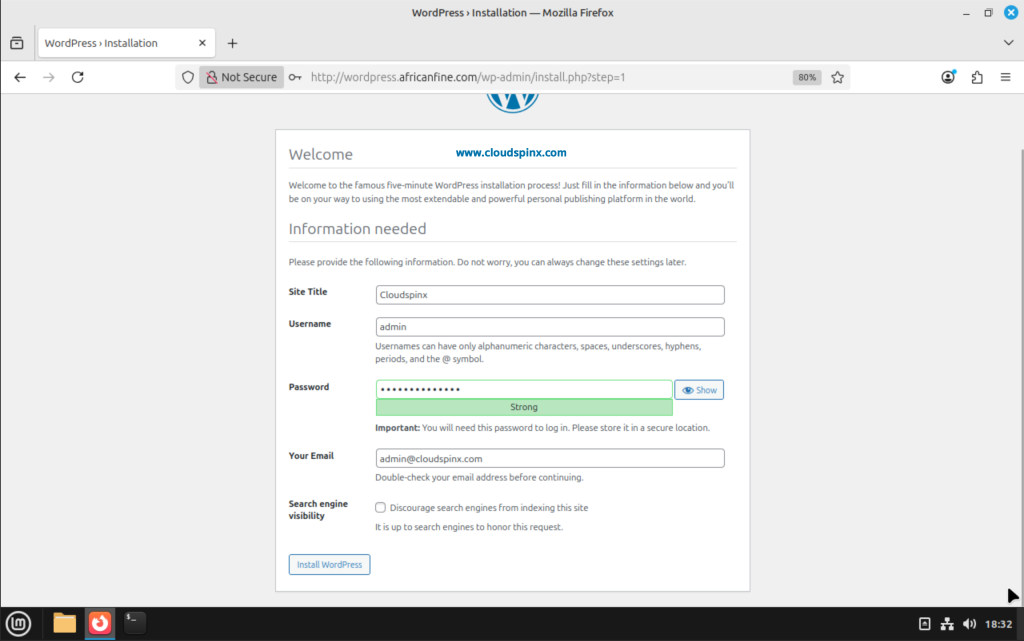
Then click Install WordPress:
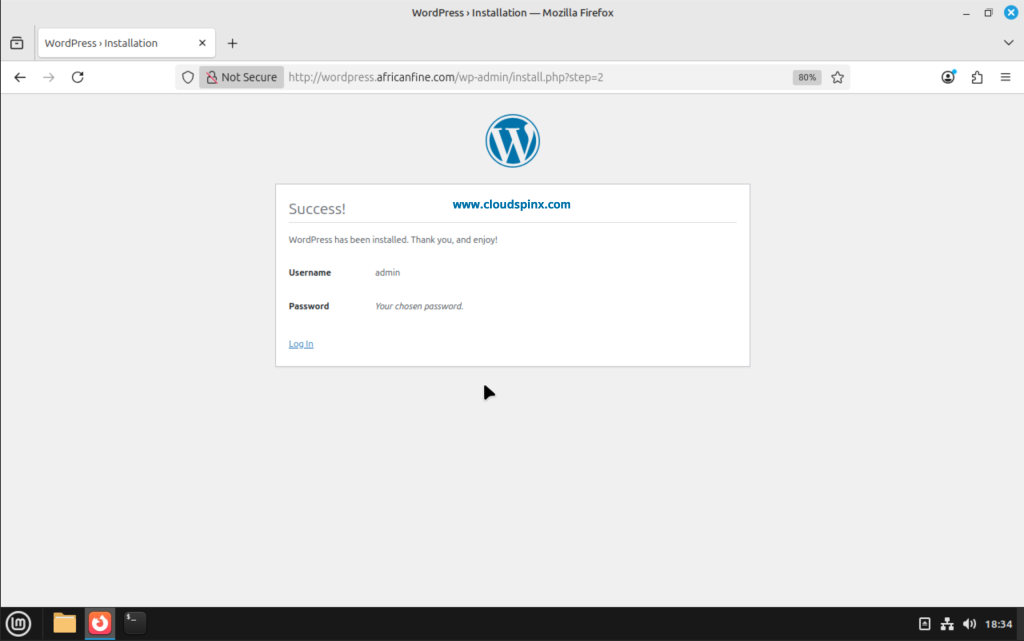
Click on Login to go to the login page for you wordpress website, then provide the credentials you just set up:
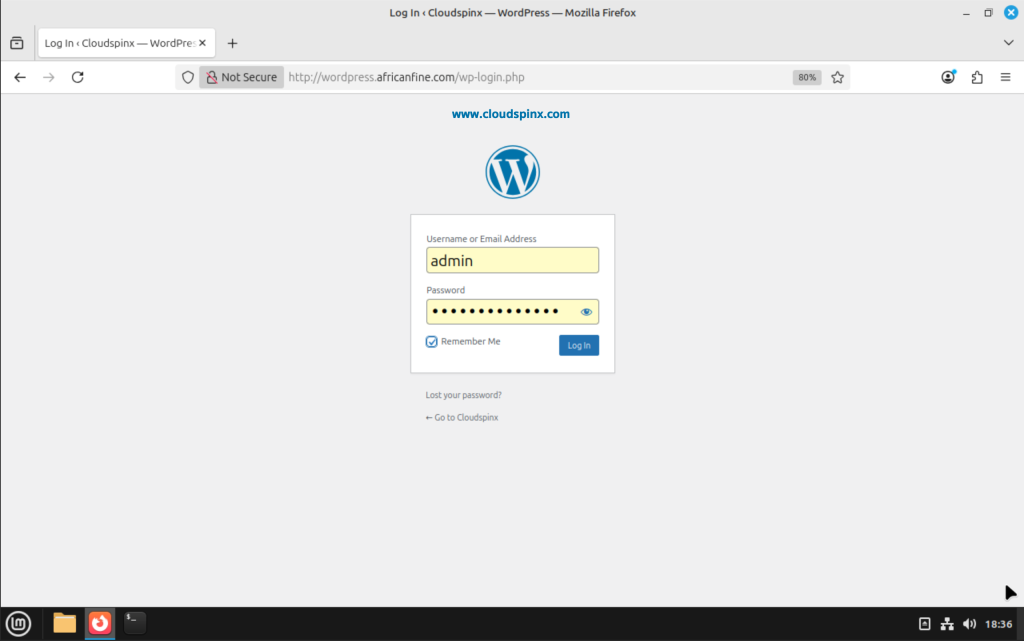
After login, you should be able to see the WordPress dashboard of your website:
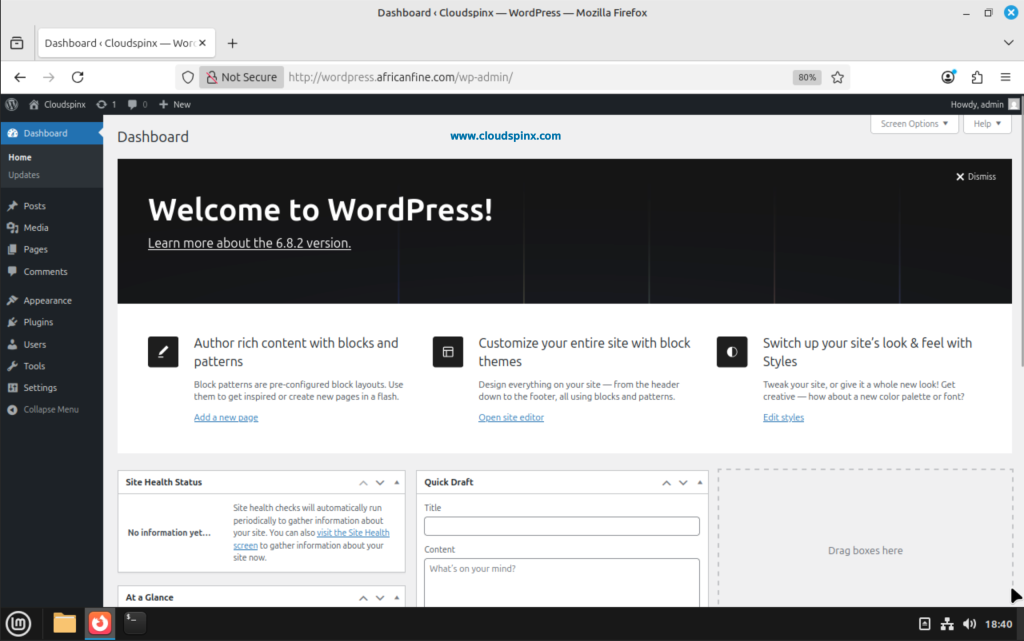
Proceed to setup your new website by creating pages, installing themes and plugins, doing design and many other functions.
Here are some more interesting guides from us:


