The Debian Linux team has published Debian, codenamed ‘bullseye,’ as a stable version. It took two years, one month, and nine days to create this version. Debian is developed on the Linux kernel 5.10 series, which was launched in December with up to six years of lengthy maintenance. Gnome 3.38, KDE Plasma 5.20, LXDE 11, LXQt 0.16, MATE 1.24, and Xfce 4.16 are among the desktop environments included in Debian.
The installation of the XFCE Desktop Environment on a Debian Linux Desktop system will be covered in this article. Xfce, often known as XFCE, is a free and open-source desktop environment for Linux and Unix-like computers. Xfce strives to be quick and light while yet being attractive to the eye and simple to use. The classic Unix idea of modularity and reusability is embodied in Xfce. It is made up of individual pieces that, when combined, provide all of the functionality of a desktop environment, but may be selected in subsets to fit the needs and preferences of the user.
XFCE Desktop Environment Features
Here are the cool feature of Xfce Desktop Enviroment:
- The Xfce desktop is uncomplicated and free of clutter.
- The Xfce desktop environment is quite reliable.
- When compared to competing desktops like KDE and GNOME, Xfce has a relatively minimal memory footprint and CPU consumption.
- Xfce is made up of a number of separate projects, and your distribution may not install all of them.
- Like many other terminal emulators, the Xfce4 terminal emulator makes use of tabs to allow numerous terminals to be shown in a single window.
- Thunar, Xfce’s default file manager, is straightforward, simple to use and customize, and simple to pick up.
- Xfce is extremely customizable within its limitations.
Installing XFCE Desktop on Debian Linux
The steps below will guide on how to install Xfce Desktop Environment on Debian.
Step 1: Update Debian system
You are required to update the system packages before making any installation;
sudo apt update && sudo apt upgrade -yPerform a reboot if it’s required:
[ -f /var/run/reboot-required ] && sudo reboot -fStep 2: Install XFCE Desktop Environment
Run the following command to install Xfce Desktop Environment on Debian Linux Desktop:
sudo apt install -y tasksel
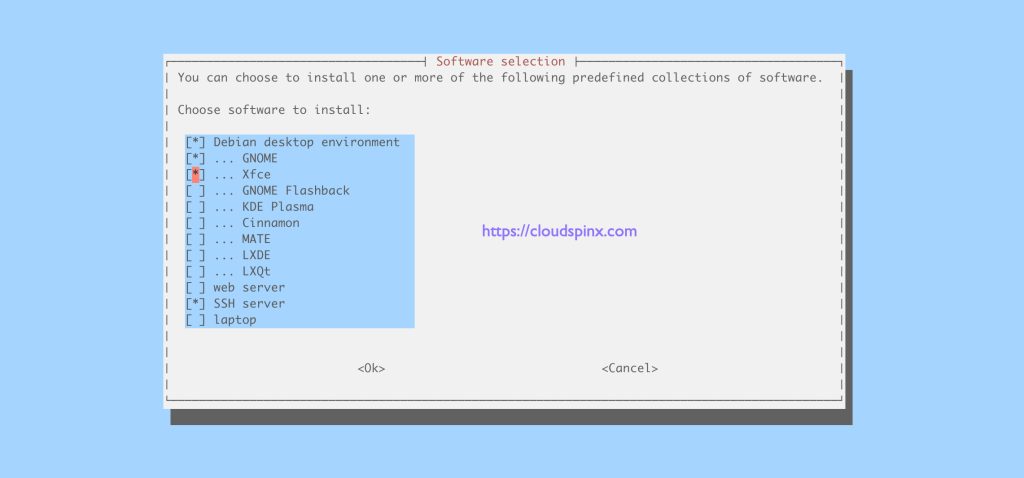
sudo tasksel
You should see this Window from which you select your preferred Desktop Environment. Now navigate using the arrow keys and select XFCE Desktop using the space bar as shown.
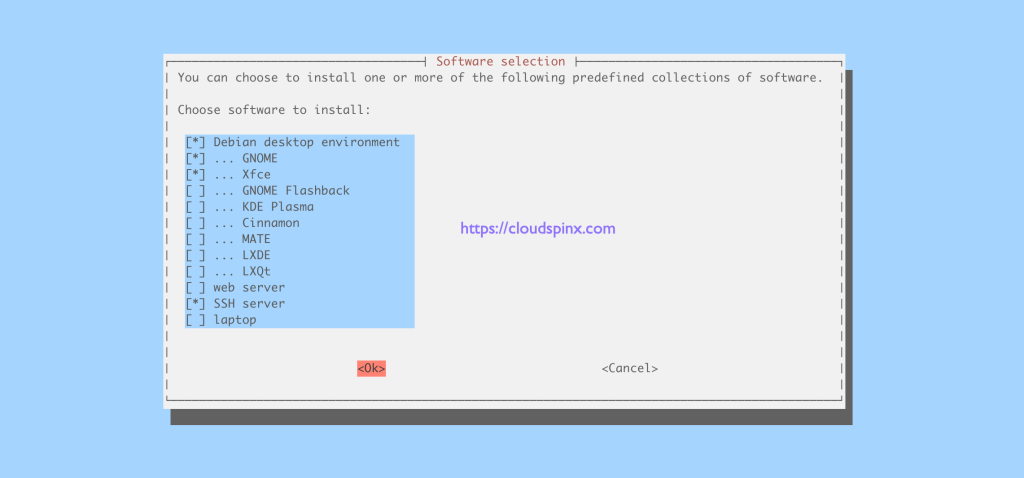
Navigate using the TAB key and select “OK” to initiate the installation.
Reboot the system:
sudo systemctl rebootStep 3: Select XFCE Session
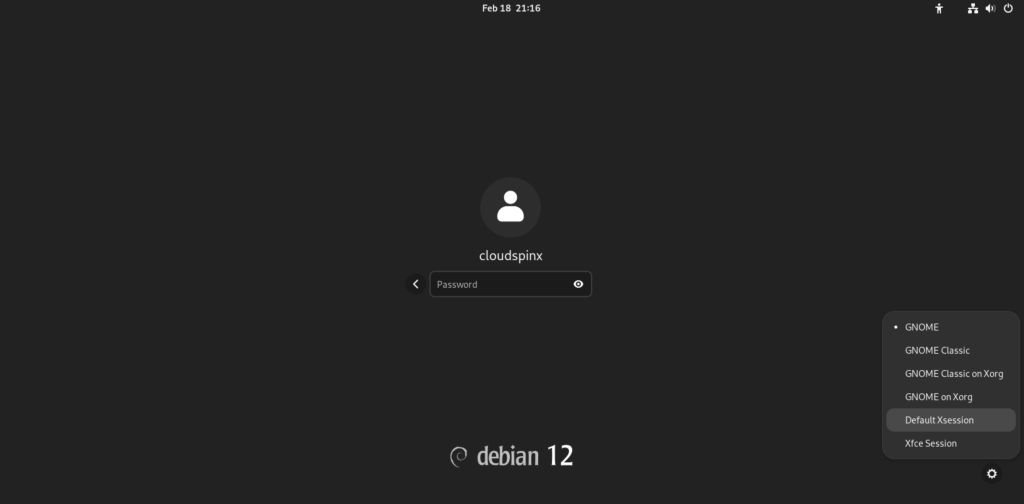
After rebooting the computer, choose a user to login as, then click on the gear icon and choose Xfce Session.
XFCE Desktop Environment Application Starts:
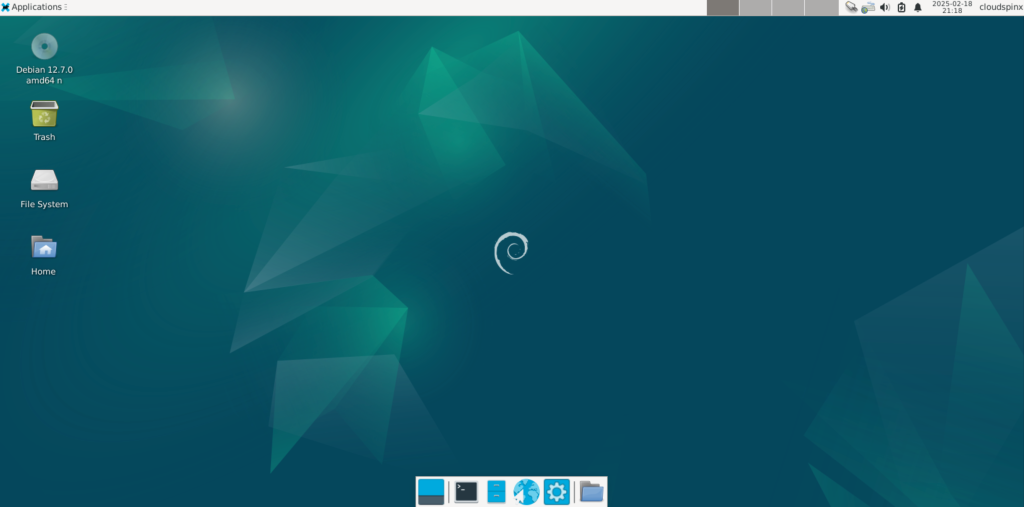
Step 4: XFCE Default Desktop Management Tools
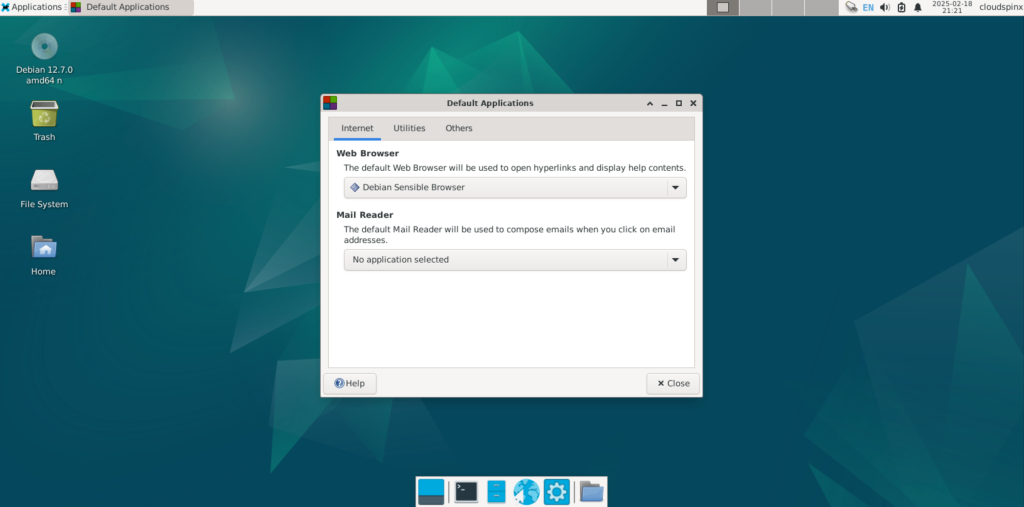
In Xfce Desktop Environment, default application can be change to your preferred application of your choice. This is achieved as follows:
Click on Application Finder and search for Default Application:
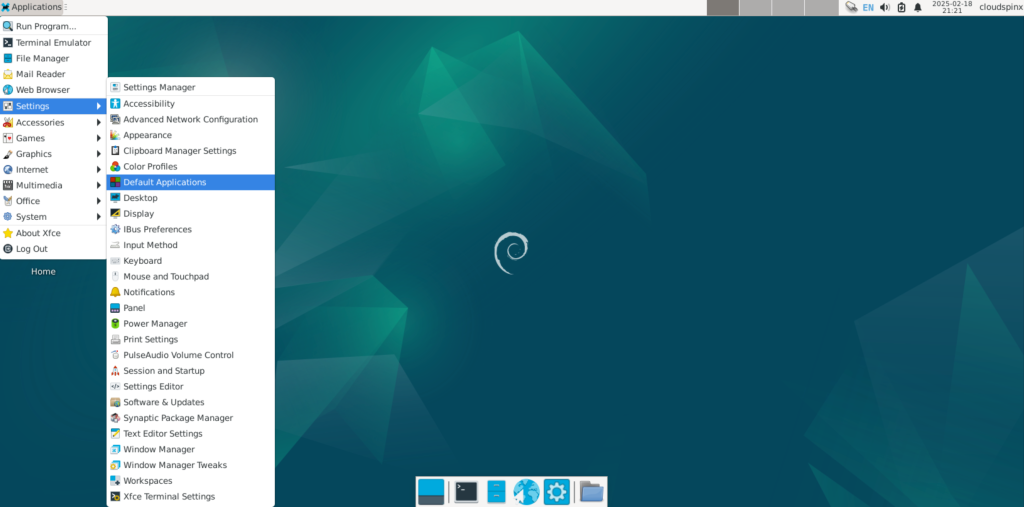
Double click to open and choose your preferred application as shown below:
Step 5: Installing XFCE Themes
Navigate to Xfce Themes Downloads page and download the theme of your choice to install.
How to Install Themes
We are going to download theme big sur from github as shown below:
sudo apt install -y git
git clone https://github.com/Cervexa/Desert_Dark.git
Create a folder “.themes” in your home directory:
mkdir ~/.themesSimply place the extracted file in a folder called “.themes” in your home directory:
mv Desert_Dark/ .themes/Then use Appearance Window-manager and choose Desert_Dark:
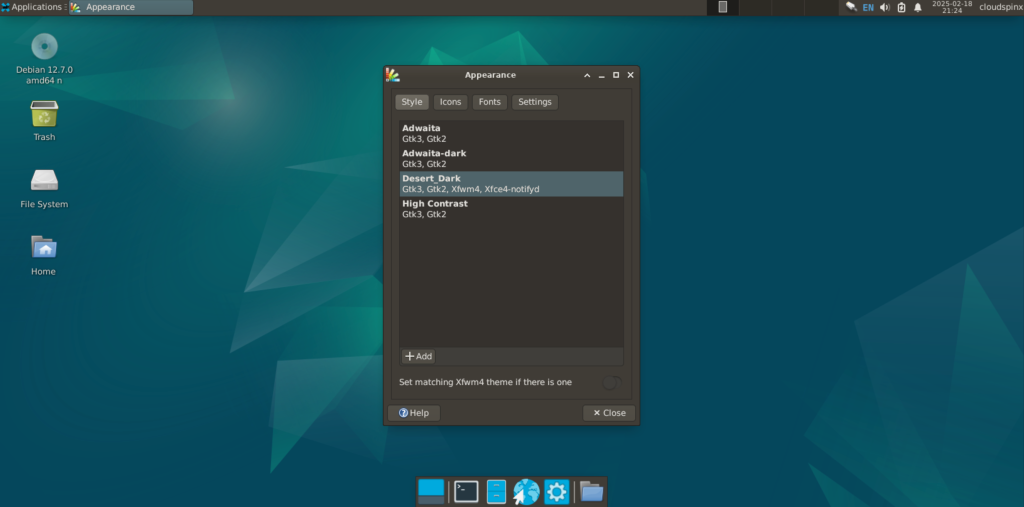
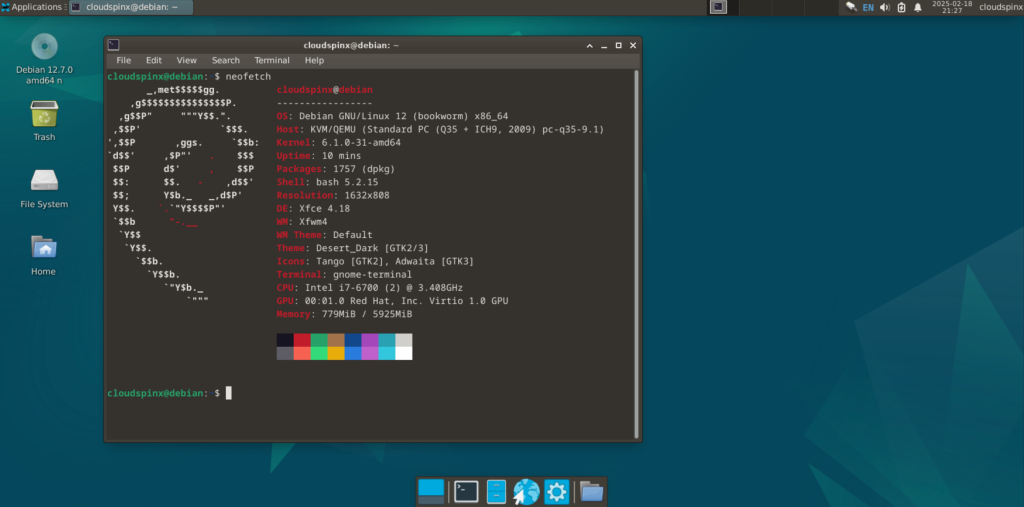
After installing the Desert_Dark theme:
Conclusion
The installation of XFCE Desktop Environment on Debian is now complete. Take use of the powerful capabilities of the XFCE Desktop Environment.
Amazing Guides:

