Zabbix is a free to use monitoring solution that can be installed on most Linux distribution servers. Zabbix gives you a powerful monitoring stack for your Server, Network devices, Web and Desktop applications, IoT appliances, various hardware appliances among many other customized use cases. Here we will be performing installation and configuration of Zabbix Server 7.0 LTS on Amazon Linux 2023.
The Zabbix monitoring solution uses a server/client architecture where an agent software is installed on machines to be monitored. This agent will collect and send metrics to the server, which stores the data in a database – MySQL, PostgreSQL, SQLite, Oracle or IBM DB2 database management system.
Install Zabbix 7 on Amazon Linux 2023
We will install Zabbix 7 on Amazon Linux 2023 using MySQL database as storage backend. We will also be configuring Apache httpd web server as reverse proxy to Zabbix server.
Login to your Amazon server via an SSH session:
~ ❯ ssh [email protected]                                                                                                                                                               1h 14m 31s
   ,     #_
   ~\_  ####_        Amazon Linux 2023
  ~~  \_#####\
  ~~     \###|
  ~~       \#/ ___   https://aws.amazon.com/linux/amazon-linux-2023
   ~~       V~' '->
    ~~~         /
      ~~._.   _/
         _/ _/
       _/m/'
Last login: Thu Jun 12 14:10:16 2025 from 192.168.1.1
[cloudspinx@Amazon-Linux-2023 ~]$
Before starting the installation of Zabbix 7 on Amazon Linux 2023 ensure the system is updated,
sudo yum -y updateOnce updated perform a system reboot.
sudo systemctl rebootStep 1: Install PHP and required dependencies
Zabbix Server 7.0 resquires PHP 8.0, so we’ll install PHP 8.4, which is available on Amazon repos. To install PHP and it’s modules, run the following command:
sudo yum -y install php-fpm php-cli php-gd php-bcmath php-snmp php-pear php-curl php-common php-mbstringStep 2: Install and Configure MariaDB Database
The version of MariaDB installed should not be higher than 11.5, so we’ll install MariaDB 11.4 as follows:
Add MariaDB repository to Amazon Linux 2023 server:
x86_64 architecture:
sudo tee /etc/yum.repos.d/MariaDB.repo > /dev/null <<EOF
# MariaDB 11.8 RedHatEnterpriseLinux repository list - created 2025-06-17 14:08 UTC
# https://mariadb.org/download/
[mariadb]
name = MariaDB
# rpm.mariadb.org is a dynamic mirror if your preferred mirror goes offline. See https://mariadb.org/mirrorbits/ for details.
# baseurl = https://rpm.mariadb.org/11.4/rhel/$releasever/$basearch
baseurl = https://mariadb.mirror.liquidtelecom.com/yum/11.4/rhel/9/x86_64
# gpgkey = https://rpm.mariadb.org/RPM-GPG-KEY-MariaDB
gpgkey = https://mariadb.mirror.liquidtelecom.com/yum/RPM-GPG-KEY-MariaDB
gpgcheck = 1
EOF
ARM Architecture:
sudo tee /etc/yum.repos.d/MariaDB.repo > /dev/null <<EOF
# MariaDB 11.8 RedHatEnterpriseLinux repository list - created 2025-06-17 14:08 UTC
# https://mariadb.org/download/
[mariadb]
name = MariaDB
# rpm.mariadb.org is a dynamic mirror if your preferred mirror goes offline. See https://mariadb.org/mirrorbits/ for details.
# baseurl = https://rpm.mariadb.org/11.4/rhel/$releasever/$basearch
baseurl = https://mariadb.mirror.liquidtelecom.com/yum/11.4/rhel/9/aarch64
# gpgkey = https://rpm.mariadb.org/RPM-GPG-KEY-MariaDB
gpgkey = https://mariadb.mirror.liquidtelecom.com/yum/RPM-GPG-KEY-MariaDB
gpgcheck = 1
EOF
Before you begin installaton update OS package cache index:
sudo yum clean all
sudo yum makecache
Install MariaDB Database server on Amazon Linux 2023:
sudo yum install MariaDB-server MariaDB-clientEnable and start mariadb with the below commands
sudo systemctl enable --now mariadbSecure MariaDB database server by setting a root user account password, removing anonymous users, disallowing root remote logins and removing test databases:
$ sudo mariadb-secure-installation
Enter current password for root (enter for none): Just press Enter
Set root password? [Y/n] Y
New password:  New-root-password
Re-enter new password: Re-enter New-root-password
Remove anonymous users? [Y/n] Y
Disallow root login remotely? [Y/n] Y
Remove test database and access to it? [Y/n] Y
Reload privilege tables now? [Y/n] Y
Thanks for using MariaDB!
Connect to MariaDB and set up a database and a user
$ mariadb -u root -p
Enter password:
Welcome to the MariaDB monitor.  Commands end with ; or \g.
Your MariaDB connection id is 11
Server version: 11.8.2-MariaDB MariaDB Server

Copyright (c) 2000, 2018, Oracle, MariaDB Corporation Ab and others.

Type 'help;' or '\h' for help. Type '\c' to clear the current input statement.

MariaDB [(none)]> SELECT VERSION();
+----------------+
| VERSION()      |
+----------------+
| 11.8.2-MariaDB |
+----------------+
1 row in set (0.001 sec)

MariaDB [(none)]> QUIT;
Bye
Login with the password set above and run the following commands to create a database and a user.
CREATE DATABASE zabbix CHARACTER SET utf8 COLLATE utf8_bin;
CREATE USER 'zabbix'@'localhost' IDENTIFIED BY 'DBStr0ngP@ssword';
GRANT ALL PRIVILEGES ON zabbix.* TO 'zabbix'@'localhost';
FLUSH PRIVILEGES;
EXIT
Step 2: Install Apache Web Server
Run the following command to install httpd web server:
sudo yum -y install httpd vim bash-completionEnable and start httpd service
sudo systemctl enable --now httpdConfirm httpd service is in running state:
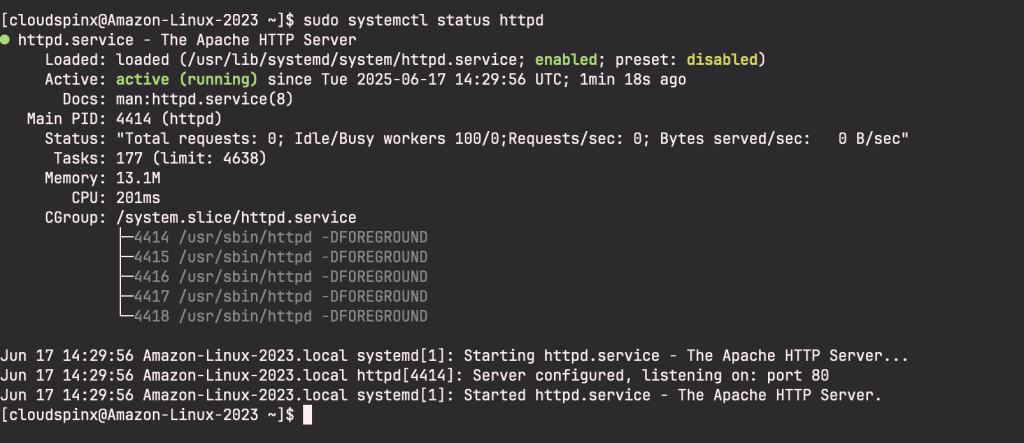
Set ServerName:
$ sudo vim /etc/httpd/conf/httpd.conf
ServerName zabbix.example.com:80
Set Server Admin to receive an email in case of issues.
$ sudo vim /etc/httpd/conf/httpd.conf
ServerAdmin [email protected]
Restart apache web service after making the changes:
sudo systemctl restart httpdStep 3: Install Zabbix Server 7 on Amazon Linux 2023
Add Zabbix repository in your Amazon Linux 2023 server with the following commands:
sudo rpm -Uvh https://repo.zabbix.com/zabbix/7.0/amazonlinux/2023/x86_64/zabbix-release-latest-7.0.amzn2023.noarch.rpm
sudo yum clean all
Install Zabbix Server, Frontend and Agent:
Also install zabbix packages using the below command:
sudo yum -y install zabbix-server-mysql zabbix-web-mysql zabbix-apache-conf zabbix-sql-scripts zabbix-agentImport Zabbix Server database schema
Import initial schema and data for the server with MySQL. First login to MariaDB and enable log_bin_trust_function_creators option using the command below:
$ mariadb -uroot -p
Enter Pasword:
MariaDB [(none)]> SET GLOBAL log_bin_trust_function_creators = 1;
Then import schema and data. You will be prompted to enter your newly created password:
sudo zcat /usr/share/zabbix-sql-scripts/mysql/server.sql.gz | mariadb --default-character-set=utf8mb4 -uzabbix -p zabbixAfter importing, disable log_bin_trust_function_creators option:
$ mariadb -uroot -p
Enter Pasword:
MariaDB [(none)]> SET GLOBAL log_bin_trust_function_creators = 0;
Once the packages are installed proceed to start and enable the service:
sudo systemctl restart zabbix-server zabbix-agent httpd php-fpm
sudo systemctl enable zabbix-server zabbix-agent httpd php-fpm
Status of the two services should be running:
sudo systemctl status zabbix-server zabbix-agent httpd php-fpm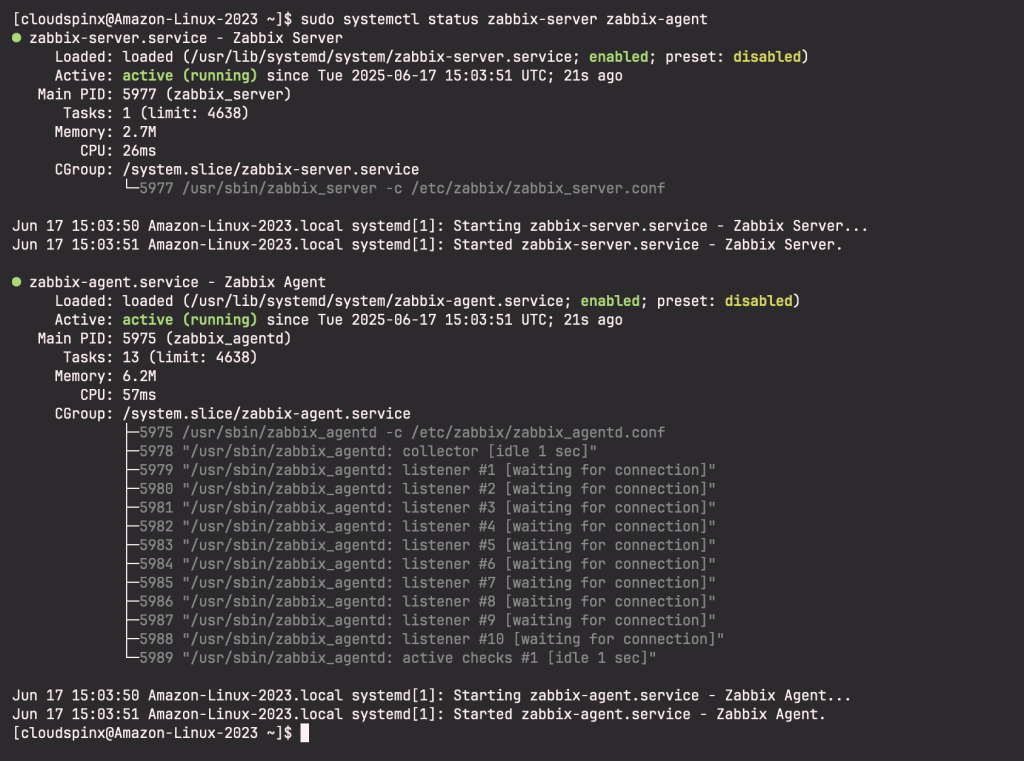
By default, Zabbix-server runs on port 10050 while Zabbix-agent runs on 10051. You can confirm if this is the case by running the following commands:
sudo ss -tlnup | grep 10050Step 4: Configure Zabbix Server on Amazon Linux 2023
Edit the zabbix_server.conf configuration file to set Zabbix database credentials:
sudo vim /etc/zabbix/zabbix_server.confAdd the credentials set when creating Zabbix database
DBHost=localhost
DBName=zabbix
DBUser=zabbix
DBPassword=DBStr0ngP@ssword
Set correct PHP timezone:
$ sudo vim /etc/php-fpm.d/zabbix.conf
php_value[date.timezone] = Africa/Nairobi
Start and enable services:
sudo systemctl restart zabbix-server zabbix-agent httpd php-fpm
sudo systemctl enable zabbix-server zabbix-agent httpd php-fpm
Zabbix Server Status:
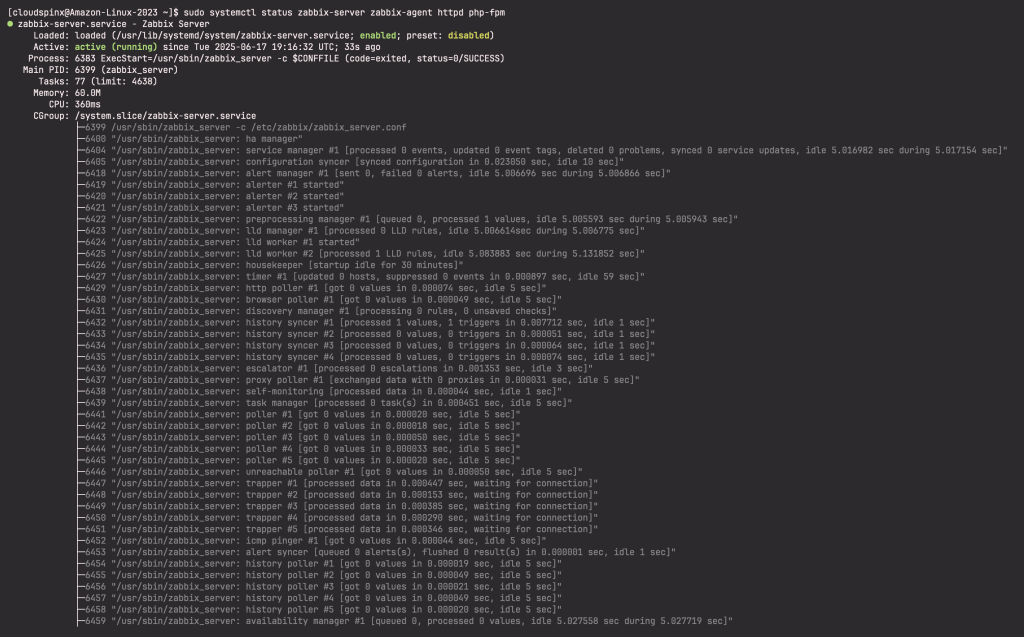
Step 5: Initiate Zabbix 7.0 Web configuration
Open your web browser and access the url below to initiate Zabbix server initial setup.
http://(Zabbix server’s hostname or IP address)/zabbix/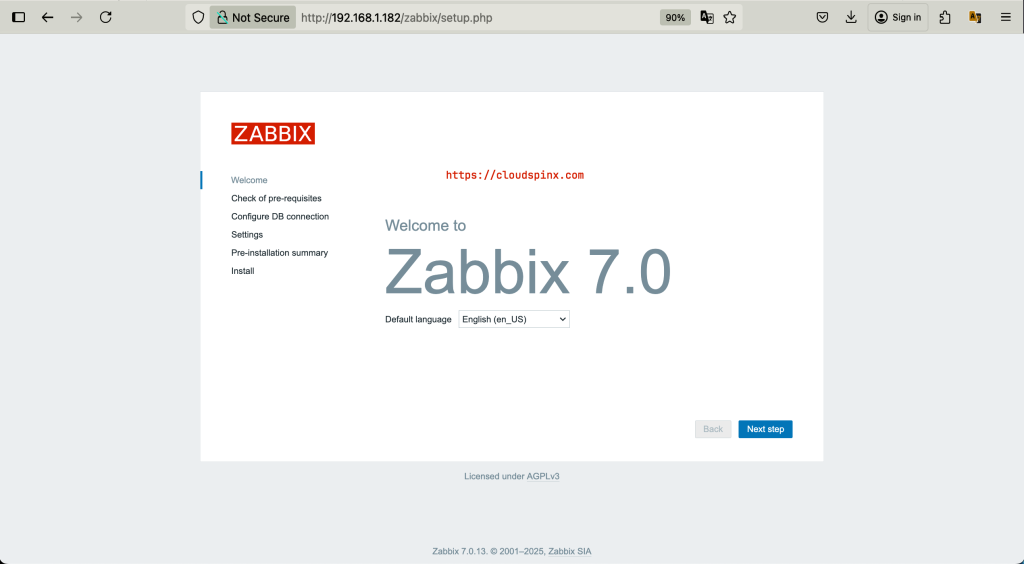
Click on Next step to go to the next page where pre-requisites status are shown.
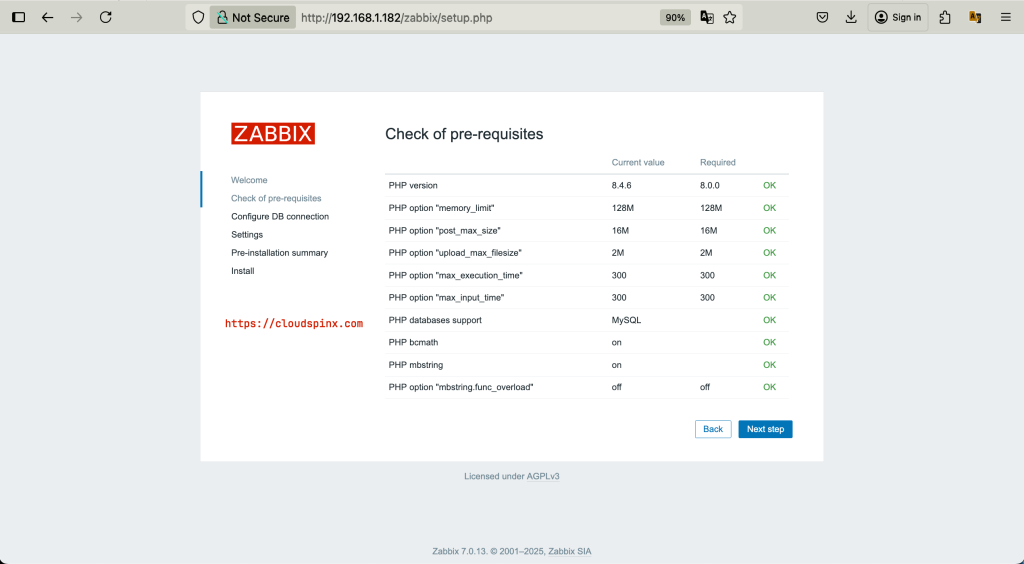
Click Next step to set database connection details – database name, user and password.
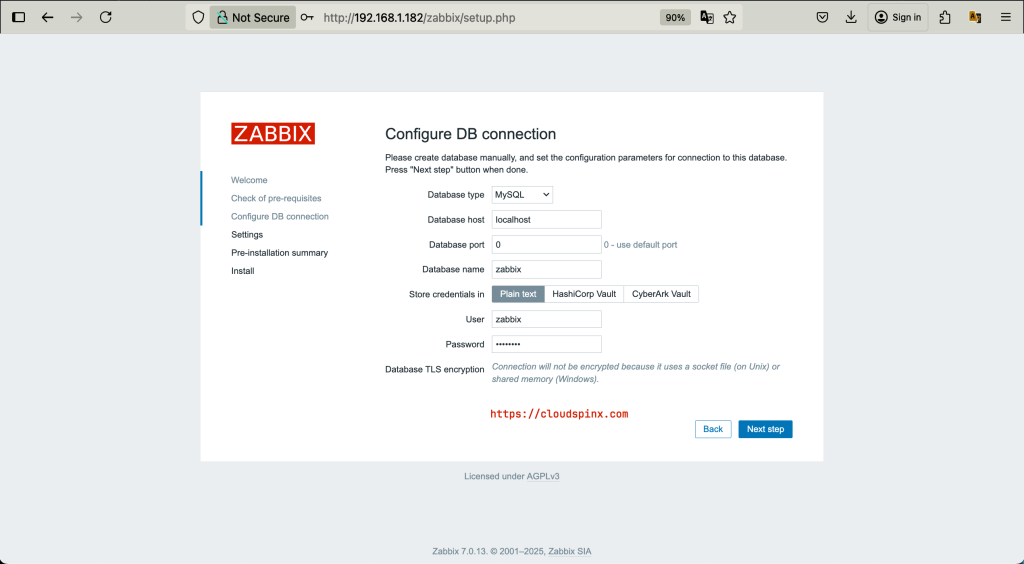
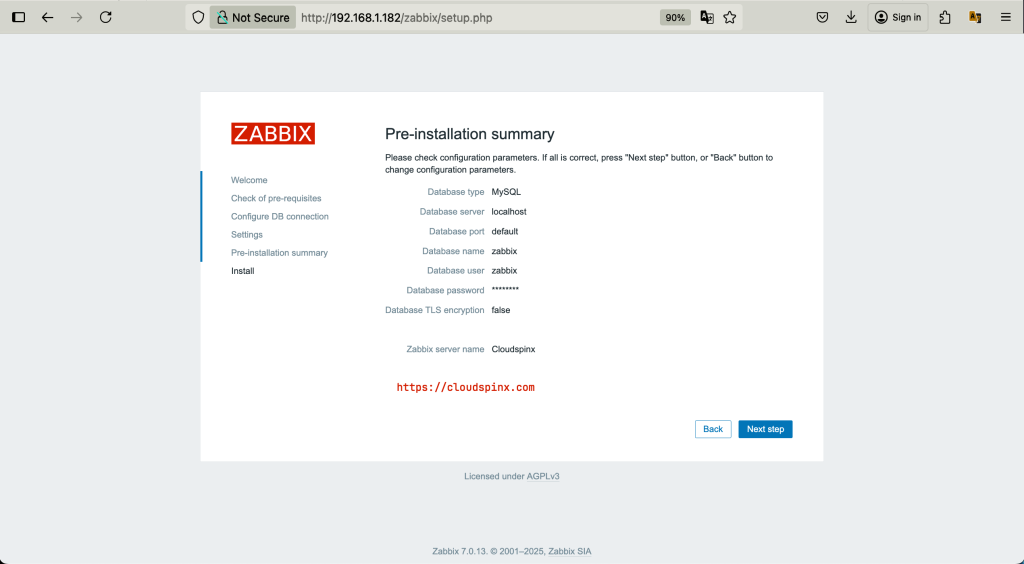
In the next page configure server details including server Name.
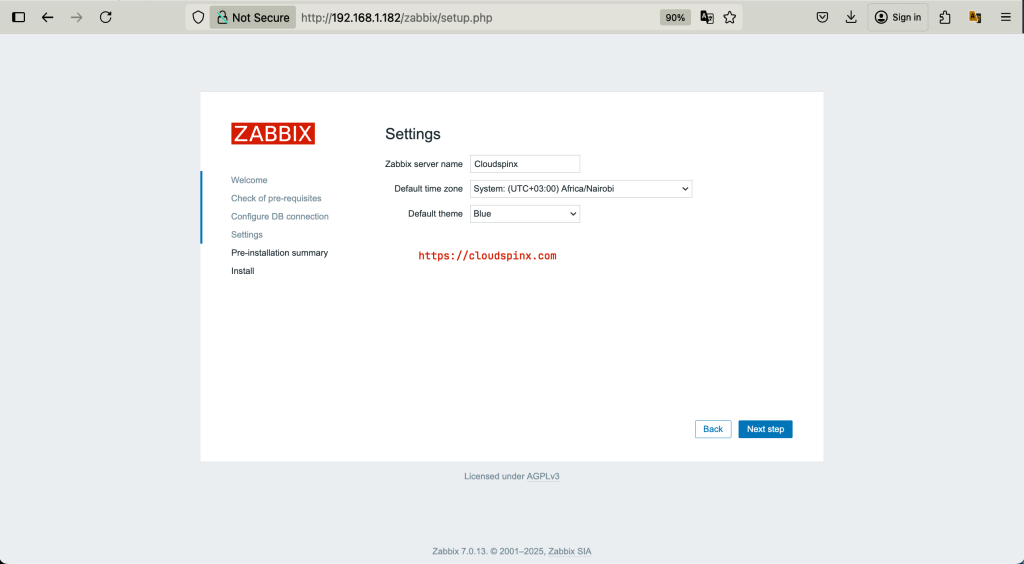
Confirm installation summary and hit Next Step to complete installation.
If the installation was successful you should get the message shown below.
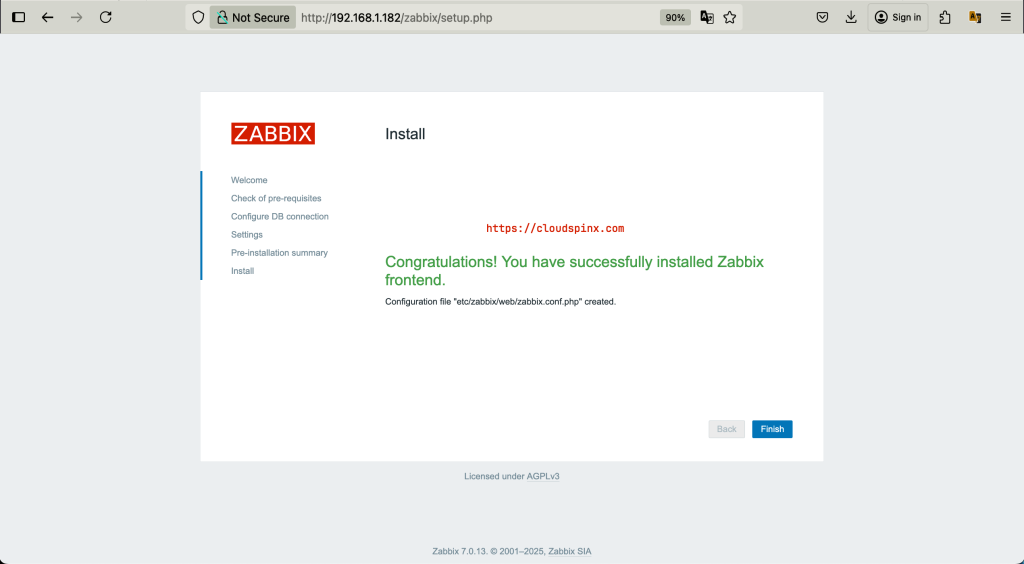
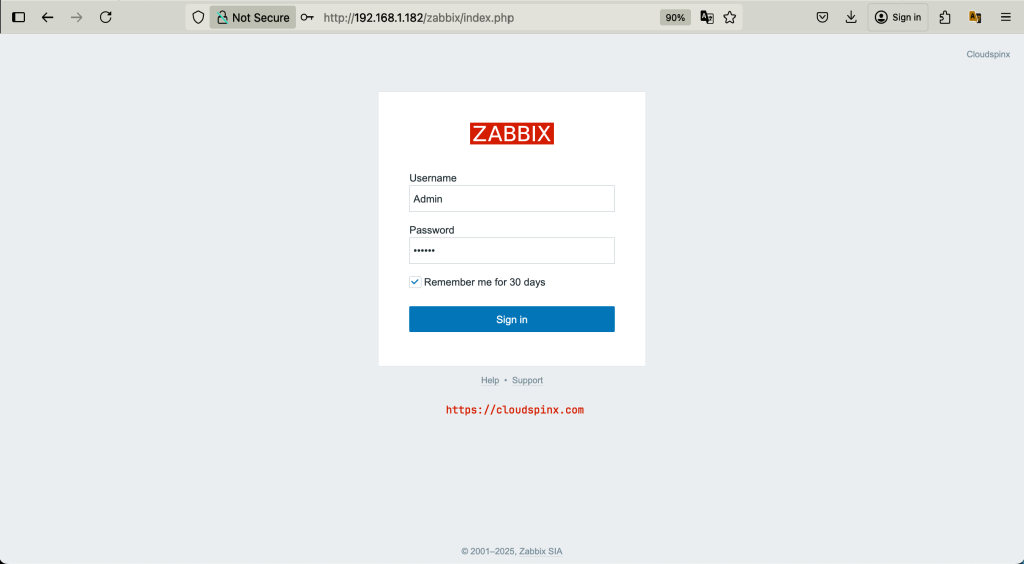
Click finish to be directed to the Zabbix login page. The default login details:
Username: "Admin"
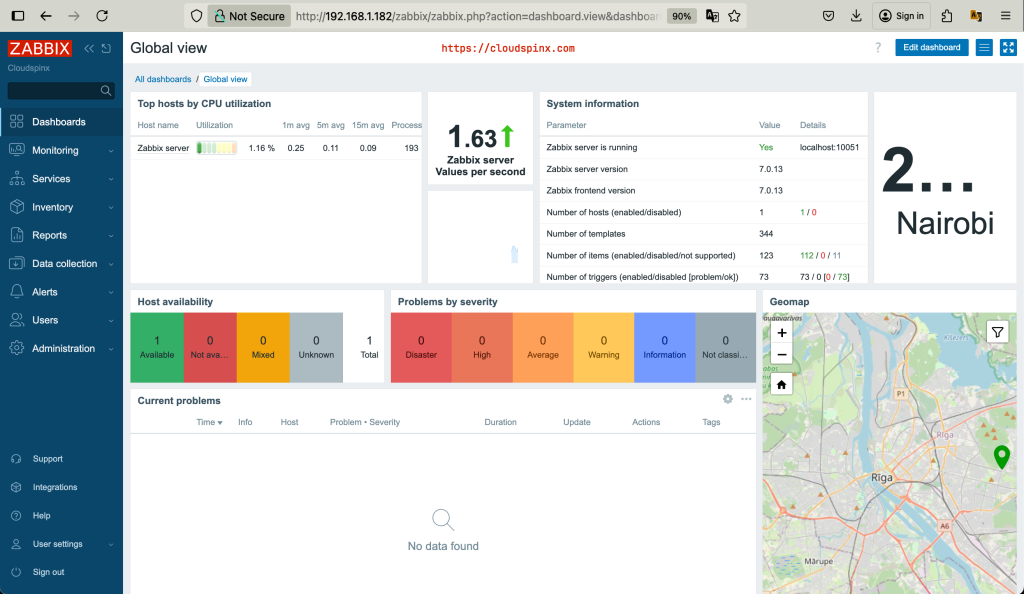
Password: "zabbix"Login with user Admin and password zabbix. Once you login, you should see a page as shown below:
You should be able to see the Zabbix Dashboard:
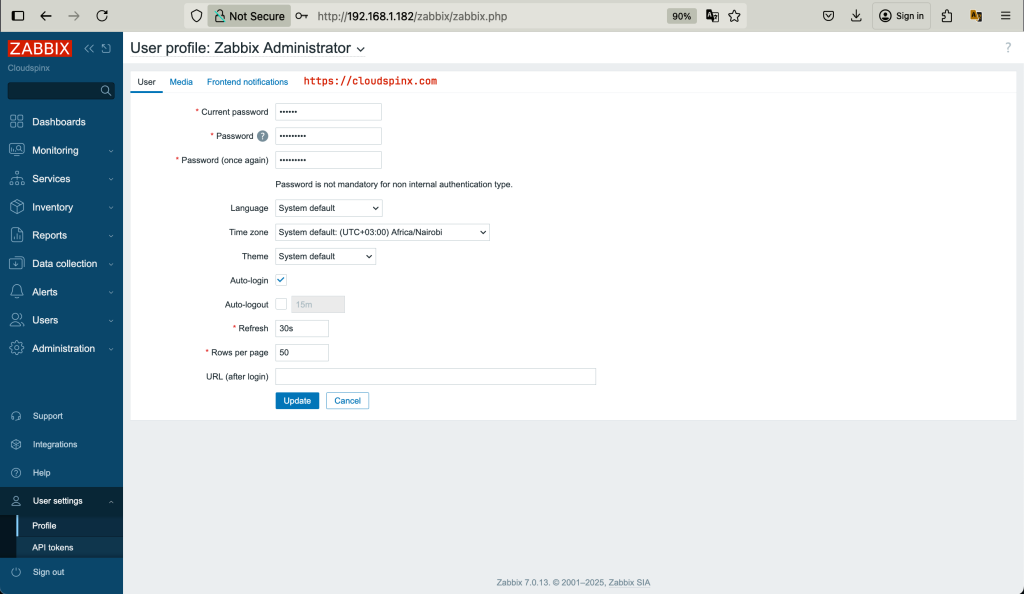
Step 6: Change Admin Password
You’ll need to change the default Admin user password by navigating to:
User Settings > Users > Profile > Change Password
Enter the new password and confirm, then click Update:
You now have a running instance of Zabbix server on Amazon Linux 2023 system. The next steps will be to setup your agents to be monitored and create graphs, alerts and much more.
More on Amazon Linux: