How can I create an Arch Linux droplet in DigitalOcean?. DigitalOcean cloud environment enables you to upload a custom image of an operating system not provided in ready templates. Our recent article tackled how one can run an openSUSE instance in DigitalOcean. In today’s guide we will focus on how you can upload Arch Linux qcow2 image to DigitalOcean and creating a virtual machine from it.
Before uploading an image to DigitalOcean it must meet the following requirements:
- Operating system. Images must have a Unix-like OS.
- File format. Images must be in one of the following file formats:
- Raw (
.img) with an MBR or GPT partition table - qcow2
- VHDX
- VDI
- VMDK
- Raw (
- Size. Images must be 100 GB or less when uncompressed, including the filesystem.
- Filesystem. Images must support the ext3 or ext4 filesystems.
cloud-init. Images must have cloud-init 0.7.7 or higher, cloudbase-init, coreos-cloudinit, ignition, or bsd-cloudinit installed and configured correctly.- SSH configuration. Images must have sshd installed and configured to run on boot.
Upload Arch Linux qcow2 image to DigitalOcean
We will use Arch Linux qcow2 image for OpenStack on DigitalOcean.
To upload the Arch Linux image to DigitalOcean, Login to the management console and then navigate to Images > Custom Images > Import via URL

In the “ENTER URL” box paste below URL which contains Arch Linux qcow2 image for OpenStack.
https://linuximages.de/openstack/arch/arch-openstack-LATEST-image-bootstrap.qcow2Hit the “Next” button to initiate the upload process.

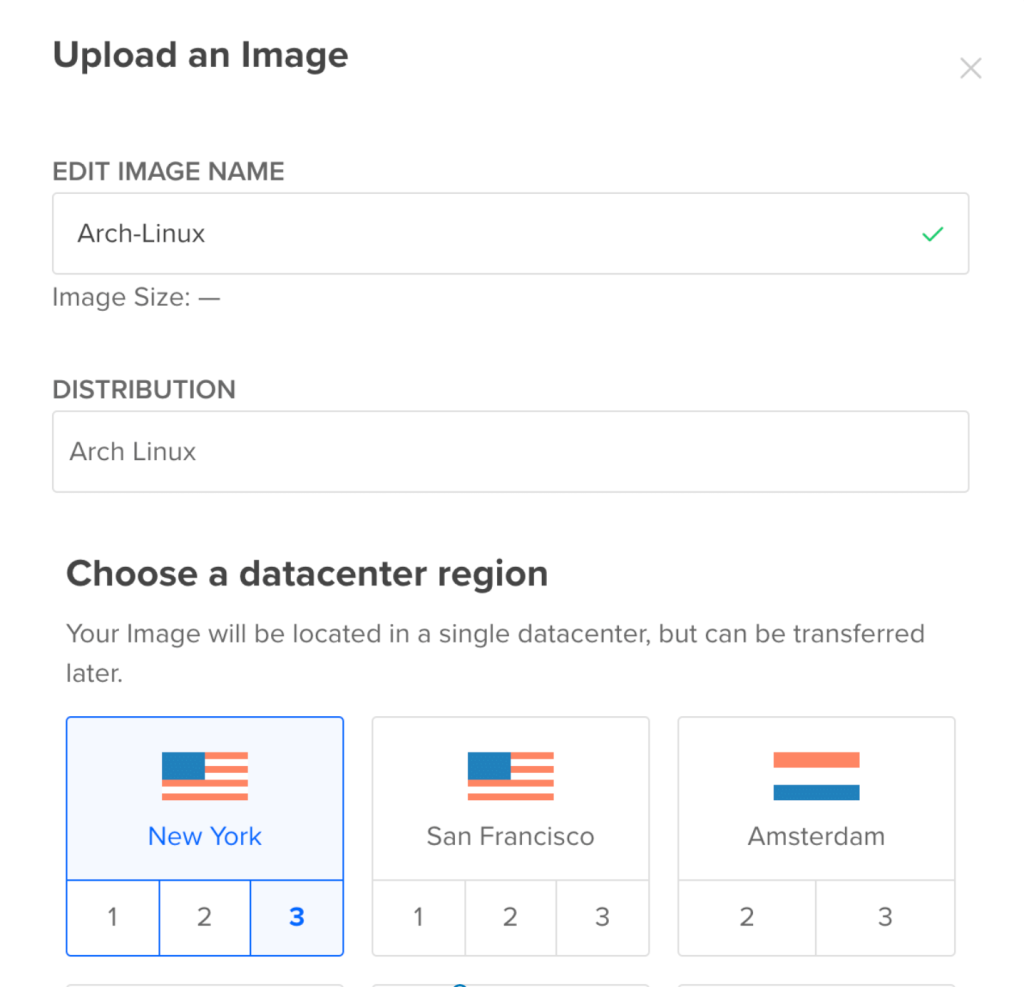
Set image name, Distribution, data center region and optional Tags or Notes.

When done with the details upload the image and it should appear in few minutes.

Create Arch Linux droplet on DigitalOcean
Confirm that the image has been uploaded under the Images section then go Droplets > Create > Droplets > Custom images and choose Arch Linux image.

Choose instance plan, data center region, SSH Keys and any other options fit to run the VM.

Don’t forget to set the hostname.

Create the Droplet when all settings required have been provided. Take note of the Public IP address given to the instance as this is used for SSH access.
The default SSH user is called arch.
$ ssh [email protected]
Warning: Permanently added '104.236.4.175' (ECDSA) to the list of known hosts.
[arch@arch-linux ~]$
Confirm OS details.
$ cat /etc/os-release
NAME="Arch Linux"
PRETTY_NAME="Arch Linux"
ID=arch
BUILD_ID=rolling
ANSI_COLOR="38;2;23;147;209"
HOME_URL="https://www.archlinux.org/"
DOCUMENTATION_URL="https://wiki.archlinux.org/"
SUPPORT_URL="https://bbs.archlinux.org/"
BUG_REPORT_URL="https://bugs.archlinux.org/"
LOGO=archlinux
Upgrade Arch OS.
sudo pacman -Syyu --noconfirmSamle output:
:: Synchronizing package databases...
 core                  132.9 KiB  4.81 MiB/s 00:00 [######################] 100%
 extra                1636.4 KiB  8.69 MiB/s 00:00 [######################] 100%
 community               5.2 MiB  17.3 MiB/s 00:00 [######################] 100%
:: Starting full system upgrade...
 there is nothing to do
Reboot once upgraded to start running your applications on Arch Linux machine.
sudo systemctl rebootOther guides available on our website.


